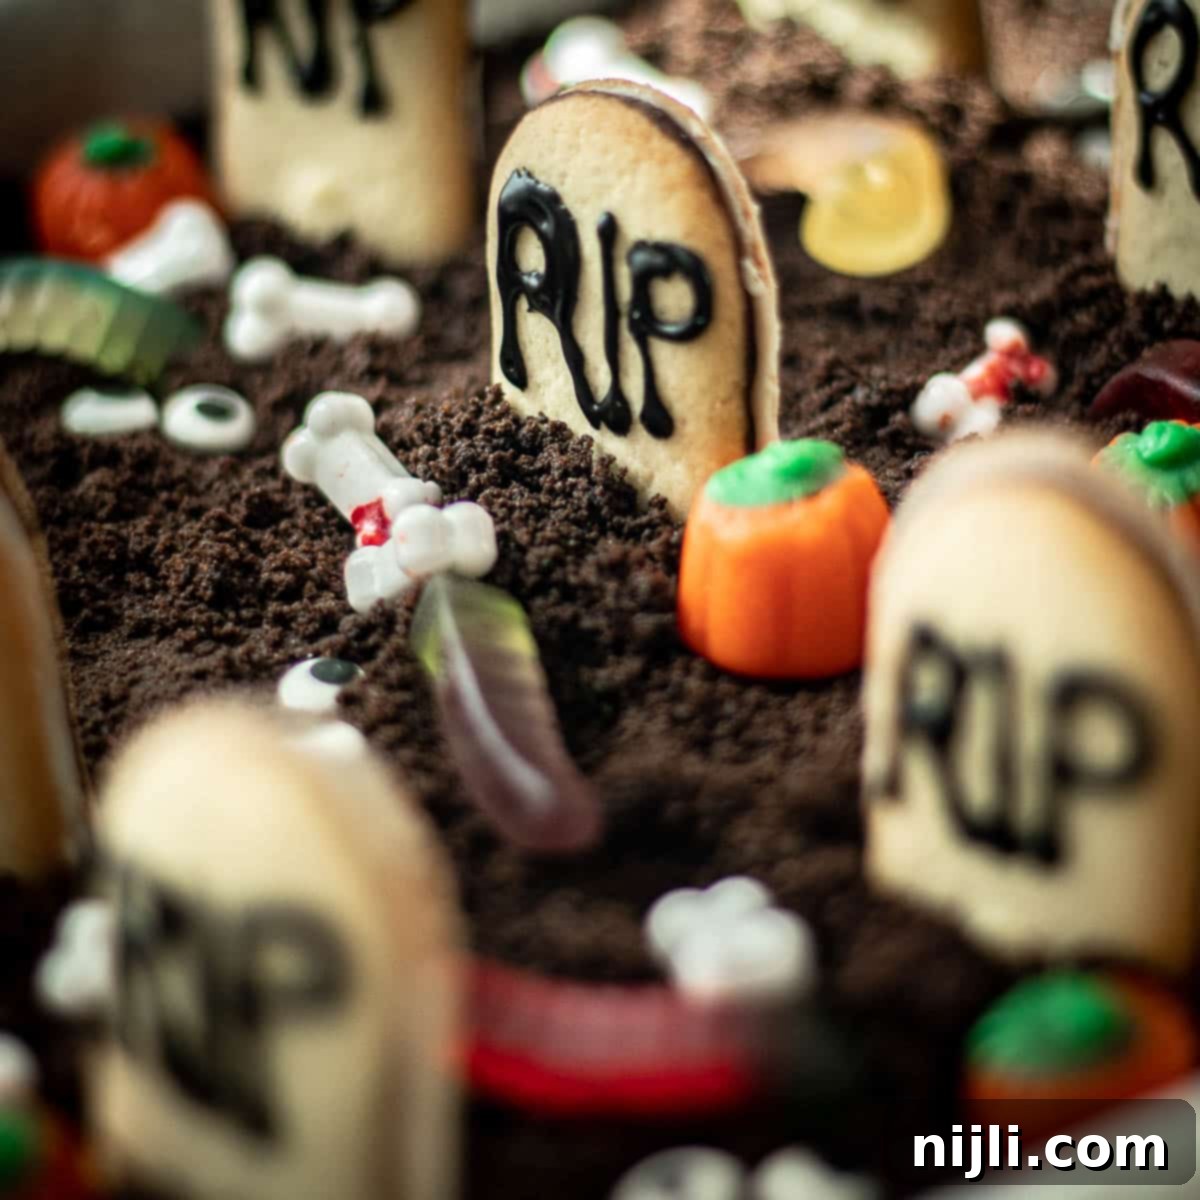
Spooky & Easy Halloween Graveyard Brownies: The Ultimate Trick-or-Treat Dessert
Get ready to dig into one of the most delightfully eerie and utterly delicious Halloween treats: Spooky Halloween Graveyard Brownies! These ghoulish delights are not just a dessert; they’re an experience, perfect for adding a touch of creepy fun to any Halloween celebration. If your family adores creative, themed Halloween desserts like our popular Halloween Dirt Cups with Chocolate Cheesecake Filling, then these graveyard brownies are destined to become a new seasonal favorite. They’re a sure-fire hit for Halloween parties, school events, or simply a fun baking project with the kids!
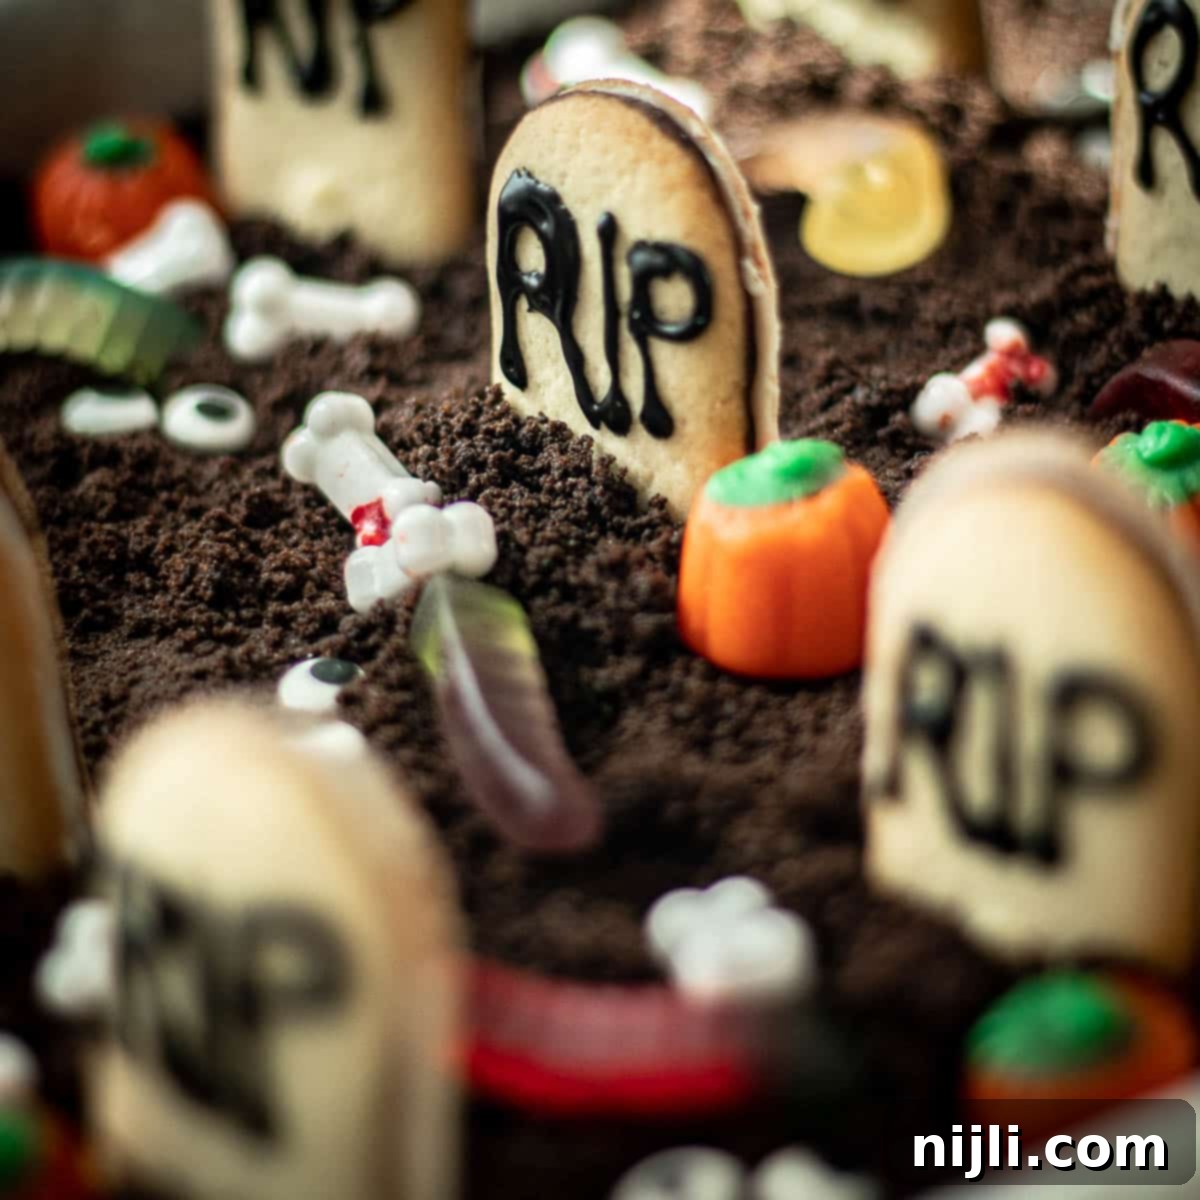
*This post contains affiliate links — as an Amazon Associate I earn from qualifying purchases. Please see my disclosure for details*.
Why You’ll Love These Spooky Graveyard Brownies
These Halloween Graveyard Brownies are more than just a treat; they’re a centerpiece! They combine the rich, chocolatey goodness of classic brownies with a creative, spooky presentation that’s guaranteed to impress. What makes them truly special is their incredible ease of preparation. Whether you’re a seasoned baker or just starting out, this recipe is designed to be straightforward and fun. It’s an excellent activity for getting the whole family involved in the Halloween spirit, from crushing cookies to decorating the “graveyard” scene. Plus, the flexibility of using your favorite brownie base means you can customize them to your exact taste, making them a personal and unforgettable addition to your holiday spread. They’re visually stunning, wonderfully delicious, and incredibly simple – the perfect trifecta for a memorable Halloween dessert!
More Hauntingly Delicious Halloween Treats
Looking for more eerie-sistible treats to round out your Halloween feast? I’ve got you covered! Explore some of my other fantastic recipes that are perfect for the season:
- Halloween Chocolate Covered Strawberries: A sweet and spooky twist on a classic.
- Halloween Candy Bark with Oreo Cookies: Easy, customizable, and wonderfully crunchy.
- Cookie Monster Cookies: While not strictly Halloween, their vibrant blue hue and playful design make them a hit with kids any time of year!
For an extra festive Halloween meal, consider pairing these brownies with Toxic Waste Mac and Cheese for a truly themed experience!
If you’re a true chocolate connoisseur, don’t miss my other decadent brownie and chocolate recipes, like Triple Chocolate Pecan Brownies, Condensed Milk Brownies (eggless!), or even unique options like Dairy Free Brownies. For the ultimate chocolate indulgence, try Matilda’s Chocolate Cake or Brownies with Cream Cheese Frosting.
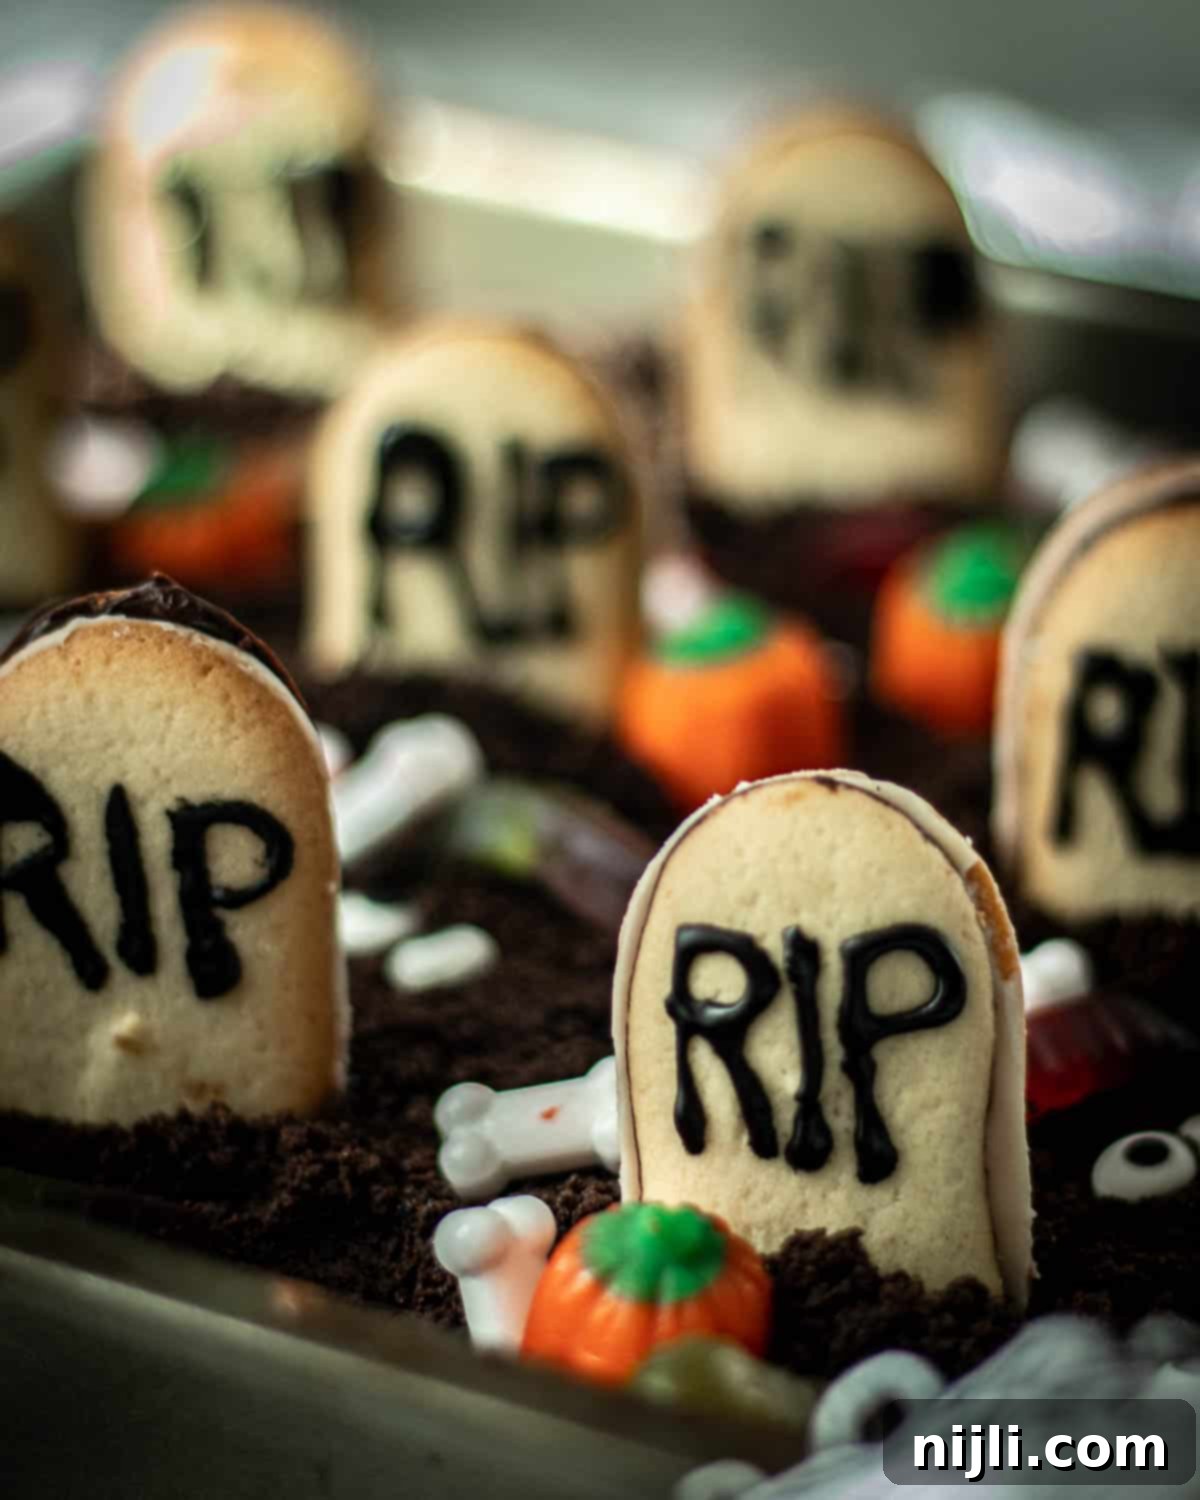
Ingredients for Your Spooky Brownie Graveyard
The beauty of these Halloween graveyard brownies lies in their customizable nature. While a few key measurements are provided in the recipe card below, you have the freedom to adjust the decorative elements to your heart’s content! Here’s a detailed look at what you’ll need to create your edible haunted landscape:
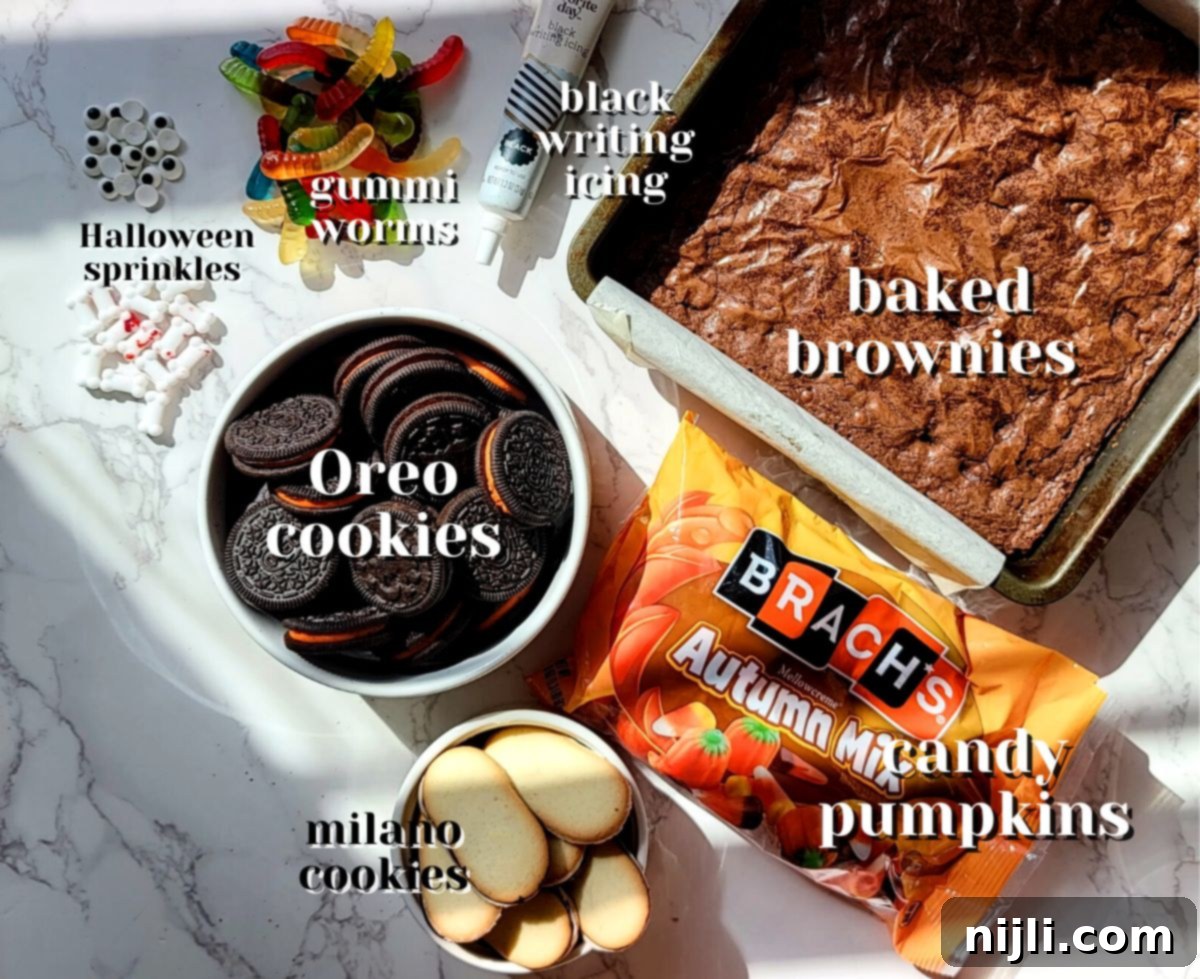
- Baked Brownies: The foundation of your graveyard! You’ll need a cooled pan of brownies, ideally baked in a 9×9 inch or 9×13 inch pan, depending on how many hungry ghouls you’re feeding. For ultimate convenience, grab a box mix and follow the package directions. Or, if you prefer homemade, any of my delicious brownie recipes will work, such as Chocolate Walnut Brownies or even a quick one-bowl recipe. For a truly unique touch, consider my vibrant green Matcha Brownies for an extra eerie base!
- Crushed Oreo Cookies: These are essential for creating the “dirt” layer of your graveyard. I typically use about two-thirds of a standard package (around 24 cookies) for a 9×9 pan. Halloween Oreos with their festive orange filling add an extra pop of color. Crush them finely using a rolling pin or a food processor until they resemble rich, dark earth.
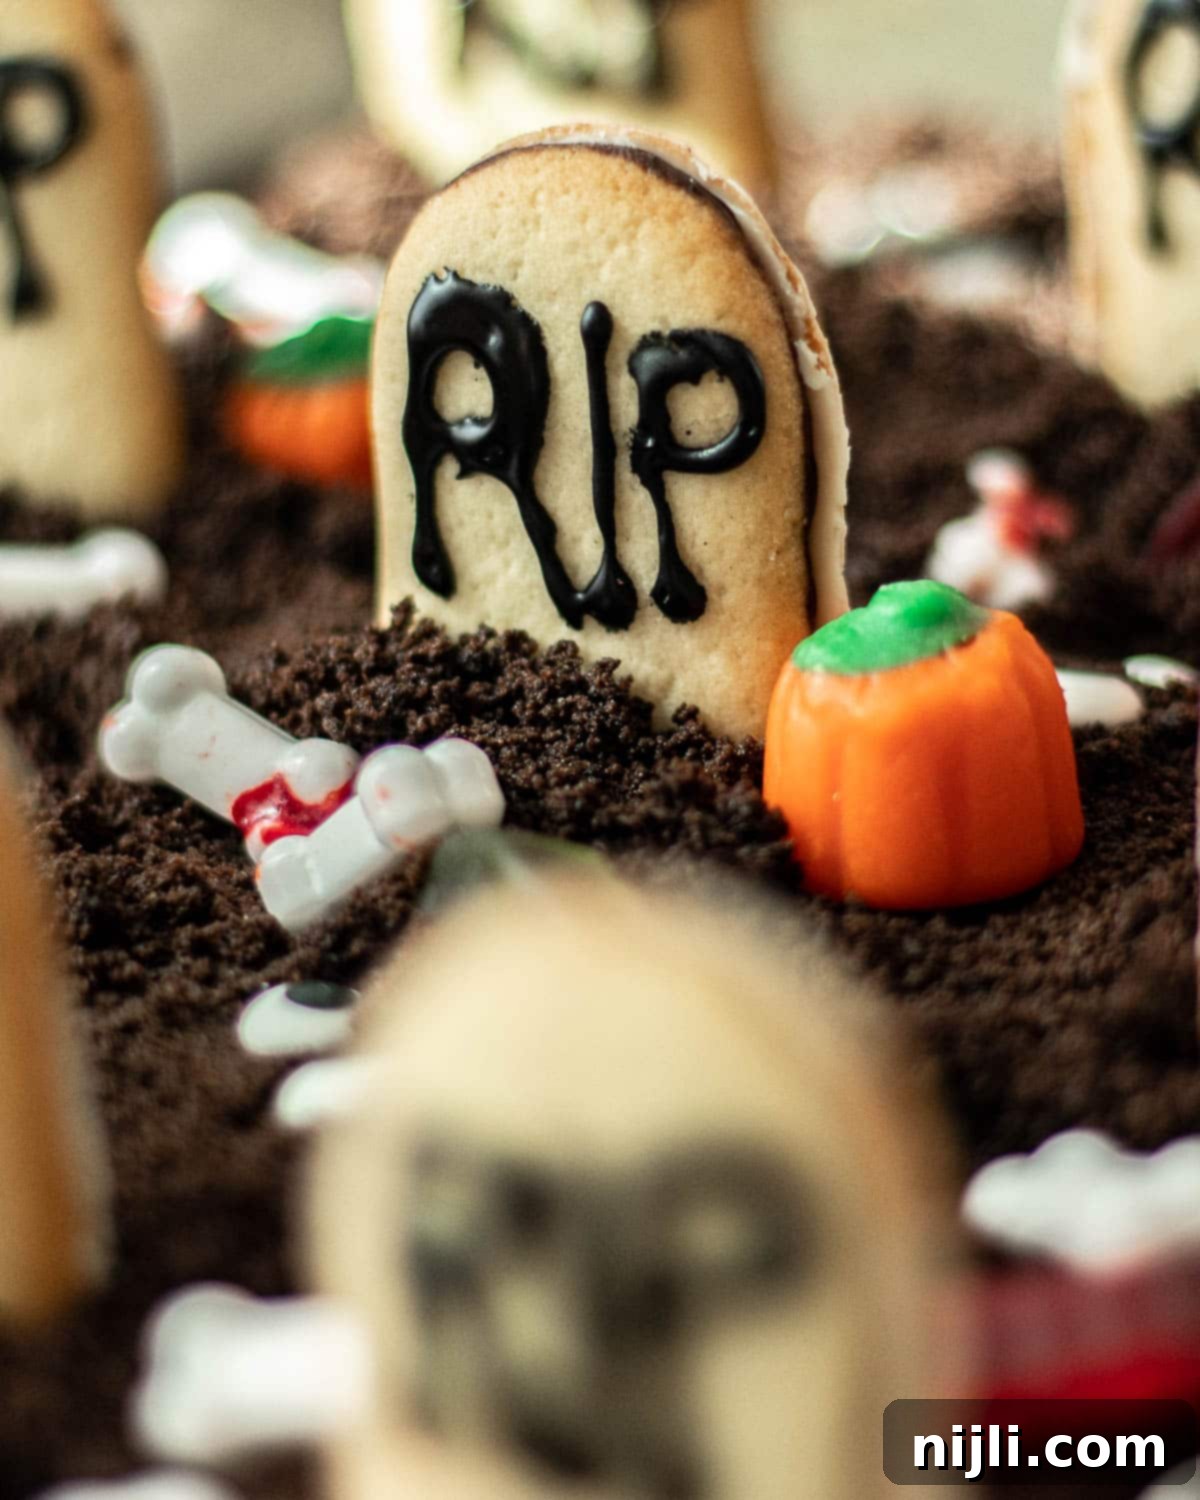
- Milano Cookies: The elegant, rectangular shape of Milano cookies makes them absolutely perfect for crafting realistic “tombstones.” While any flavor of Milano cookies works beautifully, the pumpkin spice variety can add a subtle autumnal flavor that complements the fall season.
- Black Writing Icing or Edible Marker: To inscribe spooky messages or simple “RIP” on your cookie tombstones, you’ll need black icing in a tube (black icing) or an edible food marker pen. Melted dark chocolate with a very fine piping tip also works for a more gourmet touch.
- Gummi Worms: These wiggly, colorful candies are a must-have for creating the illusion of creepy-crawlies emerging from the “dirt.” My personal favorites are the Albanese mini worms for their fantastic texture and variety of colors.
- Assorted Halloween Candy and Sprinkles: This is where you can unleash your creativity! Decorate your graveyard with an array of spooky candies. I love using candy corn pumpkins for a classic touch, some fun candy eyes to peek out from the soil, and these extra spooky bloody candy bones for an added gruesome detail. Feel free to add any other Halloween-themed sprinkles or candies you find!
Essential Equipment for Ghoulish Goodies
Preparing these Graveyard Brownies is straightforward, and you likely have most of the necessary equipment in your kitchen already. Here’s a quick list to ensure you’re fully equipped for this fun Halloween baking adventure:
- A 9×9 inch baking pan (or 9×13 inch for a larger batch): Essential for baking your brownie base.
- Parchment paper: Line your pan with an overhang to easily lift the brownies out once cooled.
- A food processor or rolling pin: For crushing your Oreo cookies into fine “dirt” crumbs.
- Measuring cups and spoons: If you’re baking your brownies from scratch or adjusting ingredient quantities.
- Mixing bowls and a spatula: For preparing your homemade brownie batter, if applicable.
- Optional: Small plates or cups for serving, to minimize mess from the loose “dirt” and decorations.
How to Assemble Your Easy Graveyard Brownies (Instructions)
These Halloween Graveyard Brownies are truly one of the simplest Halloween recipes you’ll ever make, making them as much fun as decorating Piranha Plant Cupcakes! Once your brownies are baked and completely cooled to room temperature, the assembly process is incredibly quick, and it’s a perfect activity for little helpers.
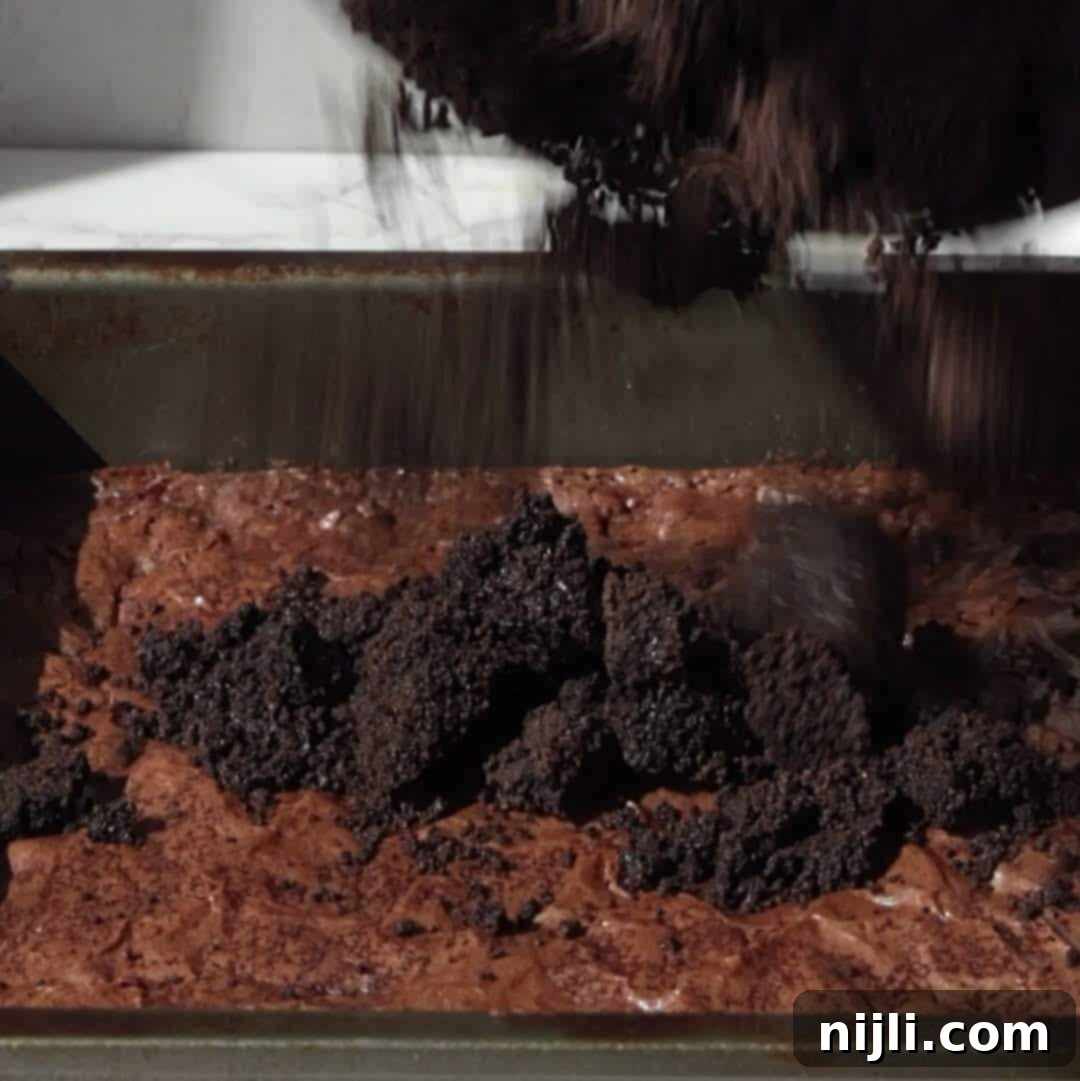
1. Create the “Dirt” Layer: Once your brownies are fully cooled, evenly pour the crushed Oreo crumbs over the entire surface. Gently pat them down with your hands or the back of a spoon to create a solid, even layer of “dirt” that completely covers the brownies. This is the base of your spooky scene!
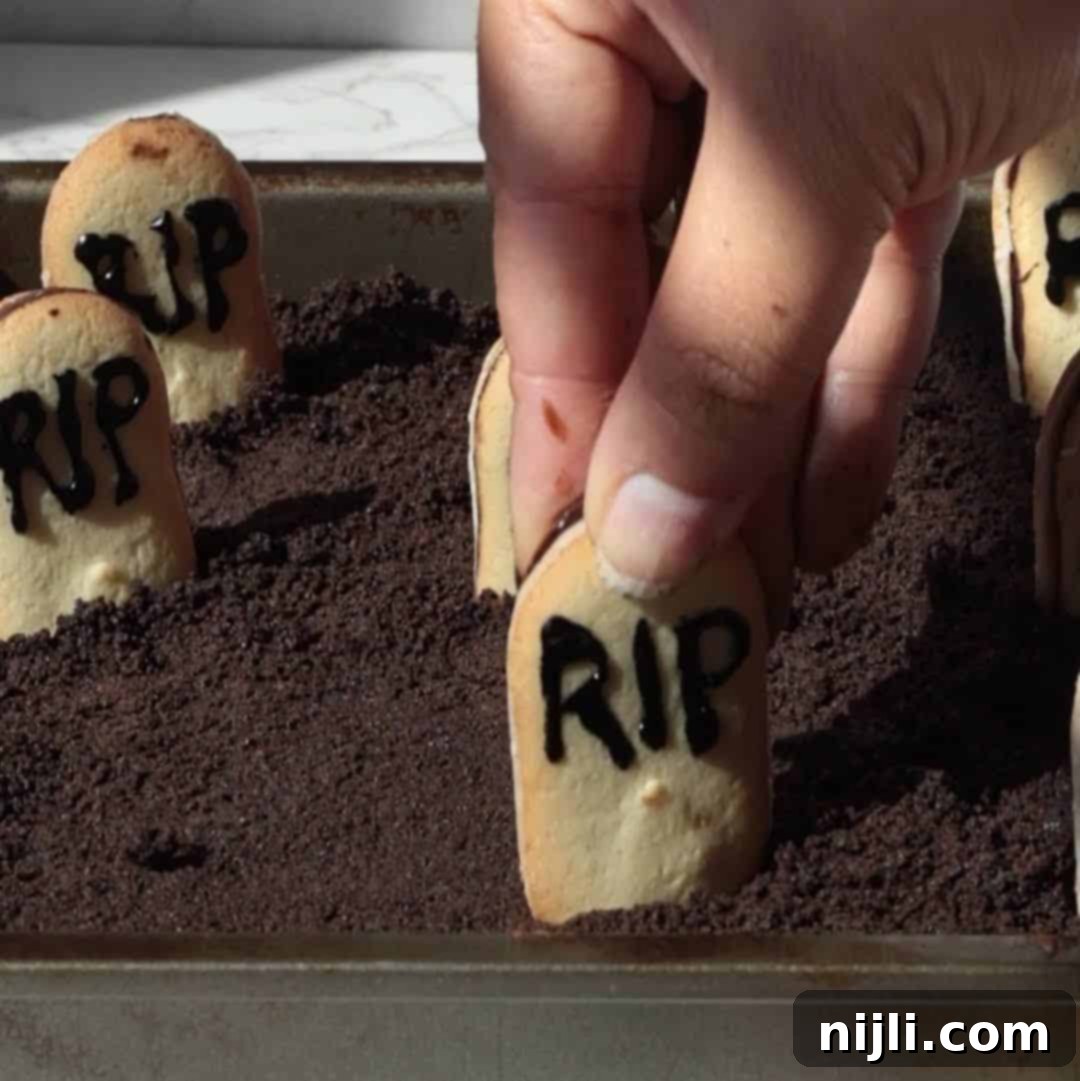
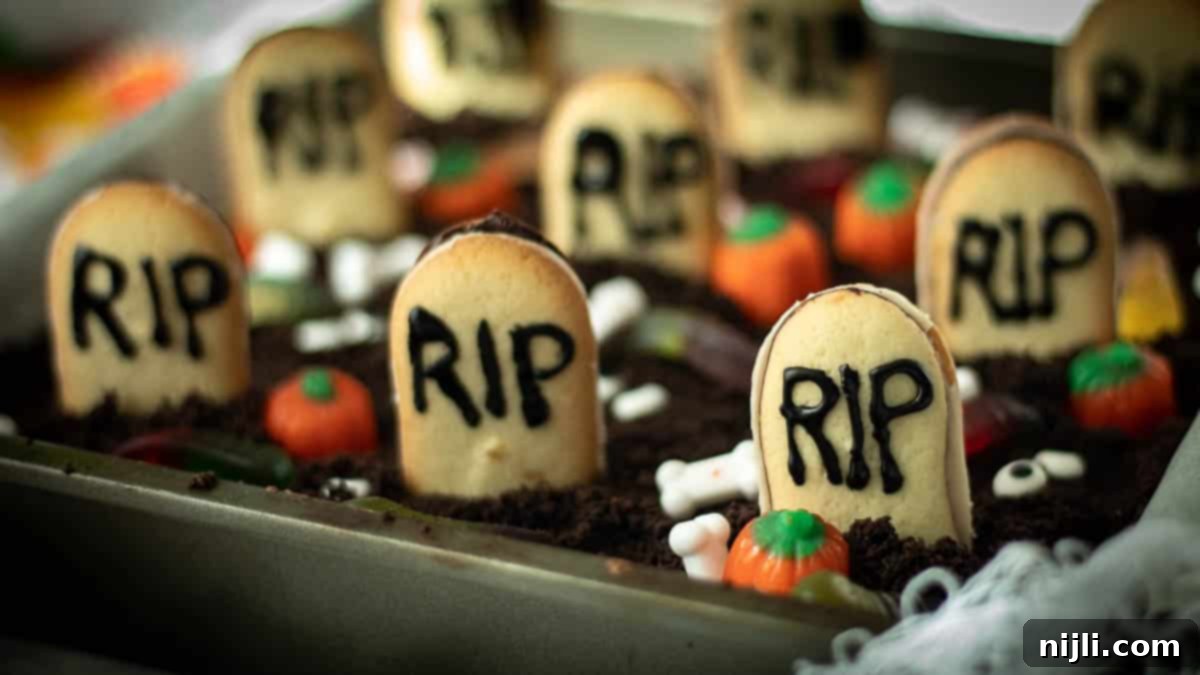
2. Add the Tombstones: Before placing, take your Milano cookies and use a black writing icing pen or edible marker to write “RIP,” “Boo!” or other spooky messages on them. Then, gently push these decorated cookies upright into the brownie layer, ensuring they are firmly embedded to stand like tombstones. Space them out nicely so that when you cut the brownies, each piece can have its own “headstone.”
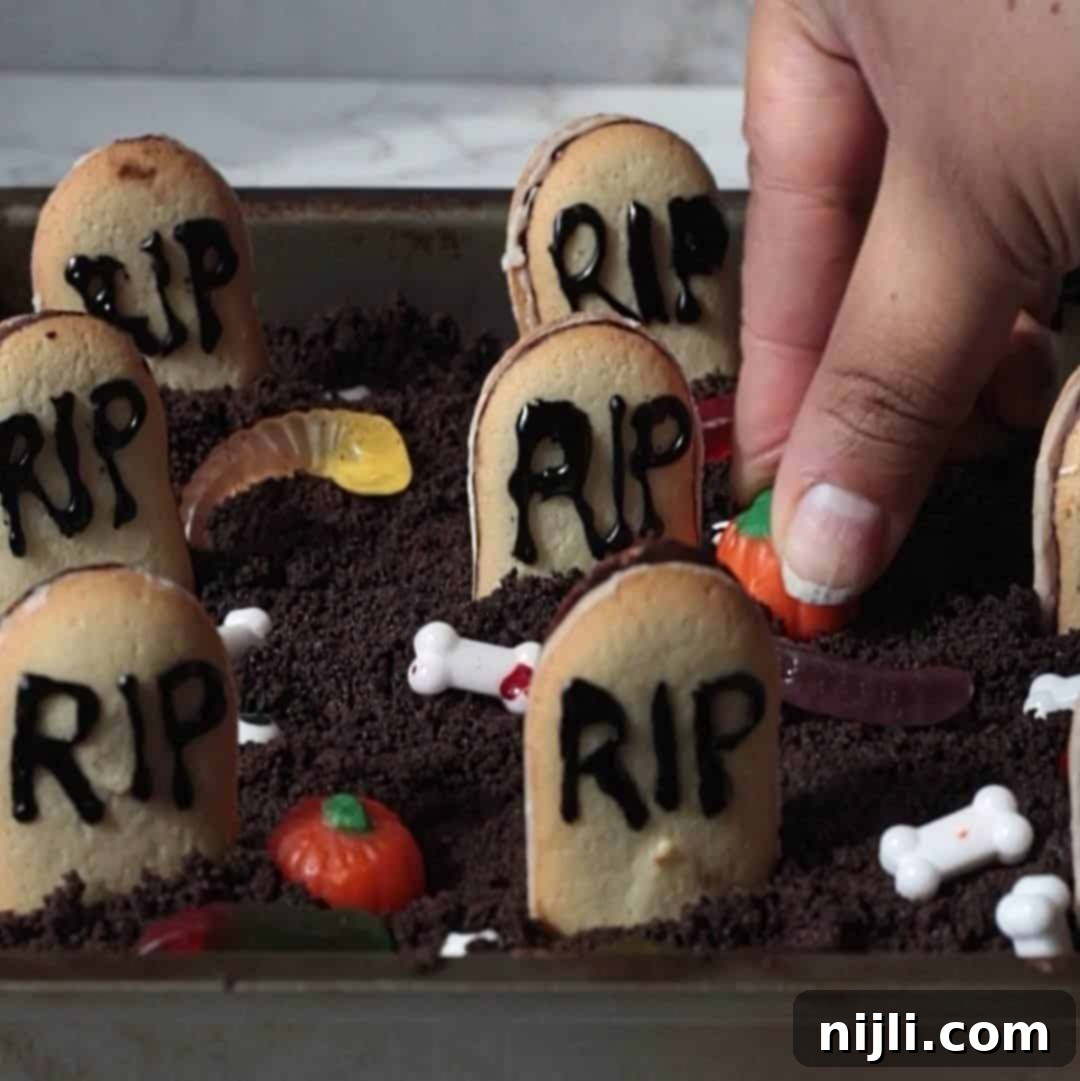
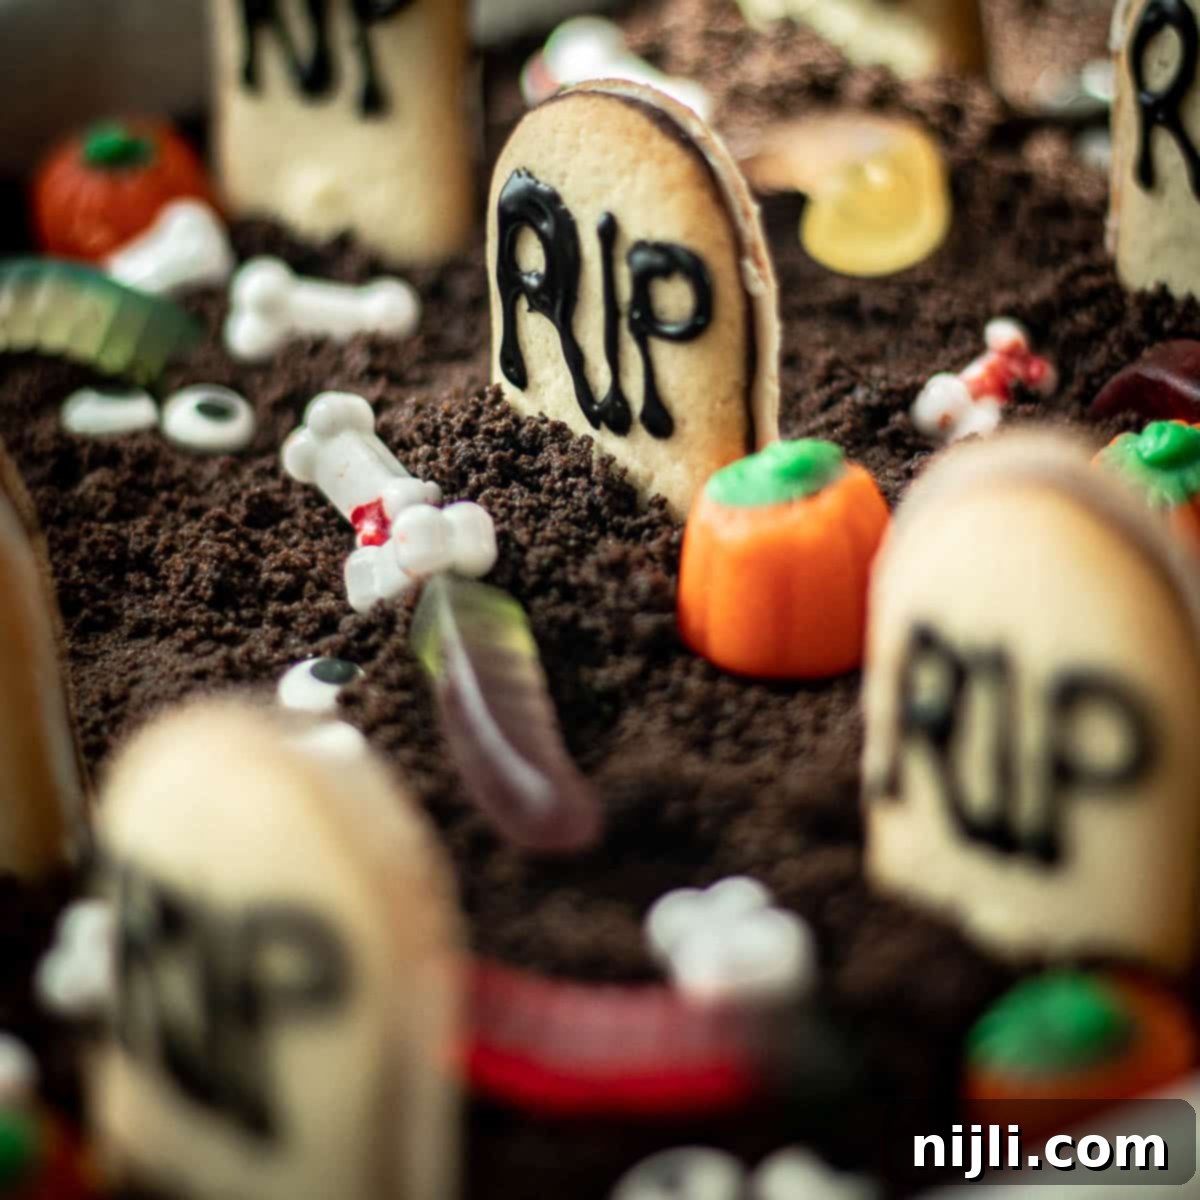
3. Decorate Your Graveyard: Now for the really fun part! Scatter your choice of Halloween candy decorations around the tombstones. Place gummi worms so they look like they’re crawling out of the “dirt,” add candy corn pumpkins, bloody bones, and candy eyes to complete your creepy-cute scene. Don’t be afraid to get creative and arrange them in different ways for a truly dynamic look.
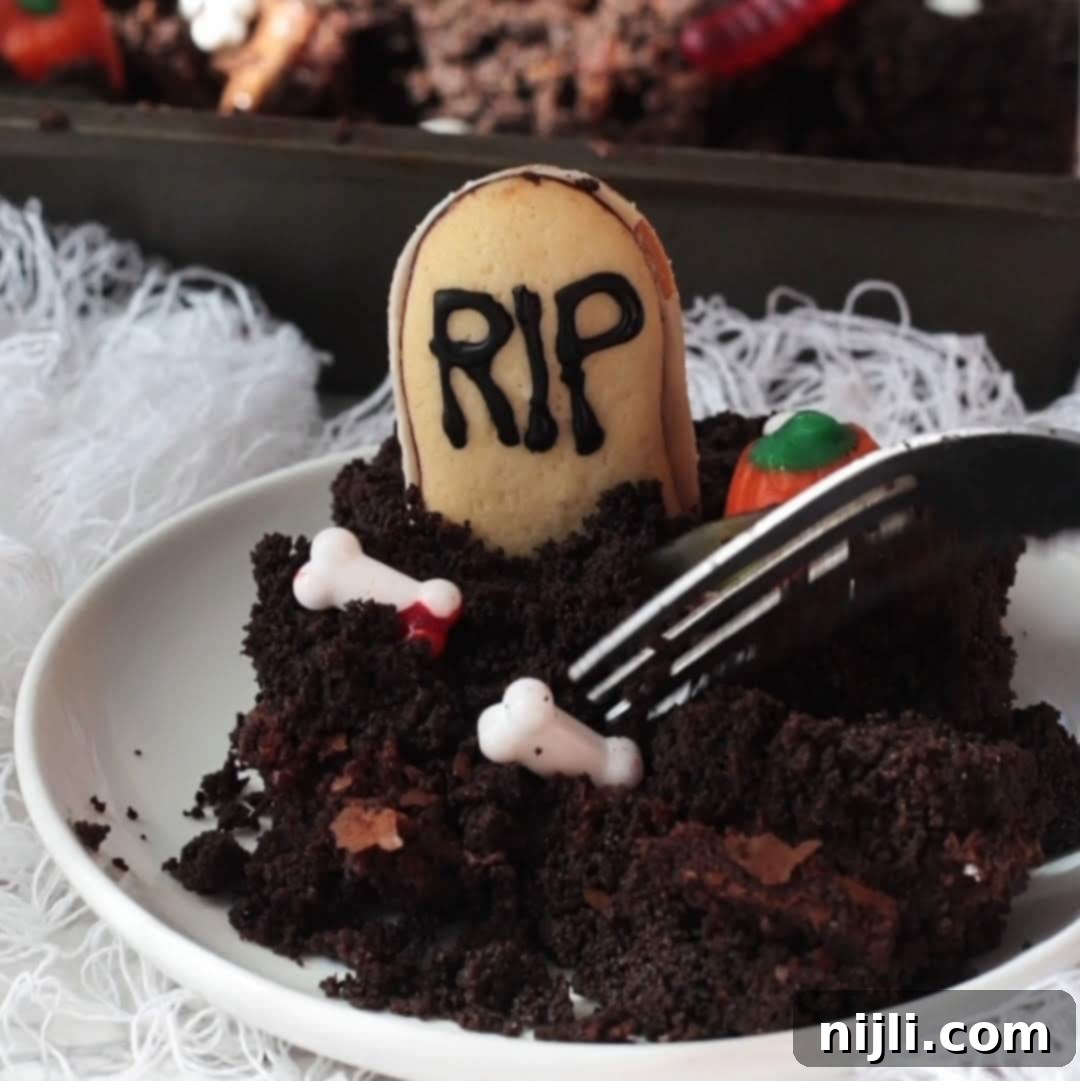
4. Serve and Enjoy: Your spooky Graveyard Halloween Brownies are now ready to be devoured! To minimize potential mess from the loose Oreo crumbs and candies, consider serving individual brownies on small plates or even in clear cups. This makes them easy to grab and enjoy at any Halloween gathering.
Hint: Effortless Oreo Crushing! No food processor? No problem! To crush your Oreo cookies into perfect “dirt” crumbs, simply place them in a sturdy resealable plastic bag. Seal the bag, ensuring most of the air is removed, then use a rolling pin to pound and roll over the cookies until they are finely crushed. This method yields a wonderful, even texture that’s ideal for your brownie graveyard!
Delicious Variations and Customization Ideas
The truly wonderful thing about these Halloween Graveyard Brownies is their incredible versatility! You can easily customize them to suit your taste, dietary needs, or simply to add a fresh twist to this already fun treat. Here are some creative variations to inspire your spooky baking:
- Swap in a Different Dessert Bar Base: Don’t limit yourself to just brownies! These graveyard toppings work wonderfully on other dessert bars. Try using my Brownie Blondies Recipe for a lighter chocolate flavor, or for a seasonal autumn treat, use Pumpkin Blondies as your base. The contrast of the orange pumpkin blondie with the dark “dirt” would be visually striking!
- Ice Cream Version (No-Bake Fun!): For a refreshing, no-bake alternative, replace the baked brownies with a thick layer of chocolate ice cream! Simply press the crushed Oreos onto slightly softened chocolate ice cream, then add your tombstones and candy decorations. Freeze until firm before serving. This is perfect for warmer Halloween nights or a quick dessert.
- Add a Layer of Chocolate Frosting: For an extra boost of sweetness and a more secure base for your Oreo “dirt,” spread a layer of chocolate frosting onto the brownies before adding the crushed cookies. My rich Chocolate Fudge Frosting would be absolutely divine here, providing an additional decadent dimension to your graveyard. The frosting also helps the cookie crumbs adhere better, reducing mess.
- Colorful Brownie Base: For an even more festive and unexpected twist, consider using a different colored brownie base. My green Matcha Brownies would create a vibrant, swampy graveyard effect, or you could use food coloring to tint a standard brownie batter a spooky purple or orange!
- Alternative Toppings: Beyond traditional Halloween candy, think about adding pretzel sticks as broken fences, candy pumpkins, or even tiny plastic spiders for an extra creepy effect. Green sprinkles can resemble grass, while red frosting “blood” could add a gory touch.
And for another yummy brownie recipe that’s perfect for any occasion, don’t forget to check out my 2 Bite Brownies!
Storage Tips for Your Halloween Brownies
To keep your spooky graveyard brownies fresh and delicious, proper storage is key! You can store these decorated brownies in an airtight container at room temperature for up to 2 days. For extended freshness, transfer them to the refrigerator, where they will keep well for up to 5 days. Due to their varied candy toppings, freezing them can be a bit tricky and might affect the texture of some decorations, but honestly, these brownies are so good, they rarely last long enough to need freezing anyway!
Top Tip for Perfect Portions!
For the best presentation, strategically space out your Milano cookie tombstones when you push them into the brownies. Aim to position them so that when you cut your brownies into individual squares or rectangles, each piece will proudly feature its own Milano “tombstone” in the center. This thoughtful placement ensures every serving looks like a miniature, edible graveyard scene!
Graveyard Brownies – Easy Halloween Baking Desserts
⭐
⭐
⭐
⭐
📌 Pin Recipe
⭐ Rate Recipe
💾 Save Recipe
Saved!
10 minutes
10 minutes
Dessert, Snack
American
9
brownies
177
kcal
Chenée Lewis
Equipment you may need
-
measuring cups and spoons
-
mixing bowls
-
hand mixer
-
rubber spatula
-
stand mixer
-
food processor
-
9 oz clear cups (for serving)
Ingredients
-
24
Oreo cookies – crushed into fine crumbs for “dirt” -
1 batch
brownies – baked (from scratch, box mix, or store-bought, 9×9 inch pan recommended) -
9
Milano cookies – for tombstones -
food coloring marker – black, or black cookie icing -
Halloween candy decorations – e.g., gummi worms, candy corn pumpkins, candy bones, candy eyes
Prevent your screen from going dark
Instructions
-
Use black icing or a food coloring pen to decorate Milano cookies as tombstones (e.g., “RIP,” “Boo!”). Set them aside to dry briefly.
-
Evenly pour the crushed Oreo crumbs over the top of the cooled brownies and gently pat to create a flat “dirt” layer.24 Oreo cookies
-
Push the decorated Milano tombstones upright into the crushed Oreos and brownie layer. Space them out thoughtfully so each potential brownie slice has one.9 Milano cookies,
food coloring marker (or icing),
Halloween candy decorations -
Decorate the “graveyard” scene by scattering gummi worms (partially emerging from the dirt), candy pumpkins, bones, and candy eyes around the tombstones.
Last Step!
Click here to leave a review and a star rating! It helps spread the word and allows me to keep sharing free recipes! 🥰
Video
Notes
- Swap in a different dessert bar – use my Brownie Blondies Recipe or Pumpkin Blondies as the base for these Halloween Graveyard Brownies!
- Ice Cream Version – replace the baked brownies with a layer of chocolate ice cream for a no-bake alternative!
- Add a layer of chocolate frosting onto the brownies, under the Oreo crumbs, to add more sweetness and help the cookies stick to the brownies better. My Chocolate Fudge Frosting is highly recommended!
Storage: You can store these graveyard brownies in an airtight container at room temperature for up to 2 days, or in the fridge for up to 5 days. Because of the toppings, they’re not ideal for freezing, but they’ll be gone before you even think about it!
Nutrition
Serving:
1
cup
|
Calories:
177
kcal
|
Carbohydrates:
27
g
|
Protein:
2
g
|
Fat:
7
g
|
Saturated Fat:
2
g
|
Polyunsaturated Fat:
2
g
|
Monounsaturated Fat:
3
g
|
Trans Fat:
0.03
g
|
Cholesterol:
0.1
mg
|
Sodium:
149
mg
|
Potassium:
80
mg
|
Fiber:
1
g
|
Sugar:
15
g
|
Vitamin A:
1
IU
|
Calcium:
7
mg
|
Iron:
4
mg
Nutrition Disclaimer
Did you try this recipe? Rate it below!
I can’t wait to see (and share) your results! Follow me on Instagram at @chenee_today and tag #cheneetoday!
Frequently Asked Questions
For homemade brownies, I generally recommend butter as it contributes to a richer flavor and a more tender, cake-like crumb. All of my from-scratch brownie recipes, which would be perfect for these Halloween graveyard brownies, typically use butter. However, if you’re using a box mix, oil is often specified because it’s excellent for keeping brownies incredibly moist and fudgy, yielding a denser, chewier texture that many people love. Ultimately, both can create delicious brownies; it just depends on the desired outcome and the recipe you’re following!
The name “brownie” is widely believed to come from their characteristic rich, dark brown color. While there are various legends surrounding the origin of the brownie, its distinct hue is the most straightforward explanation for its nomenclature. The deep chocolate color is a hallmark of this beloved dessert.
Absolutely! While the crushed Oreo layer adds to the “dirt” effect and enhances the chocolate flavor, you can certainly skip it if you prefer. Alternatively, for a different texture and taste, you could replace it with a layer of chocolate frosting or even green-colored frosting for a “grassy” graveyard look. Another idea is to use chocolate sprinkles or other dark, crumbly cookies for a similar visual effect.

