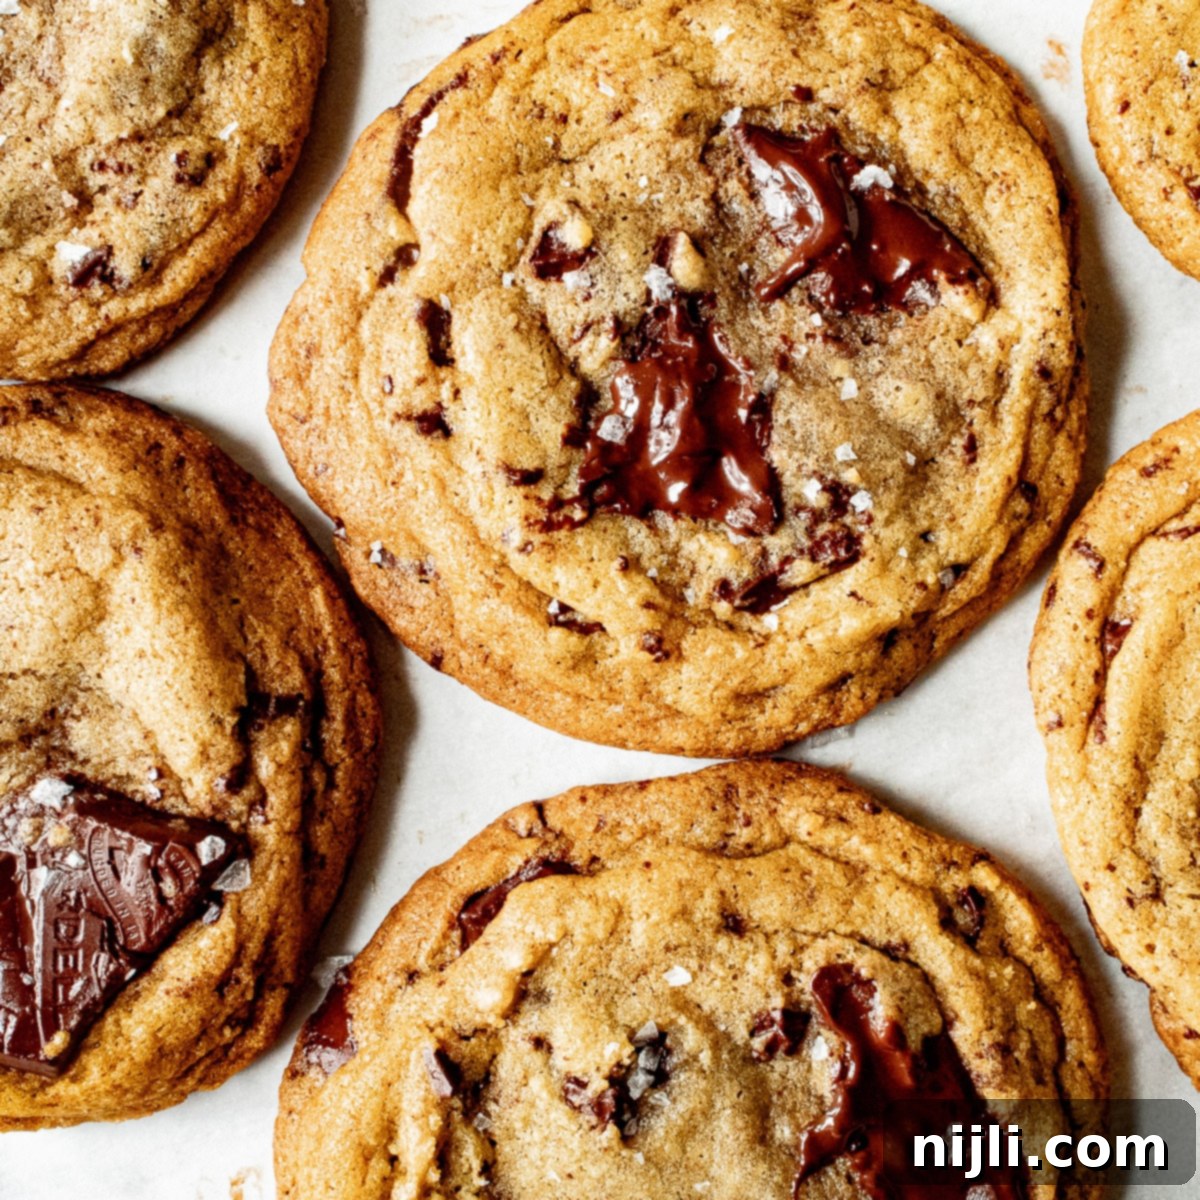
The Ultimate Chewy Brown Butter Chocolate Chip Cookies (Small Batch Recipe)
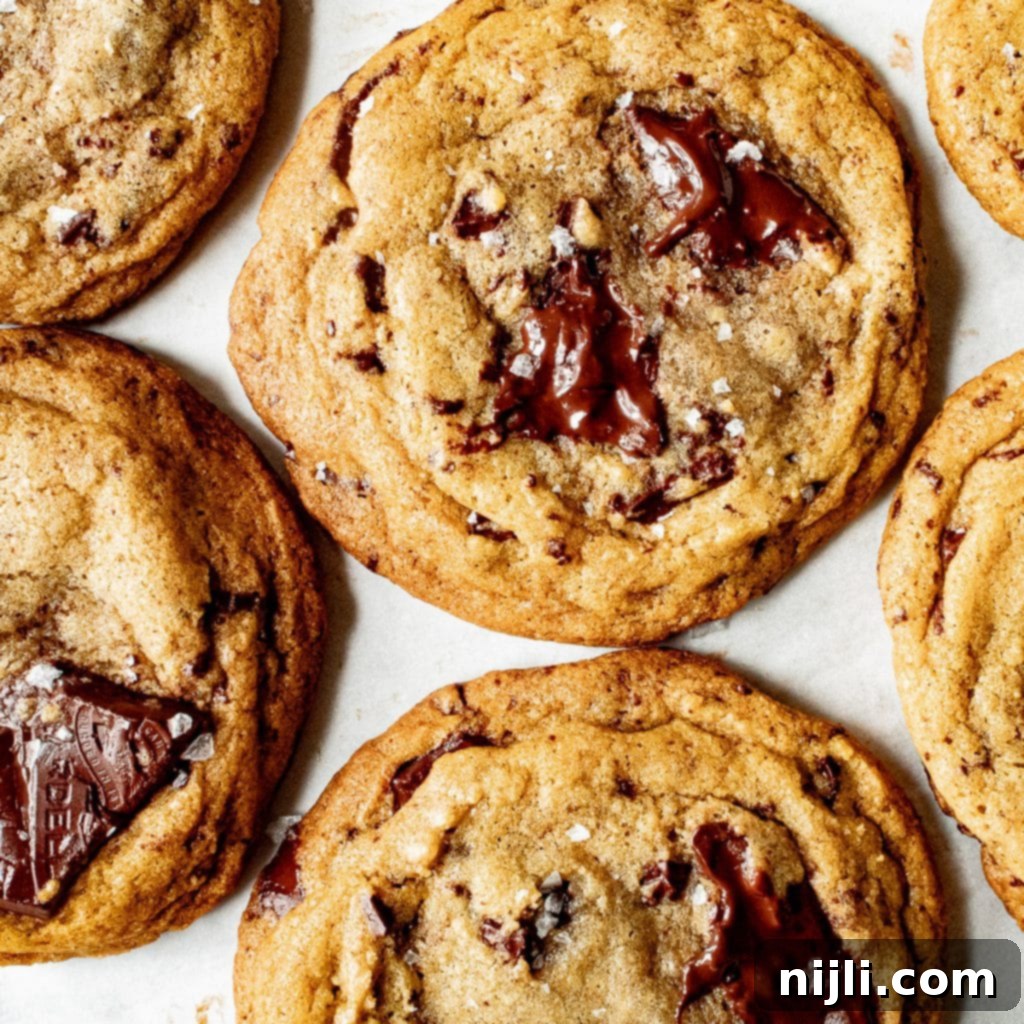
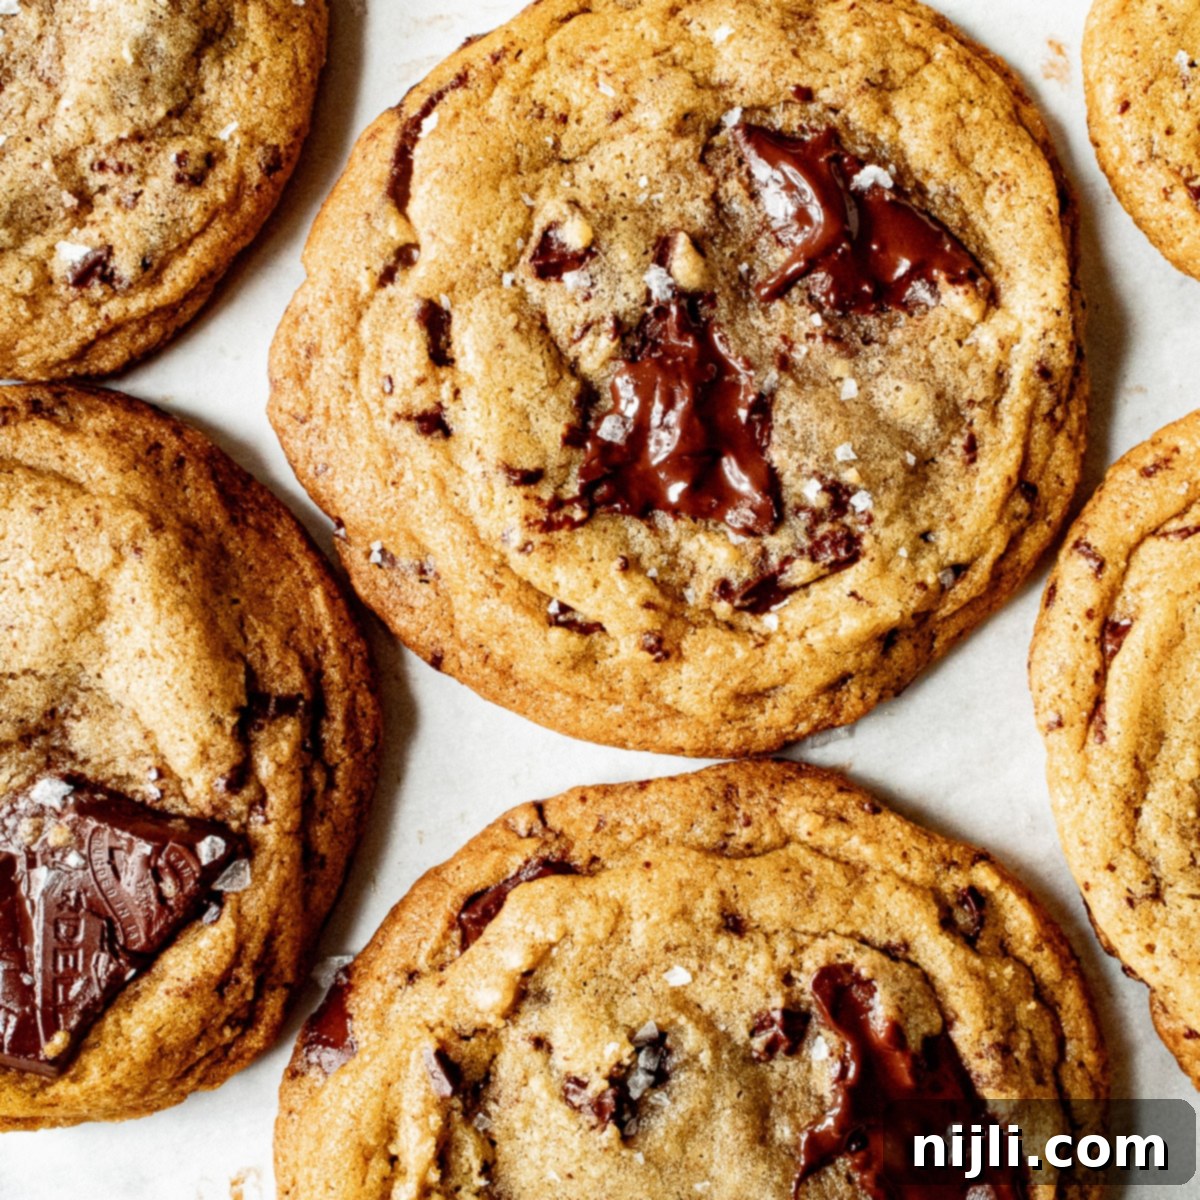
Prepare yourself for the most incredible brown butter chocolate chip cookies you’ll ever bake! This recipe is specifically crafted to deliver a truly unforgettable cookie experience: delightfully simple to make, wonderfully chewy, and bursting with rich, nutty flavor. It’s guaranteed to become your go-to recipe for the best brown butter cookies, whether you’re baking for one, two, or a small gathering. Forget dry or bland; these are pure, gooey perfection!
*This post contains affiliate links — as an Amazon Associate I earn from qualifying purchases. Please see my disclosure for details*.
If you’re a fan of this easy brown butter chocolate chip cookies recipe, you’ll also adore some of my other cookie creations, like my Brownie Mix Cookies with White Chocolate, Cherries and Pistachios, my vibrant Key Lime Cookies, or my classic Snickerdoodle Recipe without Cream of Tartar!
Why Browned Butter Makes the Best Chocolate Chip Cookies
I am beyond excited to share this particular cookie recipe with you. Chocolate chip cookies hold a special place in almost everyone’s heart; they are a universally loved treat. However, the definition of a “perfect” chocolate chip cookie often sparks lively debates! Some prefer them crispy, others chewy; some like them flat, while others favor a domed shape. The choice between dark chocolate or milk chocolate, and the addition of nuts or not, further divides opinions.
After conducting an informal poll on my Instagram, I received a fascinating array of preferences. Yet, one characteristic consistently emerged as the overwhelming favorite: chewy chocolate chip cookies. And that’s precisely what these cookies deliver! This recipe creates the most perfect cookies – intensely buttery, incredibly chewy, and so rich in flavor thanks to the browned butter. It elevates the classic cookie to an entirely new level of deliciousness, making them truly irresistible.
Browning butter transforms a simple ingredient into a culinary masterpiece. As butter melts and gently cooks, its milk solids toast, developing a rich, nutty, and subtly caramel-like flavor. This process adds an incredible depth and complexity that ordinary melted butter simply cannot match. When incorporated into chocolate chip cookies, browned butter doesn’t just add moisture; it infuses every bite with a sophisticated, warm, and comforting aroma, enhancing the chocolate and sugar notes beautifully. This is the secret weapon for creating truly extraordinary cookies that stand out from the crowd.
The Joy of Small Batch Brown Butter Cookies
Among all my dessert creations, small batch recipes are my absolute favorite, and these small batch brown butter chocolate chip cookies are no exception! This recipe is perfectly scaled, yielding only 8 generously sized cookies. Each cookie is made with a #30 cookie scoop, which measures out approximately 2 ½ tablespoon-sized balls of dough. This makes them a substantial and satisfying treat, without the commitment of baking dozens.
The beauty of a small batch is its convenience. It’s ideal for those moments when a sudden craving strikes, or when you want to prepare a special sweet treat just for two. As someone who often bakes without a large crowd to feed, I find recipes like this small batch of brown butter chocolate chip cookies to be truly invaluable. They help prevent overindulgence and minimize waste, ensuring every cookie is savored fresh. Small batch baking is also perfect for experimenting with new flavors or perfecting your technique without a huge investment of ingredients or time.
The Science Behind Chewy vs. Cakey Cookies
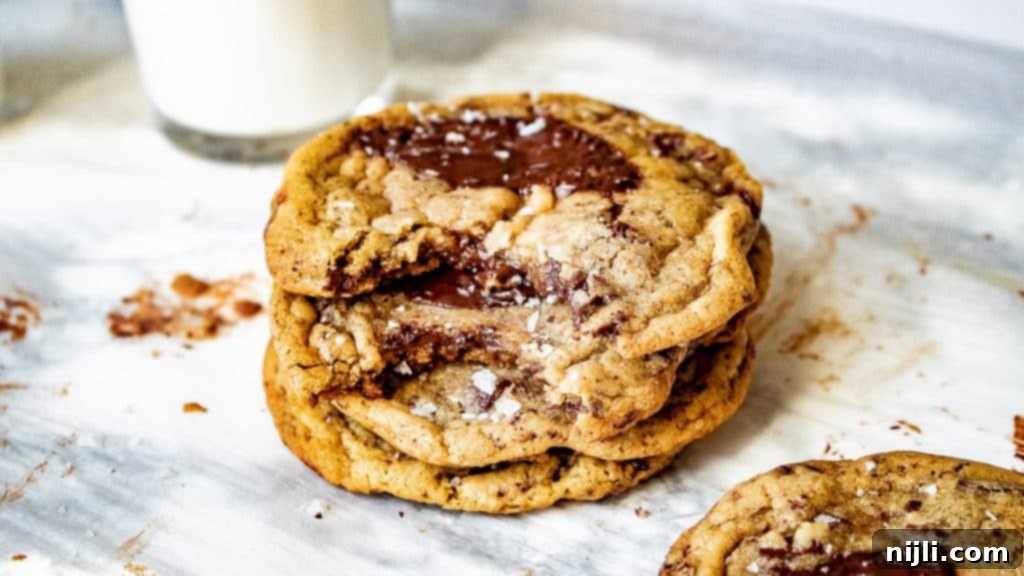
Achieving the perfect cookie texture — whether irresistibly chewy or delightfully cakey — all comes down to the precise interplay of ingredients and their ratios. This small batch chocolate chip cookies recipe is specifically engineered for chewiness, and here’s how we do it:
- Melted Brown Butter: We use browned butter that is still melted, rather than softened. The melted state adds essential moisture to the dough, which is a key factor in promoting a chewy texture. Furthermore, the browning process itself creates a richer, more complex flavor profile that elevates the entire cookie experience.
- Brown Sugar Dominance: This recipe exclusively uses brown sugar, eschewing granulated white sugar or a combination of both. Brown sugar contains molasses, which is hydroscopic, meaning it attracts and retains moisture. This extra moisture content is crucial for that desirable gooeyness and enhances the overall chewiness of the cookies. Light brown sugar offers crispy edges while dark brown sugar contributes a deeper, more caramel-y flavor.
- Flour Ratio Precision: The ratio of flour to wet ingredients significantly impacts the cookie’s final structure. During my testing, I created two versions of this small batch chocolate chip cookie recipe; one had an additional two tablespoons of flour. Both were delicious, but the version with more flour resulted in slightly thicker and noticeably more cakey cookies. For a chewy cookie, a slightly lower flour content allows for more spread and a denser, chewier crumb.
- Subtle Undercooking: To guarantee that soft, gooey interior that stays chewy long after cooling, we intentionally undercook these small batch chocolate chip cookies just a bit. While fully baked cookies might typically require about 12 minutes in the oven, reducing the baking time to 10 minutes creates that perfectly tender, slightly underdone center. This short baking window is critical for maximizing chewiness.
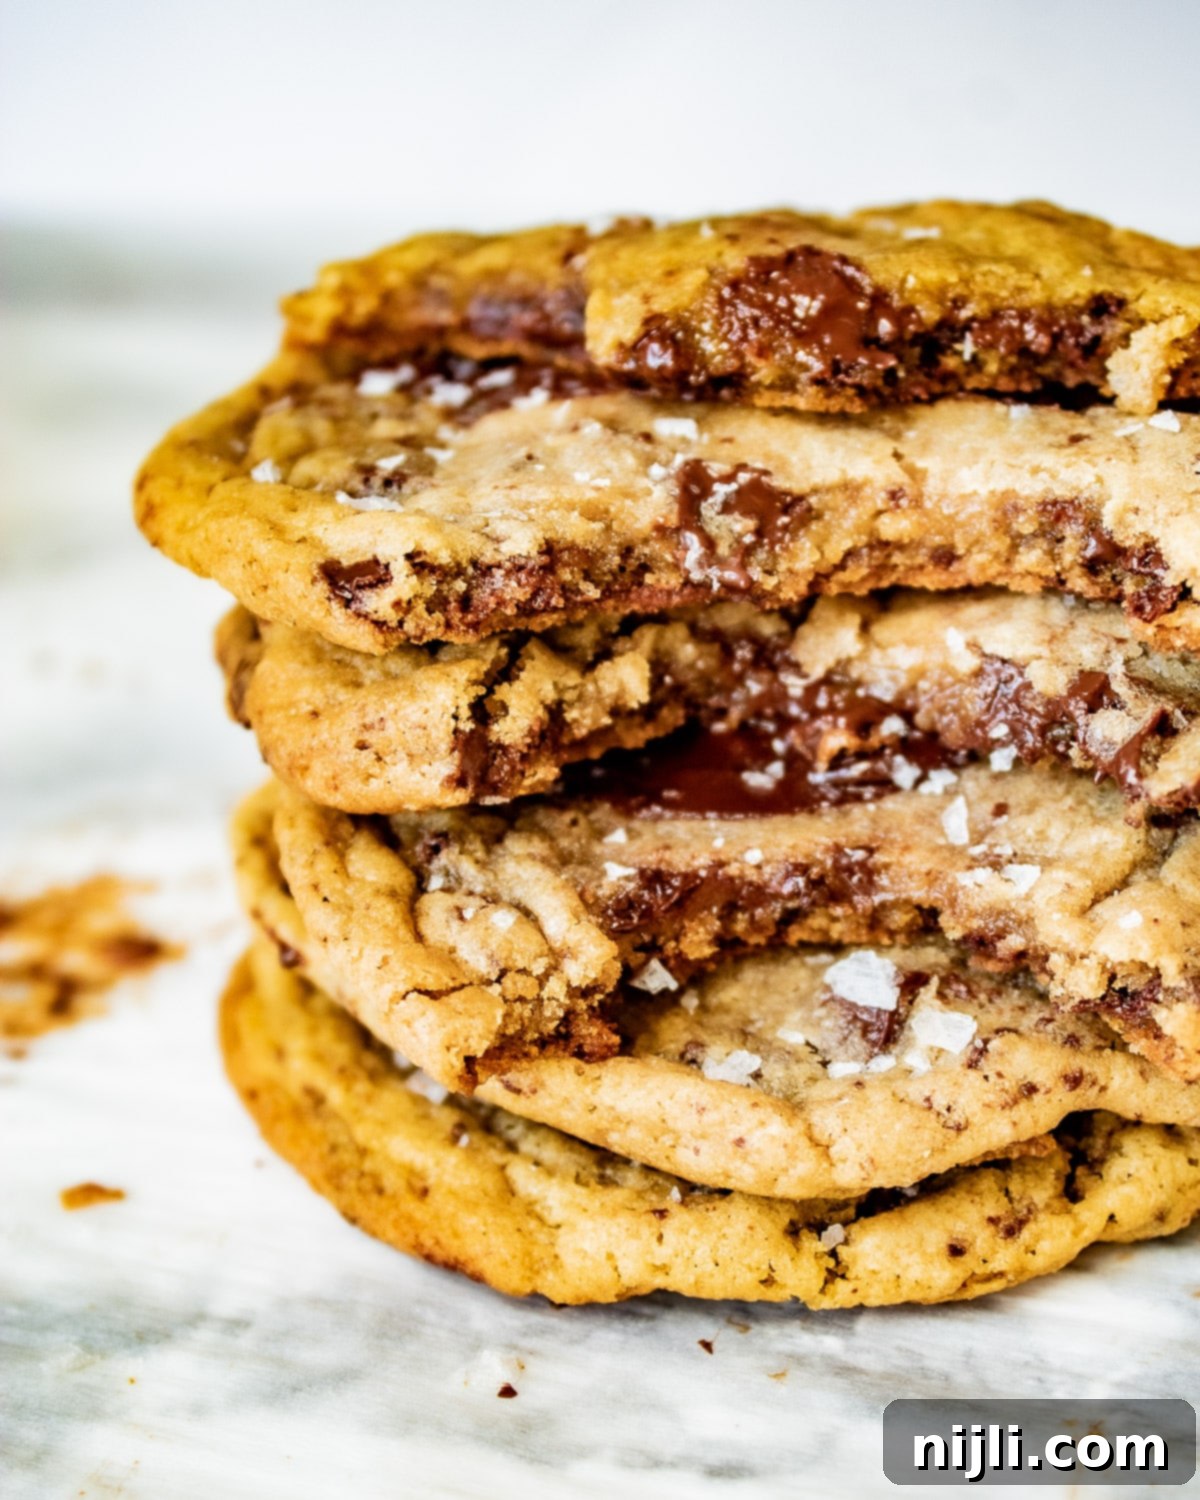
So, there you have it! If our goal were a cakey cookie, we would typically opt for softened butter, incorporate some granulated white sugar, and increase the flour content to create a drier, more structured dough. But for these irresistibly chewy, gooey chocolate chip cookies, our specific ingredient choices and baking method are key to achieving perfection.
Finally, to ensure they remain delightfully chewy well after they’ve cooled, we’ll give this small batch of cookies a slight underbake. For a cookie that’s completely set but still soft, aim for about 12 minutes in the oven. However, if you truly desire that signature gooey interior, pull them out after just 10 minutes. This small adjustment makes a huge difference in texture!
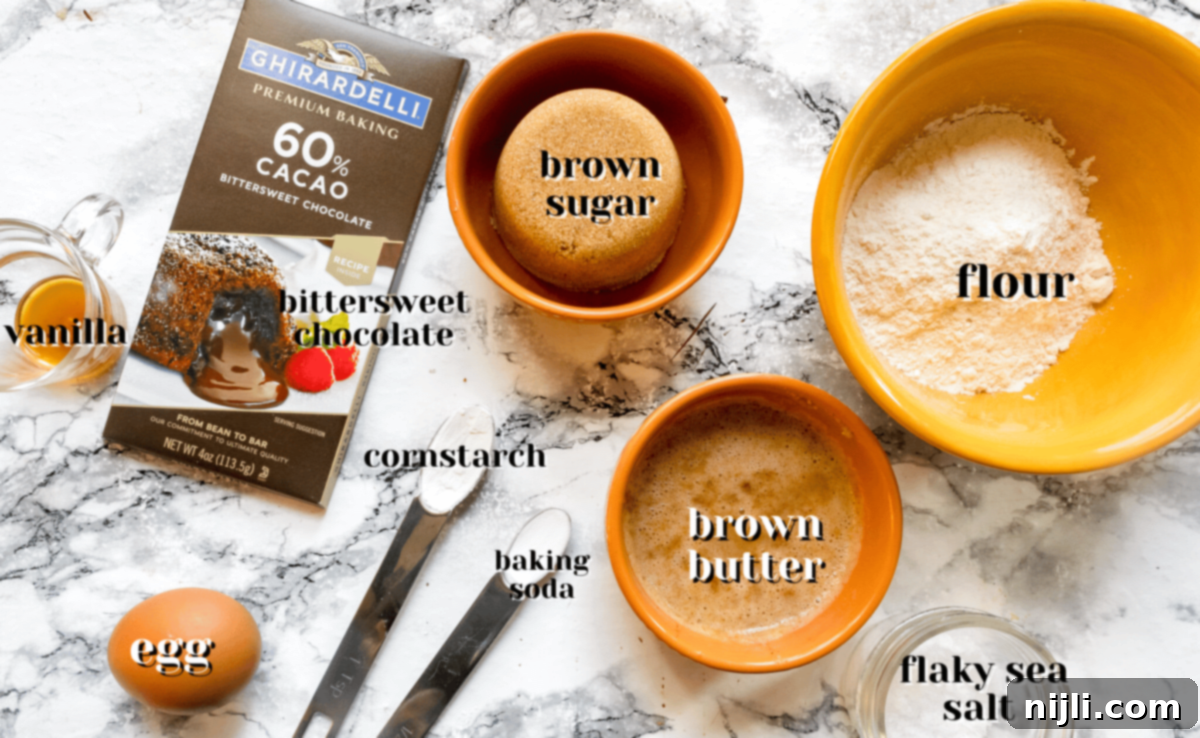
Crafting Easy Brown Butter Chocolate Chip Cookies: Essential Ingredients
Creating these outstanding easy brown butter chocolate chip cookies starts with a carefully selected list of ingredients, each playing a vital role in developing their exceptional flavor and chewy texture:
- Brown Butter: This is our star ingredient! Instead of just using melted butter, we unlock a powerful boost of rich, nutty, and distinctly caramely flavor by browning our butter first. If browning butter is new to you, I highly recommend checking out my comprehensive Brown Butter Appreciation Post for step-by-step images and detailed instructions. I personally prefer salted butter for the depth it adds, but if you’re using unsalted butter, simply add ¼ teaspoon of salt along with your dry ingredients to balance the flavors. For even more brown butter goodness, you must try my Brown Butter Pumpkin Donuts!
- Brown Sugar: In this brown butter chocolate chip cookies recipe, we rely solely on brown sugar. This strategic choice is pivotal for enhancing the chewy texture of these cookies, while also imparting a richer, more complex sweetness. I often use light brown sugar to achieve lovely crispy edges, but dark brown sugar is a fantastic alternative if you prefer a more intense, deeper caramel flavor. If you find yourself without brown sugar, don’t despair – my recipe for Chocolate Chip Cookies Without Brown Sugar offers a delicious workaround!
- Egg: The egg acts as a crucial binding agent, bringing the dough together, and contributes essential moisture, which helps create that desirable soft, chewy interior.
- Vanilla Extract: The quality of your vanilla matters! For the best flavor, always use a good-quality pure vanilla extract. Or, for an even more rewarding experience, consider making your own at home with just two ingredients using my guide on how to make vanilla extract.
- All-Purpose Flour: I cannot stress enough the importance of accurate flour measurement for these small batch chocolate chip cookies! Because this is a compact recipe, even a minor difference in flour quantity can dramatically alter the final texture. During my recipe development, I tested a version with just 16 grams of extra flour, and it completely transformed the cookies: they became thicker, slightly more cakey, and a tad less sweet. While still tasty, they lost some of their signature chewiness and spread less. Therefore, I wholeheartedly recommend measuring your dry ingredients by weight using a kitchen scale. It’s a small investment that yields consistently perfect baking results. If a scale isn’t an option, please ensure you use the spoon-and-level method to measure your flour accurately.
- Cornstarch: This seemingly small addition is a secret weapon often found in the best cookie recipes. A small amount of cornstarch added to this batch of chocolate chip cookies works wonders to ensure a wonderfully soft and tender texture, contributing significantly to the overall chewiness.
- Baking Soda: Baking soda is vital for giving these cookies just enough lift and helping them spread. It reacts with the natural acidity in the brown sugar, creating tiny air pockets that contribute to a soft, pleasing texture without making them cakey.
- Chopped Dark Chocolate: For the ultimate gooey texture and rich flavor, I highly recommend using high-quality dark chocolate baking bars, roughly chopped into various small and large chunks, instead of standard chocolate chips. Chopped chocolate melts more readily and spreads beautifully within the cookie, creating luscious pockets of melted chocolate that contribute immensely to the desirable gooey, chewy texture of these brown butter chocolate chip cookies. If you’re a true chocolate connoisseur, you absolutely must try my decadent Matilda’s Chocolate Cake!
- Flaky Sea Salt: A final sprinkle of flaky sea salt before or after baking adds an incredible depth of flavor. The delicate crunch and burst of salinity beautifully balance the sweetness of the chocolate and butter, elevating these cookies to a level of perfection that will leave you craving more.
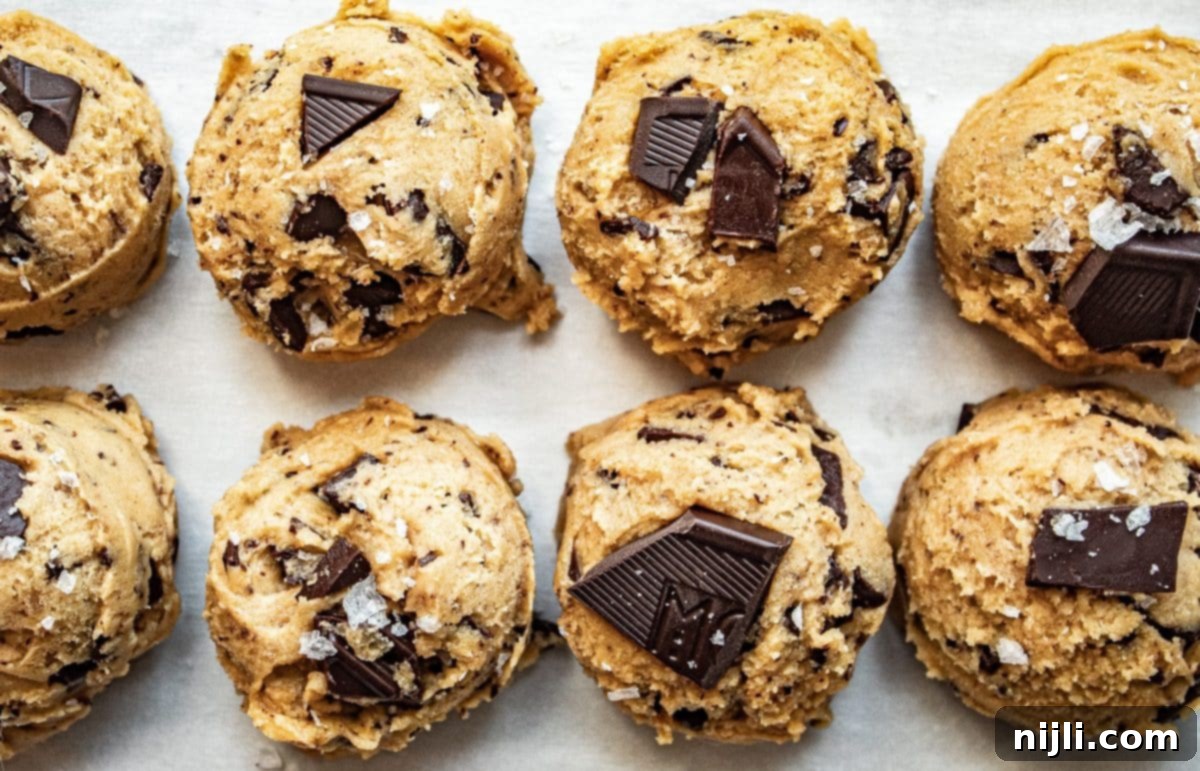
Essential Equipment for the Best Chewy Brown Butter Cookies
One of the many benefits of this brown butter cookie recipe is that it doesn’t require a stand mixer or any overly specialized tools, thanks to the use of melted browned butter. However, a few key pieces of equipment can significantly enhance your baking experience and help ensure these are the absolute best chocolate chip cookies you’ve ever made:
- Kitchen Scale: As discussed earlier, a kitchen scale is paramount for measuring flour and other dry ingredients with perfect accuracy. This precision is crucial for consistently achieving that coveted chewy and gooey texture that defines this recipe. It eliminates guesswork and ensures repeatable results.
- Parchment Paper or Silicone Baking Mat: Lining your cookie sheets with parchment paper or a silicone baking mat is essential. It not only prevents your cookies from sticking to the baking surface but also promotes even baking and easy cleanup.
- Oven Thermometer: Many home ovens can be inaccurate, with temperatures varying by as much as 25-50°F from the dial setting. An inexpensive oven thermometer helps you correct any temperature disparities, ensuring your cookies bake at the precise temperature required for optimal texture and doneness.
- Cookie Scoop: For uniform size and even baking, a #30 cookie scoop (yielding approximately 2½ tablespoon portions) is incredibly helpful. Consistent cookie size means they all bake at the same rate, preventing some from being overdone while others are undercooked.
- Heavy-Bottomed Saucepan: For browning butter, a light-colored, heavy-bottomed saucepan allows you to clearly see the milk solids browning and prevents the butter from burning too quickly.
- Whisk and Mixing Bowls: Basic but essential for combining your wet and dry ingredients smoothly.
With these simple tools, you’ll be well-equipped to create bakery-quality brown butter chocolate chip cookies right in your own kitchen.
Brown Butter Cookie Recipe Variations to Try
While this recipe for brown butter chocolate chunk cookies is perfect as written, there are many ways to customize it to your personal preferences or what you have on hand:
- Chocolate Choices: Feel free to swap the chopped dark chocolate for bittersweet or semi-sweet chocolate chips, classic milk chocolate chips, creamy white chocolate chips, or even colorful M&Ms for a fun twist.
- Time-Saving Tip: If you’re short on time or prefer a simpler flavor profile, you can use regular melted butter instead of browning it. While you’ll miss the nutty depth, the cookies will still be delicious.
- Thicker Cookies: For a slightly thicker, more substantial cookie with a bit less spread, you can add an extra 1-2 tablespoons of all-purpose flour to the batter.
- Nutty Crunch: Introduce an added layer of texture and flavor by folding in ¼ to ½ cup of chopped pecans, walnuts, or macadamia nuts with the chocolate.
- M&M Lover’s Delight: If you adore M&Ms, you absolutely must try my dedicated Chocolate Chip M&M Cookies for an extra colorful and fun treat!
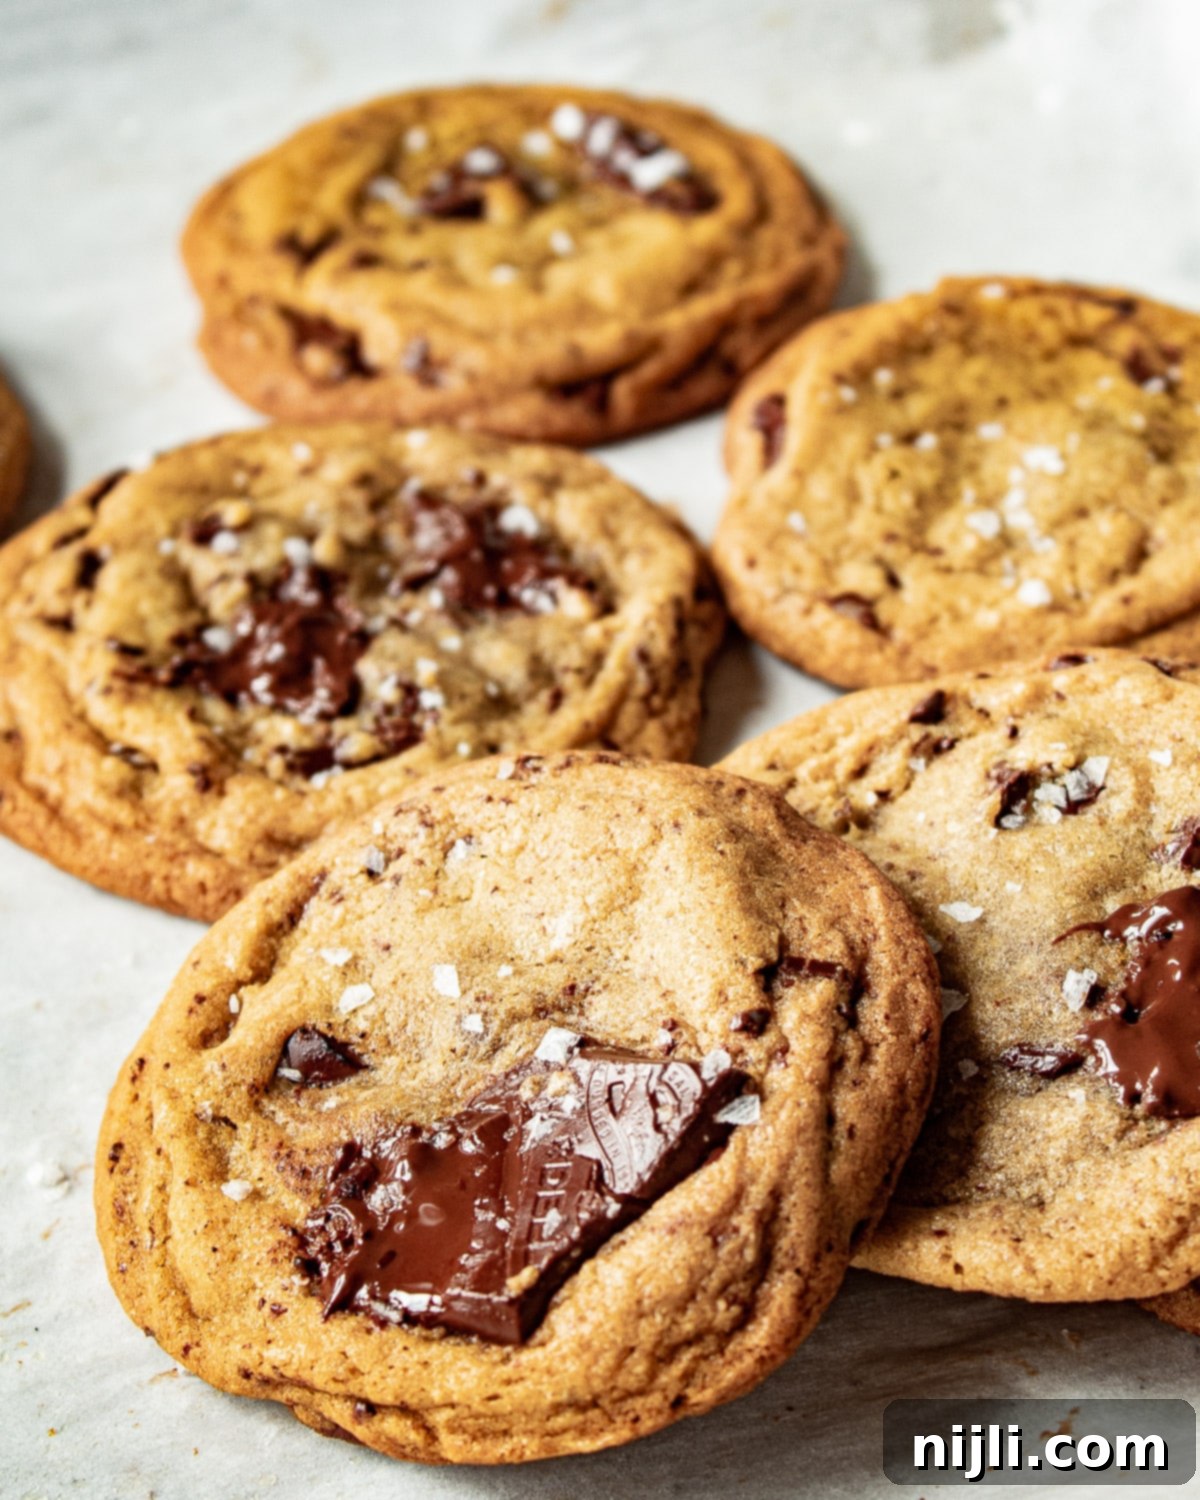
Brown Butter Chocolate Chunk Cookies F.A.Q.
Traditionally, “a batch of cookies” usually refers to a larger quantity, often 2-3 dozen cookies. Essentially, a batch is the total amount a particular recipe yields. I don’t know about you, but I often find myself making far too many cookies for my household! Especially for a recipe like these small batch brown butter chocolate chip cookies, sometimes I’m simply craving these specific flavors and don’t need 36 of them. That’s precisely why this recipe is designed to yield only 8 generously sized cookies. They are substantial enough to satisfy a strong craving or to share with a small group, ensuring you won’t be overwhelmed with leftovers and can enjoy freshly baked cookies more often.
These delicious cookies are surprisingly affordable to put together! Your most significant expense will likely be the chocolate. For instance, using about 4 ounces of high-quality Ghirardelli Bittersweet Baking Chocolate might cost around $3.00. Factoring in the butter, sugar, flour, and other staples, the total cost of ingredients for this small batch of 8 cookies should generally be no more than $6.00, making them an economical indulgence.
This particular small batch chocolate chip cookies recipe is indeed designed to produce a thinner, chewy cookie, by nature. They won’t be as fluffy or domed as some traditional chocolate chip cookies loaded with many chips and nuts, and this is intentional to achieve maximum chewiness. The use of chopped chocolate bars (which melt more readily and spread more than chocolate chips), along with melted brown butter and a relatively lower amount of flour, all contribute to a cookie that spreads out beautifully and thinly. That said, your cookies should certainly not be as thin as a cracker! To prevent them from spreading excessively, ensure you chill the dough thoroughly, both before scooping and again briefly after forming the balls. Chilling solidifies the butter, which helps the cookies hold their shape during baking. You can also add a bit more flour, as mentioned in the recipe card below (an additional 1-2 tablespoons can make a noticeable difference) for a slightly thicker result.
Brown butter is truly culinary magic! It contributes a deep, complex, nutty flavor profile that is almost indescribable and completely transformative. When butter is browned, its milk solids toast, releasing intense caramel and hazelnut notes. This process adds an incredible depth and richness that plain melted butter simply can’t achieve. I use it in many of my baking recipes because it’s a simple yet incredibly effective way to make your desserts (and even savory dishes) utterly unforgettable. It truly elevates a simple chocolate chip cookie into something extraordinary.
Knowing when your butter is perfectly browned is key to unlocking its incredible flavor. Once your butter has melted completely, you’ll notice the milk solids beginning to separate and sink to the bottom of the pan. Keep a close eye on these solids; they will start to change from white to a deep golden brown, eventually resembling tiny toasted specks. Simultaneously, you’ll begin to smell a distinct nutty, almost caramel-like aroma. This is your cue! As soon as you see those golden-brown bits and smell the rich aroma, remove the pan from the heat immediately to prevent burning. For a more detailed guide with step-by-step images, be sure to check out my Brown Butter Appreciation Post.
If your cookies are consistently raw in the middle, there are a few common culprits. The most likely reason is that your oven temperature is not accurate. Many ovens run hot or cold, which can significantly affect baking times. I highly recommend investing in an inexpensive oven thermometer to verify your oven’s actual temperature. If it’s off, you’ll need to adjust your baking temperature accordingly. Another possibility is that your dough balls are too large or too cold, requiring more time to bake through. In such cases, try baking them for an additional couple of minutes, keeping a close eye on the edges.
There are several tricks to creating perfectly soft cookies, but my absolute favorites are highlighted in this recipe. Firstly, using all brown sugar instead of a combination of brown and white sugar is key. The molasses in brown sugar adds moisture and keeps cookies soft and chewy. Secondly, incorporating a small amount of cornstarch along with the flour works wonders. Cornstarch creates a more tender crumb, contributing to a wonderfully soft and slightly thicker dough that resists becoming dry or brittle.
Absolutely! Freezing is a fantastic way to enjoy freshly baked cookies anytime. I recommend forming the dough into individual cookie dough balls using your #30 cookie scoop, then placing them on a baking sheet and freezing them solid. Once firm, transfer the frozen dough balls to an airtight container or a freezer bag, where they can be stored for up to two months. When you’re ready to bake, simply place the frozen cookie balls directly onto a lined sheet pan and add a few extra minutes to the bake time (usually 2-4 minutes).
You can also freeze your baked cookies. Allow them to cool completely, then freeze them uncovered on a baking sheet until solid. Once frozen, transfer them to an airtight container to stay frozen for up to two months. To enjoy, just let them thaw, uncovered, at room temperature.
Yes, they certainly can! To make these cookies gluten-free, simply substitute the all-purpose flour with a high-quality gluten-free all-purpose flour blend. If your chosen gluten-free flour blend doesn’t already contain xanthan gum, add about a teaspoon to the dry ingredients. Xanthan gum helps to mimic the elasticity and structure that gluten provides, preventing crumbly cookies. Also, ensure you select a vanilla extract that is certified gluten-free, as some may contain alcohol derived from gluten-containing grains.
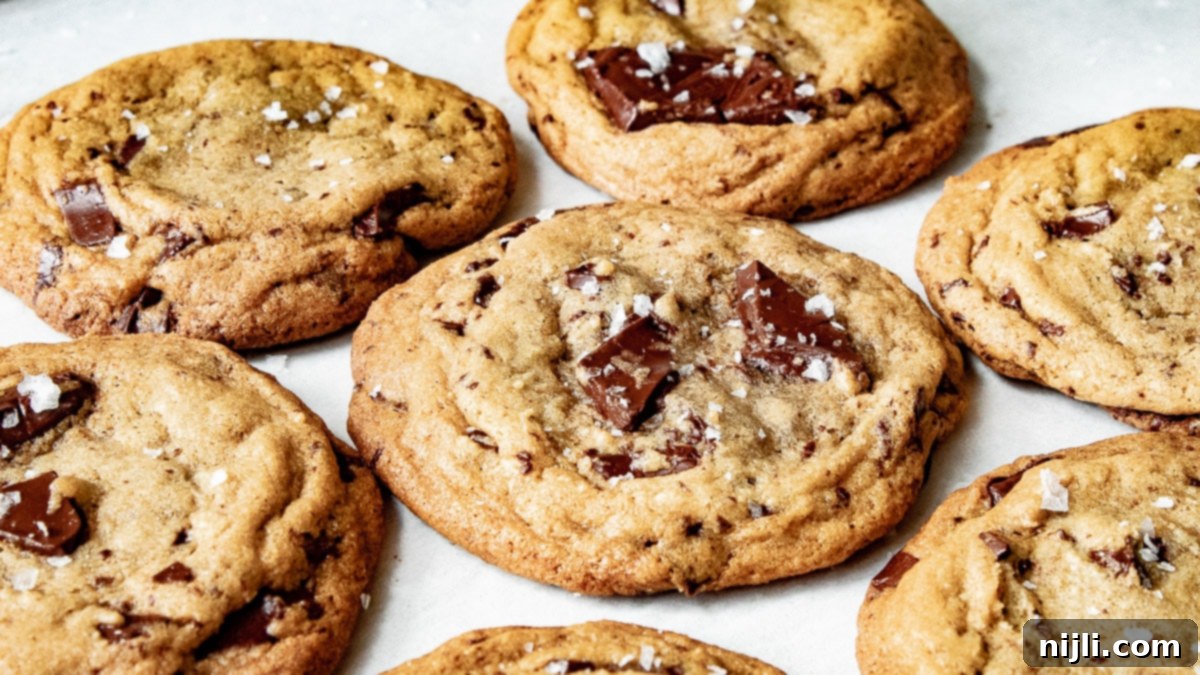
If you try this delightful recipe, I would absolutely love it if you could leave a star review rating and comment below! Hearing your feedback is truly wonderful and helps me improve. And please, don’t forget to share your delicious creations with me by tagging @chenee_today on Instagram! Happy baking!
More Irresistible Small Batch Recipes
- Warm Apple Mug Cake
- Decadent Mini Basque Cheesecake
- Crispy Air Fryer Sweet Potato Chunks
- Rich Mini Chocolate Cake
- Classic Brown Sugar Shortbread Cookies
📖 Recipe Card: Chewy Brown Butter Chocolate Chip Cookies
Brown Butter Chocolate Chip Cookies (Best Recipe)
Pin Recipe
Rate Recipe
Save RecipeSaved!
15 minutes
12 minutes
27 minutes
Dessert
American
8 cookies
267kcal
Chenée Lewis
Equipment You May Need
-
Measuring Cups and Spoons
-
Mixing Bowls
-
Food Scale
-
Whisk
-
Parchment Paper
-
Rubber Spatula
-
Cooling Rack
-
¾ Sheet Baking Pan
-
Silicone Baking Mat
-
#30 Cookie Scoop
Ingredients
- 6 tablespoons (84 g) salted butter – browned and slightly cooled
- ⅔ cup (147 g) light brown sugar – firmly packed
- 1 large egg
- 1 teaspoon (5 ml) pure vanilla extract
- 1 cup (128 g) all-purpose flour – (measure by weight or fluff and use spoon-and-level method); add an additional 2 tablespoons (16g) flour for slightly thicker cookies
- 1 teaspoon (2 g) cornstarch
- ½ teaspoon (2 g) baking soda
- 4 oz (113 g) semi-sweet or bittersweet chocolate – chopped (one 4-oz. baking bar, 60%-70% cacao, for best gooey results)
- flaky sea salt – for sprinkling (optional, but highly recommended for flavor balance)
Prevent your screen from going dark
Instructions
-
Brown the butter according to the detailed instructions in my How to Brown Butter post. Allow it to cool slightly, ensuring it’s still melted but not scorching hot.6 tablespoons salted butter
-
In a large mixing bowl, whisk together the slightly cooled browned butter and the packed light brown sugar until they are thoroughly combined and smooth.6 tablespoons salted butter, ⅔ cup light brown sugar
-
Add the large egg to the butter-sugar mixture and beat well until the mixture becomes visibly lighter in color and thickens slightly. Stir in the pure vanilla extract until fully incorporated.1 large egg, 1 teaspoon pure vanilla extract
-
In a separate medium bowl, whisk together the all-purpose flour, cornstarch, and baking soda. Ensure these dry ingredients are well combined to distribute evenly.1 cup all-purpose flour, 1 teaspoon cornstarch, ½ teaspoon baking soda
-
Gradually fold the dry ingredients into the wet ingredients. Mix gently with a rubber spatula until a cohesive dough forms and no streaks of flour remain. Be careful not to overmix.
-
Fold in the chopped chocolate, including both large chunks and smaller shards. This variety helps create pockets of melted chocolate throughout the cookie.4 oz semi-sweet or bittersweet chocolate
-
Cover the cookie dough with plastic wrap, pressing it directly onto the surface of the dough to prevent a skin from forming. Place the bowl in the refrigerator to chill for at least one hour, or ideally, overnight. Chilling is crucial for flavor development and prevents excessive spreading.
-
Once chilled, use a #30 cookie scoop or a spoon to portion out 2½ tablespoon-sized balls of dough. Arrange them on a large baking sheet lined with parchment paper or a silicone baking liner, leaving ample space between each cookie.
-
Preheat your oven to 375°F (190°C). While the oven is preheating, place the baking sheet with the formed dough balls into the freezer for an additional 10 minutes. This extra chill helps further minimize spreading.
-
Place the cookie sheet into the preheated oven and immediately reduce the oven temperature to 350°F (175°C). This initial burst of higher heat helps set the edges quickly before the main bake.
-
Bake the cookies at 350°F for approximately 12 minutes, or until the edges are golden brown and the centers still look slightly underdone and soft. For a truly gooey, undercooked interior, remove them from the oven after just 10 minutes.
-
Optionally, sprinkle the hot cookies generously with flaky sea salt immediately after removing them from the oven. Let the cookies cool on the baking sheet for 15 minutes to finish setting, then carefully transfer them to a wire rack to cool completely. Enjoy your perfect chewy brown butter chocolate chip cookies!flaky sea salt
Video
Notes
Freezing for Future Cravings: You can easily freeze these cookies to enjoy later. I recommend shaping the dough into individual cookie balls and freezing them solid on a cookie sheet. Once firm, transfer them to an airtight container or a freezer bag, where they will keep well for up to two months. When you’re ready to bake, simply place the frozen cookie balls directly onto a lined baking sheet and add an extra few minutes to the typical bake time.
Alternatively, you can freeze already baked cookies. Allow them to cool completely, then freeze them uncovered until solid. Transfer them to an airtight container, and they’ll stay fresh for up to two months. To enjoy, just let them thaw, uncovered, at room temperature.
Creative Variations:
- Swap the chopped dark chocolate for your favorite type of chocolate chips (bittersweet, semi-sweet, white chocolate) or even M&Ms for a colorful touch.
- If you’re short on time, you can skip the browning step and use regular melted butter. The cookies will still be delicious, but they’ll lack the signature nutty depth.
- For cookies that are slightly thicker and spread a bit less, incorporate an additional 1-2 tablespoons of all-purpose flour into the batter.
- Add a delightful crunch and extra flavor by folding in ¼ to ½ cup of chopped nuts such as pecans, walnuts, or macadamia nuts with the chocolate.
Nutrition Information
Nutrition Disclaimer

