DIY Whipped Shea Body Butter: The Ultimate Natural Remedy for Dry Winter Skin
As the crisp, cold air of winter fully descends, especially in regions like Chicago, we often find ourselves battling the inevitable effects of dry air on our skin. The plummeting temperatures and low humidity conspire to strip our skin of its natural moisture, leaving it feeling tight, itchy, and uncomfortable. Many of us, myself included, have spent countless hours and dollars on a myriad of commercial skincare products, desperately seeking that perfect balm to alleviate winter dryness. However, what if the most effective, most nourishing solution was not found on a crowded beauty shelf, but right in your own kitchen? This comprehensive guide will show you how to create an exquisite, homemade remedy: your very own DIY Whipped Shea Body Butter. Crafted with a blend of deeply nourishing natural ingredients, this luxurious body butter is designed to provide intense moisture, robust protection, and a revitalizing boost, ensuring your skin receives all the tender loving care it truly deserves during the colder months.
Embrace Natural Skincare: The Benefits of Homemade Body Butter
Opting for homemade skincare offers a wealth of advantages that extend far beyond mere cost savings, though that is certainly a welcome bonus. When you choose to craft your own whipped shea body butter, you gain complete authority over every single ingredient that touches your skin. This empowers you to select only the highest quality, organic components, effectively bypassing the synthetic fragrances, parabens, phthalates, and harsh preservatives commonly found in mass-produced lotions and creams. The result is a pure, unadulterated product that delivers genuine nourishment, making it an exemplary choice for individuals with sensitive skin, allergies, or anyone committed to a truly natural and holistic approach to hydration.
Furthermore, the creative process of making your own body butter is inherently satisfying. There’s an immense sense of accomplishment and personal connection that comes from formulating a product perfectly tailored to your individual preferences. From adjusting its rich, creamy texture to infusing it with your favorite custom aroma, every detail is under your command. This whipped body butter is not just remarkably easy to prepare; it stands as a versatile powerhouse offering a multitude of benefits, promising to elevate your winter skincare routine into a deeply indulgent and personalized self-care ritual.
The Simple Magic of Nature’s Best: Our Key Ingredients
The beauty of this DIY whipped shea body butter lies in its straightforward ingredient list. You won’t need specialized chemical equipment or hard-to-find components. Most of these essential items are readily available at your local health food store, major pharmacies, or can be conveniently sourced from online retailers. Let’s delve into the remarkable properties of each core ingredient that contributes to this body butter’s exceptional efficacy:
- Organic, unrefined shea butter: As the foundational element, unrefined shea butter is a superstar in natural skincare. It is celebrated for its profoundly moisturizing, anti-inflammatory, and healing capabilities. Crucially, its unrefined state means it retains all its natural vitamins (A, E, and F) and a rich profile of essential fatty acids, which are vital for maintaining optimal skin health. It’s particularly effective in soothing irritation, reducing redness, promoting skin elasticity, and is a savior for dry, chapped, or rough skin, especially during harsh weather.
- Organic, extra-virgin coconut oil: This versatile emollient effortlessly melts upon contact with skin, delivering a burst of intensive hydration. It is abundant in medium-chain fatty acids, notably lauric acid, which possesses powerful antimicrobial properties, aiding in the protection and strengthening of the skin’s natural barrier. Its inherently delicate, natural aroma also adds a subtle, pleasant touch to the final product.
- Vitamin E oil: A potent antioxidant, Vitamin E oil is instrumental in safeguarding skin cells from oxidative stress and damage caused by environmental free radicals. It actively supports the skin’s natural repair processes, aids in reducing the visibility of scars and stretch marks, and crucially, functions as a natural preservative, significantly extending the freshness and shelf life of your homemade body butter.
- Sweet almond oil: This lightweight, easily absorbed oil is a powerhouse of essential vitamins A and E, along with beneficial fatty acids. It’s exceptionally gentle and suitable for nearly all skin types, revered for its capacity to soothe and soften the skin without leaving a greasy residue or clogging pores. It also contributes to an improved complexion and a more even skin tone.
- Extra-virgin olive oil: A profoundly moisturizing oil, extra-virgin olive oil is brimming with antioxidants, including valuable polyphenols and additional vitamin E. It provides robust protection against environmental damage, deeply nourishes the skin, and works to enhance its overall texture and radiant appearance.
- Beeswax pastilles: Beeswax serves a crucial role as a natural emulsifier and texturizer, imbuing the body butter with its stable, luxuriously firm yet spreadable consistency. More importantly, it forms a delicate, breathable protective barrier on the skin’s surface, effectively sealing in precious moisture without obstructing pores – a truly indispensable asset for defending against severe winter conditions.
- Essential oil or skin care-grade fragrance oil of your choice: This final ingredient empowers you to personalize your body butter, imbuing it with a captivating aroma that can also contribute additional therapeutic benefits, depending on your selection of oils.
While I’ve personally sourced most of these high-quality ingredients with ease from retailers like Target and Amazon, it’s worth noting that a growing number of health food stores and even many local pharmacies now offer an extensive selection of natural oils and butters. Always prioritize organic and unrefined versions whenever possible to ensure your skin receives the maximum benefits each ingredient has to offer.

Unleash Your Creativity: Customizing Your Fragrance for a Personalized Experience
One of the most delightful and creative stages in crafting your DIY whipped shea body butter is the opportunity to personalize its aroma. As your body butter begins to transform and whip into that highly coveted, airy consistency, you are presented with the perfect moment to infuse it with your favorite essential oils or high-quality, skin care-grade fragrance oils. This customization not only enhances the sensory appeal of your butter but can also impart additional therapeutic benefits, deeply enriching your daily skincare ritual.
For instance, if you’re yearning for a momentary escape to a tropical paradise amidst the winter gloom, consider a vibrant blend of uplifting scents like Banana and Mango oils, similar to the wonderful options I recently discovered from P&J Trading. If your primary goal is deep relaxation and tranquility, calming essential oils such as lavender or chamomile are ideal for a soothing evening routine before bed. Conversely, for an invigorating burst of energy to kickstart your day, vibrant citrus essential oils like grapefruit or sweet orange can provide an uplifting and refreshing boost. You can even experiment with comforting and warming spice notes like cinnamon, vanilla, or clove for a truly cozy and comforting seasonal aroma. The key is to introduce essential or fragrance oils gradually, adding a few drops at a time, continuously whipping and sampling the scent until it perfectly aligns with your desired intensity. This customizable feature ensures that your body butter transcends being merely a moisturizer; it becomes a unique, personalized aromatic journey.
A Heartfelt Creation: The Perfect Thoughtful Gift Idea
Beyond its personal indulgence, this DIY whipped body butter effortlessly transforms into an exquisitely thoughtful and unique gift. Handmade gifts inherently carry a special resonance, conveying a level of care, effort, and personal touch that mass-produced items simply cannot replicate. Envision the joy of presenting a beautifully prepared jar of this luxurious body butter to your cherished friends, beloved family members, or esteemed colleagues during the holiday season, for a birthday, or as a token of appreciation for any special occasion. It is a gift that eloquently speaks volumes about your consideration for their well-being and desire to share a piece of natural luxury.
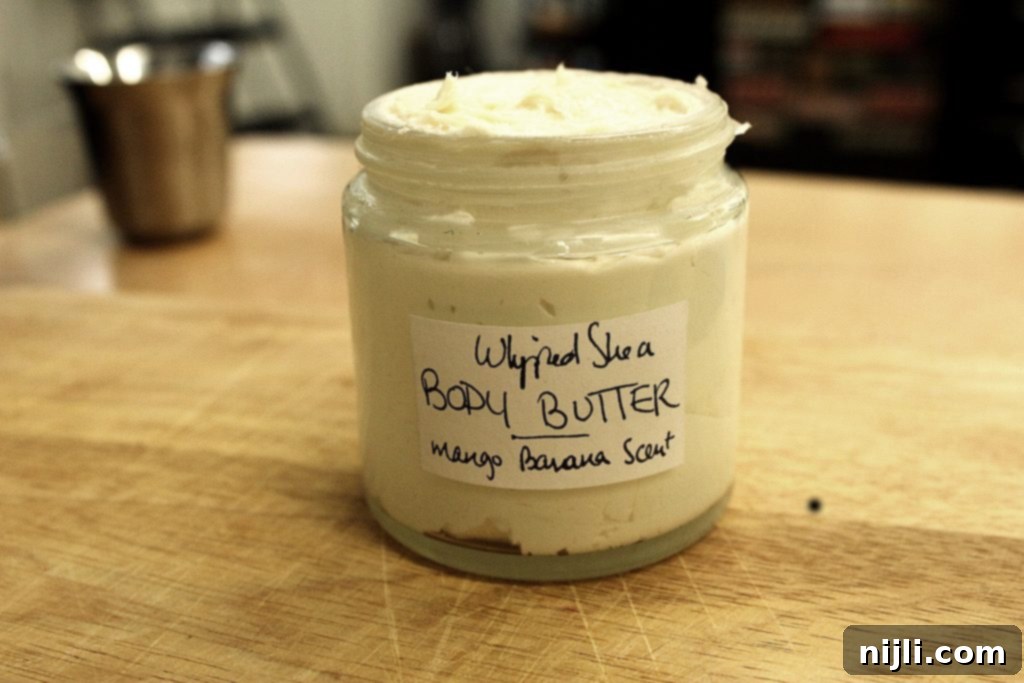
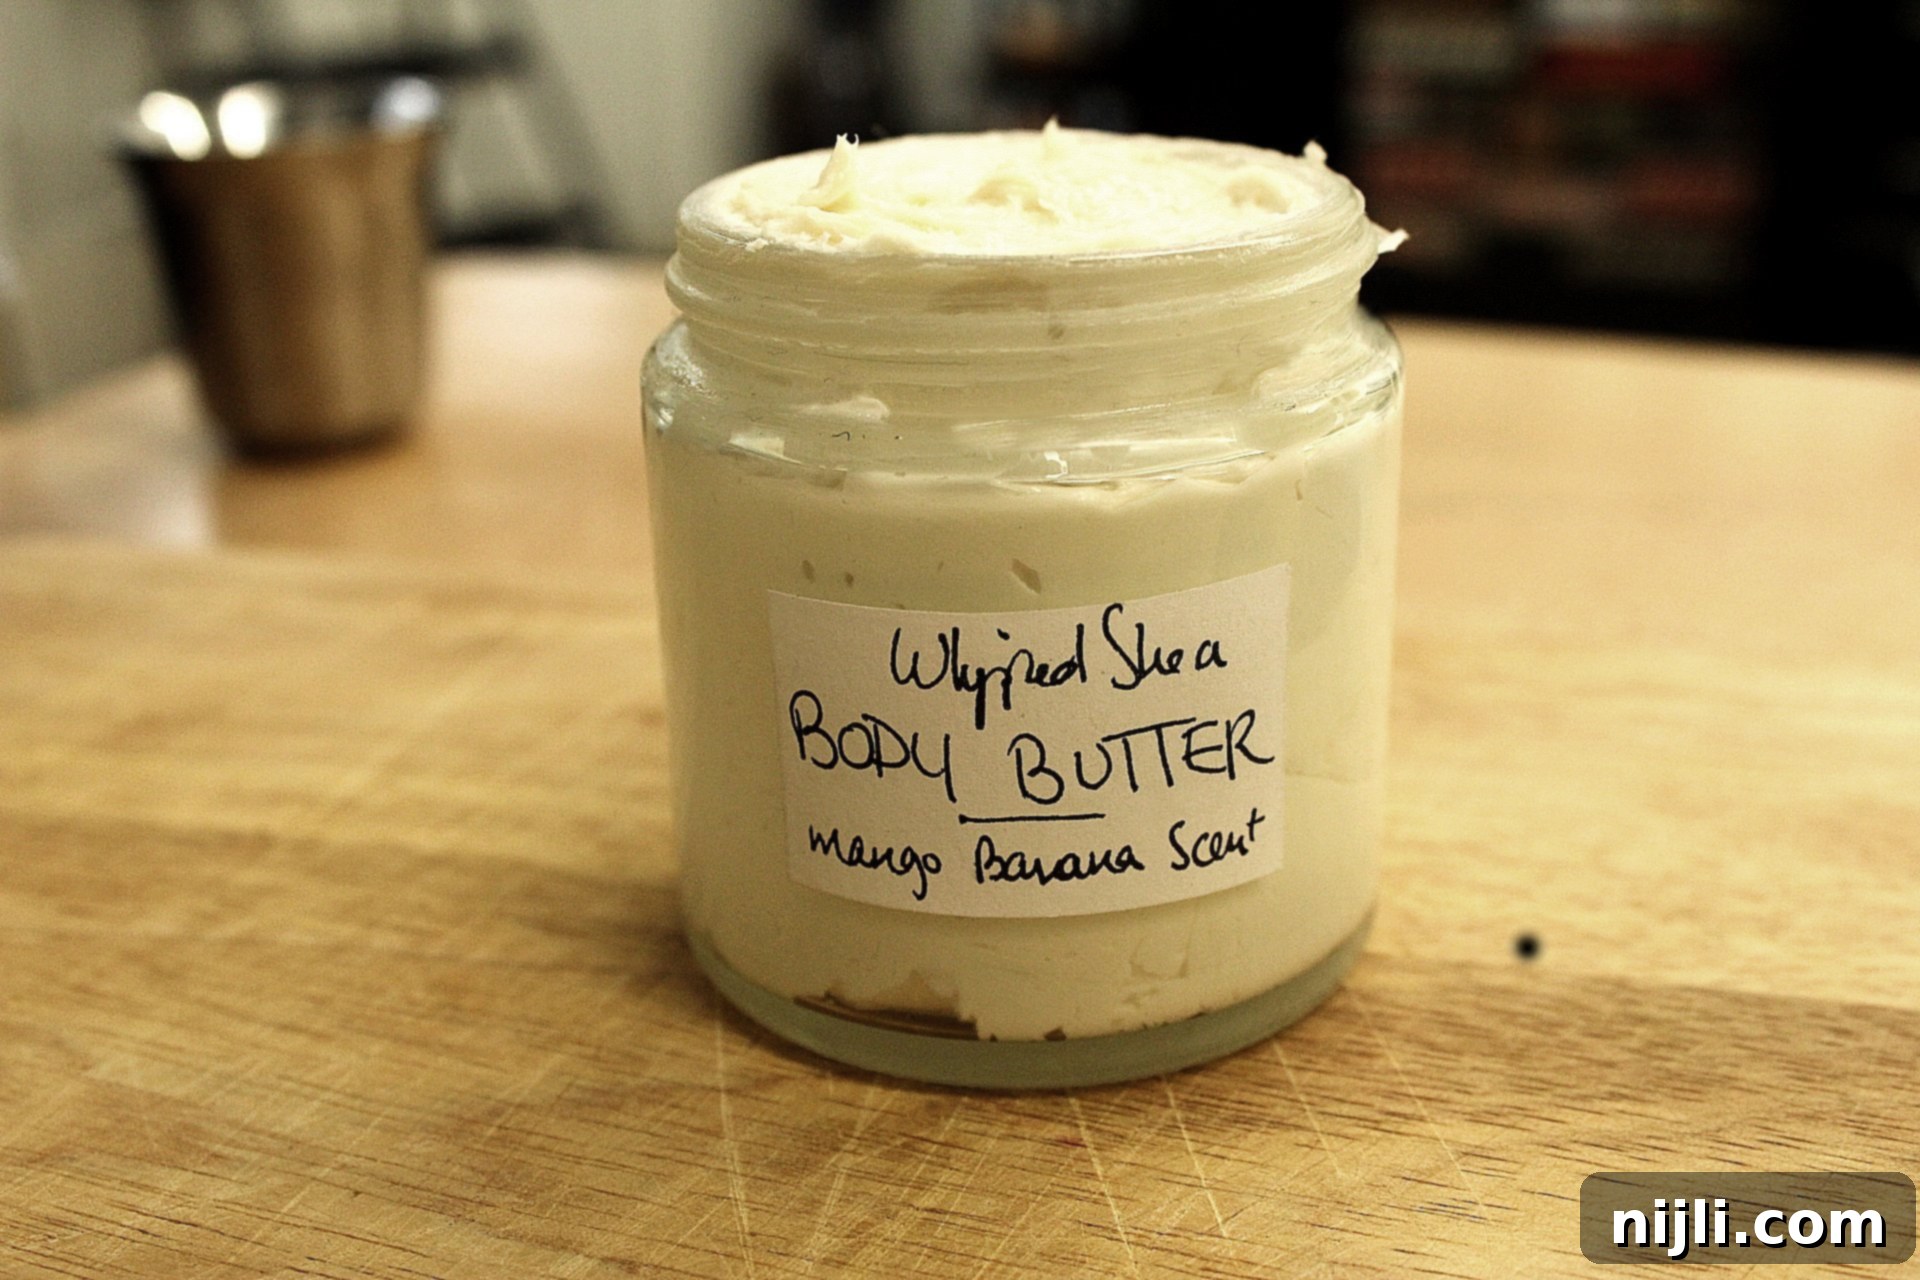
To prepare your creation for gifting, simply transfer the freshly whipped, airy body butter into elegant glass jars. Further enhance its allure and personal charm by adding a custom, decorative label – perhaps elegantly detailing the natural ingredients, highlighting the unique fragrance, and including a heartfelt message from you. These labels can be charmingly handmade for an authentic, rustic feel, or professionally printed for a more refined and polished presentation. This offering transcends a mere skincare product; it’s an immersive experience of natural indulgence, a tangible gesture of affection and thoughtfulness that will undoubtedly be genuinely treasured by anyone fortunate enough to receive it. The recipient will marvel at its wonderfully fluffy texture and delightful aroma, all the more special for knowing it was lovingly crafted by your hands.

More Than Just a Moisturizer: Versatile Uses for Your DIY Whipped Shea Body Butter
While this exquisite whipped body butter undeniably excels at its primary role of deeply moisturizing dry winter skin, its potential extends far beyond a simple post-shower application. Its exceptionally rich, nutrient-dense formulation renders it incredibly versatile, capable of effectively replacing a multitude of products within your existing beauty and self-care regimen. Prepare to be amazed by the fantastic array of ways you can seamlessly integrate this lovely butter into your daily routine, unlocking its full multipurpose potential:
- Luxurious Lip Balm: A minuscule dab of this butter applied to your lips can deliver instantaneous relief from chapping and leave them feeling incredibly soft, supple, and hydrated. It proves particularly effective as a protective barrier in harsh, cold, or windy weather conditions.
- Nourishing Hair Styling Cream: Effortlessly tame stubborn flyaways, infuse your hair with a healthy, natural sheen, and provide a light, flexible hold. For an extra boost of conditioning, utilize a pea-sized amount as a leave-in treatment for parched ends or as an intensive pre-shampoo mask for profound moisture replenishment.
- Softening Cuticle Cream: Gently massage a small, pea-sized amount into your cuticles and around your nail beds to maintain their health and suppleness, effectively preventing dryness, cracking, and brittleness. This practice is especially advantageous for fostering stronger nails and maintaining impeccably neat cuticles.
- Soothing Scar and Stretch Mark Cream: The powerful synergy of unrefined shea butter, vitamin E, and other nourishing oils makes this butter an exceptional aid in enhancing skin elasticity and promoting healthy cellular regeneration. Consistent, regular application can significantly help to diminish the appearance of both nascent and established scars, as well as existing stretch marks.
- Gentle Makeup Remover: Its rich, oil-based composition effortlessly dissolves all traces of makeup, even the most resilient waterproof mascara and long-wear foundations, without the need for harsh chemicals or abrasive rubbing. Simply apply a small quantity, gently massage it across your face, and then wipe clean with a warm, damp cloth. Your skin will be left impeccably clean, remarkably soft, and beautifully moisturized.
- Calming After-Sun Soother: While it is not a sunscreen and offers no UV protection, the inherent anti-inflammatory properties of shea butter and vitamin E can provide immense comfort to sun-kissed skin. It helps to alleviate redness and promotes the skin’s natural healing process after incidental overexposure to the sun.
- Intensive Foot and Heel Treatment: For truly transformative results, apply a generous layer of the body butter to dry, cracked feet and heels just before bedtime. Cover your feet with soft cotton socks, and awaken to discover significantly softer, smoother, and deeply rejuvenated skin.
- Relaxing Massage Oil: The wonderfully silky and spreadable texture of this whipped butter makes it an ideal choice for a soothing and indulgent massage. Its smooth glide facilitates easy manipulation of muscles, and the aromatic scent you’ve thoughtfully chosen will undoubtedly amplify the overall experience, promoting deeper relaxation.
Feel empowered to transcend these suggestions! Experiment freely and delight in discovering new, innovative ways to seamlessly integrate this truly multipurpose wonder into your daily beauty and wellness regimen. I am genuinely eager to hear how much you adore this effortless DIY Whipped Shea Body Butter, and what other creative and unique uses you uncover for it! Please don’t hesitate to share your discoveries and experiences.
📖 Recipe: Your Step-by-Step Guide to Creating Whipped Shea Body Butter

DIY Whipped Shea Body Butter
Pin
Rate
Essential Equipment for Whipping Up Your Body Butter:
-
Hand Mixer (or Stand Mixer with whisk attachment)
-
Large Microwave-Safe Mixing Bowl
-
Spatula or Spoon for Stirring
-
Airtight Glass Jar for Storage (e.g., 4 oz)
Ingredients for Radiant Skin:
- 4 tablespoons Organic Unrefined Shea Butter
- 2 tablespoons Organic Extra Virgin Coconut Oil
- 2½ tablespoons Extra Virgin Olive Oil
- 1 tablespoon Sweet Almond Oil
- 1 teaspoon Beeswax Pastilles
- ¼ teaspoon Vitamin E Oil
- 10-20 drops Essential Oil or Skin Care-Grade Fragrance Oil or more, based on your desired scent intensity and preference
Step-by-Step Instructions for Your Fluffy Body Butter:
-
1. Prepare for Melting: In a medium to large microwave-safe bowl, carefully combine the first six ingredients: the organic unrefined shea butter, organic extra virgin coconut oil, extra virgin olive oil, sweet almond oil, beeswax pastilles, and vitamin E oil. Ensure the solid ingredients are somewhat broken up and mixed well with the oils for even melting.
-
2. Initial Melting: Place the bowl in the microwave and heat on high for approximately one minute. The objective here is to gently melt the solid butters and beeswax without overheating the delicate oils, preserving their beneficial properties.
-
3. Stir and Assess: With caution, remove the bowl from the microwave (it may be warm) and thoroughly stir the mixture using a spatula or spoon. Observe if all the ingredients have melted completely. It’s quite common to notice a few small solid pieces remaining, particularly if your kitchen environment is on the cooler side.
-
4. Complete Melting (if necessary): If any solid particles persist, return the bowl to the microwave and continue heating in short 30-second intervals. After each interval, ensure you stir the mixture rigorously until the entire concoction achieves a completely smooth and uniform liquid consistency. This step is vital for preventing a grainy texture in the final product.
-
5. Chill to Solidify: Transfer the bowl into the refrigerator and allow it to chill for a minimum of 1 hour, or until the mixture becomes opaque and solid throughout. Critically, it should still be soft enough that you can easily make an indentation with your finger. Avoid letting it freeze completely solid, as this can affect the whipping process. This controlled chilling is absolutely essential for achieving that coveted light, airy, and whipped texture.
-
6. Infuse with Fragrance: Once the butter mixture has reached the ideal chilled, semi-solid state, remove the bowl from the refrigerator. Now is the opportune moment to add your chosen essential oil or fragrance oil to the mixture. Begin with a conservative amount (e.g., 10 drops), as you can always gradually add more later to intensify the scent.
-
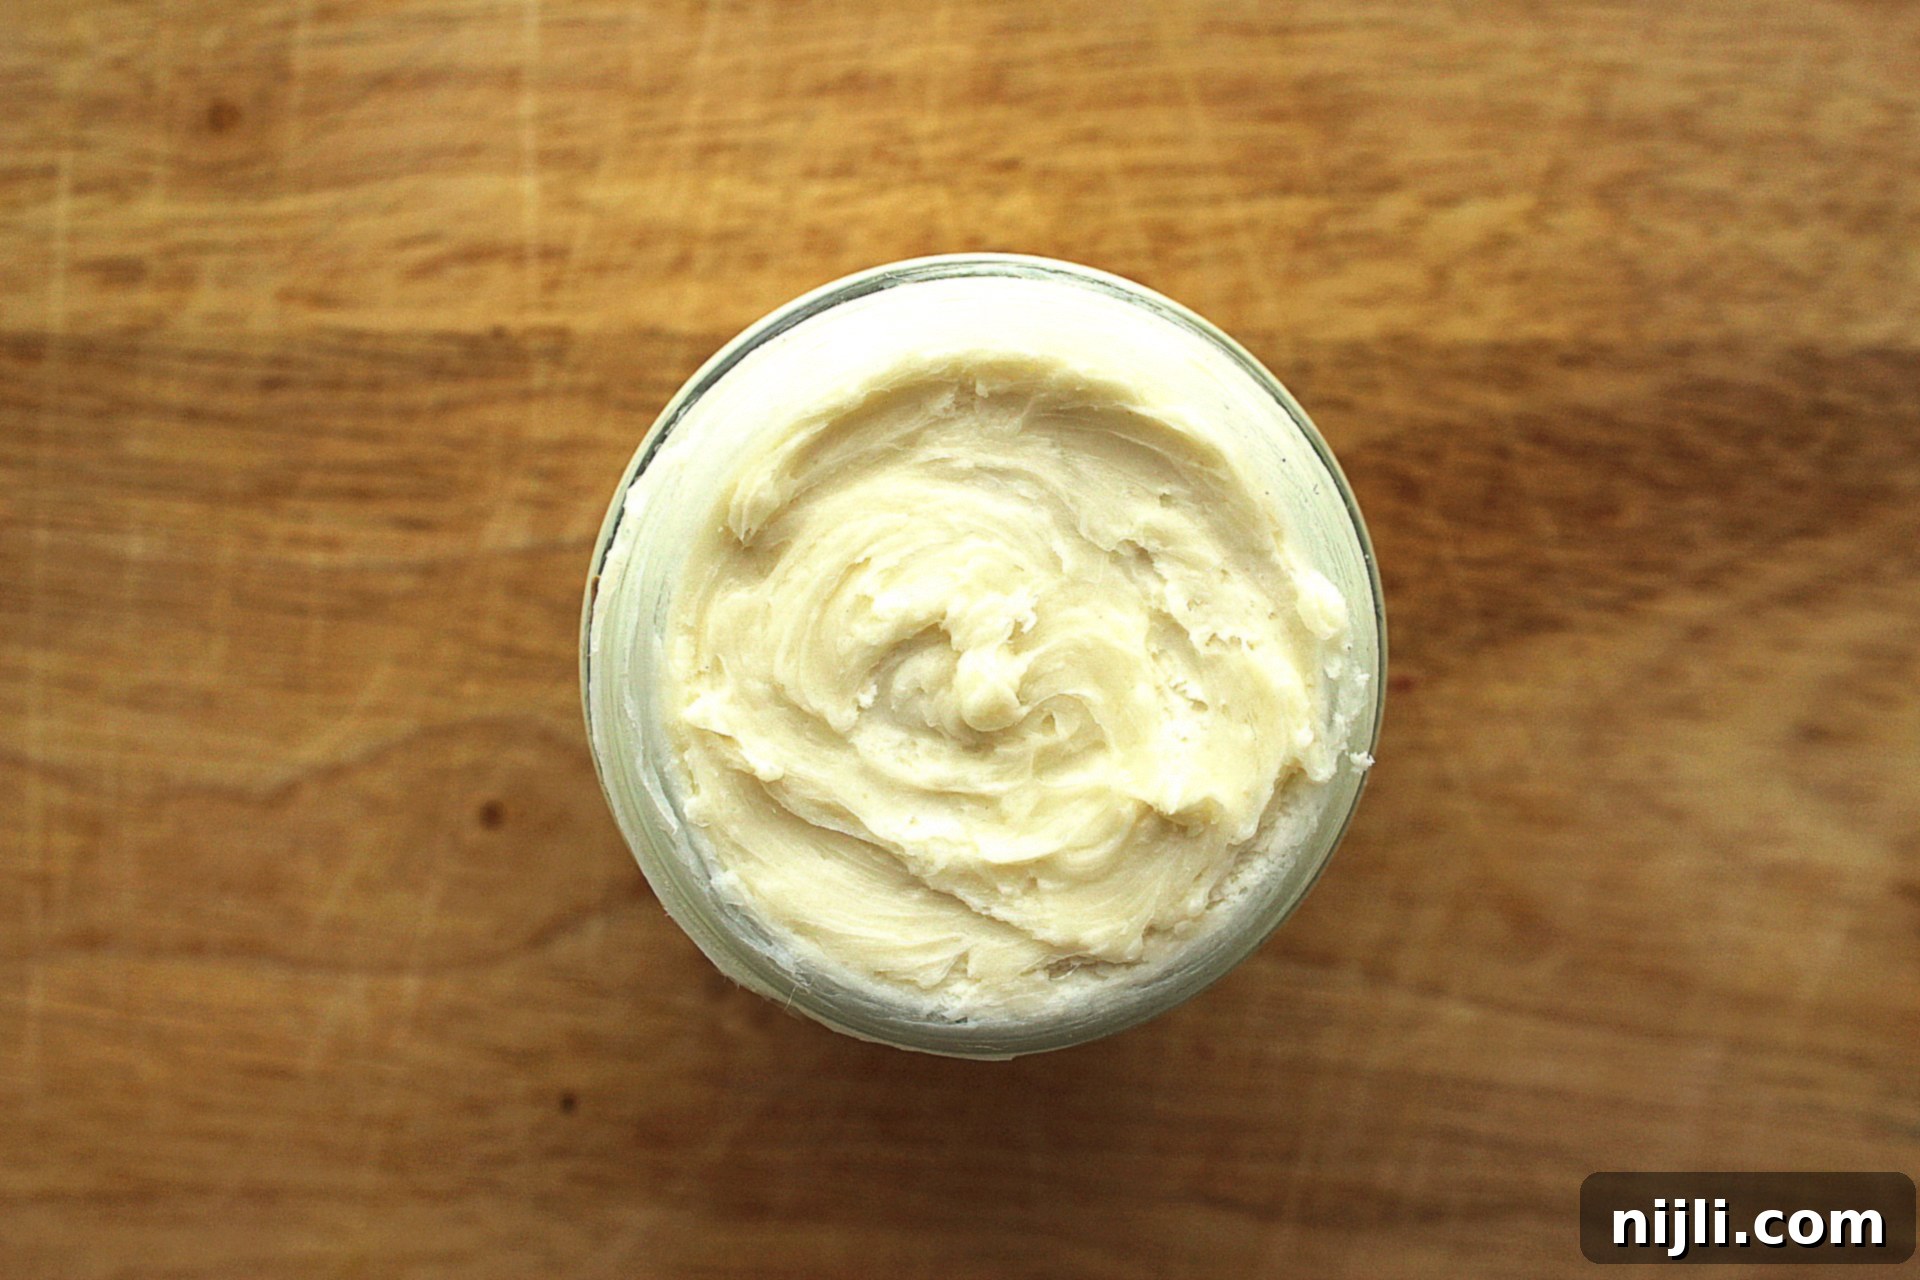
7. Whip to Fluffy Perfection: Using a hand mixer (or a stand mixer equipped with a whisk attachment) set to a low speed, begin to whip the solidified mixture. Gradually, increase the mixer speed to high. Continue this whipping process for at least 2 minutes, or until the butter miraculously transforms into a light, airy, and wonderfully fluffy consistency, remarkably resembling a cloud-like whipped cream. During this final whipping stage, you have the flexibility to incorporate additional fragrance oil if you desire an even stronger or more complex aroma.
-
8. Store and Enjoy: Once your body butter has achieved its desired luxurious fluffiness, carefully transfer it into a clean, dry, and airtight glass jar. Store your exquisite creation in a cool, dry place, keeping it away from direct sunlight, which can cause melting. In particularly warm climates, consider storing it in the refrigerator to help maintain its beautiful whipped texture. Enjoy the natural hydration!
Tips for Success & Troubleshooting Your Whipped Body Butter
While this recipe is designed to be straightforward and accessible, a few expert tips and troubleshooting strategies can help ensure your homemade whipped shea body butter turns out perfectly luxurious and effective every single time:
- The Paramount Importance of Quality Ingredients: As highlighted earlier, the foundation of an exceptional body butter lies in its ingredients. Always prioritize organic and unrefined butters and oils. These forms retain a significantly higher concentration of their natural vitamins, antioxidants, and beneficial fatty acids, directly contributing to a more potent and effective final product for your skin.
- Mastering the Art of Chilling: The chilling phase is, without exaggeration, the most critical step in achieving that desirable whipped texture. If the melted mixture remains too warm, it will fail to whip properly, resulting in a runny, greasy, or separated consistency. Conversely, if it becomes too cold and solidifies completely, it will be exceedingly difficult to whip into an airy form. Aim for a consistency akin to softened, firm butter or moldable clay – solid enough to hold its shape but soft enough to yield to pressure.
- Preventing a Grainy Texture: Shea butter, in particular, has a tendency to become grainy if it cools too slowly or undergoes multiple melting and re-solidifying cycles. To counteract this, melt your ingredients quickly and then chill the mixture relatively rapidly (but not freezing it solid) before whipping. Should your butter regrettably develop a grainy texture, don’t despair! Simply re-melt it completely until it’s liquid, then re-chill it promptly and re-whip. This usually resolves the issue.
- Storage Considerations in Warm Climates: In environments with consistently warm temperatures, your whipped body butter may naturally soften or lose some of its fluffy, airy texture. To preserve its delightful consistency and extend its shelf life, consider storing it in the refrigerator. If it becomes too firm from refrigeration, simply allow it to sit at room temperature for a few minutes before use to soften slightly.
- Always Perform a Patch Test: Even with all-natural ingredients, individual sensitivities can occur. Before applying the body butter liberally, especially if you have sensitive skin or are using new essential oils, always perform a patch test on a small, inconspicuous area of your skin (e.g., inner forearm) and wait 24 hours to ensure no adverse reaction.
- Maintain Impeccable Cleanliness: To prevent any potential bacterial contamination and maximize the shelf life of your precious homemade product, ensure that all your equipment – including bowls, spatulas, and especially your storage jars – are thoroughly clean and completely dry before use.
Embrace Natural Radiance and Nourishment All Season Long
This DIY whipped shea body butter transcends being merely a convenient, quick fix for winter dryness; it represents a meaningful investment in your skin’s enduring health, a conscious step towards cultivating a more mindful, natural, and sustainable beauty routine. By actively choosing to create your own skincare products, you are not only making a smart financial decision but also guaranteeing that your skin receives the purest, most concentrated, and profoundly nourishing ingredients available. You’re opting for transparency and efficacy over mystery ingredients and fleeting promises.
Winter, with its inherent challenges for skin, paradoxically also presents a perfect opportunity for indulging in thoughtful self-care practices. And what could be more comforting, more luxurious, and more genuinely beneficial than enveloping your skin in a rich, aromatic, and deeply hydrating body butter lovingly crafted by your own hands? Embrace the healthy glow, soothe away the tightness and irritation, and truly transform your winter skincare woes into an indulgent, pampering experience. Remember to explore my other enriching skin care DIYs for a continuous stream of natural recipes and invaluable tips as we journey together through all seasons, fostering healthy, happy, and radiant skin!
