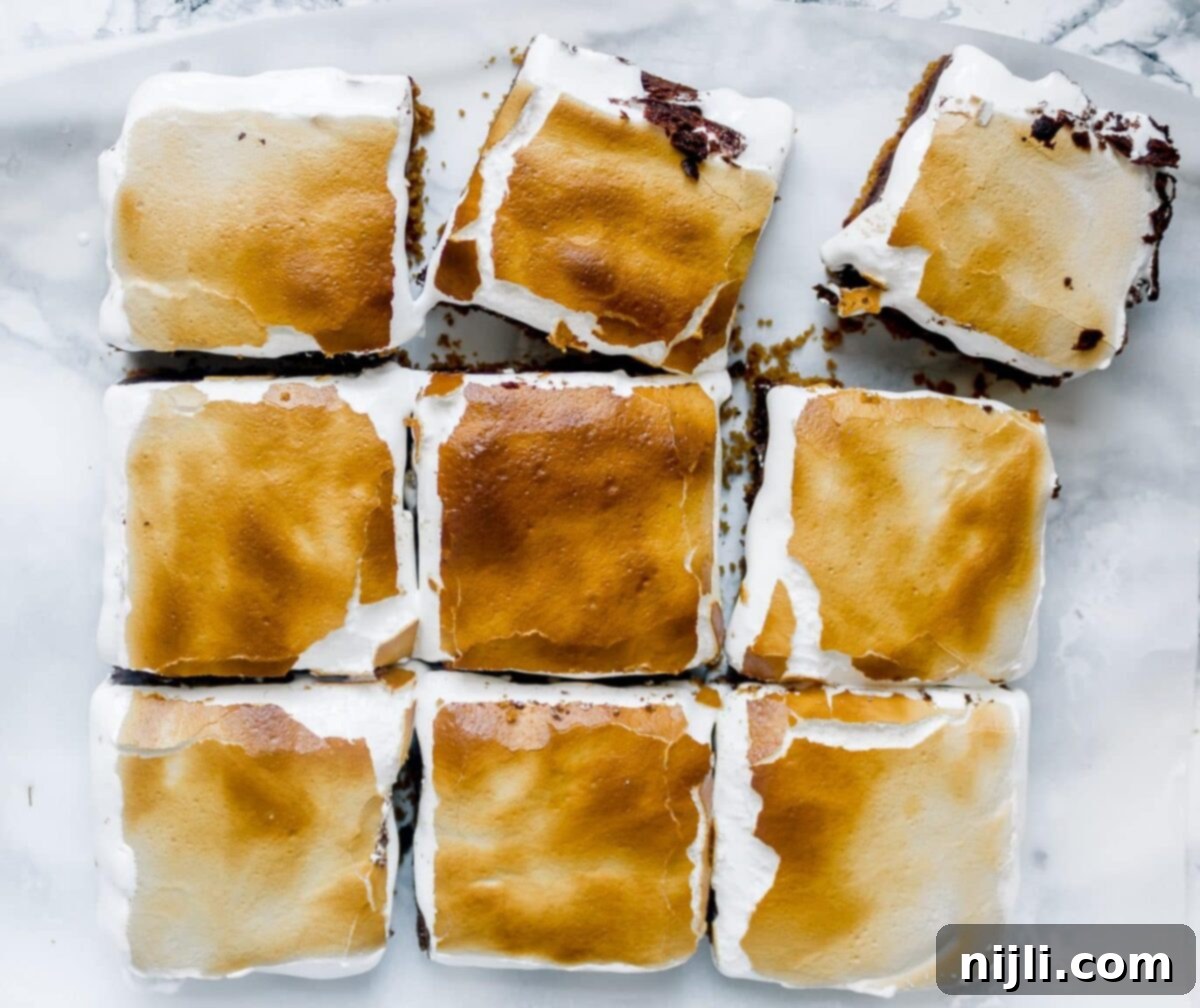
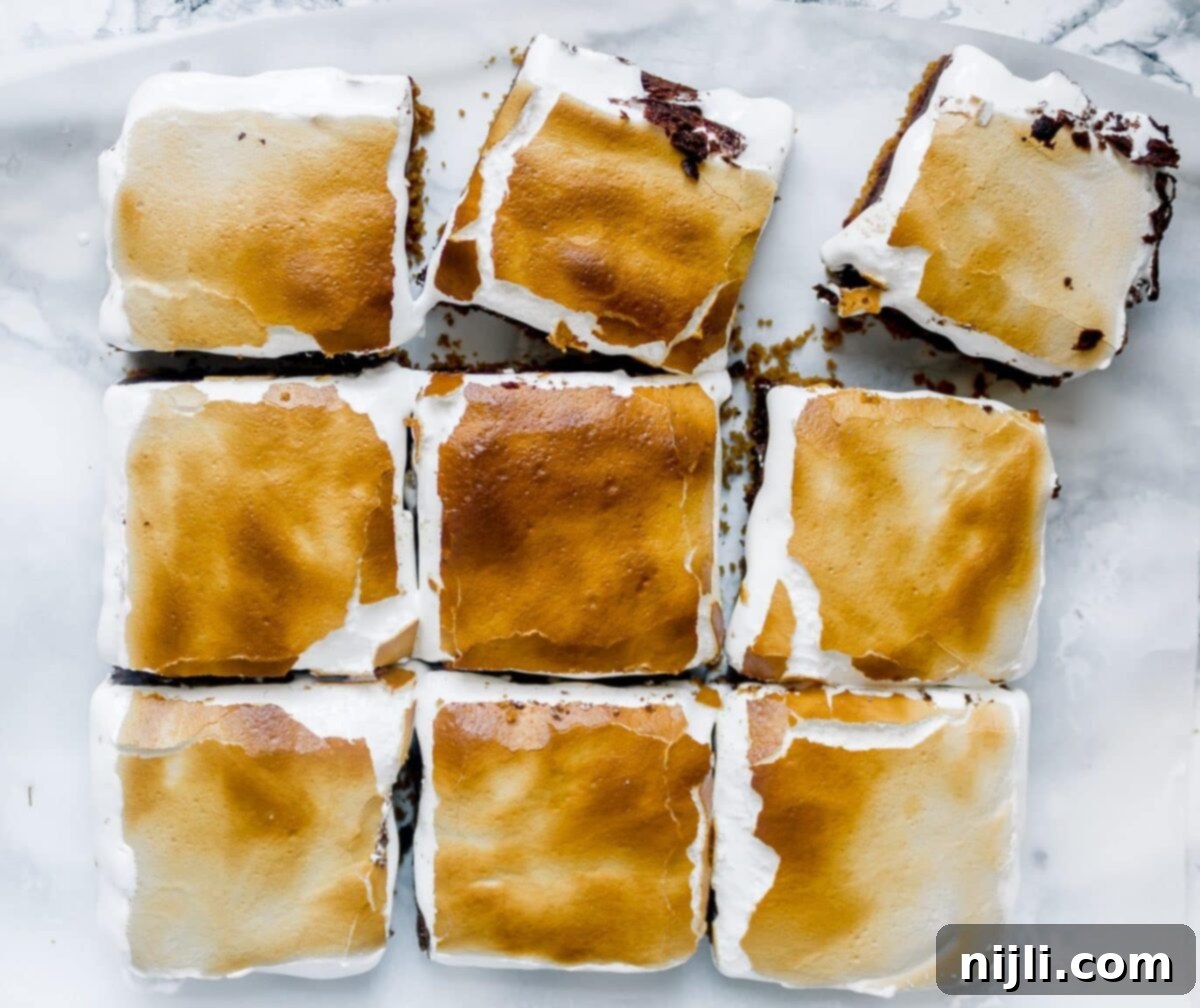
This s’mores brownies recipe with graham crackers is the best! Layered s’mored brownies with marshmallow fluff and cocoa powder make the perfect fudgy, gooey treat!
*This post contains affiliate links — as an Amazon Associate I earn from qualifying purchases. Please see my disclosure for details*.
And if you love the summery flavors in these brownies, check out my Peach Cherry Galette, my Cast Iron Pineapple Upside Down Cake, and my Air Fryer Naan Pizza!
[feast_advanced_jump_to]
The Ultimate Fudgy S’mores Brownies: A Layered Dessert Masterpiece with Graham Cracker Crust and Toasted Marshmallow Fluff
The magic of s’mores isn’t just a summer campfire tradition; it’s a feeling of warmth, joy, and irresistible gooey deliciousness. What if you could capture that nostalgic charm and transform it into an even more decadent, bake-at-home treat? Enter these spectacular S’mores Brownies! Forget the sticky campfires – this recipe brings all the beloved elements of classic s’mores into a convenient, incredibly rich, and intensely satisfying brownie bar.
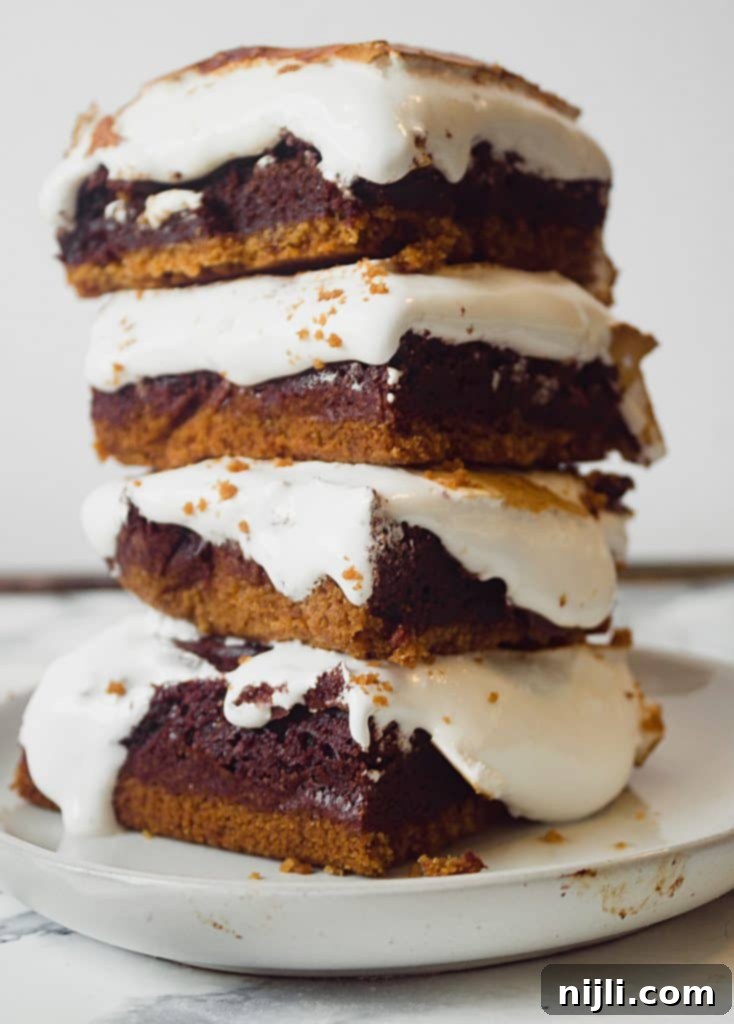
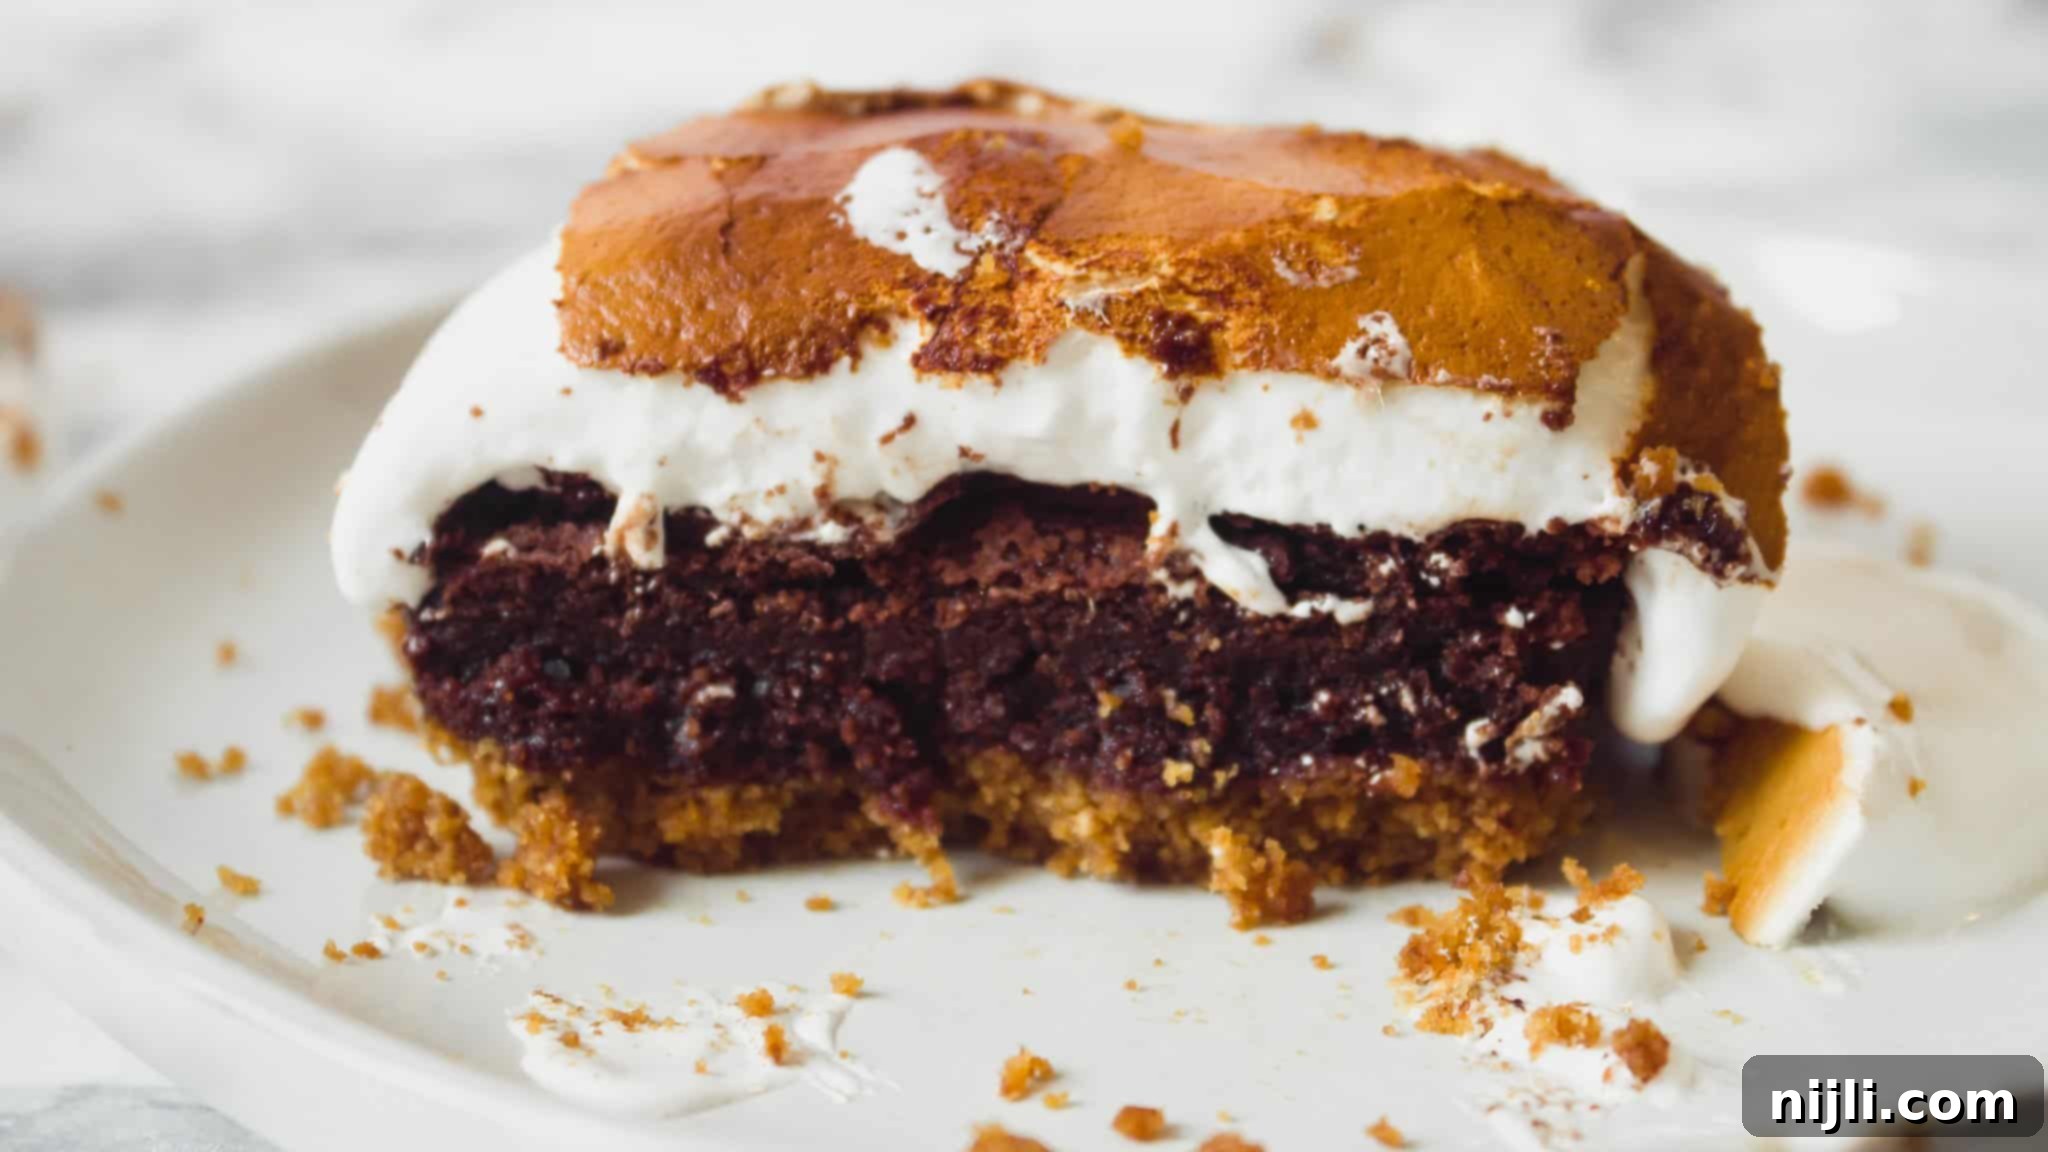
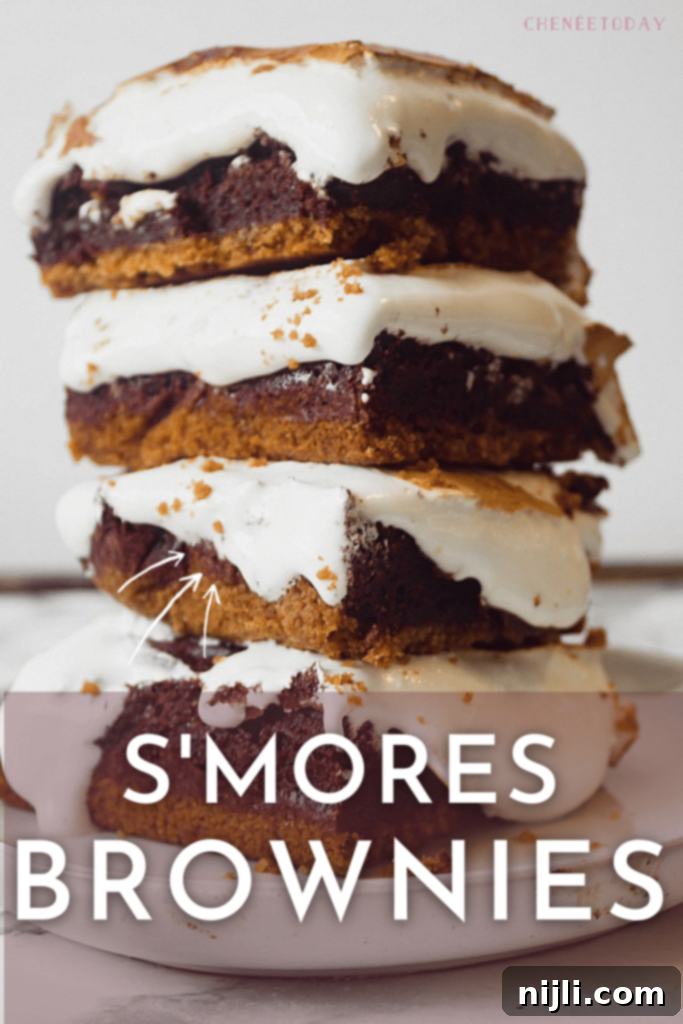
Imagine a buttery, crunchy graham cracker crust, topped with a deeply fudgy, rich chocolate brownie layer, generously smothered in a smooth chocolate ganache, and crowned with a golden, toasted marshmallow fluff. Each bite is a symphony of textures and flavors – the crunch, the fudge, the melting chocolate, and the unbelievably gooey, toasted marshmallow. These aren’t just brownies; they’re a celebration in every square, perfect for any occasion, all year round. They’re easy enough for a weeknight treat but impressive enough for a party!
Why This S’mores Brownie Recipe is the BEST
There are many s’mores dessert recipes out there, but these s’mores brownies truly stand out. They’re based on a foundation of proven winners from my kitchen, ensuring a result that’s nothing short of spectacular. Here’s why you’ll love them:
- The Fudgy Brownie Base: Our brownie layer is adapted from my highly-praised Triple-Chocolate Pecan Brownies recipe. This guarantees an ultra-dense, moist, and intensely chocolatey experience. We’ve perfected the balance to create a brownie that holds up beautifully under its luscious toppings without being too heavy.
- The Perfect Graham Cracker Crust: Inspired by the buttery crust from my popular Lemon Icebox Pie, this graham cracker base is just the right thickness and provides a delightful crunch. It’s the essential, slightly sweet foundation that truly defines the s’mores flavor profile.
- Effortless Marshmallow Topping: While homemade marshmallow can be a project, we’ve opted for the ultimate shortcut to perfection: store-bought marshmallow fluff (or marshmallow creme). This makes the assembly a breeze and guarantees that iconic sticky, gooey topping that toasts beautifully under the broiler or with a culinary torch. No fussy egg whites, no candy thermometers – just pure s’mores bliss in minutes.
This recipe isn’t just about combining ingredients; it’s about layering textures and flavors to create a harmonious dessert that will impress everyone. And for another amazing s’mores treat, try this s’mores pie!
Essential Ingredients for Perfect S’mores Brownies
Here’s what you’ll need to gather to create these irresistible s’mores brownies, with a little insight into why each ingredient is so crucial:
- Graham Cracker Crumbs: The quintessential s’mores base. To make this recipe even easier, I recommend using store-bought crumbs, but crushing your own graham crackers works just as well and can add a slightly coarser texture. They provide that signature crunchy, slightly sweet foundation.
- Salted Butter: Used generously in both the graham cracker crust and the rich brownie batter. The salt helps balance the sweetness and enhances the overall flavor profile, making both layers richer and more complex.
- Dark Brown Sugar: Present in both the crust and the brownie layer. Its molasses content adds moisture, a deeper, more pronounced caramel note, and contributes to a wonderfully chewy texture in the brownies, intensifying their fudginess.
- Granulated White Sugar: Provides pure sweetness and, when combined with brown sugar, helps achieve that perfect brownie texture—fudgy yet with a slight crispness on the edges.
- Pure Vanilla Extract: A crucial flavor enhancer. Vanilla doesn’t just add its own sweet aroma; it amplifies the chocolate notes and adds a warm, aromatic depth that rounds out the sweetness, making the chocolate taste even richer.
- Eggs: Provide essential structure and richness to the brownie layer. This recipe specifically calls for 2 large eggs to ensure a dense, fudgy texture, leaving ample space in the pan for our glorious marshmallow topping. (If you prefer a slightly cakier brownie, you can add a third egg!)
- Unsweetened Cocoa Powder: The heart of our deep chocolate flavor. Using good quality unsweetened cocoa powder is key to achieving a rich, dark, and intense chocolate brownie. It’s the backbone of the brownie’s decadent taste. And if you love chocolatey brownies, you’ve got to try my Brownies with Cream Cheese Frosting!
- All-Purpose Flour: Just enough to bind the brownie batter without making it too cakey. It contributes to the desired fudgy texture, ensuring the brownies remain dense and moist.
- Salt: Essential for balancing sweetness and bringing out the complex flavors of chocolate and butter. Don’t skip this; it truly makes a difference in enhancing all the other ingredients!
- Semisweet Chocolate Chips: These melt into a smooth, luscious chocolate layer on top of the warm brownies, adding another layer of classic s’mores chocolate goodness before the marshmallow. It’s that critical chocolate element that truly defines s’mores.
- Marshmallow Fluff (a.k.a. Marshmallow Creme): The star of the show! This ready-to-use topping is perfectly gooey, sticky, and toasts up beautifully to mimic the campfire experience. Its airy texture transforms into a golden, bubbly cloud under heat, providing that irresistible s’mores finish.
Equipment You’ll Need
Once you’ve gathered all your delicious ingredients, the next step is to prepare your kitchen tools. Having the right equipment makes the baking process smooth and enjoyable:
- A 9×9 baking pan is ideal for creating thick, substantial brownie squares. If you have a springform pan or a high-sided 8×8 pan, those could also work, though baking times might vary slightly. Let me know in the comments below what you used!
- **Heavy-Duty Aluminum Foil:** This is your best friend for easy clean-up and ensuring your brownies lift out of the pan effortlessly once cooled.
- An offset spatula is highly recommended for smoothly spreading both the melted chocolate layer and the notoriously sticky marshmallow fluff. Its angled blade makes it much easier to achieve an even, pristine coating.
- **Mixing Bowls:** You’ll need at least two – one for preparing the graham cracker crust and another for the brownie batter.
- **Whisk and Rubber Spatula:** For combining ingredients until perfectly smooth and folding in dry ingredients without overmixing.
- **Measuring Cups and Spoons:** Essential for accurate ingredient measurements, which is key for consistent baking results.
- A **Culinary Torch (Optional but Recommended):** While a broiler works, a culinary torch offers more control for toasting the marshmallow topping evenly and precisely, reducing the risk of burning.
And if you love marshmallows, try my Chocolate Chip and Marshmallow Cookies!
Tips for the Best S’mores Brownies Every Time
Follow these expert tips to ensure your s’mores brownies turn out perfectly fudgy, gooey, and absolutely delicious every single time:
Achieving Fudgy Perfection (Eggs)
This s’mores brownie recipe is intentionally designed for maximum fudginess, which is why it calls for just 2 large eggs. This ratio creates a denser, chewier brownie layer that serves as the perfect base for our marshmallow topping. If you happen to prefer a brownie texture that’s slightly lighter or more cake-like, feel free to incorporate a third egg into the batter. For those days when you need a quick and easy alternative, you can certainly choose to swap in your favorite brownie box mix, prepared according to the instructions on the package. Just make sure to use a good quality mix for the best flavor!
Spreading and Slicing Marshmallow Fluff with Ease
Marshmallow fluff can be notoriously sticky and challenging to work with. To make spreading it neatly across your chocolate layer a breeze, I highly suggest having a damp cloth or a small bowl of warm water on hand. Dip and wipe down your offset spatula after each pass. This simple trick will help you achieve a smooth, even marshmallow layer without getting it everywhere! The same principle applies when it’s time to slice your cooled brownies for serving: warm your knife slightly under hot water and wipe it clean with a damp cloth between each cut. This will prevent sticking and ensure beautifully clean, defined squares.
Broiler Safety: Toasting Marshmallows Safely
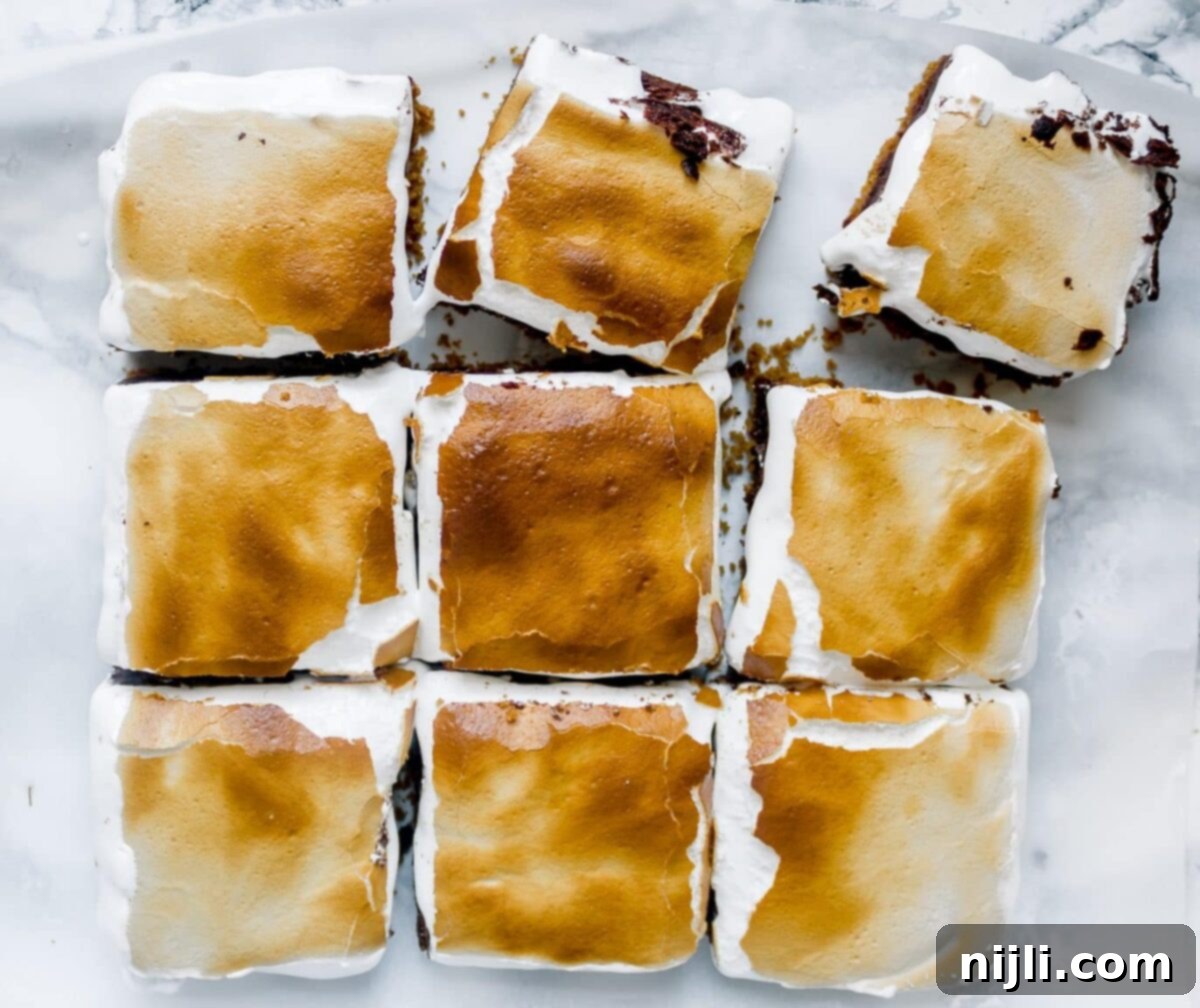
To achieve that perfectly golden-brown, toasted marshmallow topping, the broiler is your friend, but caution is absolutely paramount. Marshmallow can go from perfectly toasted to burnt or even aflame very quickly. Always place your pan on a center rack, ensuring it’s far enough away from the direct heat source. The key here is to watch the pan constantly – do not walk away! The moment you see the marshmallows start to puff, turn golden brown, and perhaps even begin to gently smoke, it’s time to take them out immediately. In general, use an abundance of caution anytime you’re using the broiler. A culinary torch is a safer and more controlled alternative if you have one.
Cooling for Cleaner Cuts and Optimal Texture
Patience is a virtue, especially with these brownies! Allowing them to cool completely, and even chilling them in the refrigerator, is crucial. This step not only sets the chocolate and marshmallow layers but also makes the brownies significantly easier to cut into neat, individual servings. The chilled chocolate layer will also firm up, providing a delightful slight crunch that contrasts beautifully with the gooey marshmallow and fudgy brownie. For best results, chill for at least 2 hours, or even overnight.
Related Recipes and Dessert Inspirations
If these S’mores Brownies have sparked your dessert cravings, you’re in luck! I’m always sharing fun and delicious recipes, and many, like these s’mores brownies, are perfect all year round. Here are some more delightful treats you might enjoy:
One of my all-time favorites that transcends seasons is my brown butter peach tart. You can even make it with frozen peaches, allowing you to savor its flavors any time of the year!
And if you’re a true brownie connoisseur, be sure to explore more of my brownie variations: try my Mini Egg Brownies, my Dairy Free Brownies, my Biscoff Brownies, or my unique Matcha Brownies! Chocolate lovers will definitely want to check out my Matilda’s Chocolate Cake for an extra dose of decadence.
Another show-stopping dessert I adore is my prize-winning pineapple pecan cheesecake crumb bars with a brown butter coconut icing! That name is a mouthful, and so are these incredibly decadent dessert bars! I actually made these for a family bake-off and, of course, they were a winner. Give them a try today!
And if you love sprinkles, check out my Birthday Rice Krispie Treats for a fun and colorful snack!
📖 Recipe
S’mores Brownies
Pin Recipe
Rate Recipe
Save RecipeSaved!
Equipment you may need
-
9×9 baking pan
-
offset spatula
-
whisk
-
rubber spatula
-
heavy-duty aluminum foil
-
measuring cups and spoons
-
mixing bowls
-
hand mixer
-
food scale
Ingredients
Graham Cracker Crust
- cooking spray
- 1½ cups graham cracker crumbs
- 6 tablespoon salted butter – melted
- ¼ cup dark brown sugar
Fudge Brownie Layer
- 1 cup salted butter – melted
- 2 large eggs – beaten
- 2 teaspoon pure vanilla extract
- 1 cup granulated sugar
- ½ cup dark brown sugar – packed
- ¾ cup unsweetened cocoa powder – 75g
- 1 cup all-purpose flour – 120g
- 1 teaspoon salt
Topping
- 1 cup semisweet chocolate chips
- 13 oz marshmallow fluff – a.k.a. marshmallow creme
Instructions
Prepare Graham Cracker Crust
-
Line the bottom and all sides of a 9×9 baking pan with heavy-duty aluminum foil, and spray lightly with cooking spray. This will make removal incredibly easy!
-
In a medium bowl, combine graham cracker crumbs, melted butter, and dark brown sugar. Stir well until all the crumbs are evenly moistened and coated.
-
Press the crust mixture firmly and evenly into the bottom of the prepared baking pan. Set aside.
Fudge Brownie Layer
-
Preheat your oven to 350°F (175°C).
-
In a large mixing bowl, whisk together the melted butter, beaten eggs, granulated sugar, packed dark brown sugar, and pure vanilla extract until the mixture is smooth and well combined.
-
Sift in the unsweetened cocoa powder, all-purpose flour, and salt. Gently fold these dry ingredients into the wet mixture using a rubber spatula until just combined. Be careful not to overmix!
-
Carefully spread the brownie batter evenly over the graham cracker crust in the prepared pan. Smooth the top with your spatula.
-
Bake for 25-30 minutes, or until a toothpick inserted into the center comes out with moist crumbs attached, indicating a fudgy center.
-
Just after removing the hot pan from the oven, sprinkle the semisweet chocolate chips evenly over the warm brownies. Allow them to sit for 5 minutes to melt, then gently spread the melted chocolate into an even layer using an offset spatula. Let the brownies cool completely before proceeding (I often place mine in the fridge to ensure they are thoroughly chilled and set).
Marshmallow Layer
-
Once the brownies are completely cooled and the chocolate layer is set, spoon the marshmallow fluff onto the chocolate layer. Use a damp offset spatula to spread it evenly across the entire surface.
-
To toast with broiler: Place the pan on a center rack in your oven and broil on high for 1-2 minutes, watching constantly, until the top of the marshmallow fluff is lightly browned and bubbly (see note on broiler safety!).
To toast with culinary torch: Alternatively, use a culinary torch to toast the marshmallow layer to your desired golden-brown perfection, which offers more control. -
Chill the brownies again for at least 30 minutes to firm up the marshmallow layer, then warm your knife with a damp cloth, cut into squares, and serve! Store any leftovers in the refrigerator to maintain their gooey texture.
Video
Notes
Spreading and Slicing Marshmallow Fluff: I would suggest having a damp cloth on hand to wipe down your offset spatula each time you spread your marshmallow fluff. It makes it easier to spread it neatly without getting it everywhere! And the same goes for when you slice your brownies to serve — be sure to wipe your knife with a damp cloth or warm it slightly between each cut to get clean edges!
Broiler Safety: Be sure to watch the pan constantly while using the broiler. Marshmallow can easily catch fire, so place your pan on a center rack so that it’s far enough away from the heat source. Once you see the marshmallows start to smoke and brown, it’s time to take them out! In general, use an abundance of caution anytime you’re using the broiler. A culinary torch offers more control for toasting.
Storage and Freezing: These s’mores brownies should be stored in an airtight container in the fridge to keep the marshmallow layer fluffy and the brownie fudgy. They will last for 3-4 days. They can be served chilled or at room temperature. I personally love them straight out of the fridge, because the marshmallow is still deliciously gooey but the chocolate layer has a delightful slight crunch! For longer storage, individual brownie squares can be frozen in an airtight container or freezer bag for up to 2 months. Thaw in the refrigerator overnight or at room temperature for a few hours before serving.
Nutrition Disclaimer
PIN this s’mores brownie recipe for later!

Can’t get enough dessert bar recipes? Me neither! Here are some that you’ll love!
[wp_show_posts id=”1068″]
