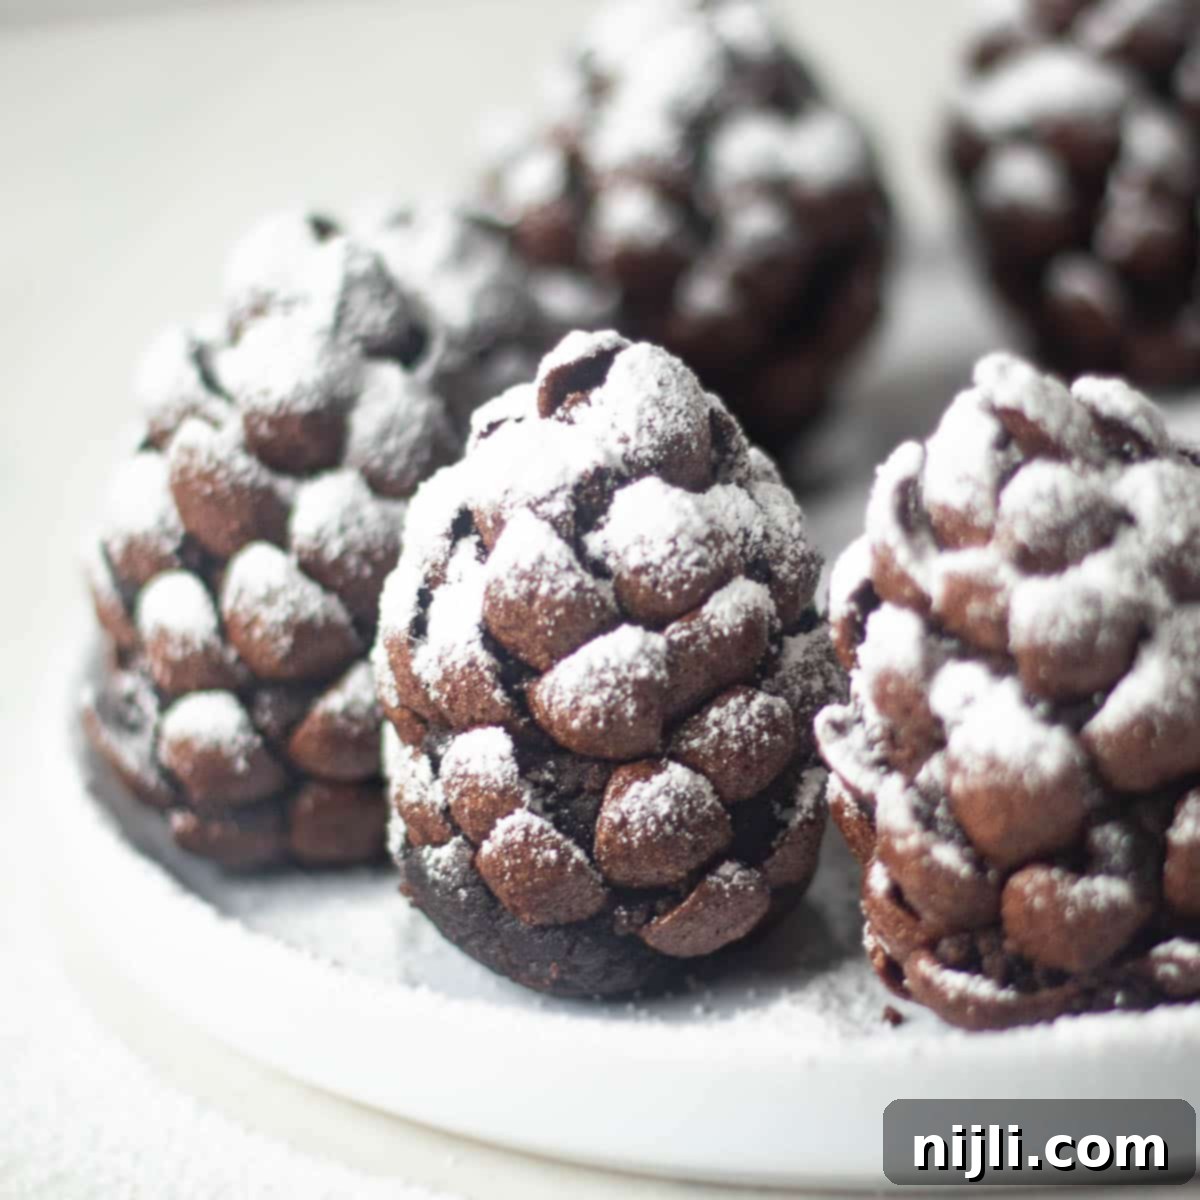
Delicious & Easy Pinecone Brownies: Craft Your Viral Holiday Treats with Chocolate Cereal or Almonds
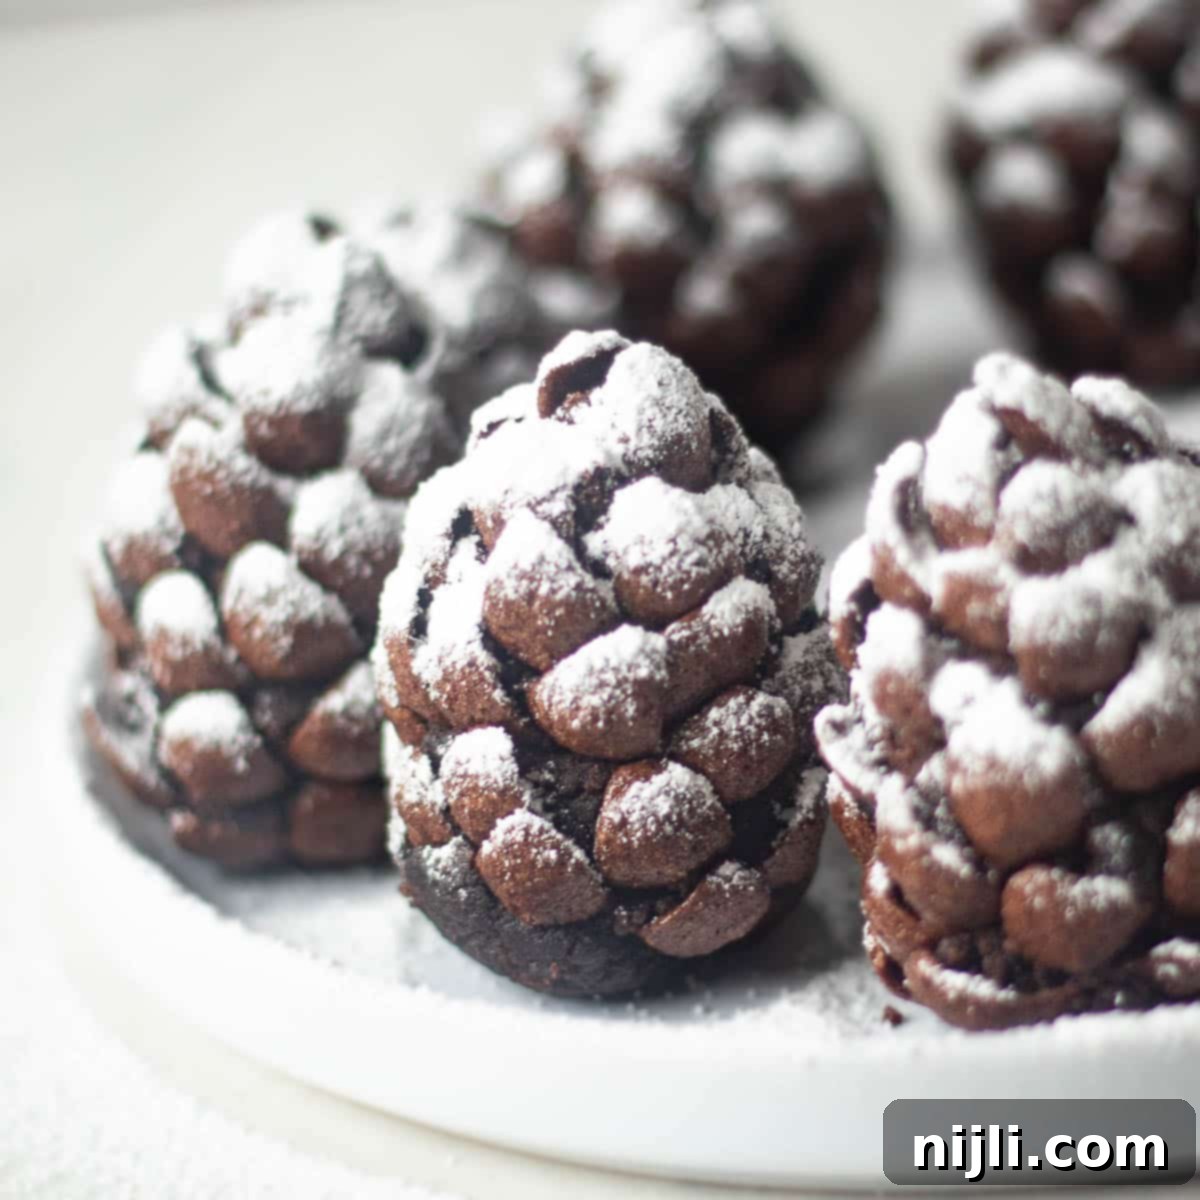
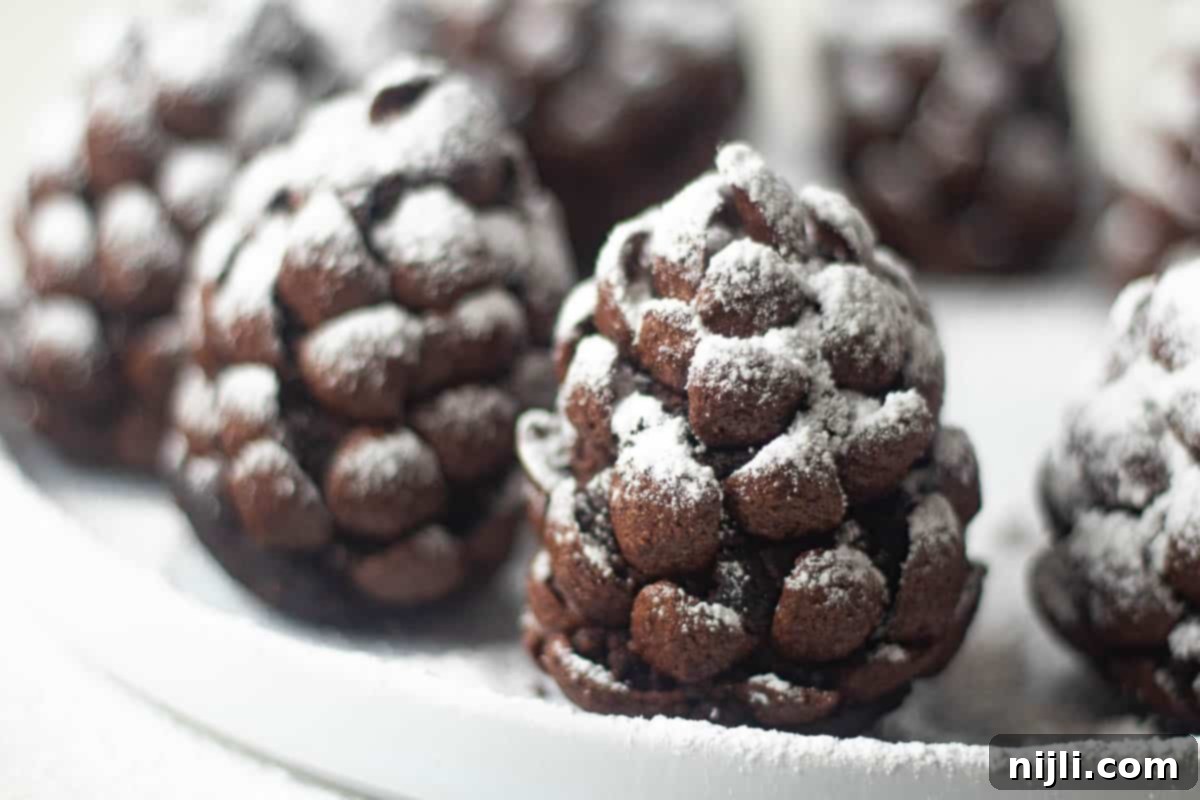
Are you ready to create a show-stopping holiday dessert that’s as delightful to look at as it is to eat? Look no further than these incredibly easy pinecone brownies! Inspired by the viral sensation that swept Instagram and TikTok, this recipe transforms ordinary brownies into charming, festive edible pinecones. Whether you’re a seasoned baker or just starting, our simple guide will help you craft these unique treats with your choice of crunchy chocolate cereal or elegant sliced almonds.
*This post contains affiliate links — as an Amazon Associate I earn from qualifying purchases. Please see my disclosure for details*.
For more festive dessert ideas, be sure to check out my Christmas Oreos, my Pop Tart Gingerbread House, or my rich Chocolate Orange Cake!
The Magic of Pinecone Brownies: A Holiday Delight
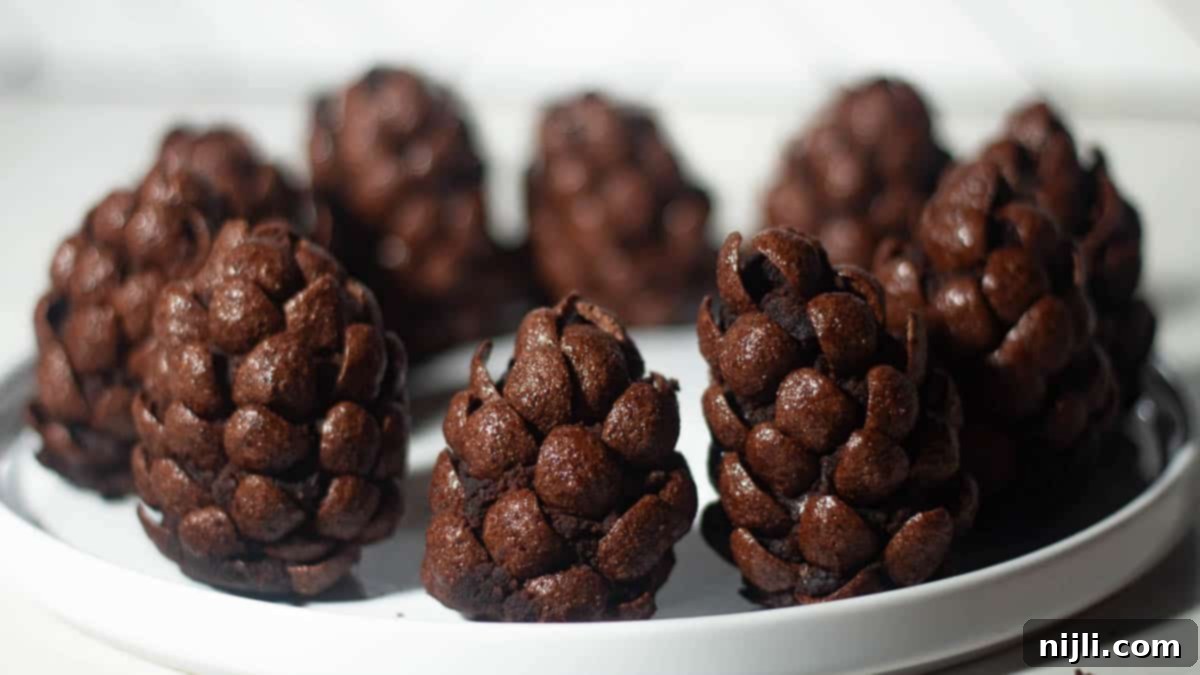
These pinecone brownies are more than just a dessert; they’re a unique edible art project that brings joy and festivity to any holiday occasion. Imagine the delight on your guests’ faces when they see these charming, forest-inspired treats on your dessert table! They are incredibly versatile, allowing you to use your favorite homemade brownie recipe or even a convenient box mix, making them accessible for bakers of all skill levels. The transformation from a simple brownie square to a miniature pinecone is surprisingly straightforward and incredibly rewarding, especially when you achieve that realistic, textured look.
Beyond their stunning appearance, these brownies offer a wonderful opportunity for family fun. Gathering loved ones in the kitchen to shape and decorate these treats can become a cherished holiday tradition. Kids, in particular, will love pressing the “scales” onto the brownies and watching their creations come to life. With just a few simple ingredients and a dash of creativity, you can capture the essence of winter wonder in a bite-sized, chocolatey package.
Perfect for Holiday Baking and Family Activities!
Making pinecone brownies is not just about the end result; it’s about the delightful process! This recipe is an ideal weekend or afternoon activity during the bustling holiday season. It’s wonderfully engaging for children and adults alike, making it a fantastic way to spend quality time together. You can customize them to your heart’s content – add a generous dusting of powdered sugar for that picturesque snowy effect, just like the viral versions seen on TikTok. Get ready to create some delicious memories today!
Choosing Your Brownie Base for the Best Pinecone Shape
The foundation of a perfect pinecone brownie lies in a well-chosen brownie base. You have flexibility here: feel free to use your tried-and-true homemade brownie recipe or opt for the convenience of a boxed brownie mix. The key is to select a brownie that will hold its shape when molded. Fudgy or chewy brownies are typically best for this recipe, as their dense, moist texture allows them to be easily pressed into a cone shape without crumbling. Cakey brownies, while delicious, might be too delicate and fall apart during the shaping process.
If you’re baking from scratch, I highly recommend my Triple Chocolate Brownies for a rich, indulgent base, or my Dairy Free Brownies recipe for an equally delicious, allergy-friendly option. Whichever you choose, ensure your brownies are baked and cooled just enough to be handled but still slightly warm and pliable. This slight warmth makes them much easier to shape without cracking.
Ingredients for Your Easy Pinecone Brownies
These incredibly easy pinecone brownies only require a few main ingredients, allowing the fun of assembly to take center stage. Here’s a detailed look at what you’ll need to create these festive treats:
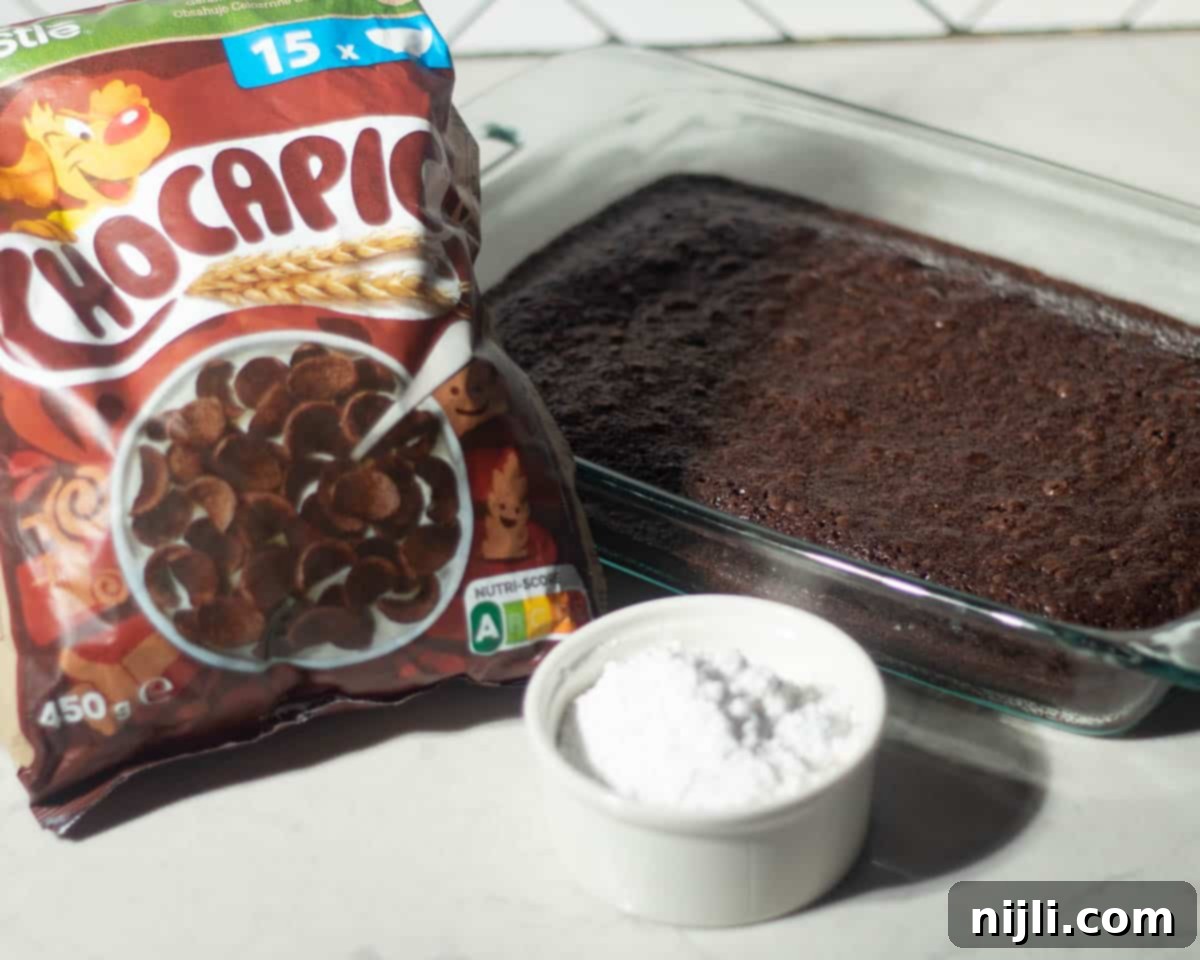
- Brownies: As discussed, a fudgy or chewy brownie base is crucial for successful shaping. You can bake a batch of homemade brownies using a recipe like my Condensed Milk Brownies, which offer a delightful richness, or simply use your favorite boxed brownie mix according to package directions. If you’re a true brownie aficionado, you might also love my Brownies with Cream Cheese Frosting, though for pinecones, a plain base is preferred.
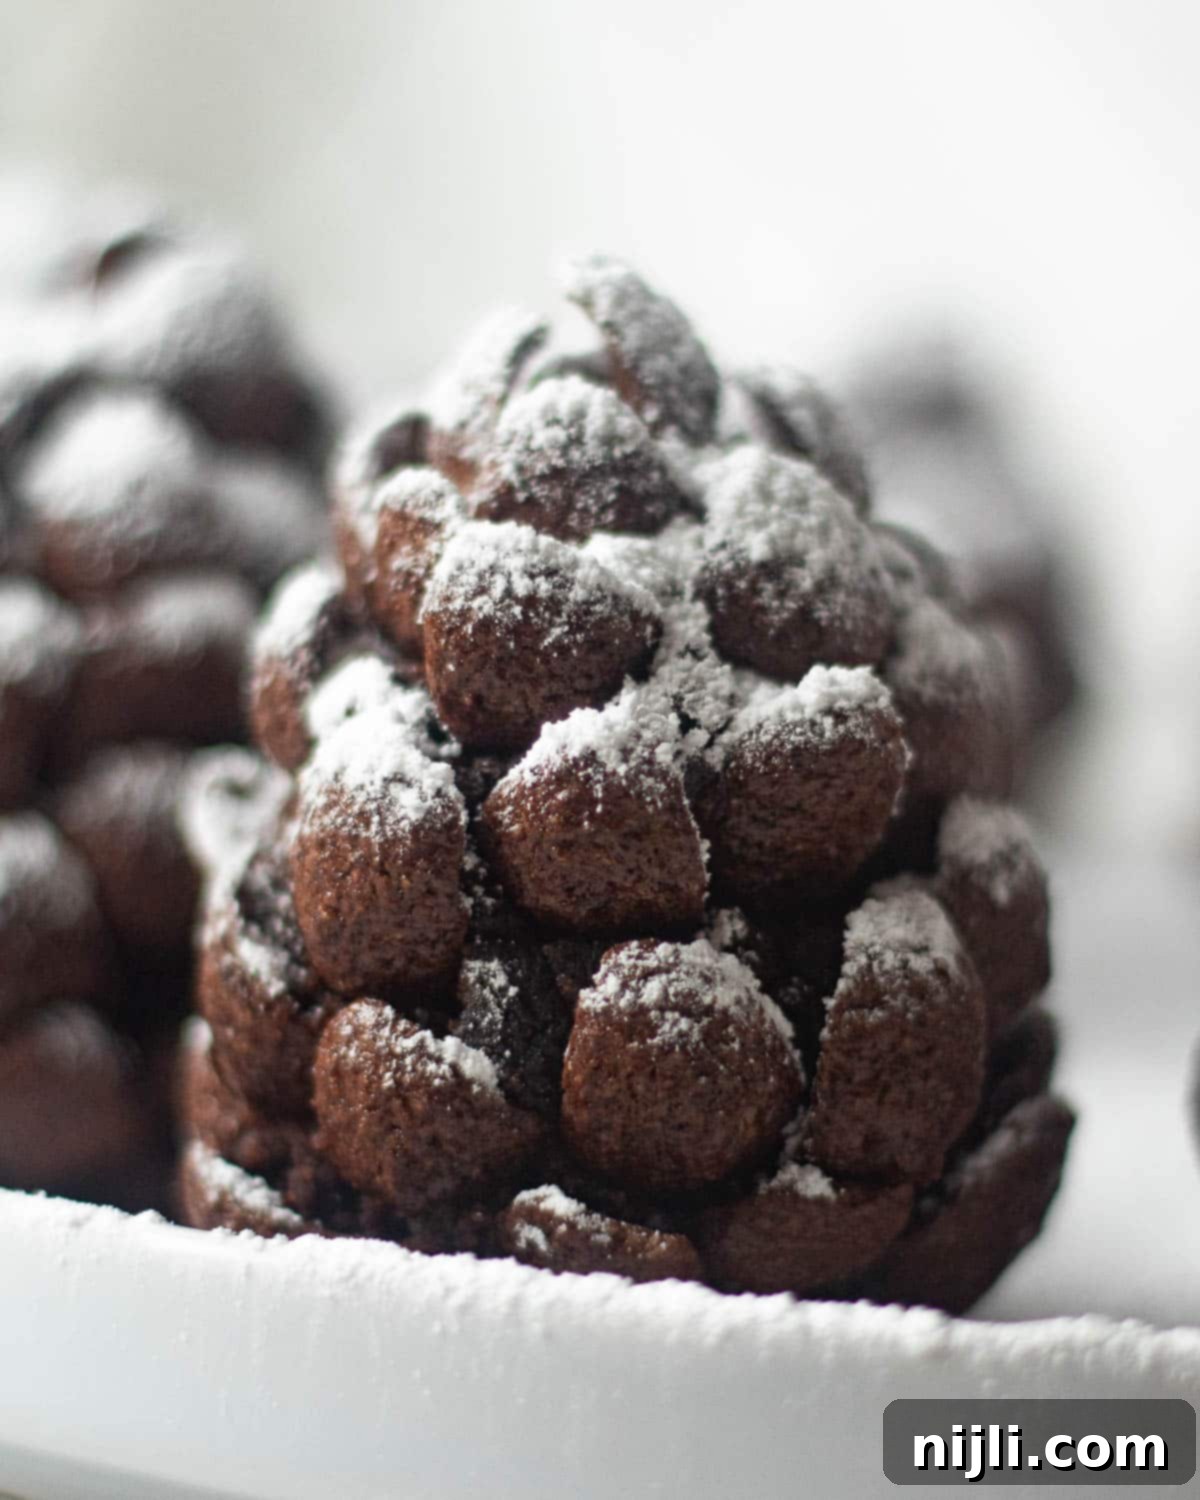
- Chocapic Cereal (or similar chocolate flake cereal): To create the distinct textured outer layer of these pinecone brownies, I’ve found Chocapic cereal to be ideal. Its flaked shape closely mimics the scales of a real pinecone. If Chocapic isn’t available, any similar chocolate flake cereal, such as Premier Protein Chocolate Cereal or even a crushed chocolate cornflake, will work perfectly. The key is to find flakes that are firm enough to hold their shape but thin enough to press into the brownie.
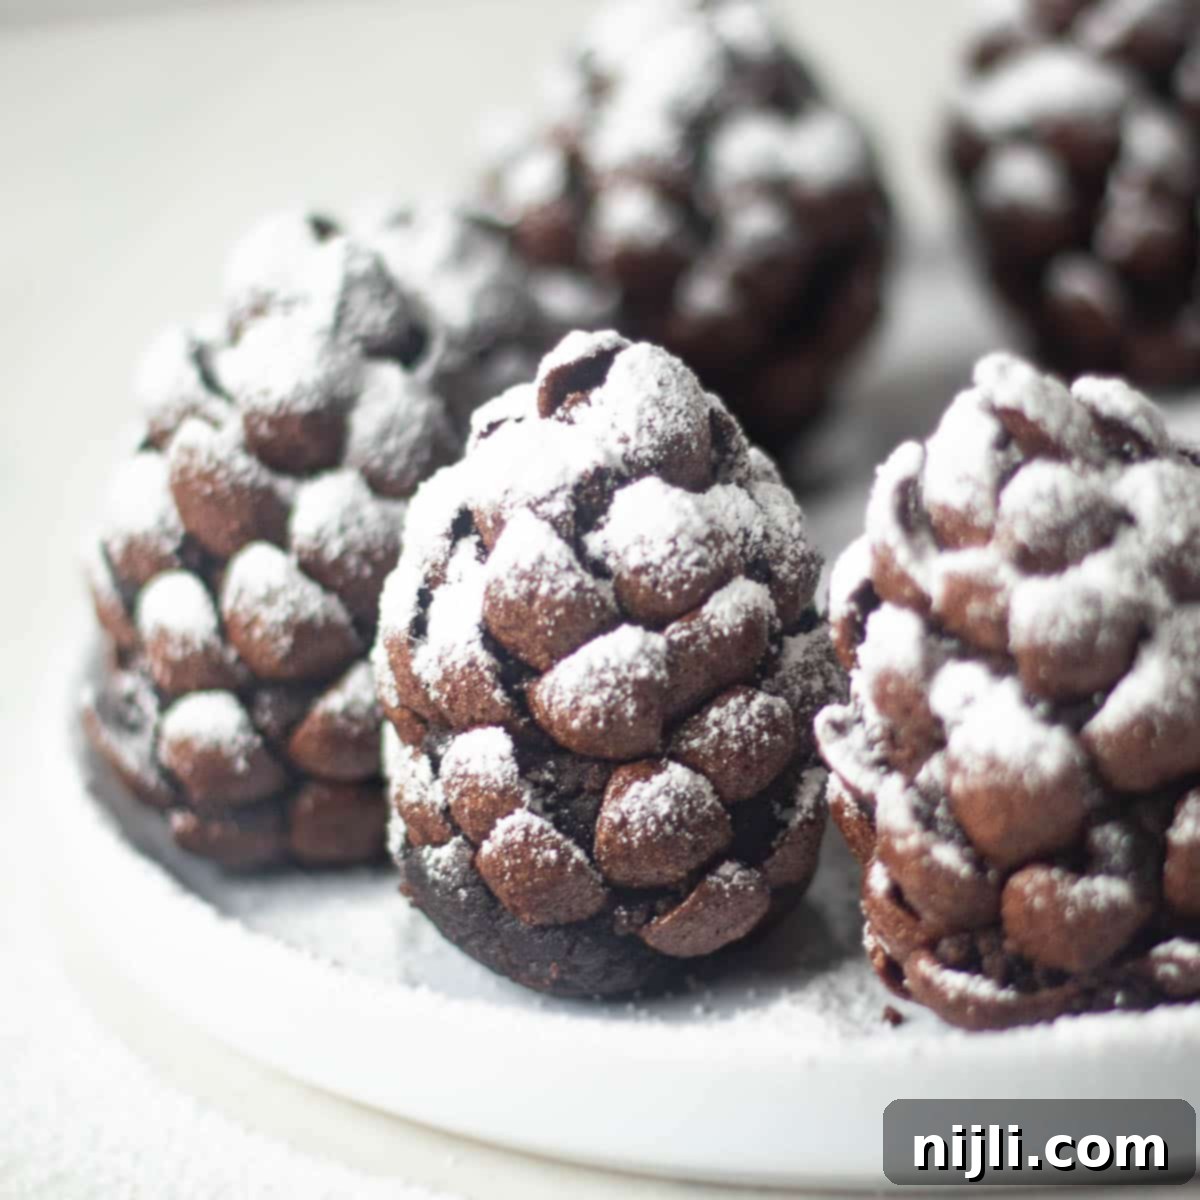
- Powdered Sugar: Also known as icing sugar or confectioners’ sugar, this is your secret weapon for that magical, snowy finish. A light dusting over the finished pinecone brownies instantly elevates their festive appeal, making them look like real pinecones fresh from a winter wonderland. It adds a subtle sweetness and a beautiful visual contrast.
- Optional: Sliced Almonds: For a different aesthetic and nutty flavor, you can swap the chocolate cereal for sliced almonds. This variation offers a more natural, sophisticated look, and the process is very similar.
- Optional: Melted Chocolate Candy Melts or Chocolate Chips: If using almonds, a small amount of melted chocolate (chocolate candy melts work great for smooth consistency) can be used to lightly coat the brownie before pressing the almonds, or to drizzle over the finished almond pinecones for a more uniform chocolate color and to help bind the almonds.
See the recipe card below for exact quantities.
Equipment for Effortless Pinecone Brownie Making
Gathering the right tools before you start will make the process of creating your pinecone brownies smooth and enjoyable. You’ll need the standard equipment for baking your brownies, which typically includes:
- A 9×13 inch baking pan (or similar size for your brownie recipe) to ensure even baking and easy cutting.
- A mixing bowl and a balloon whisk or electric mixer, depending on whether you’re using a box mix or making brownies from scratch.
- Parchment paper or aluminum foil to line your baking pan, which makes removing the baked brownies and cleanup incredibly easy.
- A sharp knife for cleanly cutting the brownie slab into individual portions.
For the decorative finishing touch, I highly recommend a small fine-mesh sieve. This simple tool is perfect for dusting powdered sugar evenly over your pinecone brownies, creating that delicate, snowy look without clumps. A flat platter or baking sheet lined with parchment paper will also be useful for holding your shaped brownies as you decorate them.
Step-by-Step Instructions for Your Pinecone Brownie Masterpiece
Ready to transform your brownies into these adorable pinecones? The recipe card below provides detailed step-by-step instructions, including full ingredient measurements and a helpful recipe video. But here’s a quick overview of how you’ll bring this pinecone brownie recipe to life!
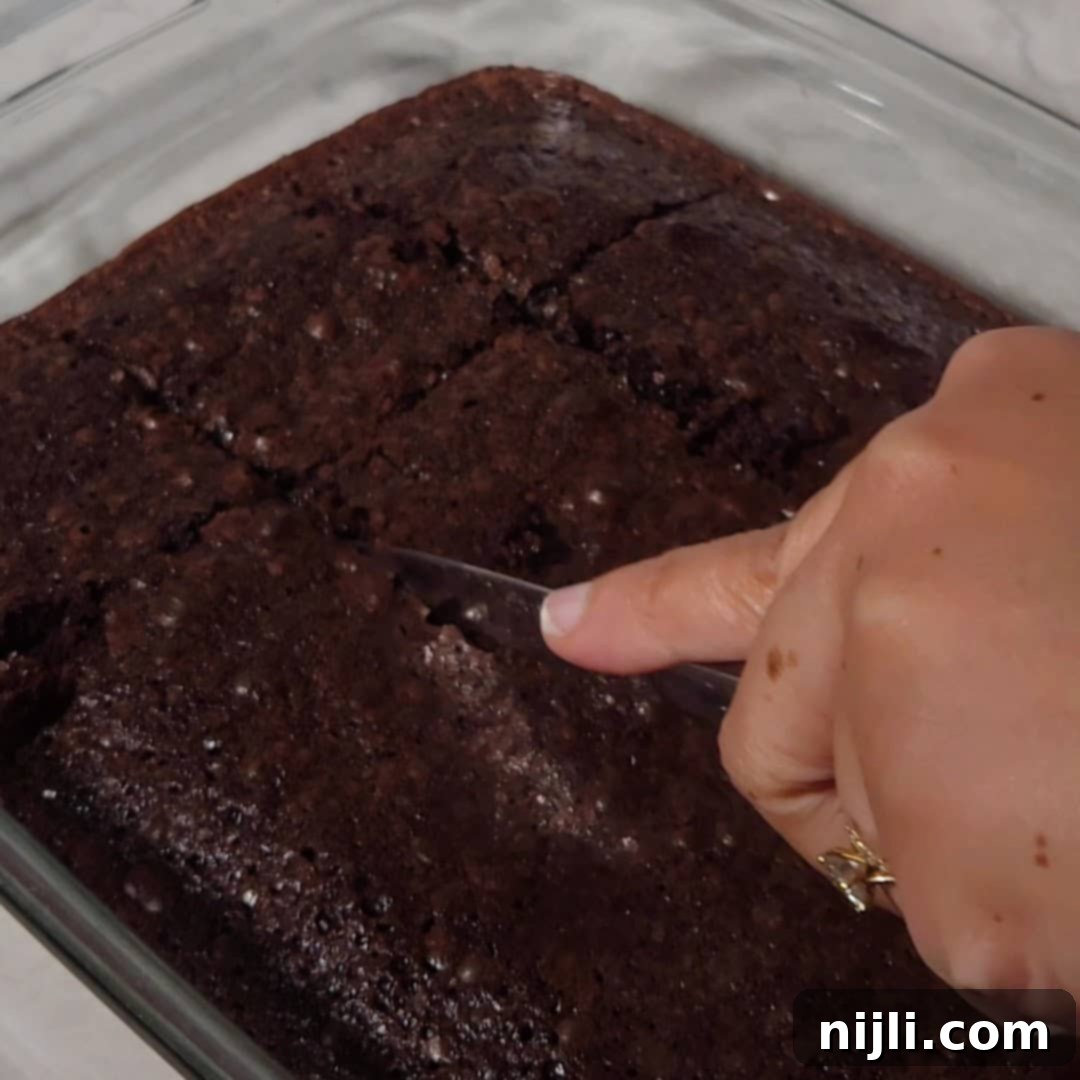
Step 1: Prepare and Cut Brownies. Bake your brownies according to the package directions or your chosen recipe instructions. It’s crucial to let them cool slightly, but they should still be warm enough to be pliable. Once ready, carefully cut the brownie slab into 12 even bars. This ensures a consistent size for your pinecones.
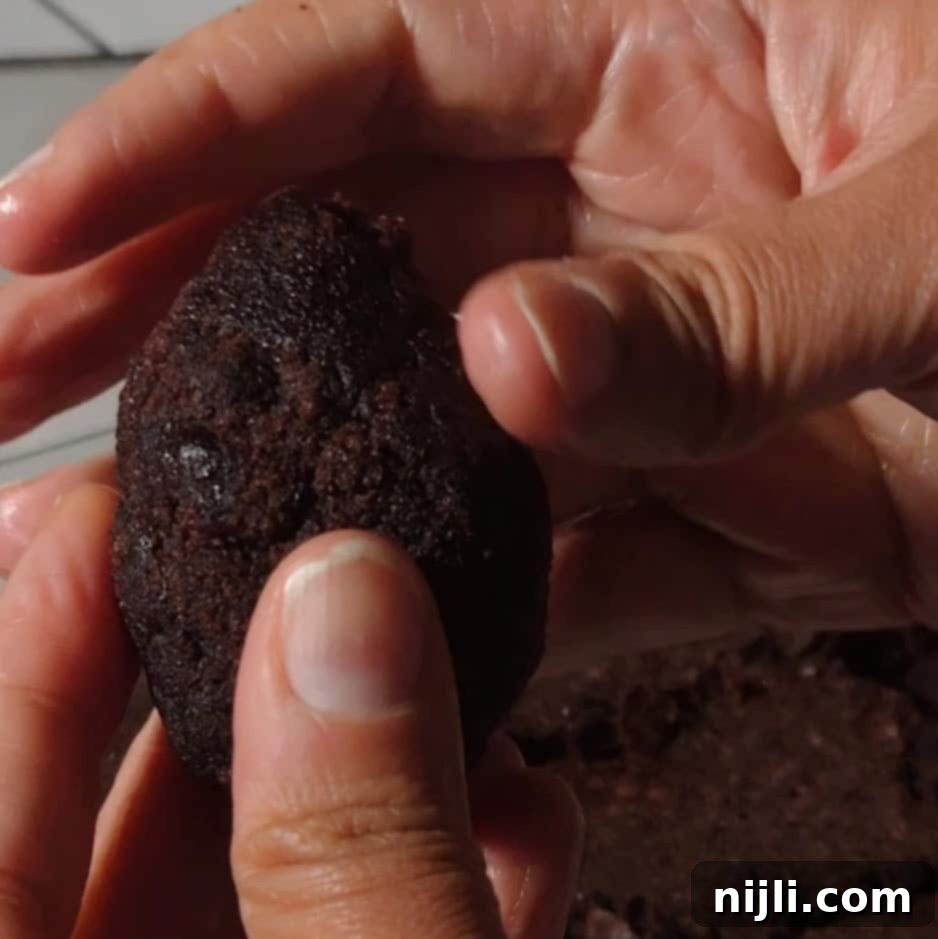
Step 2: Shape the Brownie Bases. While the brownies are still slightly warm, take each individual bar and gently press and mold it with your hands into an egg or cone shape. Aim for a distinct taper at one end, resembling the top of a pinecone. Set these shaped brownie cones aside on a parchment-lined surface.
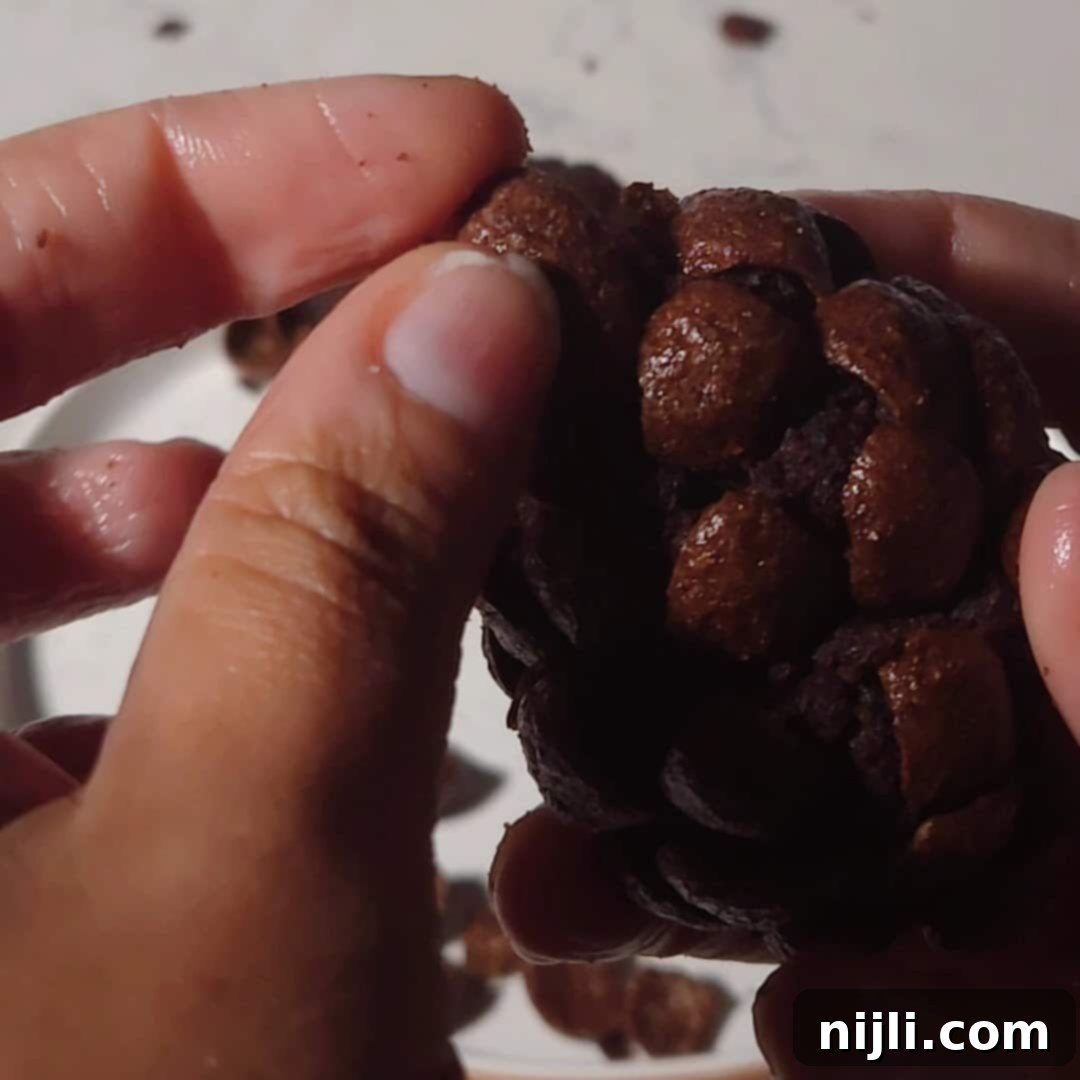
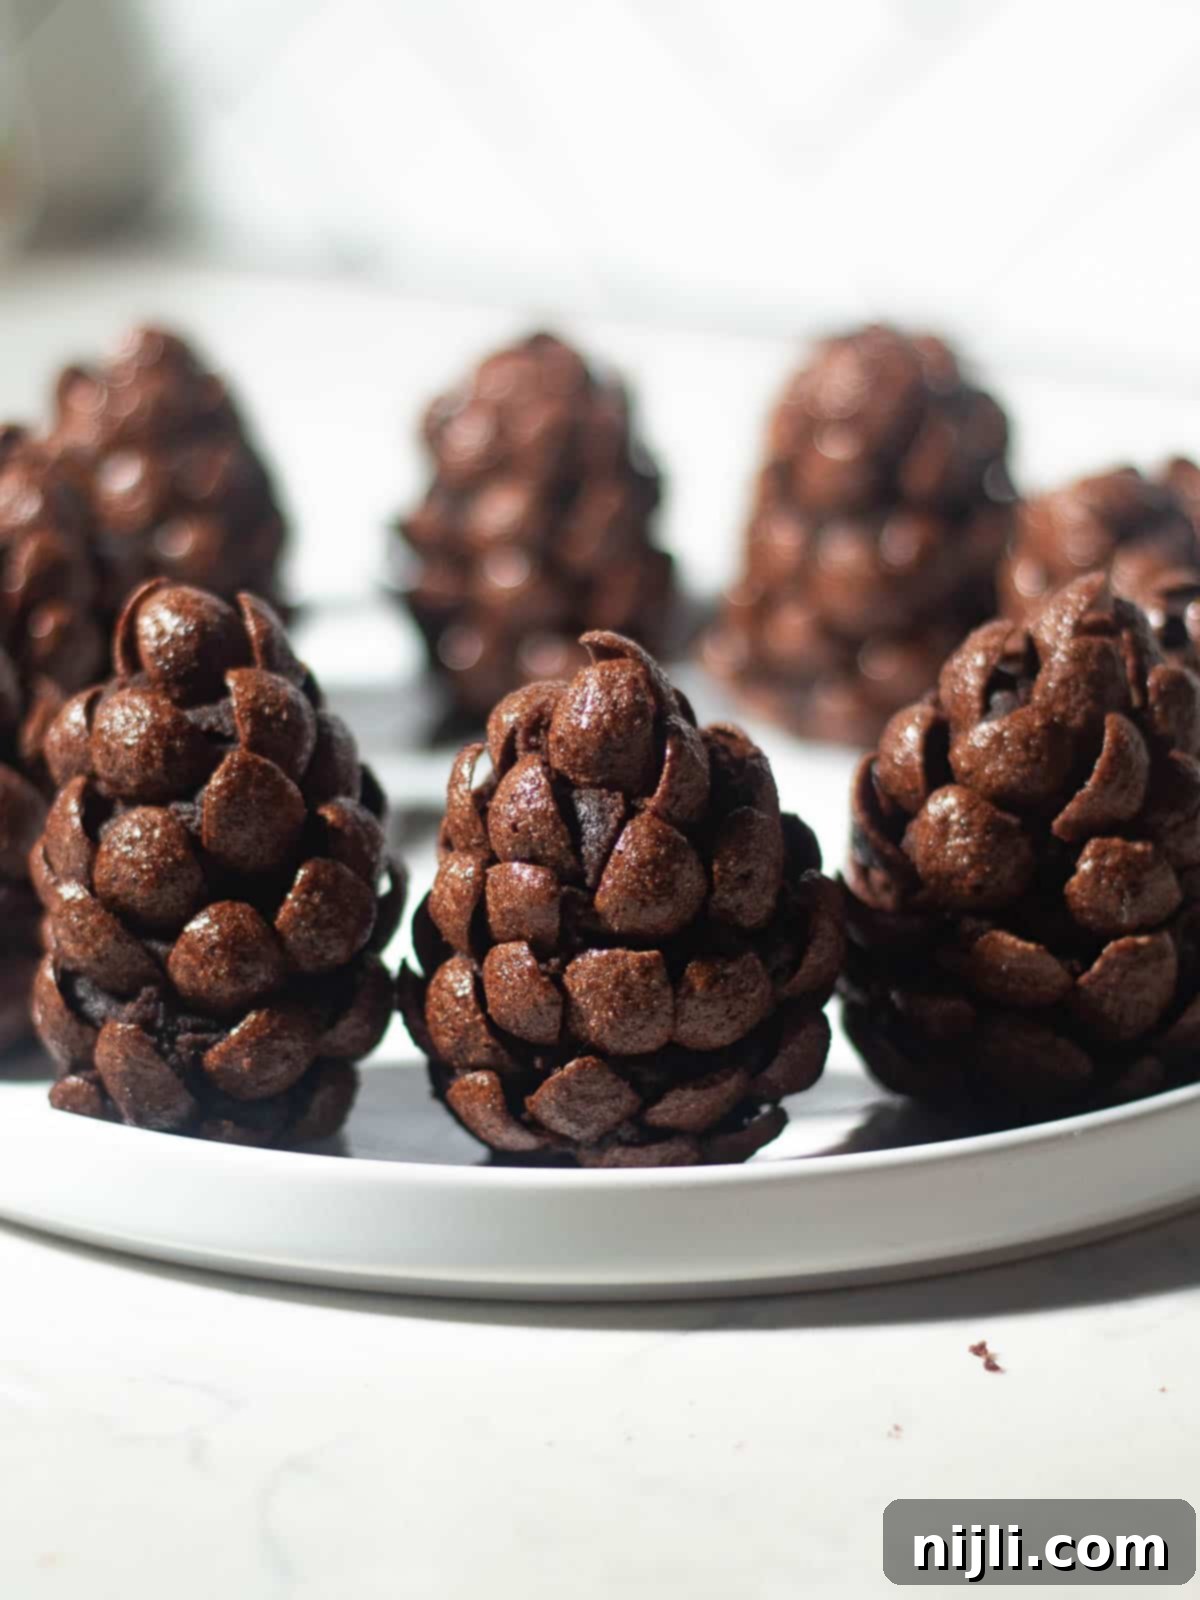
Step 3: Add the “Scales.” This is where the magic happens! Starting at the wider base of your brownie cone, gently press individual chocolate cereal pieces (or sliced almonds) about halfway into the sides of the brownie. Overlap them slightly as you work your way upwards, creating rows that mimic the layered structure of a real pinecone. Continue this process until the entire surface is covered, or until you’re happy with the pinecone effect.
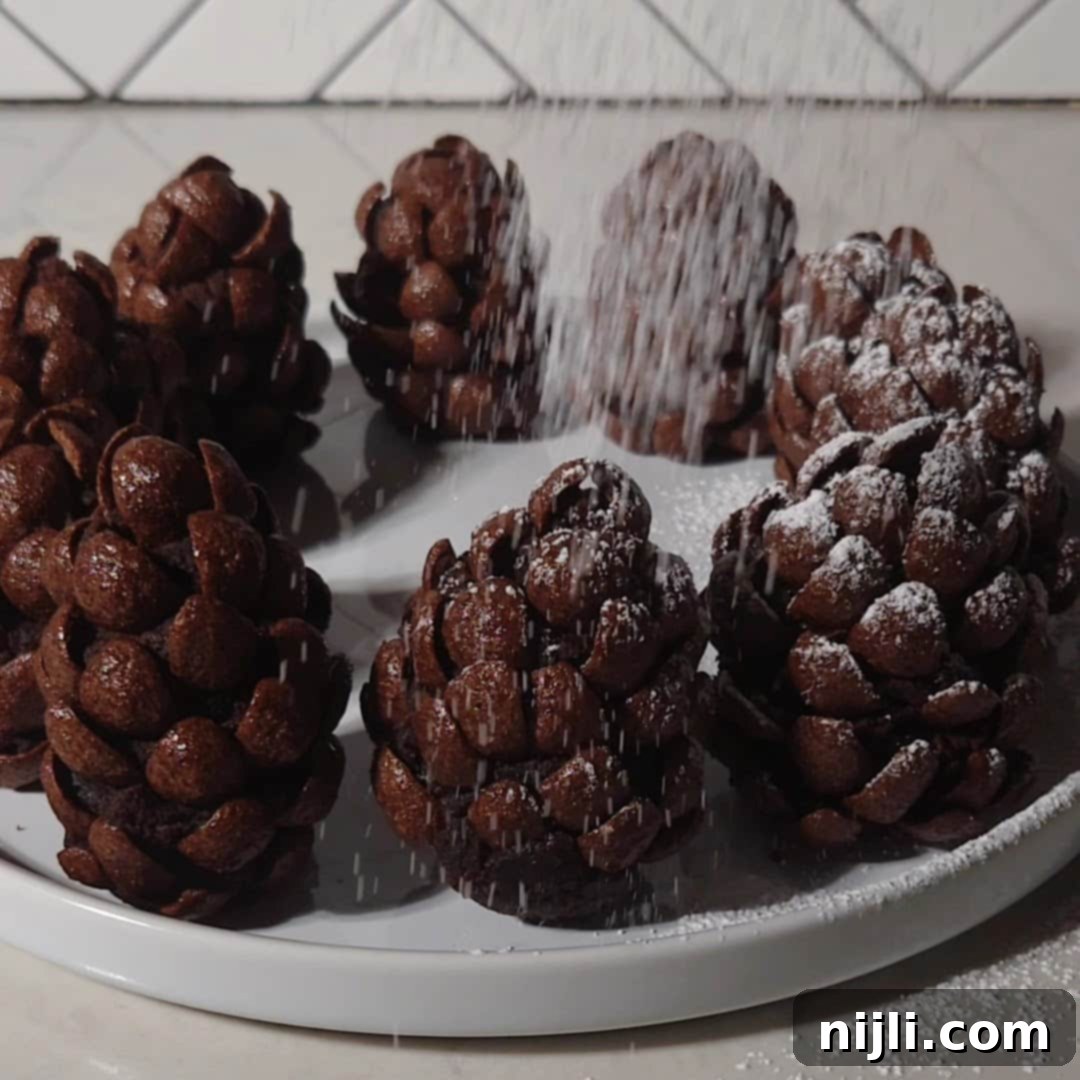
Step 4: Dust with Powdered Sugar. For that quintessential winter holiday look, place your finished pinecone brownies on a clean surface or wire rack. Using a fine-mesh sieve, lightly dust them with powdered sugar. This creates a beautiful “snow” effect that enhances their festive charm. You can apply as much or as little as you like to achieve your desired snowy appearance.
Hint: Be extra gentle when pressing in the cereal pieces or almonds – they can be quite delicate and easily break if too much force is applied!
Pinecone Brownies with Almonds: A Nutty Variation
While the chocolate cereal creates an undeniably charming pinecone, a delightful alternative exists for those who prefer a nutty flavor and a slightly different aesthetic: pinecone brownies with almonds! This variation offers a more natural, subtle look and a wonderful added crunch. If you opt for this method, you’ll swap out the Chocapic cereal for thinly sliced almonds.
The only additional step to perfect your almond pinecones is to melt some chocolate candy melts or regular chocolate chips. Once melted and smooth, you can either lightly brush or dip the shaped brownie cone into the chocolate before pressing the almond slices. This helps the almonds adhere beautifully and creates a more uniform dark brown base, enhancing the realistic pinecone appearance. Alternatively, after attaching the almonds, you can drizzle the melted chocolate over the top to fill in any gaps and provide a cohesive, shiny finish. The slightly darker chocolate base beneath the almonds will truly make them pop, creating a sophisticated and delicious holiday treat.
Storage and Serving Tips for Freshness
These easy pinecone brownies are absolutely at their best when enjoyed fresh, ideally on the same day they are made. The cereal pieces or almonds provide a wonderful crisp texture that can soften over time, especially if exposed to moisture. Therefore, I generally wouldn’t recommend storing them for extended periods if you want to maintain that perfect crunch.
However, if you do find yourself with leftovers or need to make them a day in advance, they can be stored. Place them gently in an airtight container at room temperature. This will help preserve their texture and freshness for up to 3 days. To help prevent the powdered sugar from clumping or absorbing moisture, you might consider dusting them just before serving. When it’s time to enjoy, simply bring them to room temperature if they’ve been stored in a cooler environment, and serve them on a festive platter to showcase their unique design. They make a perfect addition to any holiday cookie spread or as a delightful individual dessert.
Frequently Asked Questions About Pinecone Brownies
Making Pillsbury brownies is a breeze! Simply mix the contents of the box with water, oil, and eggs as instructed on the package. Bake them at the specified temperature (usually between 325–350°F) until a toothpick inserted comes out with moist crumbs. Let them cool slightly before shaping for this pinecone recipe (or dig in warm if enjoying as regular brownies!). For extra flair, swirl in Nutella or sprinkle with sea salt—instant brownie bliss.
A brownie is a rich, dense, and fudgy or cakey square of chocolatey heaven that’s somewhere between a cake and a cookie. It’s beloved for its chewy edges, gooey center, and irresistible chocolate flavor. Brownies are typically characterized by their deep chocolate taste, often complemented by nuts, chocolate chips, or frosting. Whether fudgy or cakey, brownies are the ultimate comfort dessert, and a perfect canvas for creative holiday treats like these pinecones!
Brownies generally come in three main types: fudgy (rich, dense, and gooey with a high fat-to-flour ratio), cakey (lighter, fluffier, and more crumbly, similar to a cake, with more flour and leavening), and chewy (dense with a soft, slightly elastic bite, often achieved with a combination of techniques from fudgy and cakey brownies). Each one’s delicious in its own way, but for these easy pinecone brownies, a chewy or fudgy brownie works best! That way, you’ll have no issues getting the brownies into the desired cone shape without them crumbling.
Absolutely! The beauty of this recipe is its adaptability. You can easily make these pinecone brownies gluten-free by using your favorite gluten-free brownie mix or a homemade gluten-free brownie recipe. For a vegan version, simply ensure your brownie base (whether store-bought or homemade) is vegan-friendly, and that your chocolate cereal or almonds are also free of animal products. The powdered sugar is typically vegan, but always double-check labels!
If your brownies seem too crumbly, they might be too cool or too dry. Try gently reheating them slightly in the microwave for a few seconds to make them more pliable. Alternatively, you can mash the brownie pieces together in a bowl with your hands, adding a tiny bit of softened cream cheese, nut butter, or even a tablespoon of frosting to help bind them together into a workable dough. This will create a denser mixture that is easier to mold into the pinecone shape.
Pro Tip: For Realistic Pinecone Texture
To achieve the most convincing pinecone effect, press the cereal pieces (or almonds) in close together and slightly overlap them. Start at the wide base and work your way up to the tapered top, ensuring each “scale” is firmly embedded. Happy baking!
Related Recipes for More Holiday Fun
Looking for other creative and delicious recipes like this one to add to your holiday spread or simply enjoy? Try these:
- Halloween Candy Bark with Oreo Cookies
- Nutella Baked Oats
- Christmas Oreos
- Cheesecake Mousse Cups
Perfect Pairings for Your Pinecone Brownies
These pinecone brownies are delightful on their own, but they also pair wonderfully with a variety of festive drinks and comforting dishes. Here are some of my favorite accompaniments:
- Peppermint Espresso Martini
- Butterscotch Milkshake
- Pressure Cooker Ham Braised in Beer
- Vegan Gingerbread Loaf Cake
If you try this recipe, I would love it if you could leave a star review rating and comment below! It’s so wonderful hearing your feedback and seeing your creations! And don’t forget to share your pinecone brownies with me by tagging @chenee_today on Instagram!
📖 Recipe
Easy Pinecone Brownie Recipe – Pine Cone Brownies
Pin Recipe
Rate Recipe
Save RecipeSaved!
Equipment you may need
-
9×13 baking pan
-
fine mesh sieve
Ingredients
- 12 brownies – baked and slightly cooled (still warm)
- 1-2 cups (60 g) Chocapic cereal
- powdered sugar
Instructions
-
Cut warm brownies into 12 bars.12 brownies
-
Use hands to press each warm brownie into a cone shape.
-
Press chocolate cereal pieces into the sides of each brownie cone, starting at the bottom and circling around to the top.1-2 cups Chocapic cereal
-
If you like, dust finished pinecone brownies with powdered sugar.powdered sugar
Video
Notes
Nutrition
Nutrition Disclaimer

