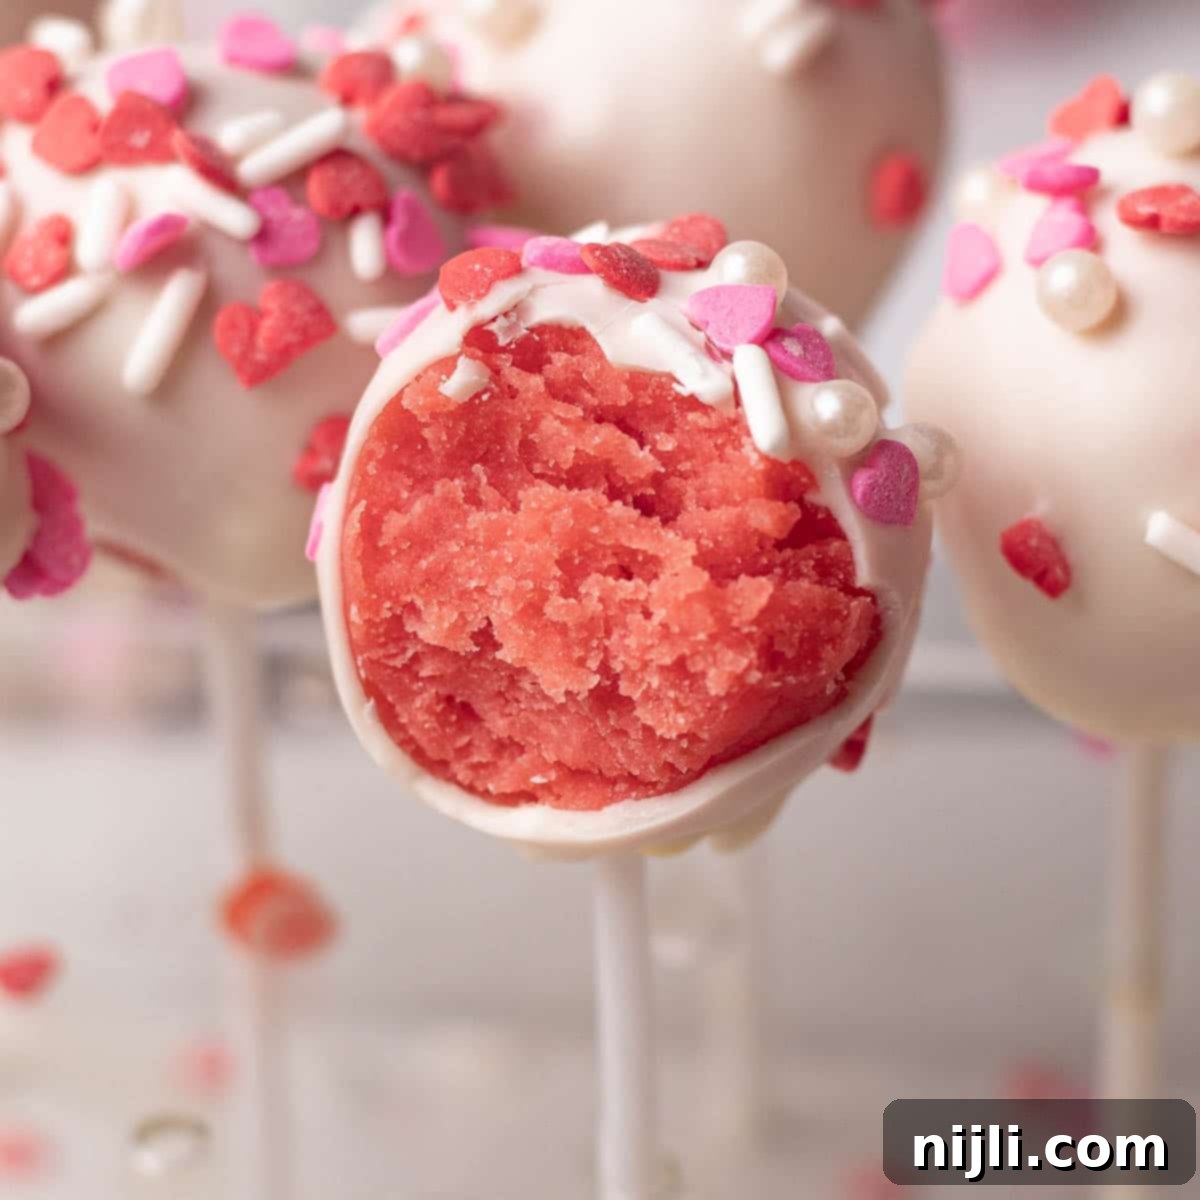
Delicious Valentine’s Day Cake Pops: An Easy Homemade Treat Recipe
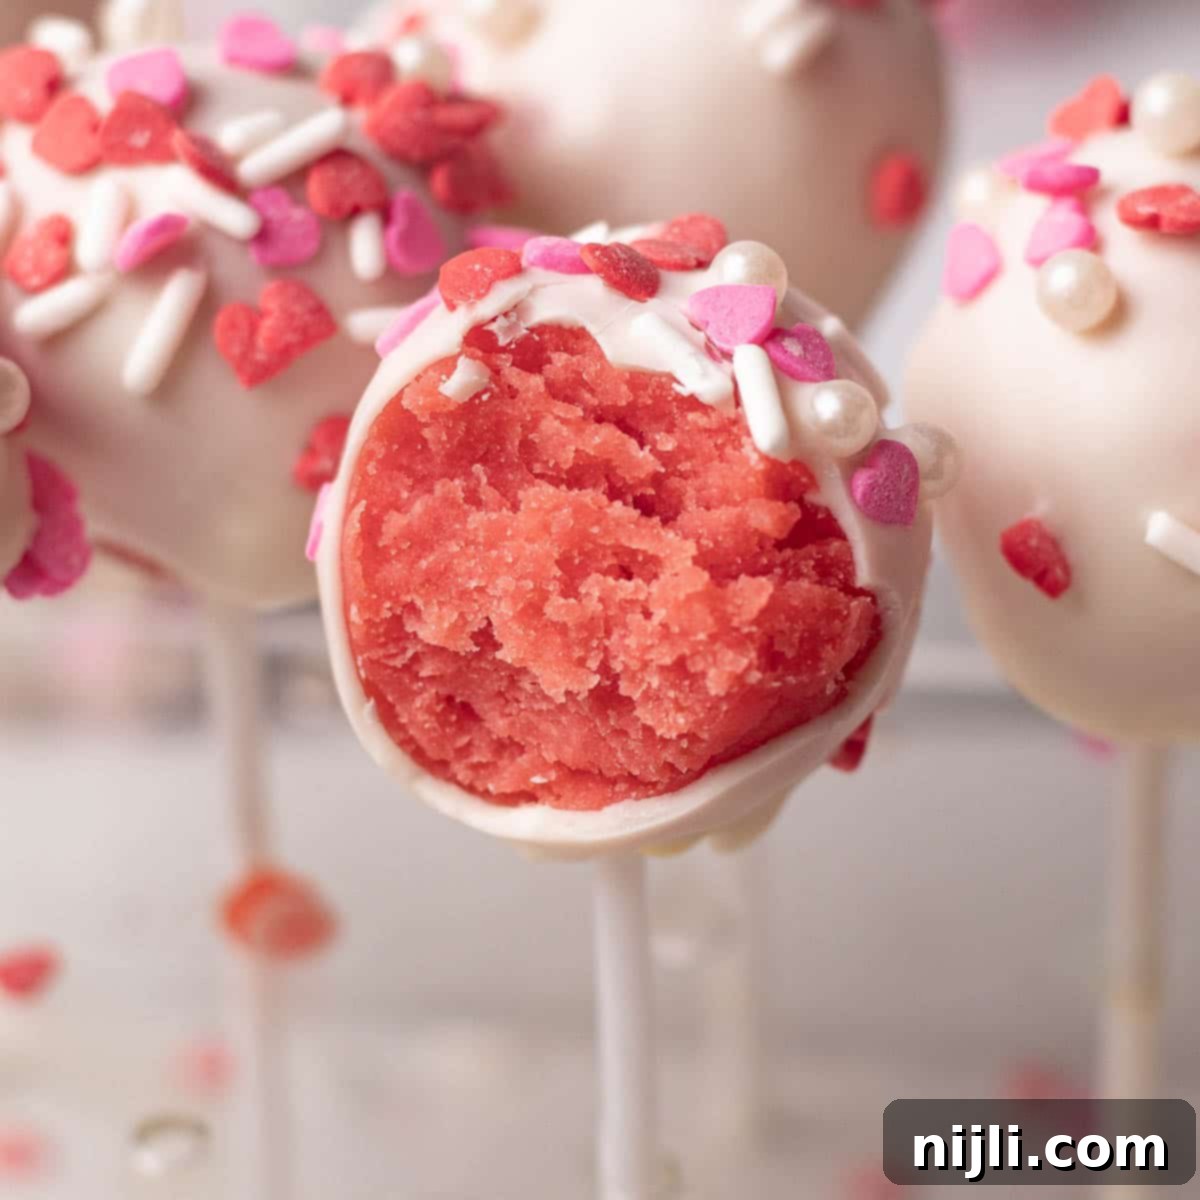
Welcome to the ultimate guide for creating enchanting Valentine’s Day Cake Pops! Whether you’re celebrating with loved ones, surprising a special someone, or simply indulging your sweet tooth, these delightful treats are perfectly suited for Valentine’s Day or any festive occasion throughout the year. Making homemade Valentine’s Day cake pops is surprisingly simple and incredibly rewarding. You can even skip the lollipop sticks and transform them into charming Valentine cake balls, perfect for a less formal gathering or as part of a dessert platter. Dive in to discover all my creative ideas, expert tips, and a foolproof cake pop recipe to ensure your treats turn out beautifully and deliciously every single time.
*This post contains affiliate links — as an Amazon Associate I earn from qualifying purchases. Please see my disclosure for details*.
If you’re a fan of these delightful Valentine’s cake pops and enjoy sweet, easy-to-make desserts, you’ll also adore my Raspberry White Chocolate Cookies, my Rice Krispie Treats with Chocolate Chips, and my Cheesecake Mousse Cups! They’re all perfect for adding a touch of sweetness to your day.
[feast_advanced_jump_to]Why You’ll Fall in Love with This Valentine Cake Pops Recipe
Cake pops have undeniably captured hearts everywhere, and it’s easy to understand their widespread appeal! They are a fantastic blend of convenience, charm, and deliciousness, making them an ideal treat for any celebration. This Valentine cake pops recipe, in particular, stands out for several reasons:
- Effortlessly Simple: Using a boxed cake mix and store-bought frosting dramatically cuts down on preparation time, making this recipe accessible even for beginner bakers.
- Perfectly Portable: The ingenious lollipop stick transforms a simple cake bite into a convenient, handheld dessert, eliminating the need for plates or forks. This makes them ideal for parties, school events, or as a thoughtful gift.
- Infinitely Customizable: From choosing your favorite cake and frosting flavors to experimenting with vibrant colors and fun sprinkles, the creative possibilities are endless. You can tailor these cake pops to perfectly match any theme or personal preference.
- Irresistibly Delicious: There’s something magical about the combination of moist, dense cake mixed with creamy frosting, all encased in a snappy chocolate shell. Each bite is a miniature explosion of flavor and texture.
- Festive & Fun: Especially for Valentine’s Day, these cake pops bring a playful and loving spirit. Their charming appearance and delightful taste make them a memorable addition to any romantic celebration.
If you appreciate easy-to-make, chocolate-covered delights like my Christmas Oreos or enjoy crafting celebration-worthy desserts such as my White Forest Cake, you are going to absolutely adore these Valentine cake pops! They’re not just a treat; they’re an experience – simple to prepare, incredibly fun to decorate, and the absolute perfect way to celebrate Valentine’s Day with a homemade touch.
The Secret to Perfect Cake Pops: My #1 Trick!
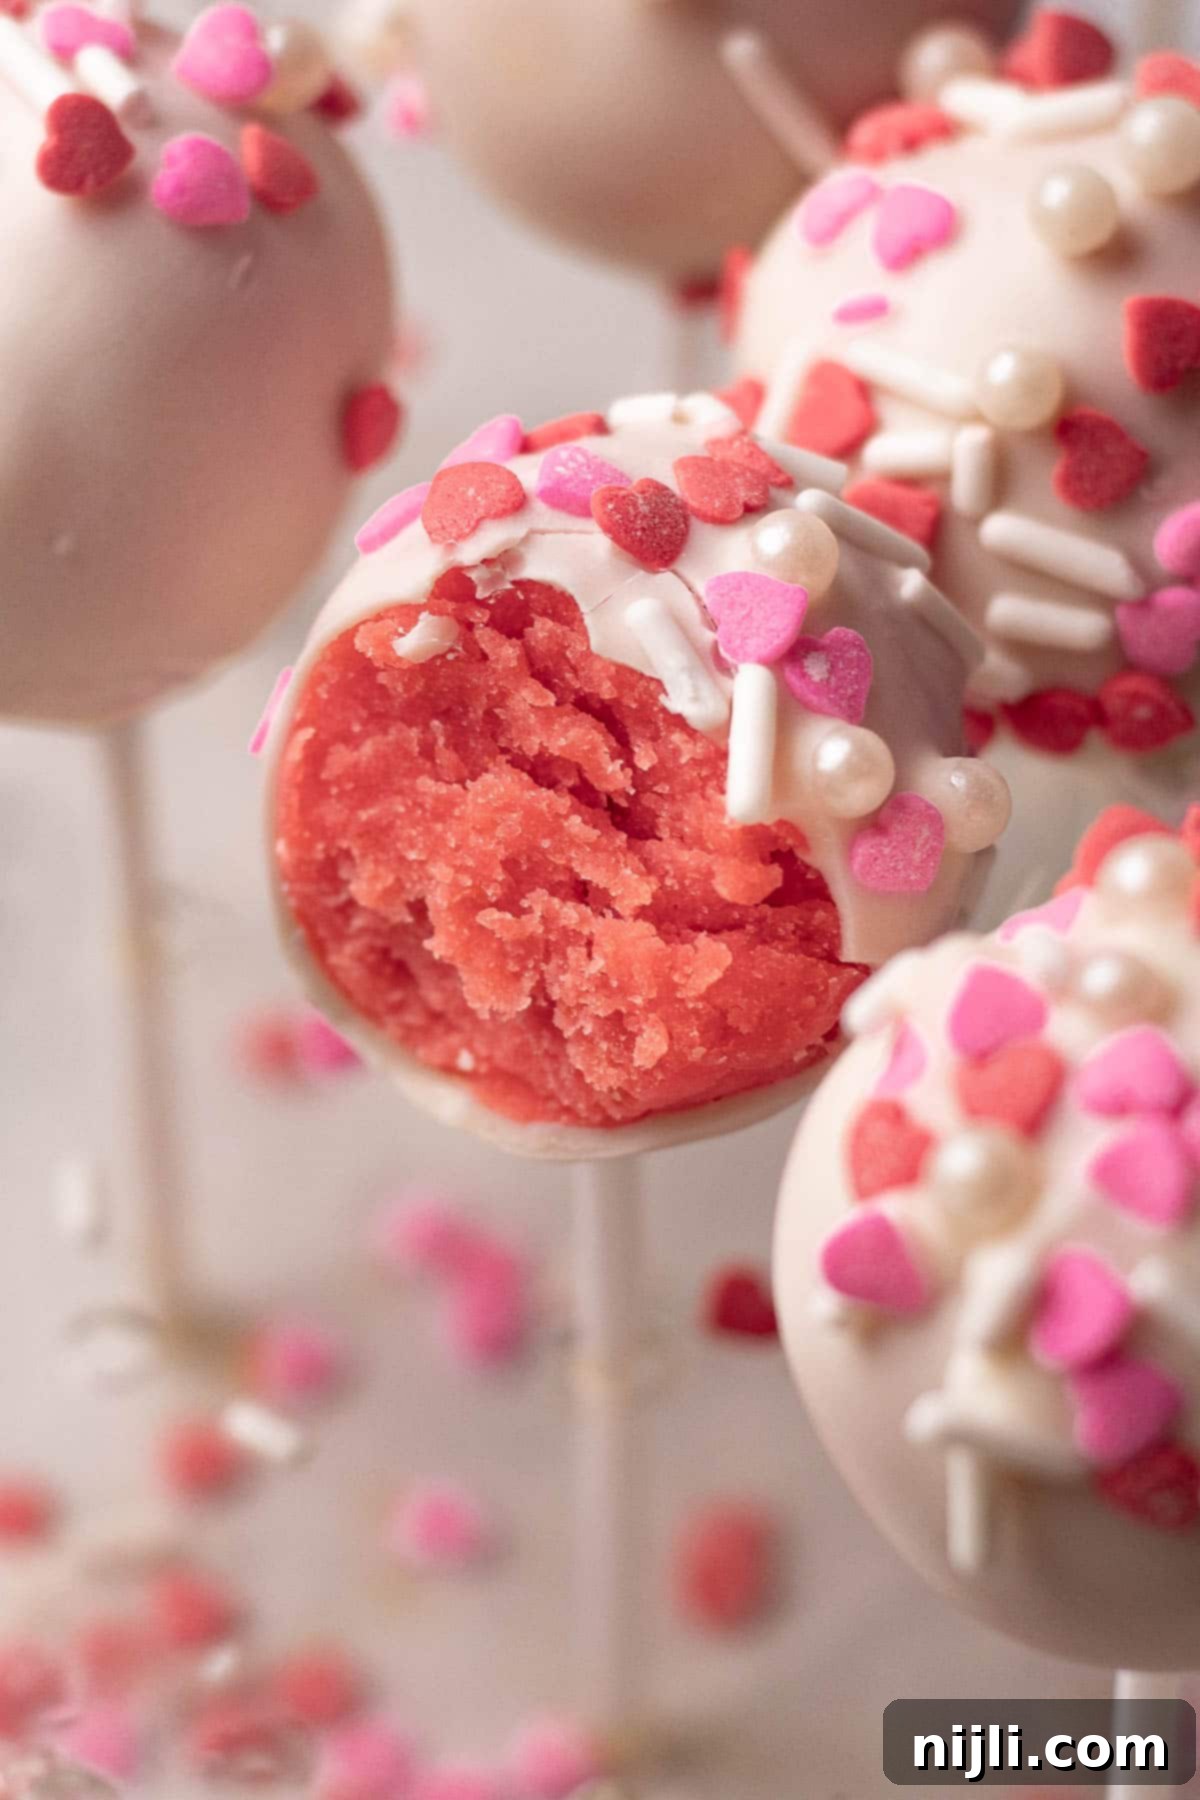
Achieving perfectly moist and easily moldable cake pops boils down to one crucial trick that I swear by: **wrap your freshly baked cake in foil or plastic wrap immediately after it comes out of the oven, while it’s still warm.** This simple step is a game-changer because it prevents any steam from escaping, effectively sealing in all the precious moisture. The trapped steam condenses back into the cake, creating an incredibly tender and moist texture. When you later crumble this cake, it will naturally stick together much better with minimal frosting, giving you that ideal “Play-Doh” consistency without becoming greasy or overly sweet. This ensures your cake pops are firm enough to stay on the stick and hold their shape beautifully after dipping. Follow this advice, and you’re well on your way to cake pop perfection every time! For a comprehensive guide, check out my full step-by-step cake pop recipe below.
Cake Pops vs. Cake Balls: What’s the Distinction?
The delightful truth is that cake pops and cake balls are fundamentally the same delicious treat! Both consist of a rich, moist mixture of crumbled cake and frosting, typically coated in a sweet candy shell. The only real difference lies in their presentation: a cake pop is simply a cake ball that has been affixed to a lollipop stick, making it effortlessly portable and fun to eat on the go. This stick makes cake pops especially popular for celebrations and as thoughtful gifts, like those for Valentine’s Day, as they don’t require a plate or cutlery. They are perfect for mingling and easy sharing, offering a charming, bite-sized indulgence. Whether presented on a stick or as a standalone ball, both versions offer the same incredible flavor and are a true delight for any cake lover!
Essential Ingredients for Your Valentine Cake Pops
This Valentine cake pops recipe is renowned for its simplicity and consistently earns rave reviews! To create these adorable and delicious treats, here’s a detailed look at what you’ll need:
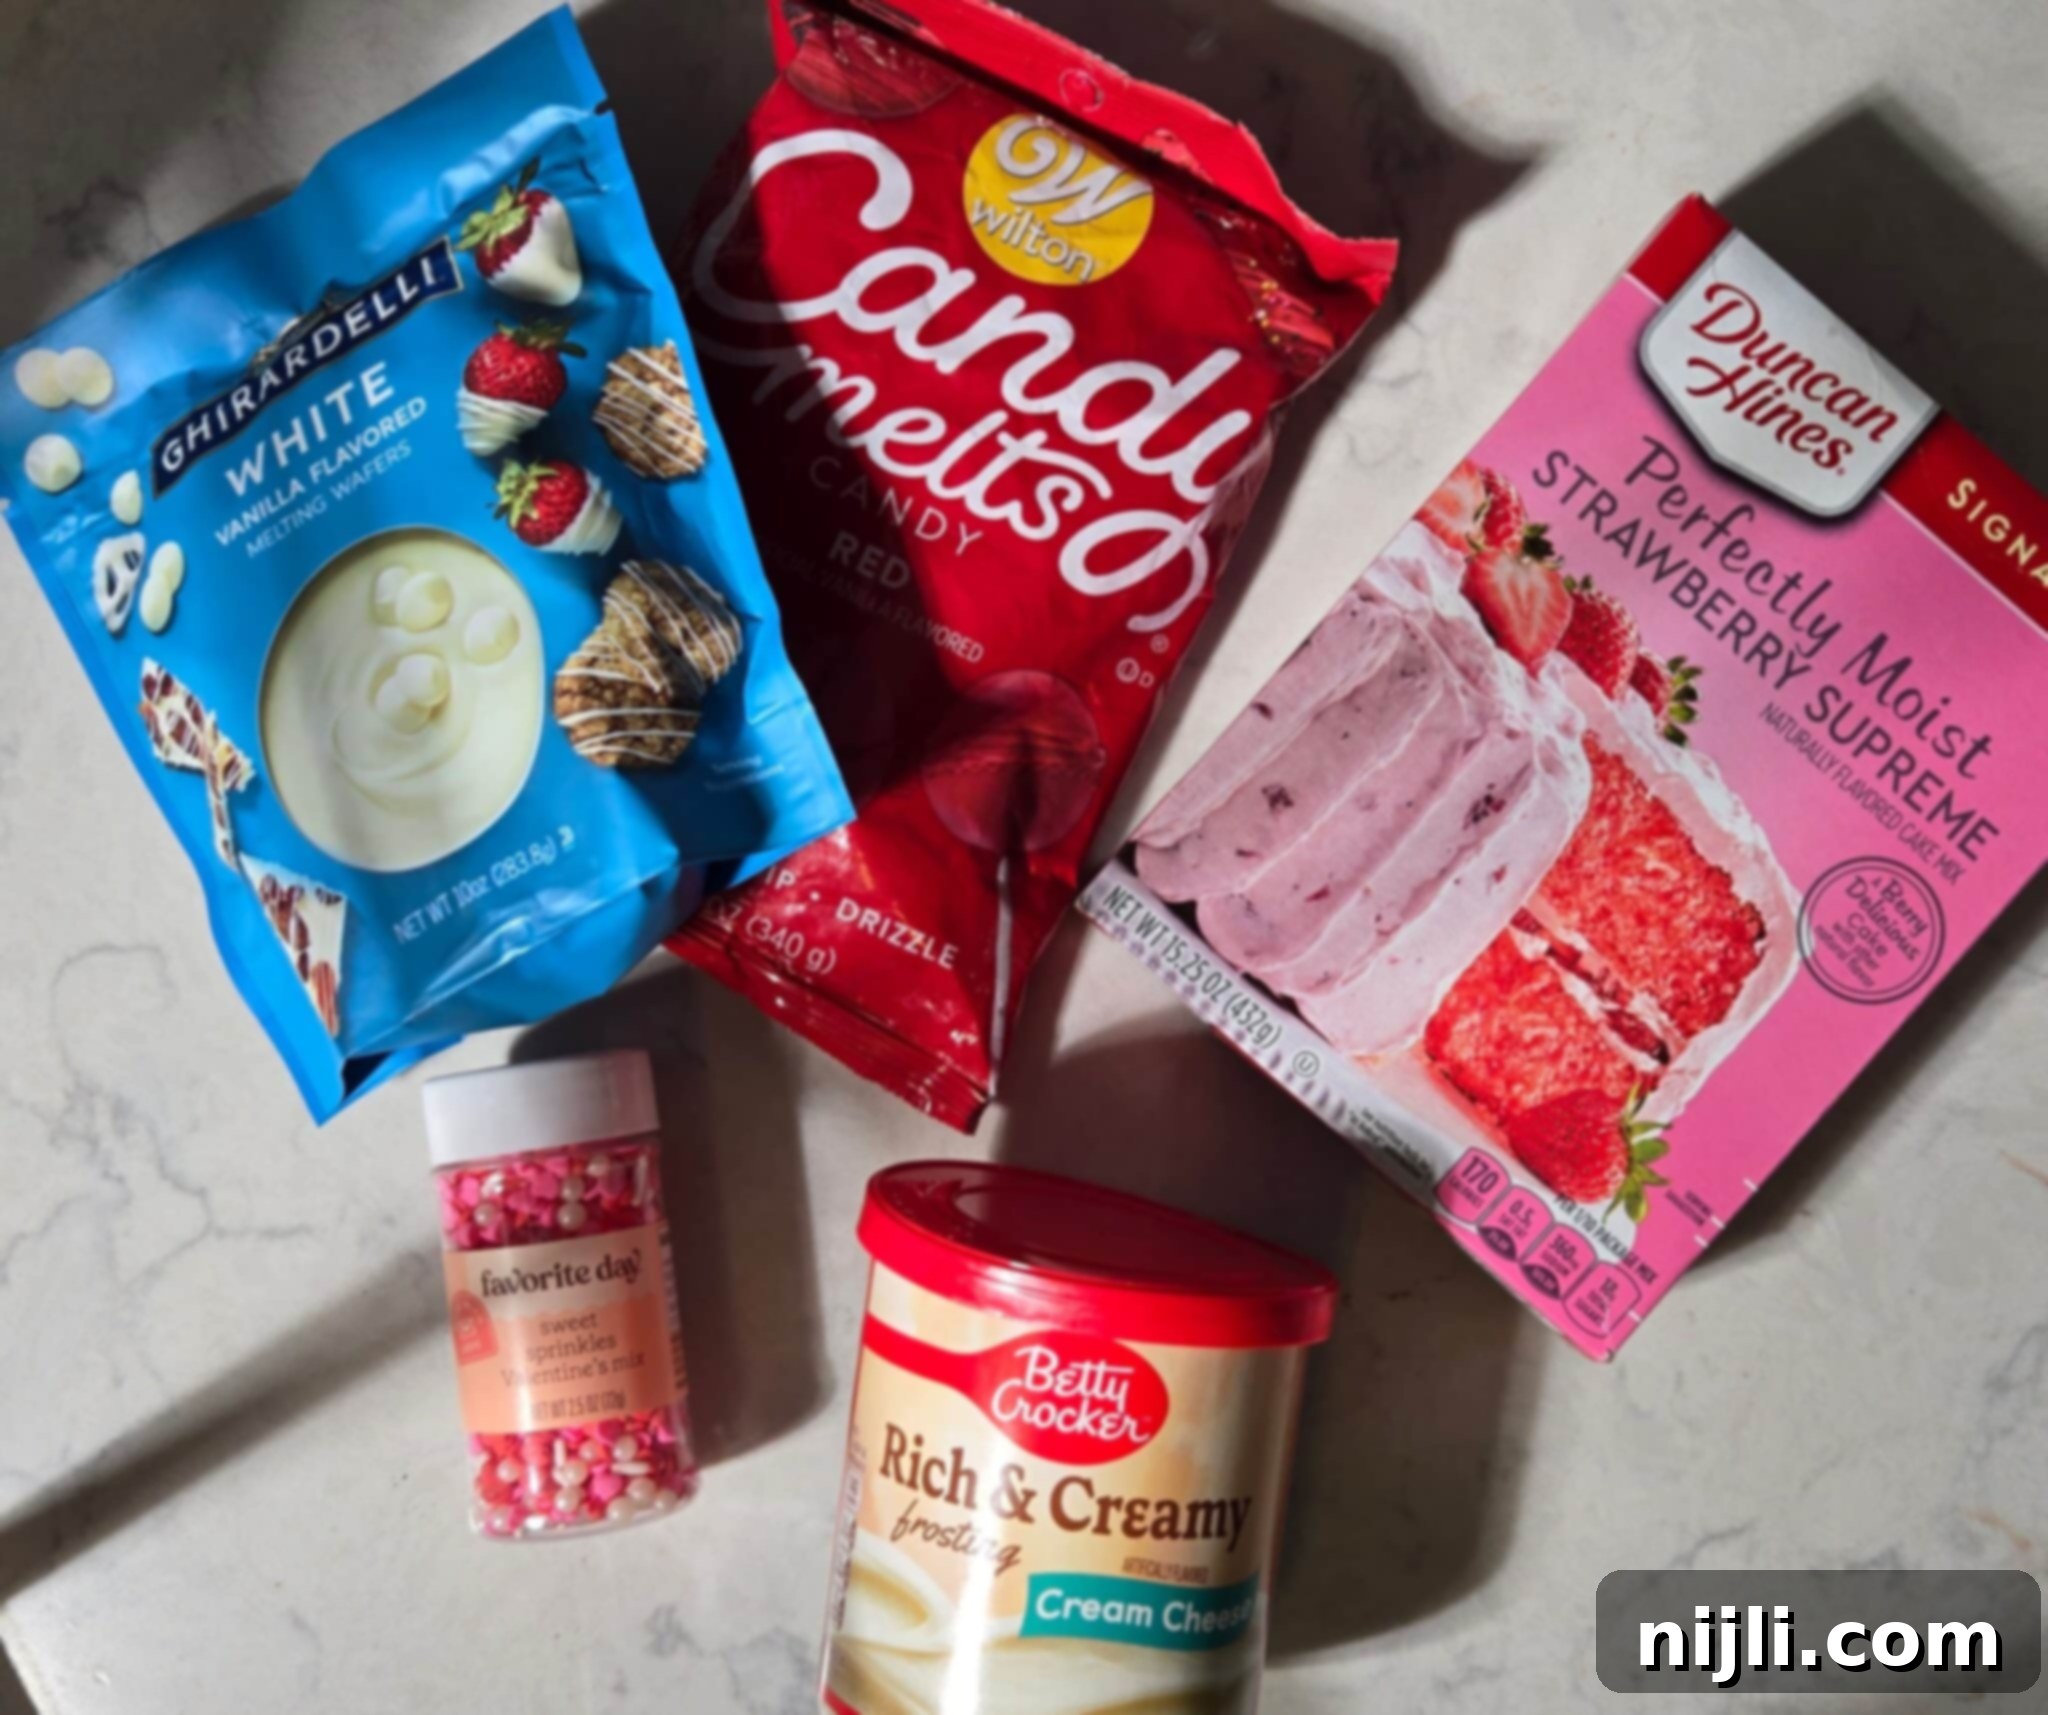
- Cake Mix: To make these Valentine’s Day cake pops incredibly convenient and easy, we opt for a boxed cake mix. I personally love using a strawberry cake mix because it imparts a wonderfully sweet flavor and a beautiful natural pink color to the cake, much like in my Strawberry Cheesecake Cookies. However, the beauty of this recipe is its flexibility – feel free to use any flavor of box cake mix you prefer! Vanilla, chocolate, or even red velvet would be fantastic choices for a Valentine’s theme. You’ll need a standard 15.25-ounce box of cake mix. If you prefer to bake from scratch, you can absolutely substitute a homemade cake recipe that yields two 9-inch layers, such as my Passionfruit Cake or my decadent Matilda Cake. Remember, if you use a cake mix, you’ll also need the additional ingredients (eggs, oil, water, etc.) required to prepare it according to the package directions.
- Canned Frosting: This is our secret weapon for binding the cake crumbs and adding that essential moisture and sweetness. I typically use canned cream cheese frosting, as its tanginess beautifully complements the sweet cake and chocolate coating. However, any type of frosting you enjoy will work perfectly for this sweet treat recipe. Vanilla, chocolate, or even a subtly flavored strawberry frosting can all create delicious results. The key is to use it sparingly, just enough to achieve the right consistency.
- Vanilla Melting Wafers: For the ideal glossy and smooth outer coating, I highly recommend Ghirardelli vanilla melting wafers. They are a fantastic choice because they melt down to a perfect consistency – not too thick, ensuring a beautiful, even coating on your Valentine cake pops without excessive dripping. While other candy melts can be used, Ghirardelli wafers often provide the best texture without needing additional thinners.
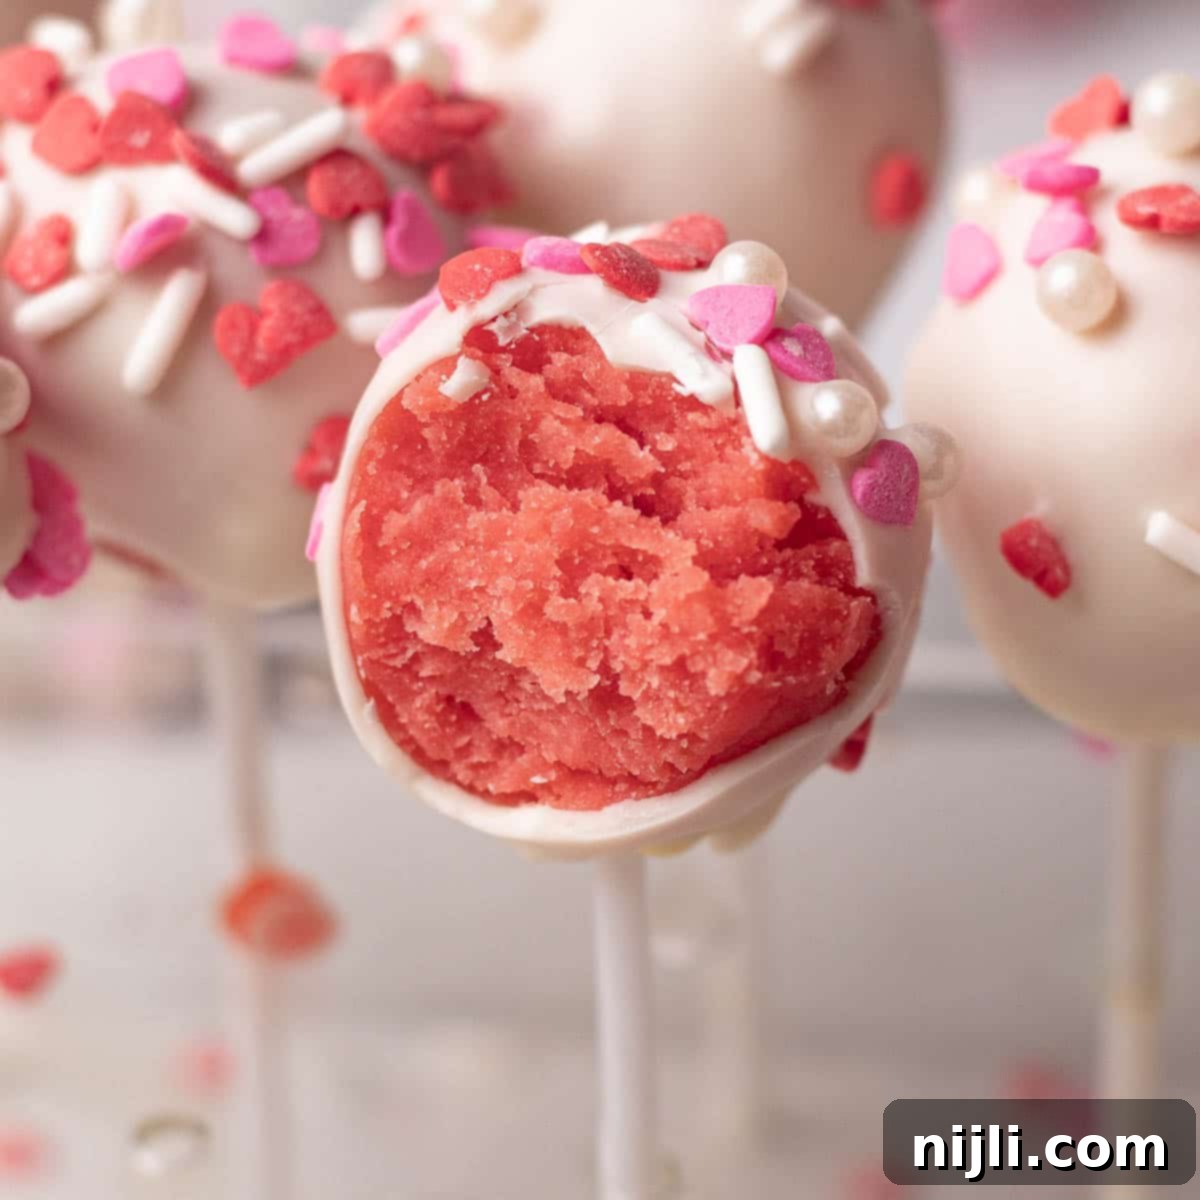
- Sprinkles: To add that quintessential festive flair, sprinkles are a must! I used a charming sweet sprinkles Valentine’s mix from Target, which included adorable heart shapes in red and pink. However, the sky’s the limit when it comes to decoration. You can use any festive Valentine’s sprinkles you like – think classic nonpareils, sanding sugar, or even edible glitter for a touch of sparkle. Sprinkles not only enhance the visual appeal but also add a delightful crunch.

Essential Equipment for Crafting Perfect Cake Pops
Making these delightful Valentine’s Day cake pops is even easier with the right tools. Here’s a list of equipment you’ll find helpful, and why each item is a valuable addition to your cake pop making arsenal:
- Cake Pop Sticks: Naturally, to make cake pops, you’ll need sturdy cake pop sticks. These provide the essential handle for dipping and enjoying your treats. Look for ones that are strong enough to support the weight of the cake ball without bending.
- Cookie Scoop: A #40 cookie scoop is incredibly useful for portioning out uniform amounts of cake mixture. Consistency in size means your cake pops will look professional and cook (or chill) evenly, making the dipping process much smoother.
- Mixing Bowls: You’ll need at least one large mixing bowl for crumbling the cake and combining it with frosting. A few smaller, microwave-safe bowls are also essential for melting your candy wafers.
- Hand Mixer or Stand Mixer: While you can crumble cake by hand, a hand mixer or a stand mixer with a paddle attachment will make quick work of breaking down the cake into fine crumbs and then incorporating the frosting. This ensures an even consistency, which is key for perfectly smooth cake balls.
- Cake Pop Making Kit (Optional but Recommended): I utilized this convenient cake pop making kit, which often includes more than just sticks. My kit came with useful additions like individual wrappers, cute ties for gifting, and an acrylic cake pop stand for drying and display. While I didn’t use the included cake pop press for this recipe, a press can certainly help in achieving perfectly spherical and uniformly shaped Valentine’s cake balls.
- Parchment Paper or Styrofoam Block: Once dipped and decorated, your cake pops need a place to dry and set. Parchment paper is great for laying them flat, but a styrofoam block with holes or a dedicated cake pop stand is even better, allowing them to dry upright without marring the coating.
Having these tools ready will streamline your cake pop making process, allowing you to focus on the fun parts: decorating and, of course, tasting!
How to Master the Art of Making Valentine Cake Pops
Crafting these adorable Valentine’s Day cake pops is a rewarding process, and while the recipe card below provides detailed step-by-step instructions, full ingredient measurements, and even a recipe video, here’s an overview of the key stages to guide you through this delightful baking adventure. Remember, patience and attention to detail are your best friends for perfect cake pops!
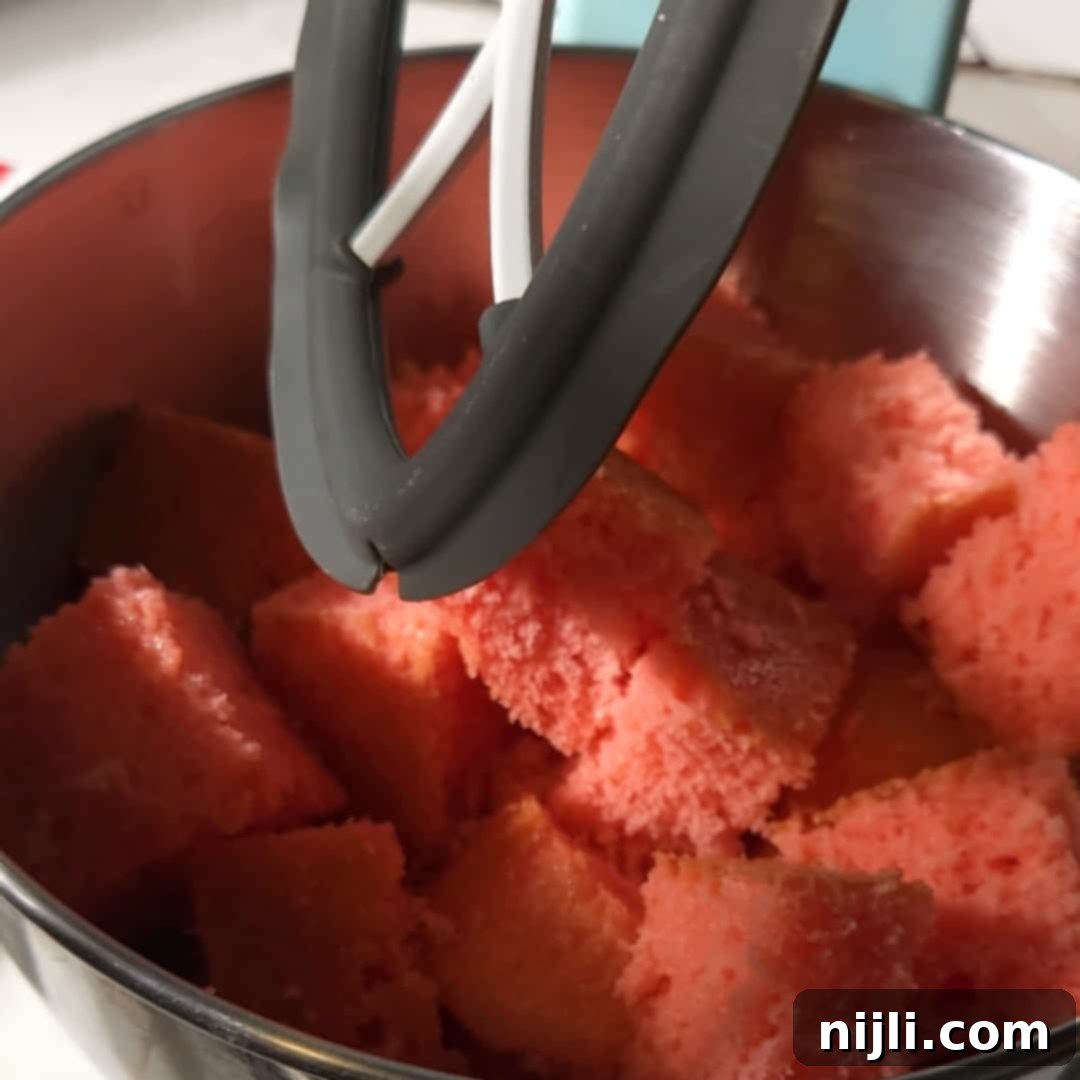
Step 1: Bake and Chill Your Cake. Begin by preparing your favorite cake batter (from a box mix or scratch) and baking it according to package directions in a 9×13 inch pan. The secret to moist cake pops starts here! Immediately after baking, cover the warm cake tightly with foil to trap in moisture. Once it has cooled slightly, wrap the entire pan in plastic wrap and chill it in the refrigerator until it’s completely cooled through. This ensures maximum moisture and a firm texture, essential for the next steps. When fully cooled, cut the baked cake into large cubes and add them to a large mixing bowl or the bowl of a stand mixer. Crumble the cake thoroughly using your mixer or hands until you have fine, even crumbs, ensuring no large chunks remain.
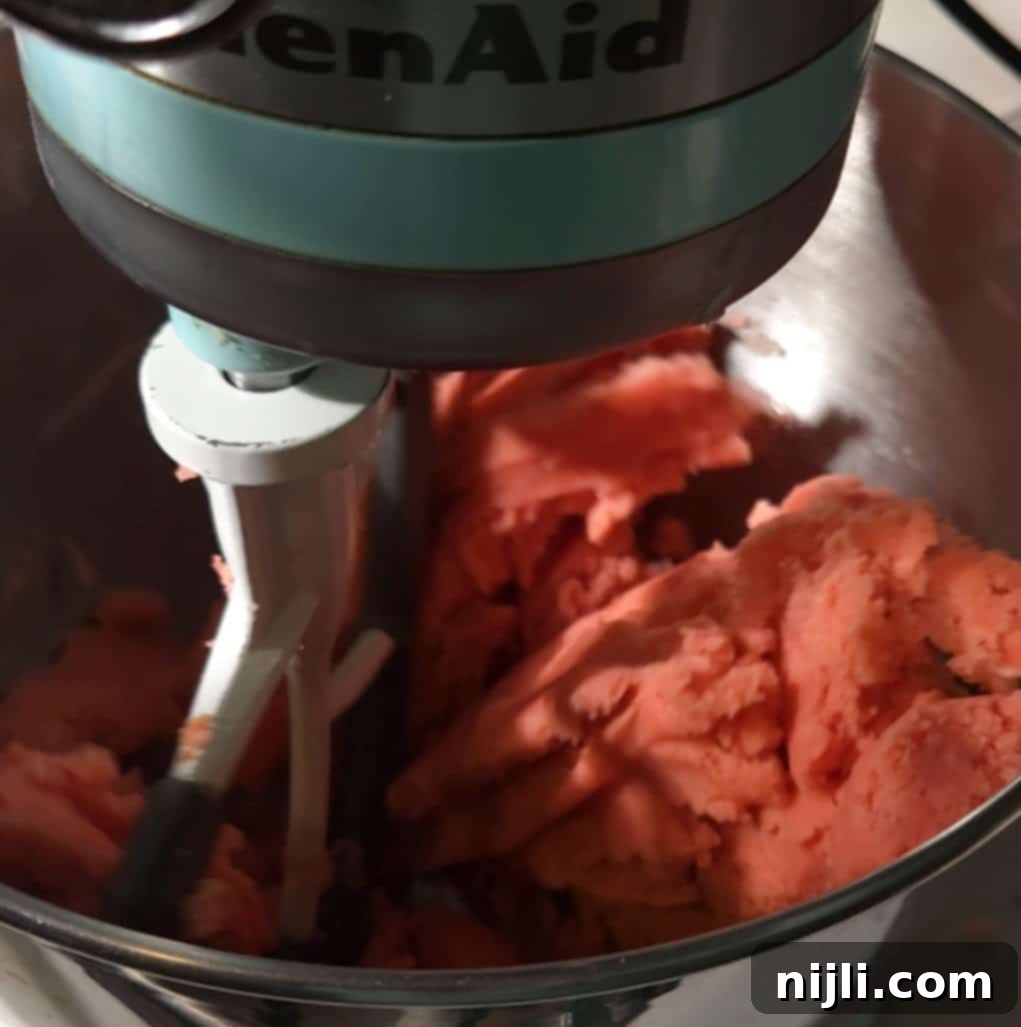
Step 2: Create the Cake Pop Dough. With your cake thoroughly crumbled, it’s time to add the binding agent: frosting. Add a small amount of room temperature frosting, about one tablespoon at a time, to the crumbled cake. Mix continuously, either with a stand mixer or a hand mixer, until the mixture reaches a consistency similar to Play-Doh. This means it should be moist enough to hold its shape when pressed together, but not sticky or greasy. The “Play-Doh” stage is crucial for perfectly moldable cake balls that won’t crumble or fall apart.
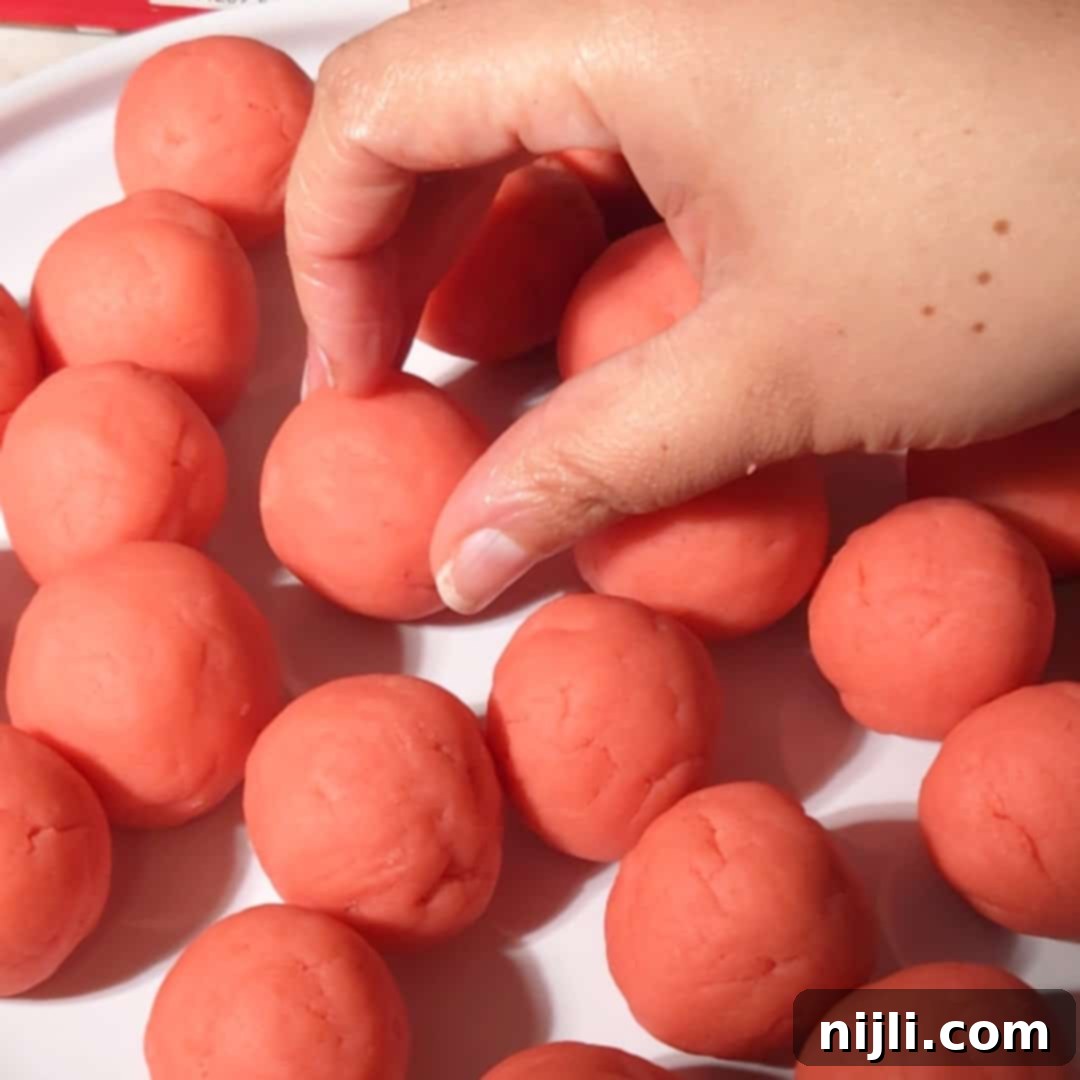
Step 3: Roll the Cake Balls. Once your cake mixture has achieved the perfect consistency, it’s time to form the cake balls. Use a #40 cookie scoop to ensure each portion is roughly 1-2 tablespoons, promoting uniformity in size. Roll each scooped portion firmly between the palms of your hands to create smooth, dense balls. Place the rolled cake balls on a plate or a baking sheet lined with parchment paper. Consistency here is key for aesthetic appeal and even dipping.
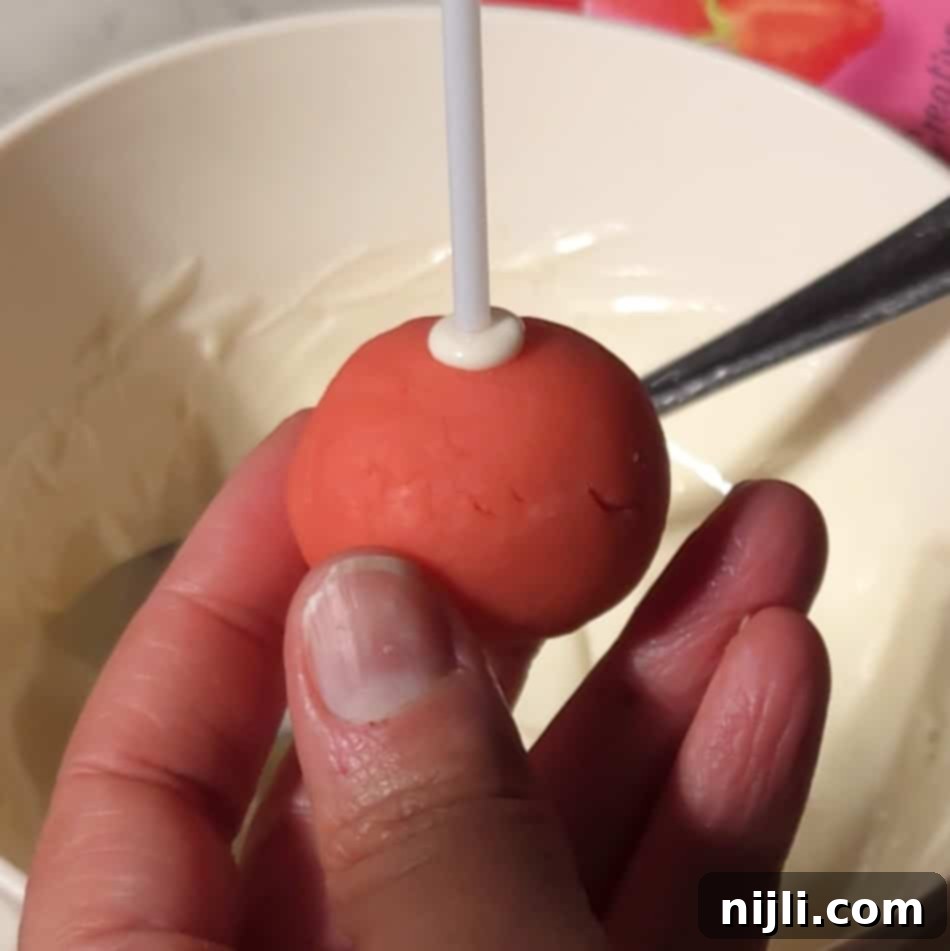
Step 4: Secure the Sticks and Chill. Melt your vanilla melting wafers in a microwave-safe bowl, heating them in 30-second intervals and stirring until completely smooth. Dip the tip of each cake pop stick into the melted chocolate, then immediately insert the stick about halfway into the center of each cake ball. The melted chocolate acts as a “glue” to secure the stick. Once all sticks are in place, arrange the cake balls on a plate and return them to the refrigerator to chill for at least 30 minutes. This chilling step is vital as it allows the chocolate to set and the cake balls to firm up, preventing them from falling off the stick during the final dipping process.
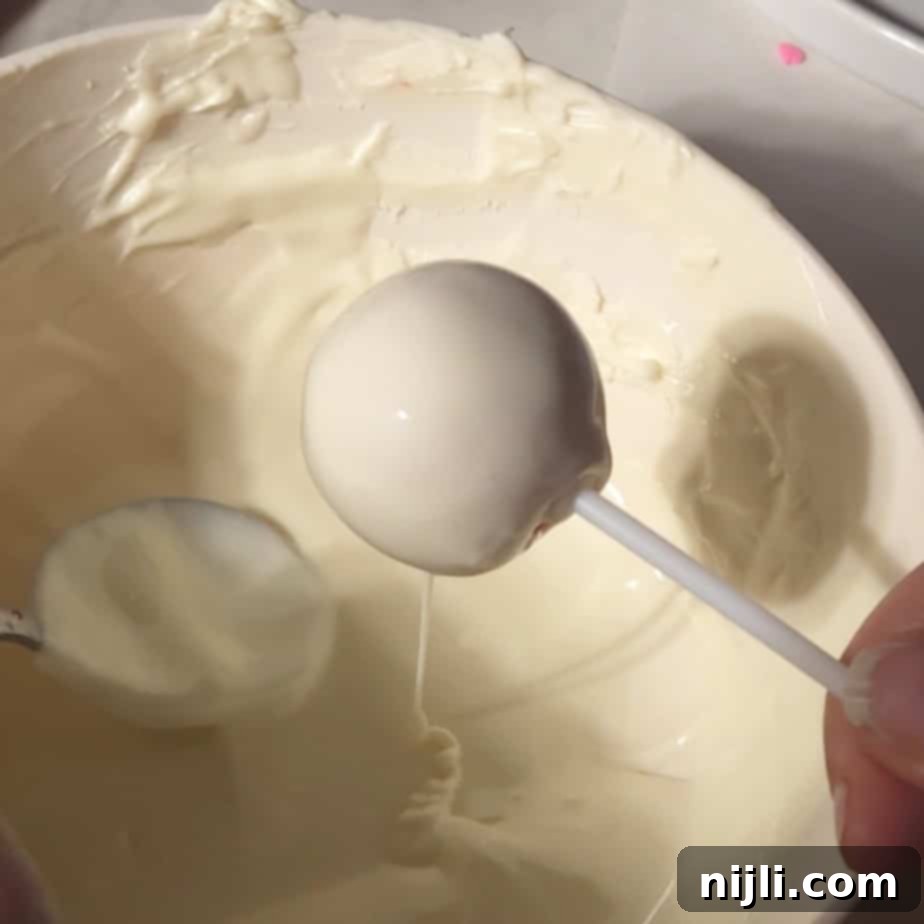
Step 5: Dip and Coat. After the cake balls are thoroughly chilled and firm, re-melt any cooled candy wafers until smooth again. Holding the cake pop by its stick, carefully dip each cake pop into the melted candy, submerging it completely. Gently tap the stick against the edge of the bowl to allow any excess chocolate to drip off, creating a smooth, even coating. Work quickly but carefully to ensure an impeccable finish.
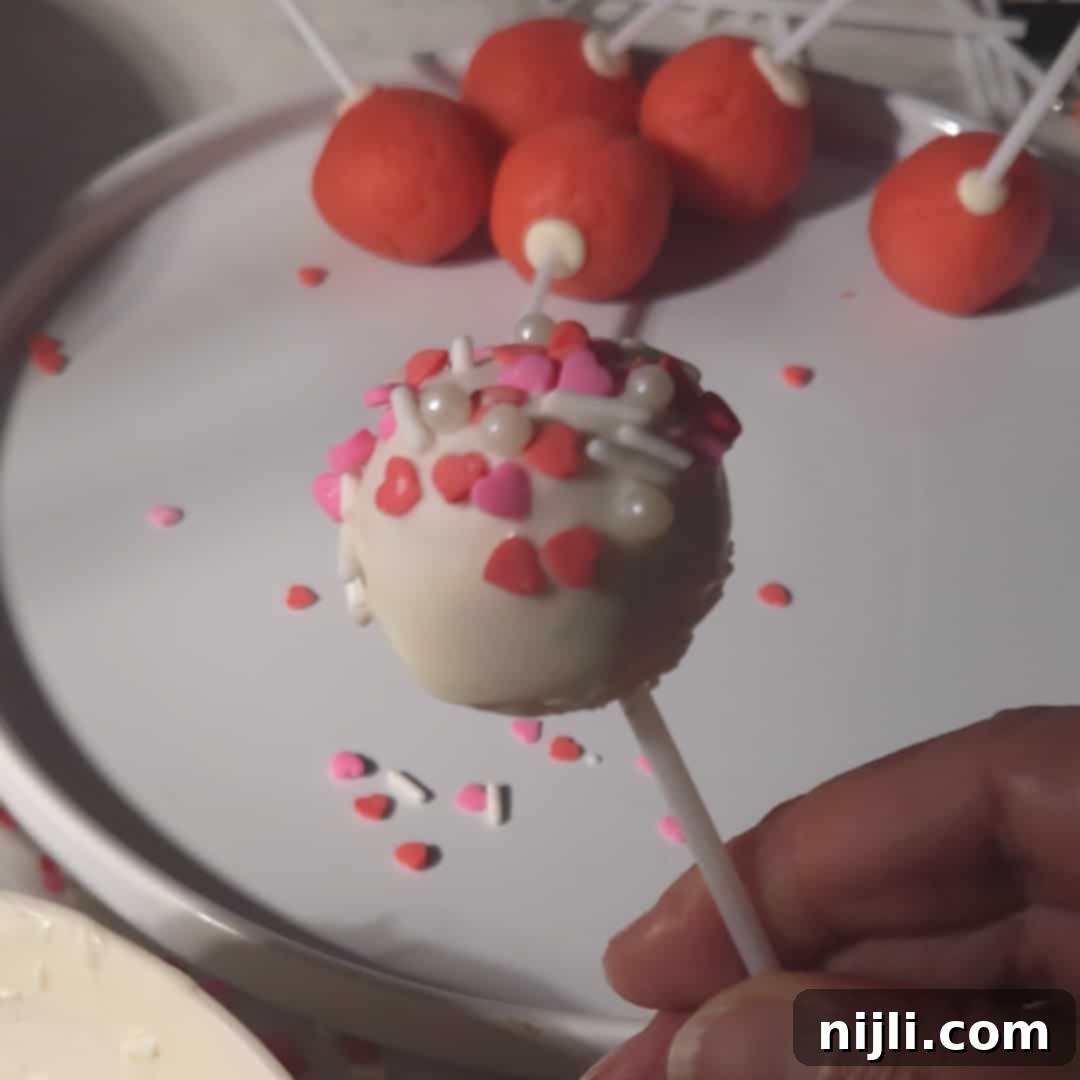
Step 6: Decorate and Set. Immediately after dipping (while the chocolate is still wet), generously sprinkle your chosen Valentine’s themed sprinkles or other decorations over the coated cake pop. Once decorated, place your cake pops upright in a styrofoam block or a dedicated cake pop stand to allow the chocolate coating to cool and harden completely. This ensures the sprinkles adhere perfectly and the coating sets without any flat spots. Once firm, your beautiful Valentine cake pops are ready to be enjoyed!
Hint: The chilling step after adding the sticks is absolutely crucial! Don’t skip it. This ensures the chocolate “glue” solidifies properly, creating a strong bond that prevents your delicious cake balls from falling off the sticks while you’re dipping them in the final coating. A well-chilled cake pop is a happy cake pop!
The Perfect Cake to Frosting Ratio for Ideal Cake Pops
One of the most common pitfalls in cake pop making is adding too much frosting. It’s a delicate balance! If you’re using a standard 15.25-ounce boxed cake mix for this recipe, you should generally only need about 1 to 2 tablespoons of frosting. The key to this minimal frosting requirement is the earlier tip: wrapping your cake in foil or plastic wrap while it’s still warm. This ingenious step locks in moisture, making the cake naturally more cohesive when crumbled. Consequently, you’ll require far less frosting to bind the crumbs into that perfect, Play-Doh-like consistency. Too much frosting will result in a greasy, overly soft mixture that’s difficult to roll, doesn’t hold its shape well, and can make the dipping process very challenging, often leading to pops slipping off their sticks. Always start with a small amount and add more only if absolutely necessary, aiming for that ideal pliable, yet firm, texture.
Creative Valentine Cake Pops Ideas and Customizations
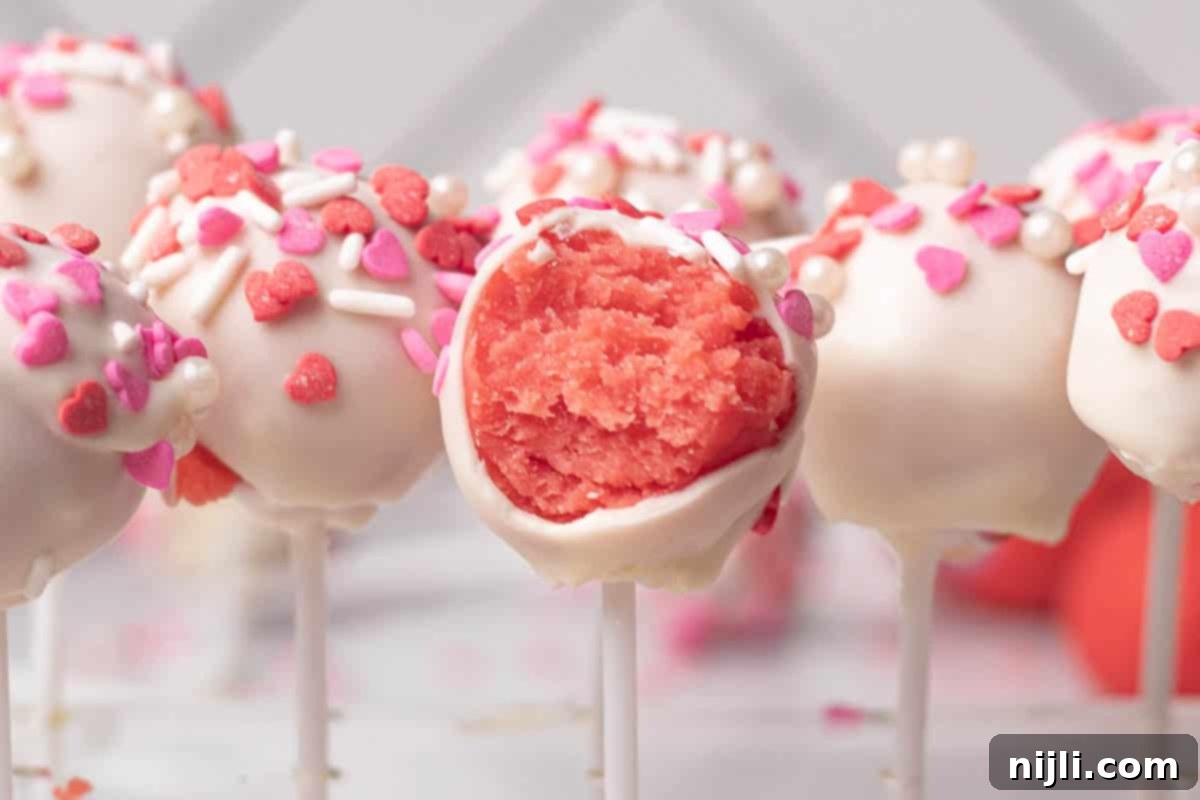
While I absolutely adore making these Valentine’s Day cake pops with strawberry cake mix for its vibrant pink color and delicious fruity flavor, the beauty of this recipe lies in its incredible versatility. Don’t be afraid to get creative and customize your cake pops to your heart’s desire! Here are some fantastic ideas to inspire you:
- Cake Flavor Variations:
- Classic Vanilla: For a timeless and universally loved flavor, use a vanilla cake mix. It pairs wonderfully with virtually any frosting and coating.
- Rich Chocolate: Indulge your chocolate cravings with a chocolate cake mix. You can even use chocolate frosting and a dark chocolate coating for a truly decadent experience.
- Elegant Red Velvet: A red velvet cake mix is a natural fit for Valentine’s Day, offering a beautiful color and a hint of cocoa. Pair it with cream cheese frosting for an authentic taste.
- Lemon Zest: For a lighter, brighter flavor, consider a lemon cake mix. This would be lovely with a white chocolate coating and a sprinkle of yellow or green nonpareils.
- Colorful Coatings:
- Beyond White: While white chocolate coating is elegant, you can easily transform it! Use food coloring designed for chocolate (oil-based) to dye your white melting wafers pink, red, or even purple for an extra festive touch.
- Milk or Dark Chocolate: Don’t limit yourself to white! Milk chocolate or dark chocolate melting wafers offer a different flavor profile and a beautiful contrast to a light-colored cake.
- Dazzling Decorations:
- Variety of Sprinkles: Explore different types of Valentine’s sprinkles! Think tiny red and pink heart nonpareils, sanding sugars for a glittery finish, edible pearls, or even custom sprinkle mixes.
- Drizzle Design: Instead of (or in addition to) sprinkles, drizzle contrasting melted chocolate over the set coating. For example, a pink drizzle over a white chocolate coating, or white drizzle over a red coating.
- Edible Glitter/Dust: A touch of edible glitter or pearl dust applied with a small brush can add a sophisticated shimmer to your cake pops.
- Presentation Ideas:
- Cake Pop Bouquets: Arrange your finished cake pops in a decorative vase or a block of styrofoam wrapped in tissue paper to create a stunning edible bouquet.
- Individual Packaging: Use the cute little wrappers and ties that often come with cake pop kits to individually package them, making them perfect for gifting or party favors.
- Dessert Platter: For a varied dessert spread, arrange your cake pops (or even just the cake balls without sticks) alongside cookies, brownies, and fresh fruit.
No matter how you choose to personalize them, these Valentine cake pops are guaranteed to be a hit, adding a touch of sweetness and charm to your celebration!
Storage Tips for Fresh and Delicious Cake Pops
Proper storage is key to keeping your homemade Valentine cake pops fresh, moist, and delicious for as long as possible. Here are my best tips:
- Refrigeration: Once your cake pops are fully set and decorated, the best place to store them is in the refrigerator. Place them in an airtight container to prevent them from drying out or absorbing odors from other foods. Stored this way, your cake pops will remain fresh and tasty for up to 5-7 days.
- Individual Wrappers: If you’re planning to give them as gifts or serve them individually, the cute little wrappers that come with a cake pop making kit are perfect. These wrappers offer an extra layer of protection against air exposure, even if they are then placed in a larger airtight container.
- Freezing for Later: Yes, you can freeze this Valentine’s cake pops recipe! To freeze them, first ensure they are fully set and hardened. Then, wrap each cake pop individually in plastic wrap, followed by a layer of aluminum foil. Place the wrapped pops in a freezer-safe airtight container or a heavy-duty freezer bag. They can be frozen for up to two months. When you’re ready to enjoy them, simply thaw them overnight in the refrigerator, or at room temperature for a couple of hours before serving.
Following these storage guidelines will help ensure that every bite of your cake pop is as delightful as the first!
Frequently Asked Questions About Cake Pops
The cost comparison between cake pops and cupcakes can vary significantly depending on several factors, particularly how you choose to prepare and decorate them. Generally, if you’re using a basic cake mix and simple frosting for both, cupcakes might actually come out slightly cheaper per serving. This is primarily because cake pops require specialized candy melts for their coating, which can be more expensive than typical cupcake frosting or glazes. Additionally, cake pop sticks and often more intricate decorations can add to the overall cost. However, for a unique, portable, and visually stunning treat, cake pops often offer a higher perceived value, especially for special occasions like Valentine’s Day.
Absolutely, making cake pops the day before is not only convenient but often results in a superior product! If your schedule allows, I highly recommend preparing your cake a full day ahead of time. The key is to wrap the freshly baked cake tightly in foil while it’s still warm, and then chill it completely. This crucial step allows the cake to cool slowly and traps all the steam, effectively locking in moisture. A well-hydrated cake will crumble beautifully and create a wonderfully moist base for your cake pops, requiring only a minimal amount (just a tablespoon or two) of frosting to bind it. This pre-preparation also helps the cake balls firm up perfectly, making them much easier to handle and dip smoothly. This is a top-tier trick for cake pop success!

If you find yourself without traditional cake pop sticks, or simply prefer an alternative, you have several creative options! You can use sturdy cocktail straws, which are usually a bit thicker than standard drinking straws and can offer a festive look. Another delightful and edible option is using Pocky biscuit sticks – they add an extra layer of flavor and texture to your Valentine cake pops. And of course, the simplest solution is to skip the sticks entirely and just make delicious Valentine’s cake balls! These are just as tasty and work perfectly for dessert platters or as bite-sized treats.
Yes, candy melts are a popular and effective choice for coating cake pops! You can definitely use widely available candy melts, such as the Wilton Candy Melts that I sometimes feature. However, in my experience, many brands of candy melts tend to be quite thick when melted, which can make it challenging to achieve a smooth, even coating on your cake pops. To counteract this, I often recommend adding a small amount of shortening (like Crisco) or a touch of coconut oil to thin out the texture, allowing for a much smoother dip. Personally, I find Ghirardelli vanilla melting wafers to be exceptional because they melt to a perfect, thin consistency right out of the bag, without needing any additives, resulting in that beautiful, glossy finish we all desire for our cake pops!
Top Tip for Cake Pop Perfection!
This is arguably the most crucial piece of advice for successful cake pops: **do not add too much frosting into your cake mixture!** It’s tempting to add more for moisture, but it will make your cake pops greasy and impossible to work with. Add the frosting a spoonful at a time, mixing thoroughly after each addition. Stop immediately when the mixture achieves that perfect Play-Doh-like texture – pliable and able to hold its shape when rolled, but not overly sticky or wet. A little frosting goes a long way!
More Sweet Treats You’ll Love!
Looking for other delightful recipes similar to these festive Valentine’s cake pops? Explore these other sweet treats that are perfect for any occasion:
- Peach Cherry Galette
- Halloween Candy Bark with Oreo Cookies
- Keto Chocolate Mousse
- Confetti Popcorn
If you try this delightful recipe, I would be absolutely thrilled if you could leave a star review rating and a comment below! Hearing your feedback and seeing your creations truly makes my day. It helps others discover these recipes too! And please, don’t forget to share your beautifully decorated cake pops with me by tagging @chenee_today on Instagram! I can’t wait to see what you create!
📖 Recipe
Valentine Cake Pops for Valentine’s Day – Easy Recipe
Equipment you may need
- 9×13 baking pan
- #40 cookie scoop
- cake pop sticks
- stand mixer
- hand mixer
- mixing bowls
- cake pop holder
Ingredients
- 1 15.25-ounce box strawberry cake mix – prepared according to package directions with ingredients as needed (or use any cake mix flavor you like)
- 1-2 tablespoon (30 ml) canned frosting – I used cream cheese
- 2 10-ounce packages Ghirardelli White Melting Wafers – or whatever color or variety of candy melts you like
- Valentine’s day sprinkles
Instructions
- Prepare cake mix in a 9×13 pan according to package directions. When it is finished baking, cover immediately with foil while it is still warm, then once it has cooled a bit wrap the whole pan in plastic wrap and chill in the fridge until fully cooled.1 15.25-ounce box strawberry cake mix
- When cooled, cut cake into large chunks and add to the bowl of a stand mixer or a large bowl. Mix with a stand mixer or hand mixer until cake is crumbled and begins to stick to itself, about 2-3 minutes.
- Add one tablespoon of frosting and continue to mix until cake reaches a texture similar to Play-Doh. If needed, add a second tablespoon of frosting, but be careful not to add too much.1-2 tablespoon canned frosting
- Use a cookie scoop to scoop out even portions of the cake mixture, rolling them into balls and setting them aside.
- Melt one package of melting wafers in the microwave according to package directions. Stir until smooth.2 10-ounce packages Ghirardelli White Melting Wafers
- Dip the top of each cake pop stick into the melted candy and then press the tip into the center of each cake ball. Place on a plate and return the cake balls and sticks to the fridge to firm up for at least 30 minutes.
- Once firm, re-melt the candy and dip each cake ball into the melted candy, rolling to coat evenly. Let excess candy drip off and then add sprinkles, or whatever decorations you like. Continue with remaining melting wafers.Valentine’s day sprinkles
- Place decorated cake pops into a cake pop holder to allow them to stay upright while they cool and harden. Enjoy!
Video
Notes
Nutrition

