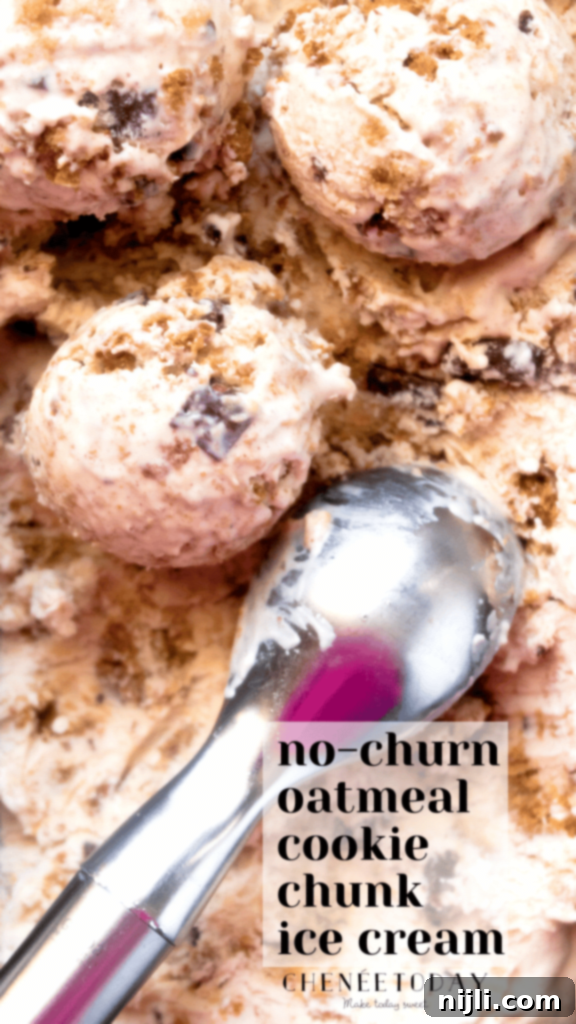
Ultimate No-Churn Oatmeal Cookie Chunk Ice Cream: Recreate Your Favorite Discontinued Flavor at Home
If you’re anything like me, you absolutely adore the simplicity and delightful creaminess of no-churn ice cream. It’s a game-changer for homemade desserts, promising rich flavors without the need for any specialized equipment. But this particular recipe isn’t just any no-churn creation; it’s a heartfelt tribute to a true legend among ice cream connoisseurs: Ben & Jerry’s Oatmeal Cookie Chunk. This iconic flavor, with its perfect harmony of warm cinnamon ice cream, chewy oatmeal cookies, and generous fudge chunks, was tragically discontinued in 2012, leaving a void in many dessert lovers’ hearts. Until now!
*This post contains affiliate links — as an Amazon Associate I earn from qualifying purchases. Please see my disclosure for details*.
With this incredibly easy no-churn version, you can resurrect the unforgettable taste of Oatmeal Cookie Chunk ice cream right in your own kitchen. Forget about expensive ice cream makers and complicated steps. This recipe relies on just a few simple, readily available ingredients, allowing you to whip up a batch of this heavenly dessert in no time. The star of the show, of course, is the oatmeal cookies themselves, providing that essential texture and flavor that makes this ice cream so special.
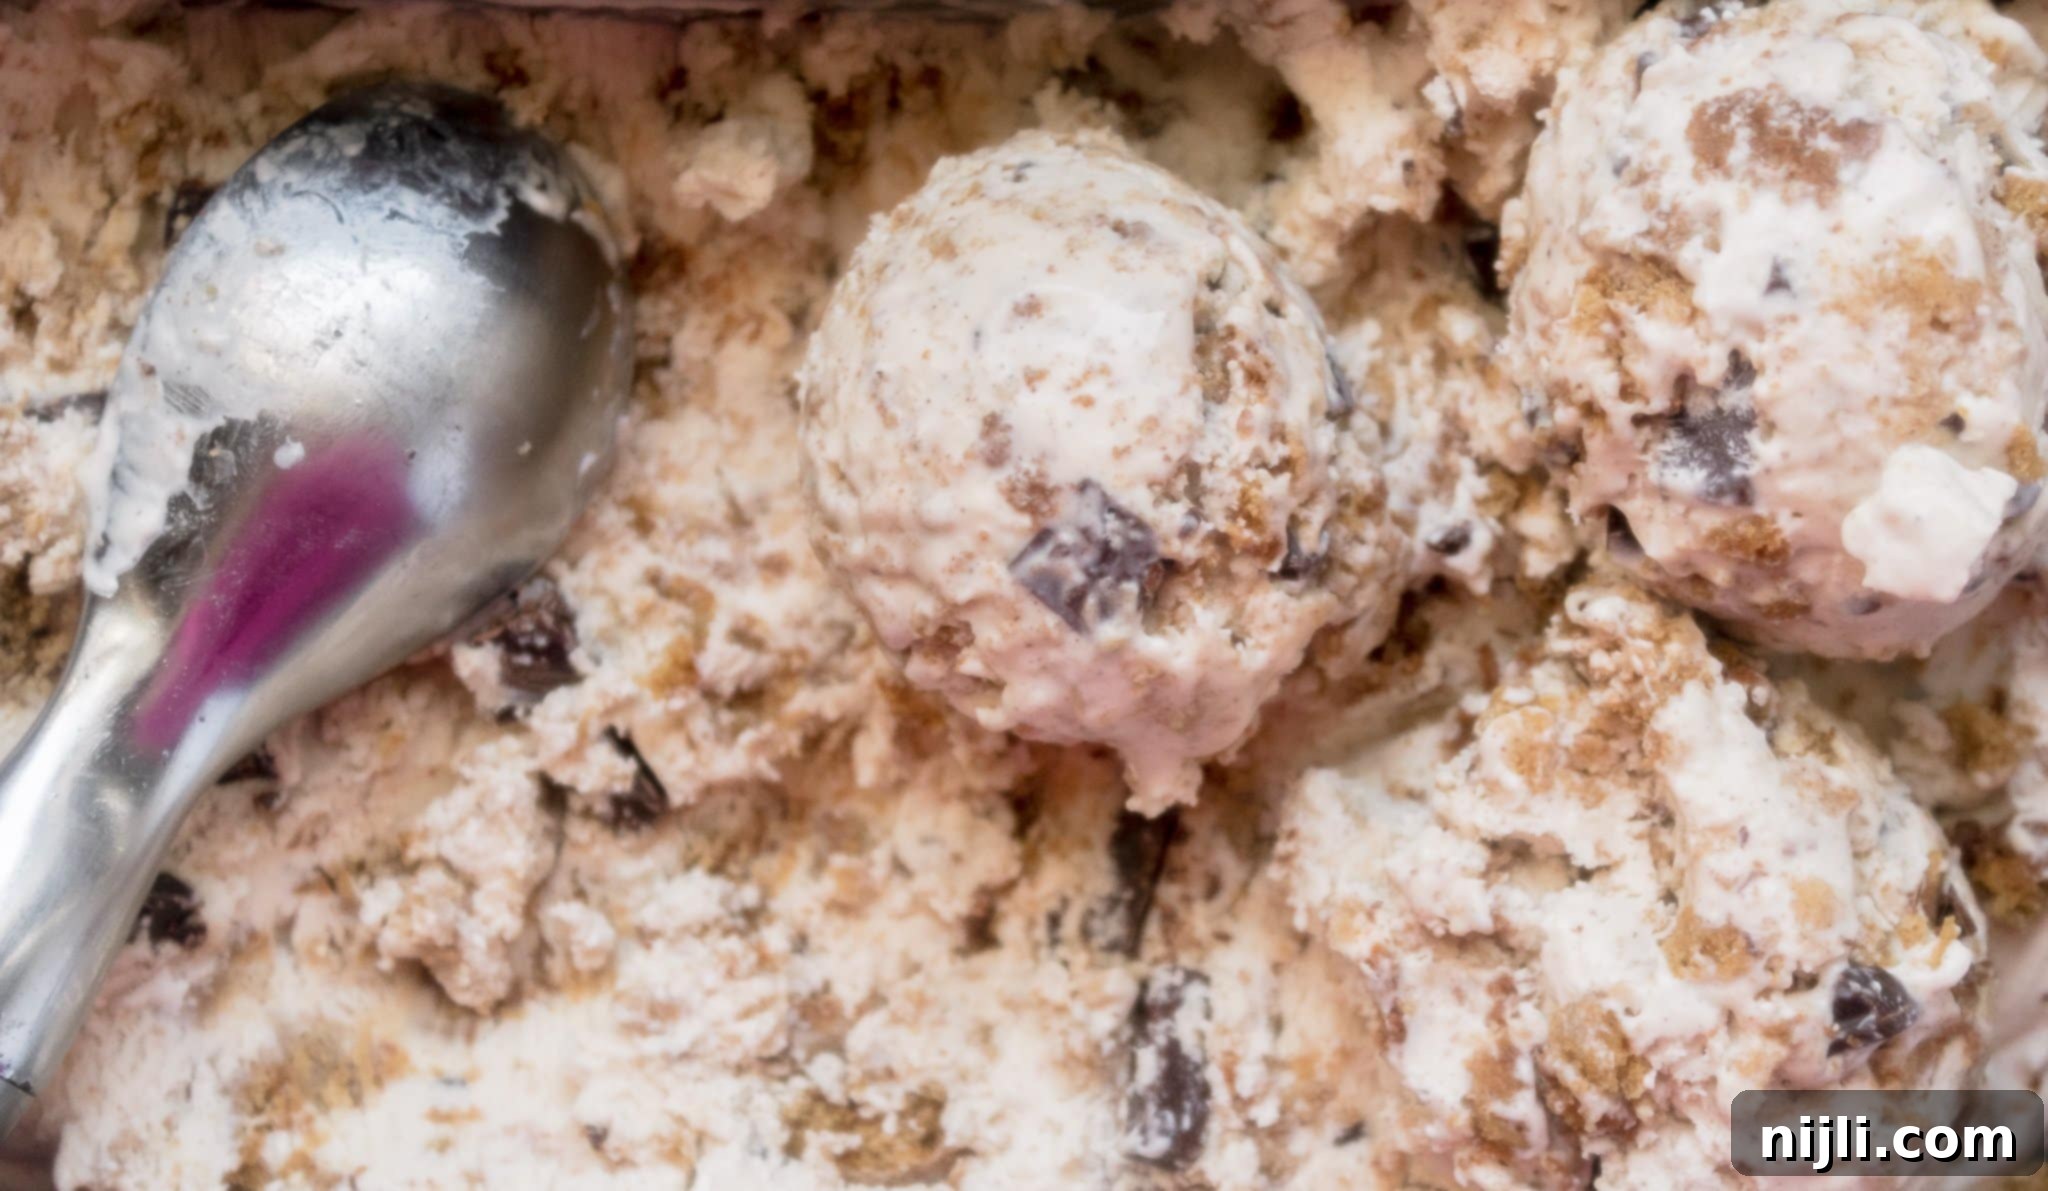
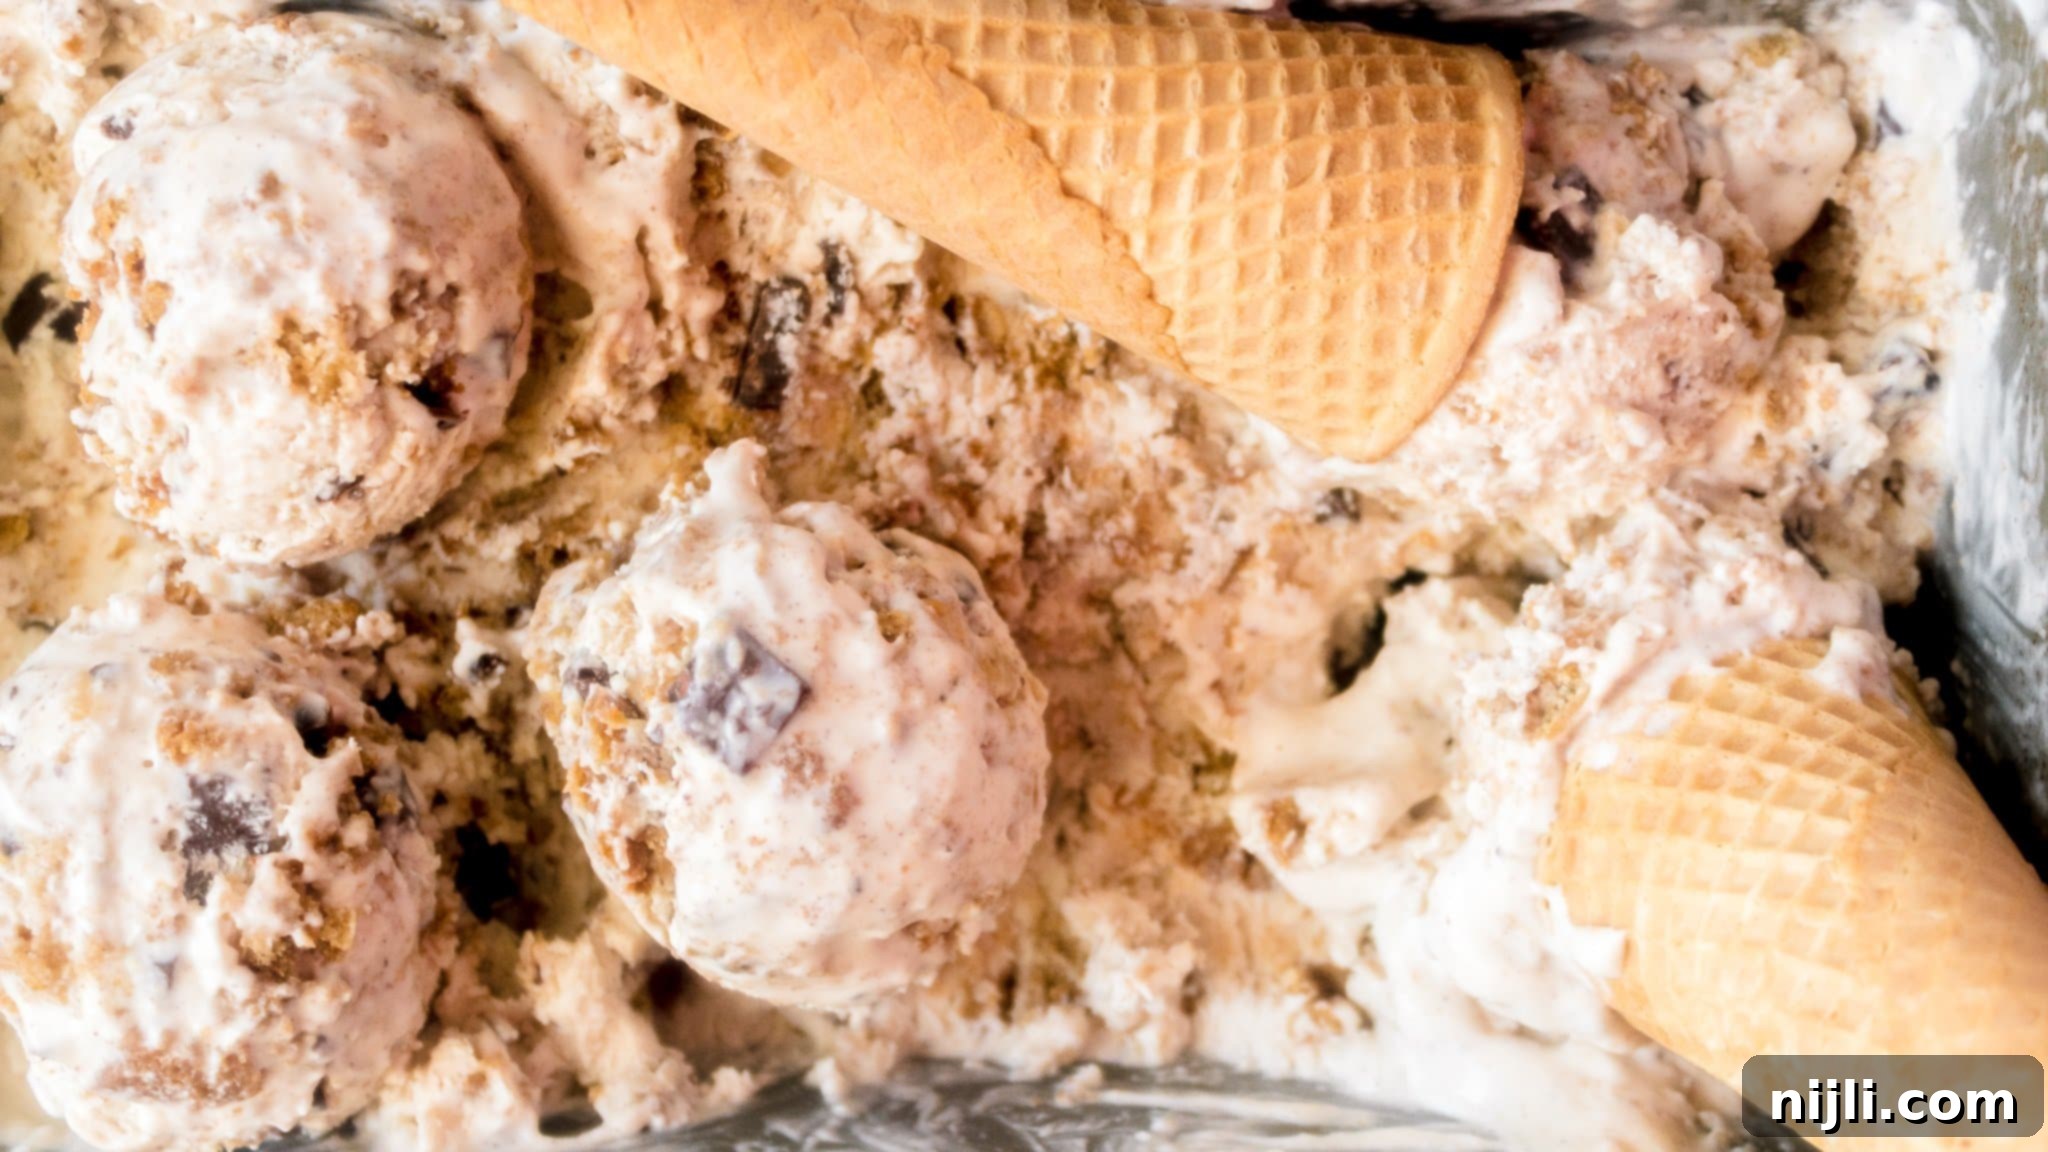
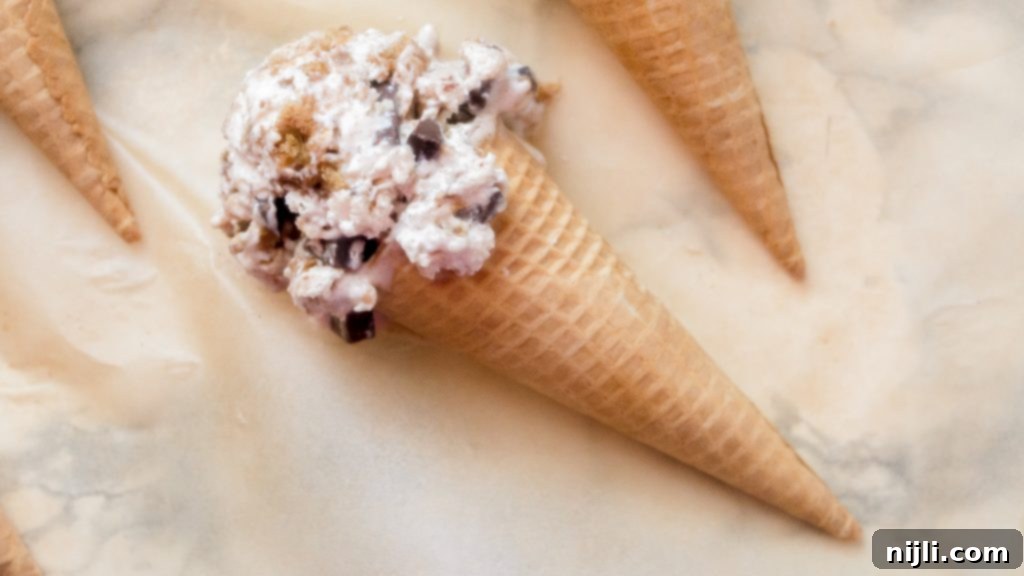
Imagine a velvety smooth, cinnamon-spiced ice cream base generously studded with substantial pieces of tender oatmeal cookies and rich, decadent chocolate fudge. Every spoonful is a delightful journey of contrasting textures and complementary flavors. This recipe isn’t just about making ice cream; it’s about recreating a nostalgic experience, bringing back a cherished flavor that many thought was lost forever. Get ready to impress your family and friends with this homemade masterpiece!
[feast_advanced_jump_to]
Choosing the Perfect Oatmeal Cookies for Your Ice Cream
The heart of our Oatmeal Cookie Chunk ice cream lies within the cookies themselves. Their texture and flavor are crucial for achieving that authentic Ben & Jerry’s taste. I’ve included a straightforward oatmeal cookie recipe below, which is precisely what I used to create this no-churn delight. These cookies are designed to be soft and chewy, holding up perfectly when frozen within the ice cream. Baking your own ensures the freshest flavor and the perfect consistency.
However, don’t feel limited to making them from scratch! This recipe is incredibly versatile and works wonderfully with any oatmeal cookie you already love. It’s also an excellent way to utilize any leftover oatmeal cookies you might have on hand from a previous baking session – a delicious way to prevent food waste! If you opt for homemade, consider adding a touch more cinnamon to the cookies to really amplify that warm spice profile, which pairs so beautifully with the ice cream base.
For those times when you’re short on time or simply prefer convenience, store-bought oatmeal cookies are an absolutely viable and equally delicious option! Just pick up a pack of your favorite brand – whether they’re classic crispy or soft-baked – and break them up into delightful chunks. The key is to ensure they’re broken into varying sizes, providing interesting textural surprises in every bite. Smaller crumbs will blend into the ice cream, while larger pieces offer a satisfying chew. A good quality store-bought cookie will make this recipe even quicker to assemble, letting you enjoy your homemade ice cream sooner!
Key Ingredients for Unforgettable Flavor and Texture
Crafting the perfect no-churn ice cream requires a careful selection of ingredients that work together to create its signature creamy texture and rich flavor. Here’s a breakdown of what you’ll need for your decadent ice cream base and why each component is essential:
- Heavy Cream: This is the backbone of our no-churn ice cream. When whipped to stiff peaks, heavy cream incorporates air, creating the light, airy, and incredibly fluffy texture that mimics traditional churned ice cream. It’s what gives our oatmeal cookie ice cream its luxurious mouthfeel. Ensure it’s very cold for optimal whipping.
- Cinnamon: A crucial ingredient that adds a delightful warmth and aromatic spice, perfectly complementing the oatmeal cookies. It elevates the ice cream from a simple dessert to a sophisticated treat, echoing the original Ben & Jerry’s flavor profile.
- Vanilla Extract: Always opt for a high-quality pure vanilla extract. Vanilla isn’t just a background flavor; it enhances all the other ingredients, adding depth and a sweet, comforting aroma to the ice cream base.
- Sweetened Condensed Milk: This magical ingredient is the secret to almost all no-churn ice cream recipes. The high sugar content in sweetened condensed milk prevents the base from freezing into an icy block, ensuring a smooth, scoopable consistency. It also provides the perfect level of sweetness, eliminating the need for additional sugar.
- Finely Chopped Semi-Sweet Chocolate: These are your “fudge chunks”! To achieve that authentic Ben & Jerry’s experience, we’re not just using regular chocolate chips. Finely chopping a good quality chocolate bar, like Ghirardelli semi-sweet baking chocolate, allows for better distribution and creates those irresistible, melt-in-your-mouth fudge-like pieces throughout the ice cream. Any high-quality semi-sweet chocolate bar you enjoy will work wonderfully. And if you’re a true chocolate lover, don’t forget to check out my Hot Chocolate Mug Cake or my Chocolate Chip and Marshmallow Cookies for more chocolatey goodness!
If you’re embracing the homemade cookie route rather than using store-bought or leftover cookies, here’s what you’ll need to create the perfect oatmeal cookies for this recipe:
- Salted Butter: Ensure it’s softened to room temperature for easy creaming, contributing to a tender cookie texture.
- Light Brown Sugar: Measured packed, it provides a deep, molasses-rich sweetness and keeps the cookies moist.
- Large Egg: Also at room temperature, it helps bind the ingredients and adds richness.
- Pure Vanilla Extract: Essential for adding that classic, comforting vanilla flavor to the cookies.
- All-Purpose Flour: Measured by the spoon-and-level method or, for best accuracy, by weight using a kitchen scale. You’ll need precisely 64 grams of flour if measuring by weight to ensure the right consistency.
- Old-Fashioned Rolled Oats: These provide the distinctive chewy texture and wholesome flavor characteristic of oatmeal cookies. Avoid instant oats, as they can become mushy.
- Ground Cinnamon: A touch more cinnamon in the cookies amplifies the overall warm spice profile of the ice cream.
- Baking Soda: This leavening agent helps the cookies rise slightly and contributes to their soft, tender crumb.
Minimal Equipment, Maximum Deliciousness
One of the most appealing aspects of this no-churn oatmeal cookie ice cream is its utter simplicity, especially when it comes to required equipment. You won’t need any fancy gadgets or an expensive ice cream maker! This recipe is designed to be accessible to everyone, making delicious homemade ice cream a reality without the fuss.
The primary tool you’ll need is something to whip the heavy cream into stiff peaks. This can be achieved with a hand mixer, a stand mixer with a whisk attachment, or even just a good old-fashioned whisk and a bit of arm power. Whichever method you choose, ensure your cream is very cold, and your bowl and whisk are chilled for the best results. Beyond that, a sturdy container for freezing is key. I’ve found that a 9×5-inch loaf pan is the ideal size, providing enough surface area for efficient freezing while being easy to scoop from. That’s truly all you need to create this amazing dessert!
Expert Tips and Frequently Asked Questions
To ensure your no-churn oatmeal cookie chunk ice cream turns out perfectly every time, here are some helpful tips and answers to common questions:
- Chill Your Equipment: For best results when whipping heavy cream, chill your mixing bowl and whisk (or stand mixer attachment) in the freezer for 10-15 minutes before starting. This helps the cream whip up faster and achieve stiffer peaks.
- Don’t Overmix: While you want stiff peaks for your heavy cream, be careful not to overmix it, or it could turn into butter. Stop as soon as the peaks hold their shape firmly.
- Gentle Folding: When combining the whipped cream with the sweetened condensed milk and mix-ins, use a rubber spatula and fold gently. This preserves the air in the whipped cream, which is crucial for the light and fluffy texture of the no-churn ice cream.
- Cover Tightly: To prevent ice crystals from forming on the surface of your ice cream, ensure it’s covered tightly with plastic wrap, pressed directly onto the surface, before freezing. An airtight lid on your loaf pan also helps.
- Patience is Key: While the prep time is minimal, the freezing time is essential. Give your ice cream at least 6 hours, or ideally overnight, to set completely for the best texture.
Absolutely! It’s a match made in dessert heaven! The fantastic chewiness and warm, comforting spice of the oatmeal cookies create an incredible contrast with the cool, incredibly creamy ice cream base. This combination of textures and temperatures is what makes this flavor so unique and beloved. Plus, the addition of rich chocolate chunks in this oatmeal cookie ice cream provides the perfect final touch, rounding out all the flavors beautifully.
You most certainly can, and it’s a fantastic time-saver! There’s no need to bake cookies from scratch if you’re looking for a quicker assembly. Simply crumble in some of your favorite crispy or soft-baked oatmeal cookies and proceed with the recipe as normal. Make sure to break them into varying sizes for a more dynamic texture throughout the ice cream.
While the core of this recipe relies on heavy cream and sweetened condensed milk, you can explore dairy-free alternatives. Look for full-fat coconut cream (chilled, just the thick part) and dairy-free sweetened condensed coconut milk. Ensure your cookies and chocolate chunks are also dairy-free. The texture might be slightly different, but it will still be delicious!
When stored properly in an airtight container, your homemade no-churn ice cream will stay fresh and delicious for up to 2-3 weeks. Beyond that, it might start to develop ice crystals and lose some of its creamy texture, though it will still be safe to eat.
More Indulgent Desserts You’ll Love
If you’ve enjoyed the process of making the oatmeal cookies for this recipe, or simply crave more delightful cookie creations and no-churn wonders, you’re in luck! Here are a couple of related recipes that are sure to satisfy your sweet tooth:
For another fantastic twist on a classic, you’ll definitely want to check out my Coconut Macadamia Oatmeal Cookies with White Chocolate Chunks! They are bursting with tropical flavor from the coconut, crunchy macadamia nuts, and sweet white chocolate. They’re incredibly easy to make and perfect for a snack or dessert.
And if you’re hooked on the magic of no-churn recipes, then this No-Churn Blackberry Cheesecake Ice Cream with Biscoff Cookie Swirl is an absolute must-try! It features a rich and creamy no-churn cheesecake ice cream base, swirled with a homemade luscious blackberry filling and a buttery, spiced Biscoff cookie crumble. It’s a truly sophisticated and utterly delicious frozen treat that tastes like it came from a gourmet ice cream parlor!
📖 Recipe
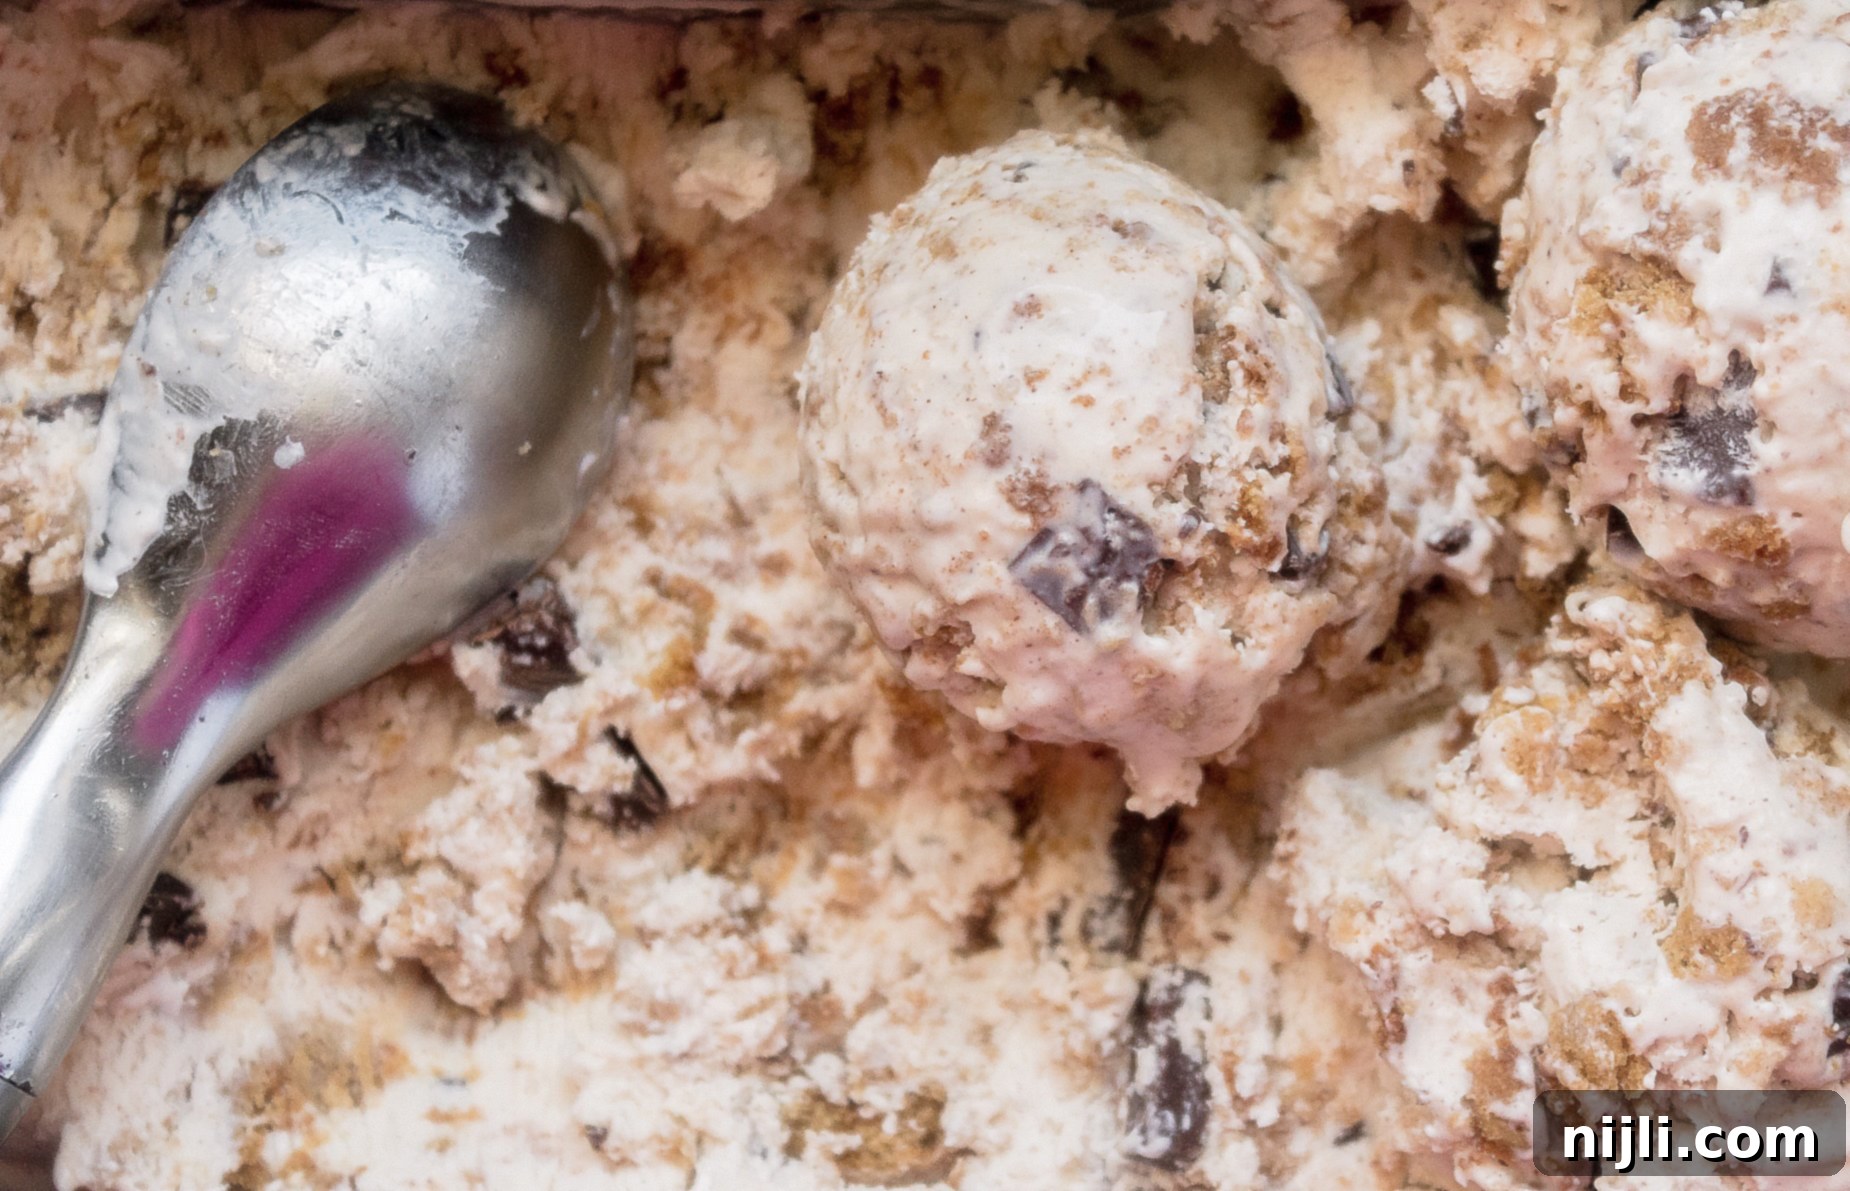
Oatmeal Cookie Ice Cream – No Churn Ben and Jerry’s Copycat
Pin Recipe
Rate Recipe
Save RecipeSaved!
Equipment you may need
-
hand mixer
-
stand mixer
-
whisk
-
rubber spatula
-
9×5 loaf pan
-
plastic wrap
-
parchment paper
-
silicone baking mat
-
¾ sheet baking pan
Ingredients
Oatmeal Cookies (see note)
- ¼ cup salted butter – softened
- ⅔ cup light brown sugar – packed
- 1 large egg – room temperature
- 2 teaspoon pure vanilla extract
- ½ cup all-purpose flour – – 64g
- ½ cup old-fashioned rolled oats – – 45g
- ½ teaspoon ground cinnamon
- ¼ teaspoon baking soda
No-Churn Ice Cream
- 1 14-oz. can sweetened condensed milk
- 2 cups heavy whipping cream
- 2 teaspoon pure vanilla extract
- 1 teaspoon ground cinnamon
- 4 oz. semi-sweet chocolate – finely chopped
Instructions
Oatmeal Cookies
-
Preheat your oven to 350°F (175°C) and prepare a baking sheet by lining it with parchment paper or a silicone baking mat. This prevents sticking and ensures even baking.
-
In a large mixing bowl, using an electric mixer, cream together the softened butter and light brown sugar until the mixture is light, fluffy, and well combined. This can take about 2-3 minutes. Next, beat in the room temperature large egg and pure vanilla extract until fully incorporated.
-
In a separate medium bowl, whisk together the all-purpose flour, old-fashioned rolled oats, ground cinnamon, and baking soda. Make sure these dry ingredients are thoroughly combined to ensure even distribution in your cookies.
-
Gradually add the dry ingredients to the wet ingredients, folding them in gently with a spatula until just combined. Be careful not to overmix, as this can lead to tough cookies.
-
(Optional but recommended for best texture) Chill the cookie dough in the fridge for 30 to 60 minutes. This helps prevent the cookies from spreading too much during baking, resulting in a chewier texture.
-
Drop spoonfuls of dough onto the prepared baking sheet. Bake in the preheated oven for 12-14 minutes, or until the edges are golden brown and the centers are still slightly soft.
-
Allow the cookies to cool completely on a wire rack, either at room temperature or in the fridge to speed up the process. Once fully cooled, break them into varying sized chunks – some smaller crumbs, some larger pieces – perfect for folding into your ice cream.
No-Churn Ice Cream
-
In a large, chilled mixing bowl, combine the very cold heavy cream, pure vanilla extract, and ground cinnamon. Using an electric mixer (handheld or stand mixer) or a whisk, beat the mixture on medium-high speed until stiff peaks form. The cream should hold its shape firmly when the whisk is lifted.
-
Gently fold in the sweetened condensed milk with a rubber spatula until just combined. Be careful not to deflate the whipped cream. Then, add the finely chopped semi-sweet chocolate and the prepared oatmeal cookie chunks. Fold these mix-ins gently until evenly distributed throughout the creamy base.
-
Carefully pour the ice cream mixture into your chosen freezing container, such as a 9×5-inch loaf pan. Spread it evenly using your spatula. For an extra touch, you can top it with a few more cookie crumbs and chocolate chunks before freezing.
-
Cover the loaf pan tightly with plastic wrap, pressing it directly onto the surface of the ice cream to prevent ice crystals from forming. Freeze for a minimum of 6 hours, or ideally overnight, until the ice cream is firm and scoopable.
-
Before serving, let the ice cream sit out at room temperature for about 10 minutes. This will allow it to soften slightly, making it easier to scoop and enhancing its creamy texture. Enjoy your homemade Ben & Jerry’s copycat!
Notes
Nutrition
Nutrition Disclaimer
PIN this no-churn oatmeal cookie chunk ice cream recipe for later and enjoy the magic!
