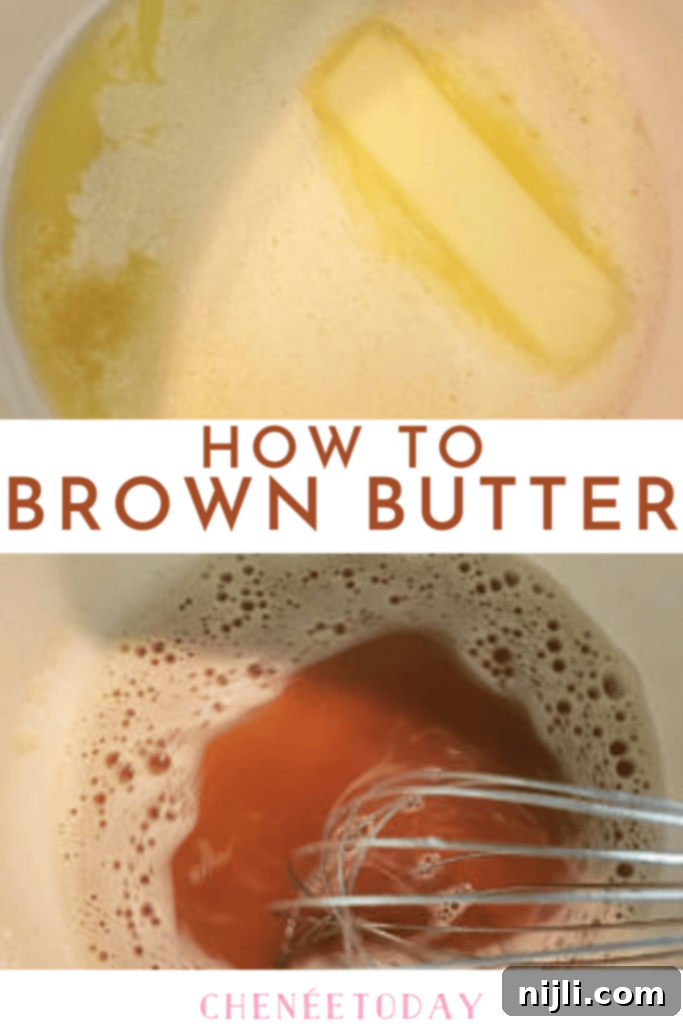
Mastering Brown Butter: The Ultimate Guide to Beurre Noisette for Flavorful Cooking and Baking
Unlocking a world of rich, nutty flavor is easier than you think. If you’re eager to elevate your dishes with a brown butter sauce, create irresistible brown butter chocolate chip cookies, or explore countless other brown butter recipes, you’ve landed in the perfect spot! This comprehensive guide will walk you through achieving that coveted golden-brown hue and depth of flavor, suitable for both savory delights like pasta and sweet treats in your baking endeavors.
*This post contains affiliate links — as an Amazon Associate I earn from qualifying purchases. Please see my disclosure for details*.
If you’re looking to expand your culinary skills, be sure to check out these other helpful baking tips: How to Make Vanilla Extract, Pound Cake vs. Bundt Cake – What’s the Difference?, Measuring Baking Ingredients Accurately for Better Results, and My Favorite Kitchen & Baking Tools!
What is Brown Butter (Beurre Noisette) and Why is it So Special?
Brown butter, elegantly known as beurre noisette in French cuisine, is a culinary marvel created by simply heating regular unsalted butter. This seemingly minor step initiates a profound transformation. As the butter gently cooks over low to medium heat, its milk solids undergo caramelization, developing a distinctive nutty aroma and a rich, complex flavor. This process not only concentrates the butter’s essence by evaporating its water content but also fosters the Maillard reaction, yielding those magical golden-brown specks that are the hallmark of perfect brown butter. It’s more than just melted butter; it’s butter elevated to a new dimension of taste.
Brown Butter vs. Regular Butter: A Flavor Transformation
The difference between brown butter and regular butter is immense, far exceeding a simple change in color. Regular butter offers a creamy, mild flavor that serves as a foundational fat in countless recipes. Brown butter, however, takes on an entirely new personality. Its journey through heat develops deep, toasted notes reminiscent of hazelnuts or caramel, adding an unparalleled richness and depth to any dish. While regular butter is essential, brown butter has the power to transform an everyday recipe into a masterpiece. Once you experience its unique flavor profile, you’ll find yourself considering it as a swap in almost any recipe that calls for butter.
The beauty of brown butter lies in its accessibility. Despite its seemingly magical ability to enhance flavors, achieving it requires no special spells or complicated techniques. It’s a simple, quick process that yields extraordinary results, making it a “secret ingredient” beloved by chefs and home cooks alike.
I’ve featured this incredible ingredient in numerous recipes on this blog, from my acclaimed sweet potato pie to delightful no-bake treats like brown butter Rice Krispie treats. Its nutty, caramel notes are particularly suited for autumn and winter recipes, such as Eggnog Bread Pudding with Brown Butter Rum Sauce or brown butter banana blondies. Beyond sweets, it creates an exquisite brown butter sauce for savory pastas, perfectly complementing aged cheese and earthy herbs. Indeed, it’s a versatile flavor enhancer that can elevate a vast array of dishes, making it an indispensable tool in your culinary arsenal.
The Secret to Perfect Brown Butter: The Maillard Reaction
The “trick” to brown butter isn’t a trick at all, but rather a simple yet profound chemical process known as the Maillard reaction. This reaction occurs when the amino acids and reducing sugars in the butter’s milk solids are heated, leading to a cascade of flavor compounds and a change in color. As the butter melts and cooks on the stovetop, these milk solids toast and caramelize, imbuing the butter with its signature nutty, rich, and slightly sweet flavor. During this process, water evaporates, resulting in a lower water content compared to regular butter. This concentration of flavor, coupled with the distinctive brown specks, makes brown butter stand out in both sweet and savory applications, transforming ordinary ingredients into something truly extraordinary.
How to Make Browned Butter: A Step-by-Step Guide to Beurre Noisette
Creating brown butter, or beurre noisette, involves cooking butter until its milk proteins are beautifully toasted and achieve a deep golden-brown hue. As this browning occurs, the butter’s flavor intensifies, taking your dish from simply delicious to utterly amazing. The best part? It’s incredibly easy to master, adding only a few minutes to your total prep time but delivering a significant flavor payoff.
Essential Ingredients and Tools for Brown Butter
Making brown butter requires just one key ingredient and a couple of simple tools. Here’s what you’ll need:
- Butter: You can use either salted or unsalted butter, but for best control over the browning process, especially when you’re starting, I recommend unsalted butter. Salted butter can brown more rapidly and unevenly due to the added salt. For an even richer, more complex flavor, consider using cultured butter with a higher fat content, like European-style butter. Start with a ½ cup (one stick) of butter, cut into uniform chunks for even melting.
- A Light-Colored Pan: This is crucial for monitoring the browning process. A stainless steel pan works well, but if you have a white or cream-colored skillet, it’s even better. The light interior allows you to clearly see the milk solids changing color, preventing accidental burning.
- A Whisk and a Rubber Spatula: A whisk is essential for keeping the butter moving and ensuring it browns evenly, preventing hot spots and burning. I highly recommend a silicone whisk to protect your pan. A rubber spatula is also invaluable for scraping every last bit of those flavorful brown specks from the bottom of your pan once the butter is ready.
The Visual Transformation: What to Look for During Browning
Let’s walk through the visual stages of brown butter transformation:
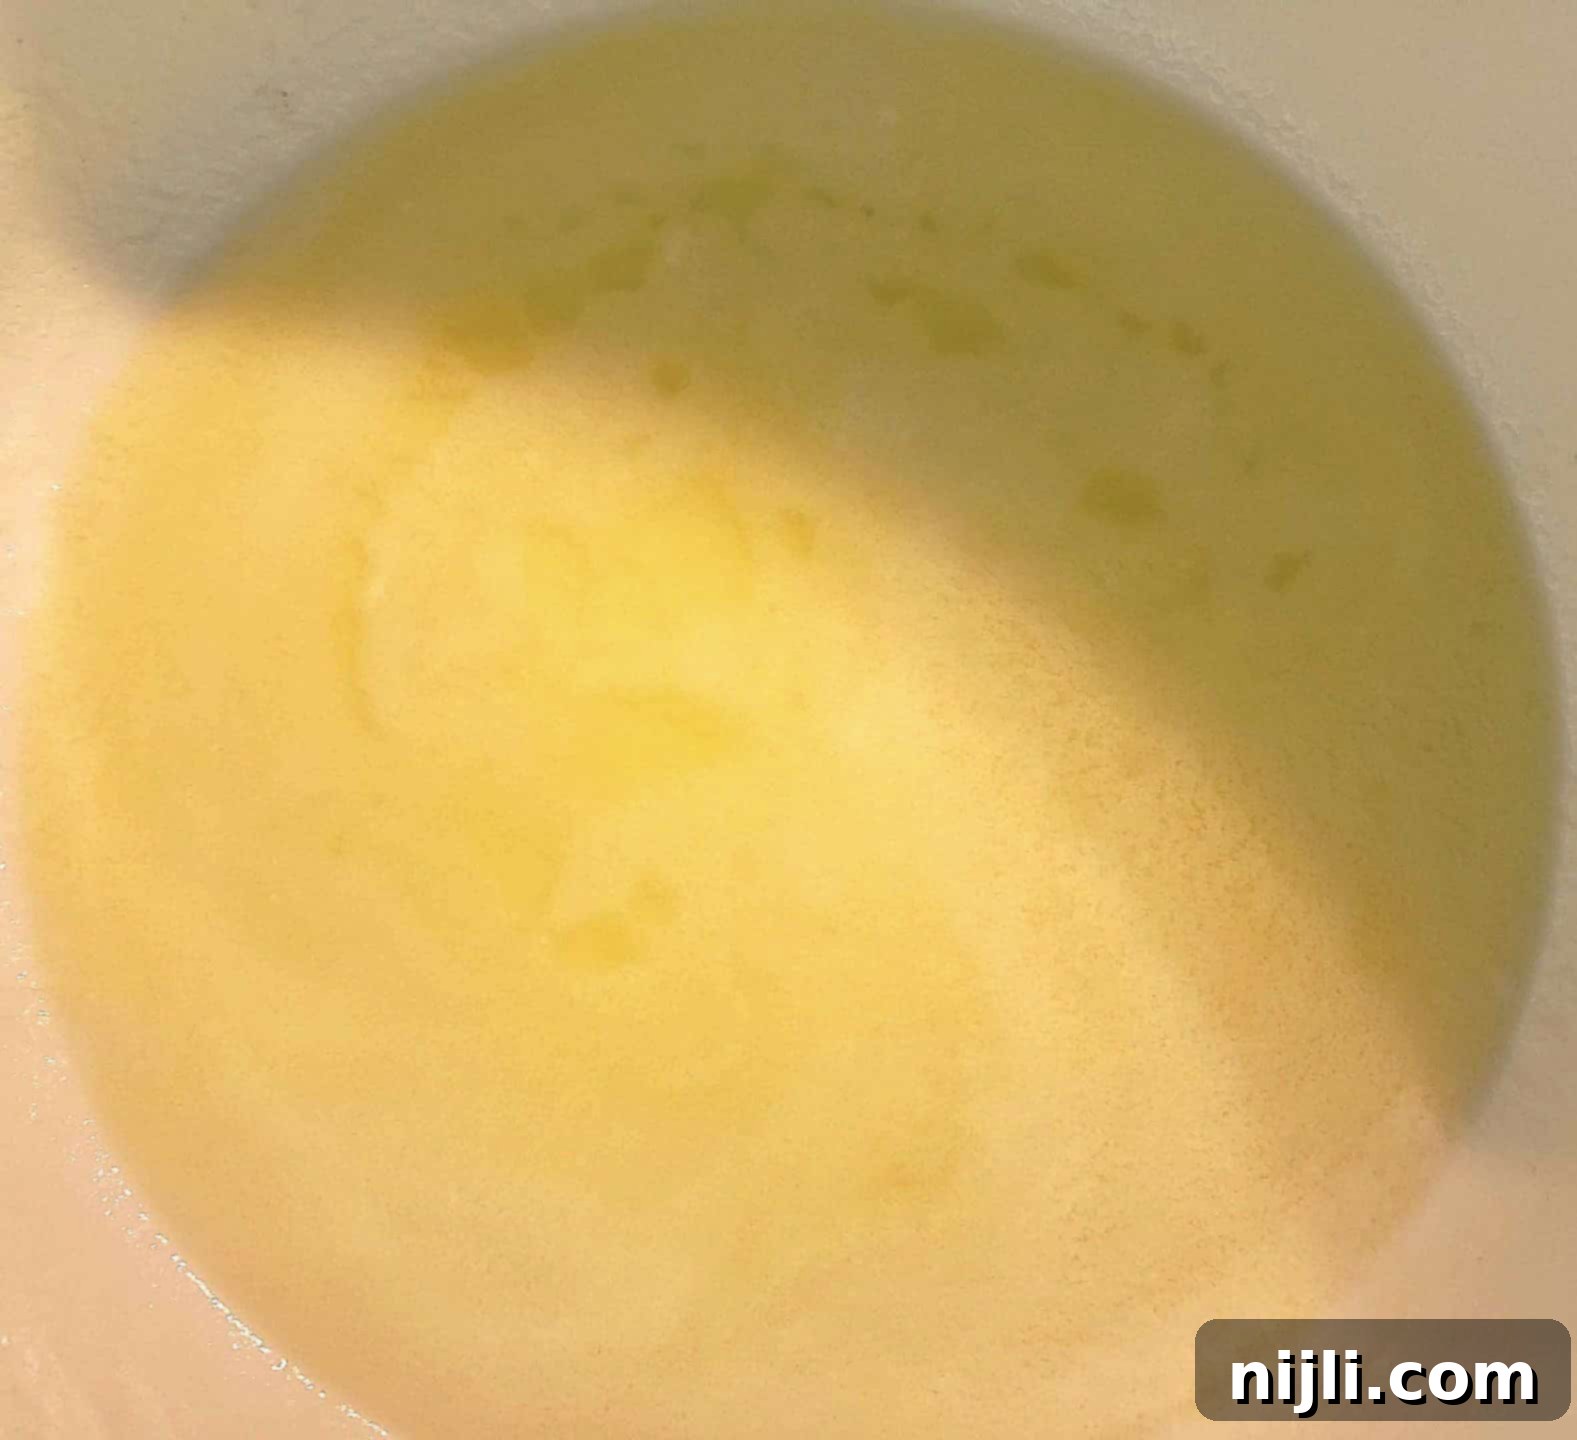
To begin, cut your stick of butter into uniform chunks and place them in your light-colored pan over medium-low heat. Cook for approximately 5-10 minutes. As it starts to melt, it will look like this:
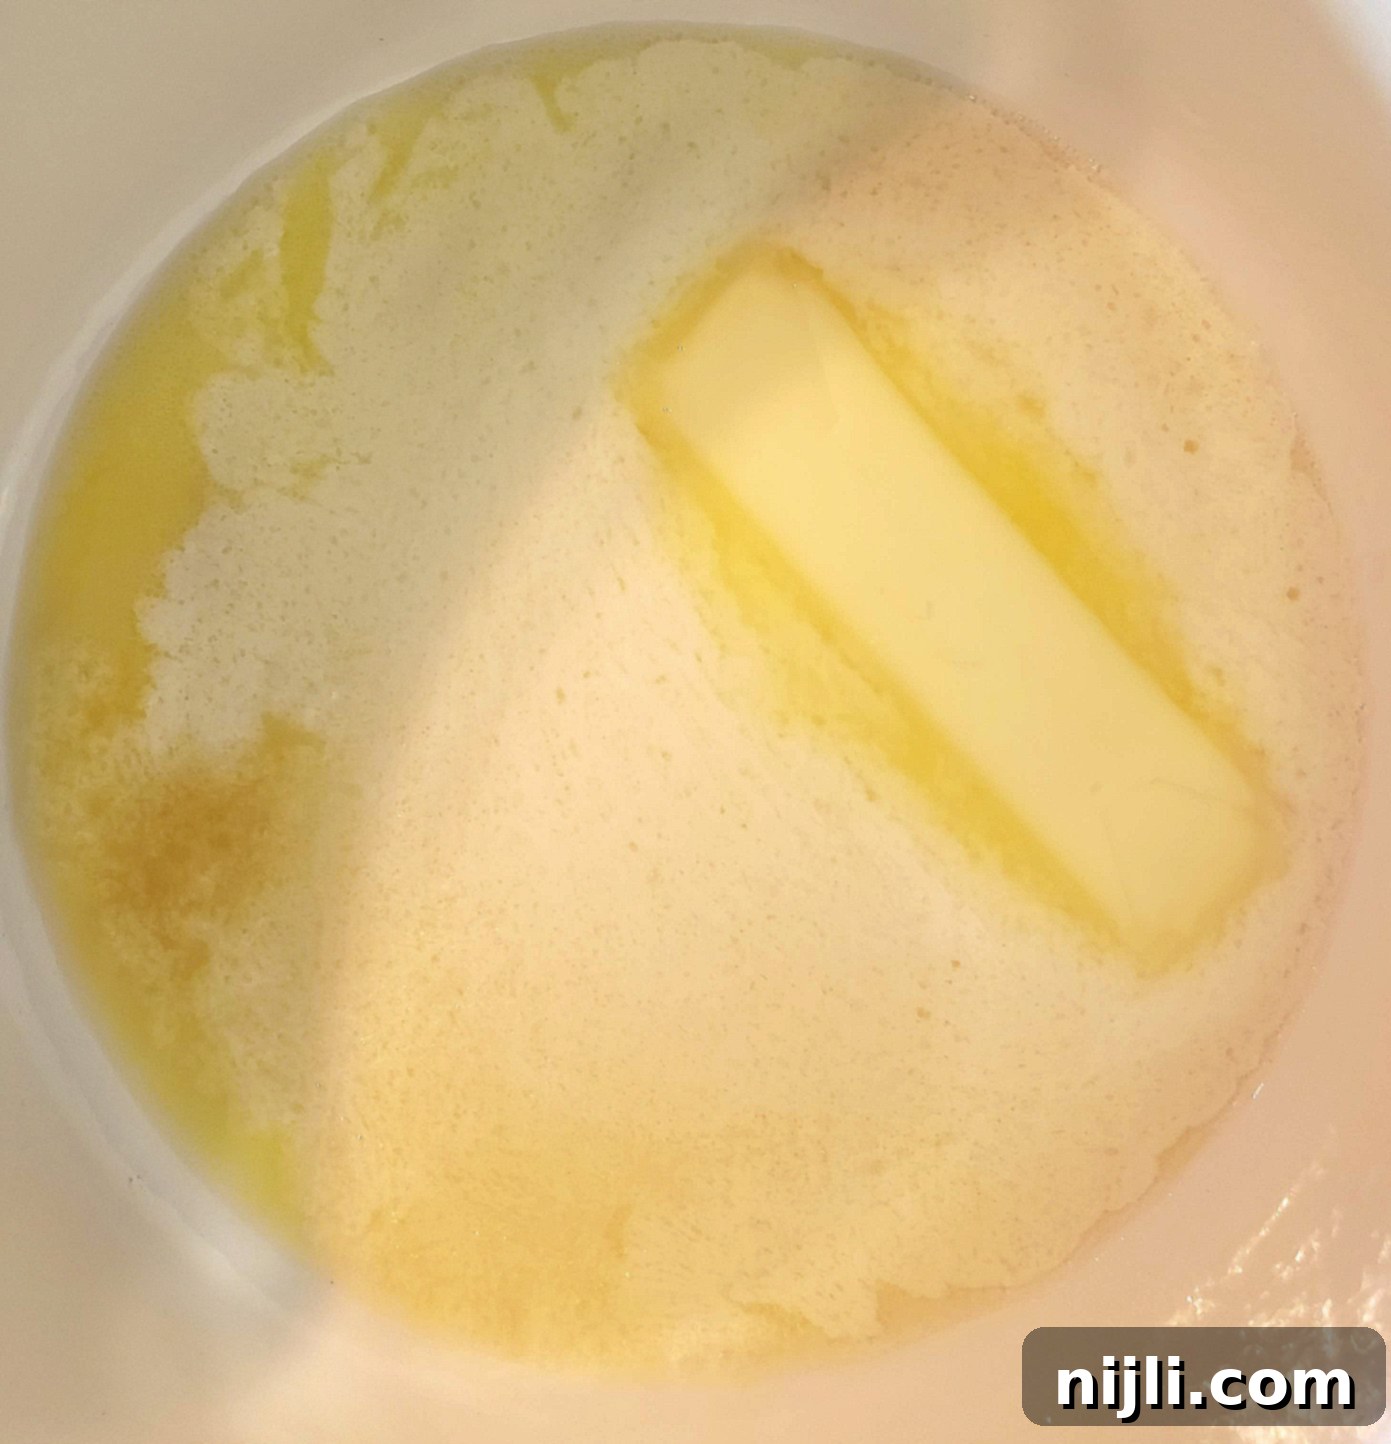
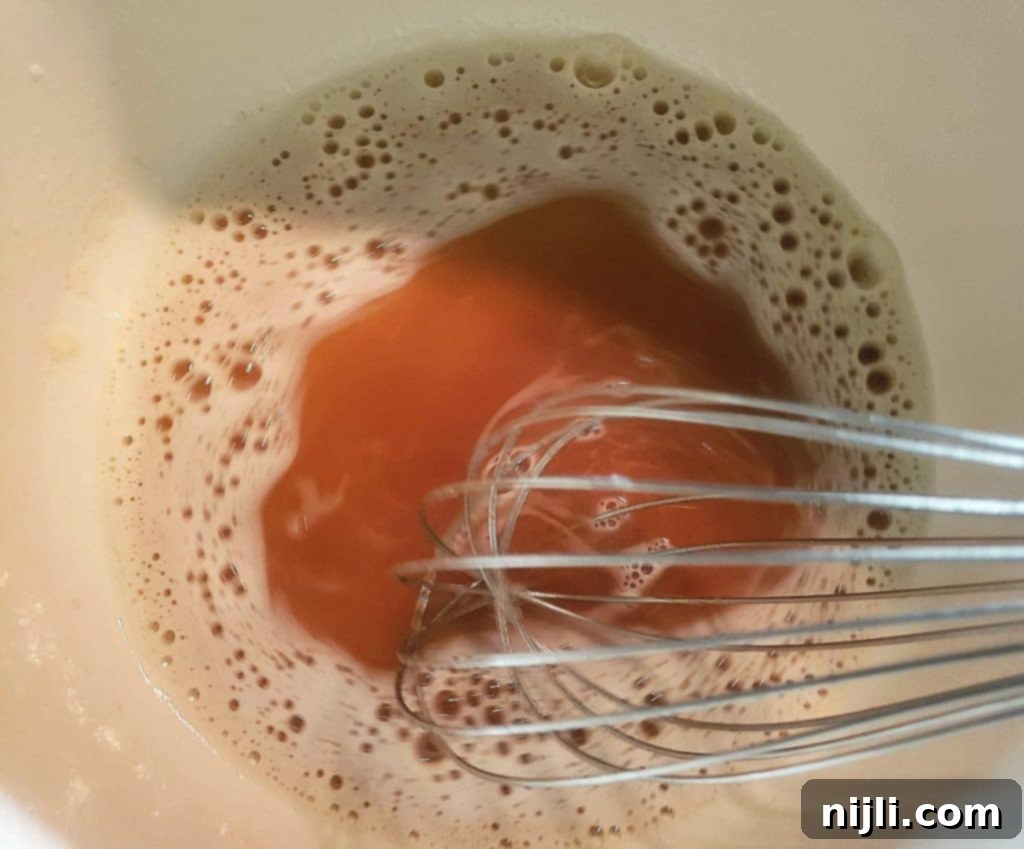
Continue whisking consistently. The melted butter will begin to foam, and you’ll observe the white milk solids separating and settling at the bottom of the pan.
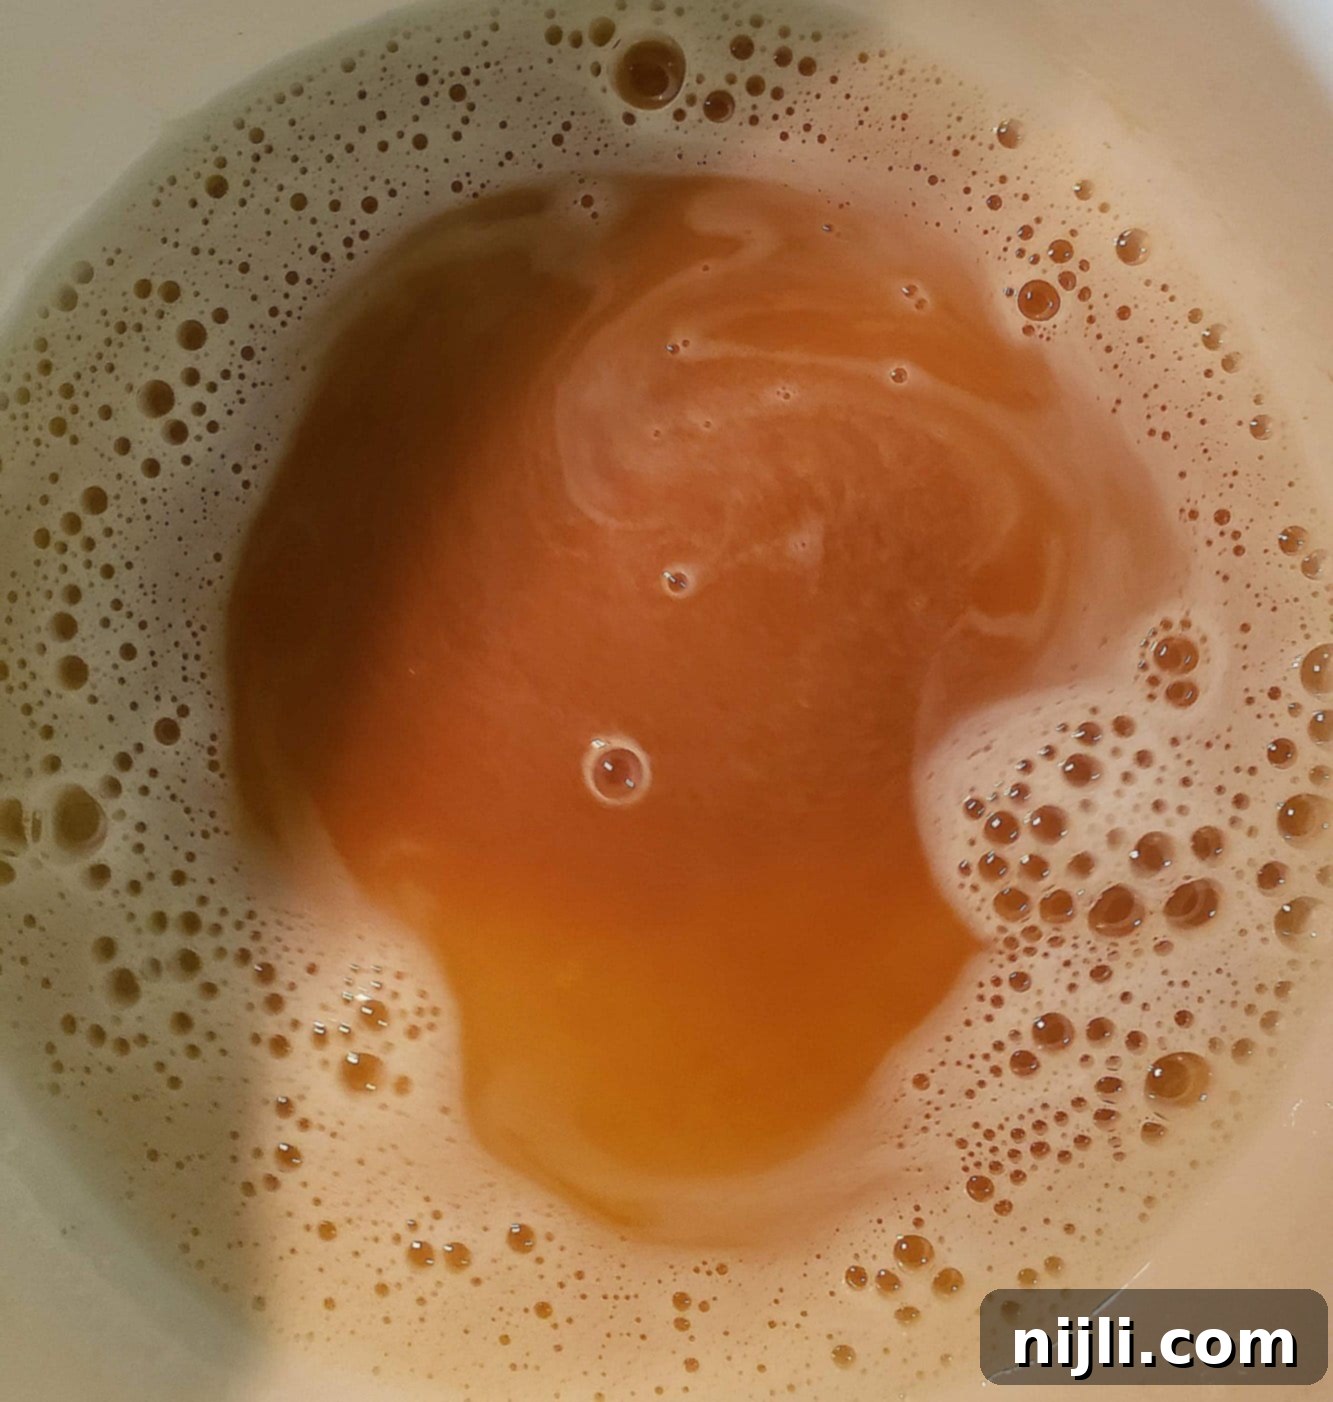
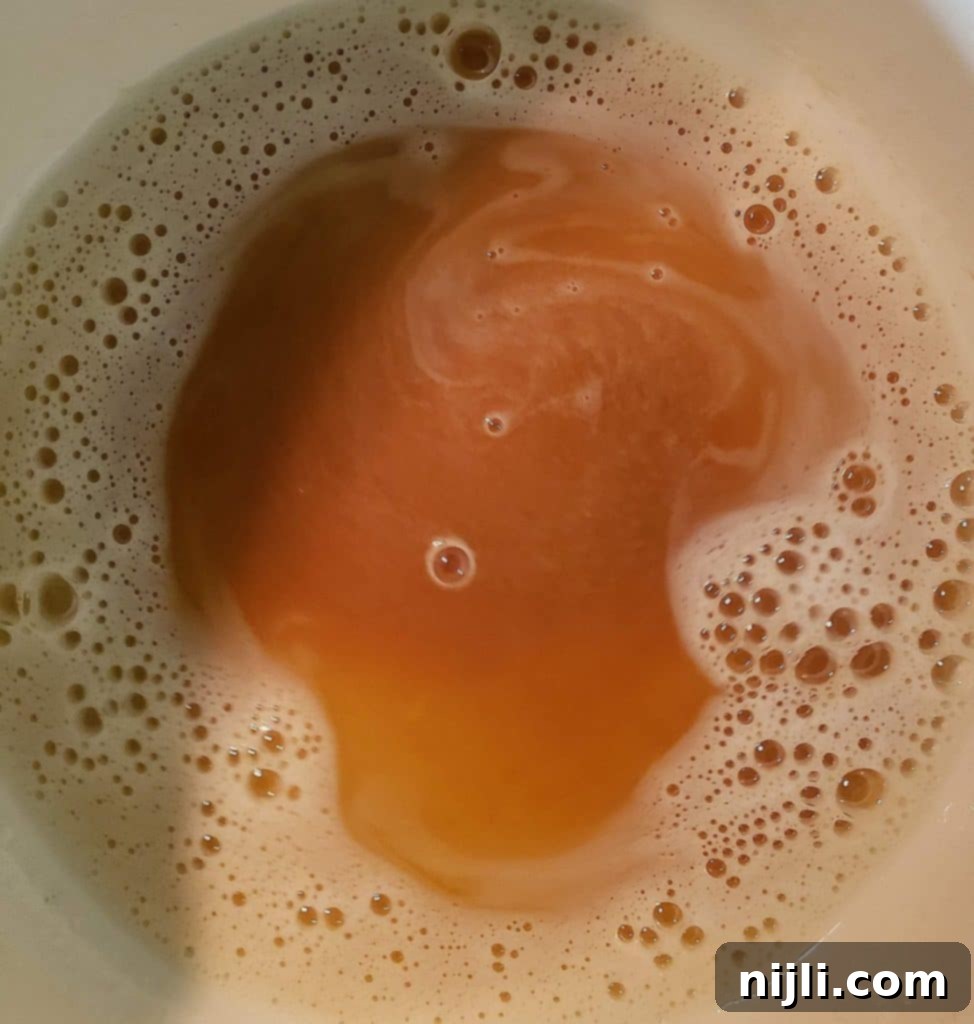
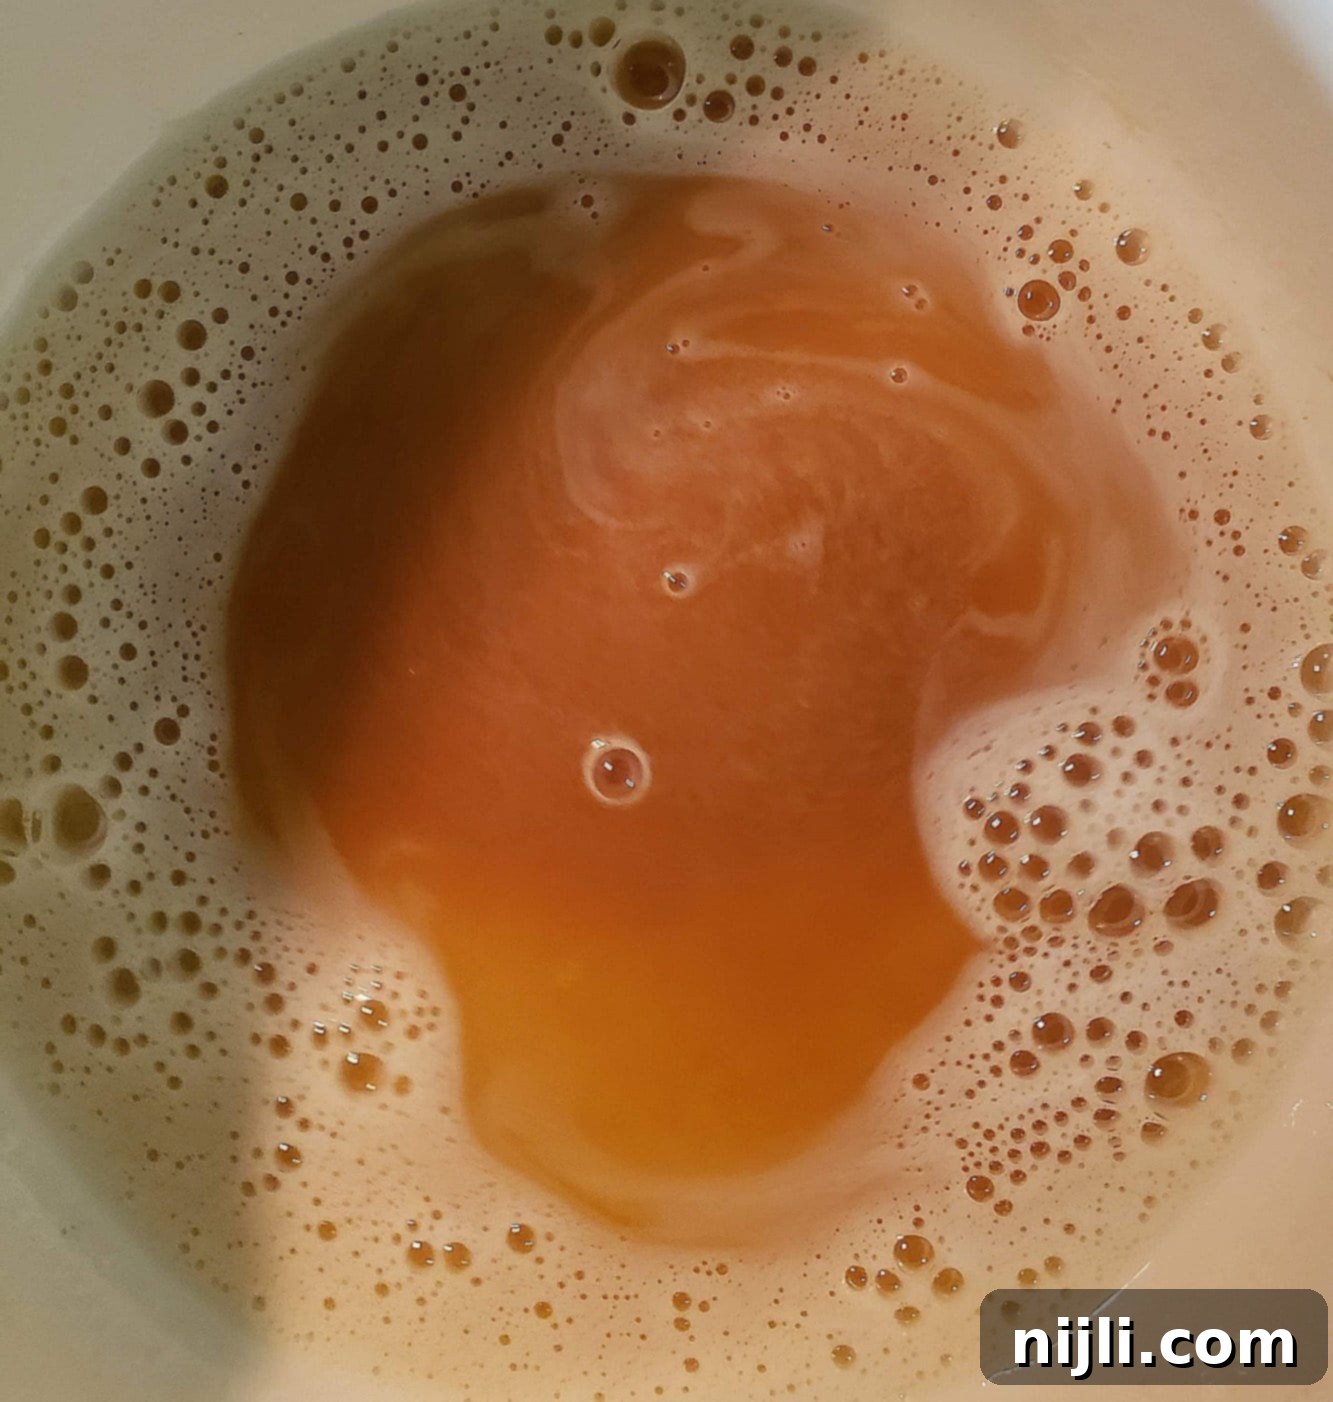
It’s crucial to keep whisking during this stage to prevent the foam from obscuring your view of the milk solids. These solids will be the first to develop a golden-brown color, typically after about 5 minutes or so. When the butter reaches this rich, amber color with visible brown specks, and you start to smell a distinct nutty aroma, it’s perfect! It should look like this:
Once you reach this stage, immediately remove the pan from the heat and transfer the brown butter to a heatproof container. Be sure to use your rubber spatula to scrape all those delicious, toasted brown bits from the bottom of the pan – these are concentrated pockets of nutty flavor!
How Long Does It Take to Brown Butter?
The browning process for butter typically takes about 5 to 10 minutes, depending on the quantity of butter and the heat level you’re using. It’s imperative to remain attentive at the stove and constantly monitor your butter, as it can quickly transition from perfectly browned to burnt in mere seconds. The difference between a rich, nutty flavor and a bitter, unpleasant taste is a very narrow window, so vigilance is key!
Brown Butter vs. Burnt Butter: Achieving the Perfect Color and Aroma
Distinguishing between perfectly browned butter and burnt butter is crucial for success. Your ideal brown butter will exhibit a deep golden-amber, caramel-like color, accompanied by a rich, nutty fragrance. The moment you observe this color developing in the milk solids, remove the pan from the heat and immediately transfer the butter to a separate heatproof bowl. This is important because residual heat in the pan can continue the cooking process, potentially leading to burning. Burnt butter, on the other hand, will appear much darker, almost black, and will emit an acrid, unpleasant burnt smell, a stark contrast to the inviting aroma of beurre noisette.
Why is My Butter Foaming? (And What to Do About It)
If your butter starts to foam vigorously, don’t worry – this is a completely normal and expected part of the browning process! The foaming indicates that the water content in the butter is evaporating. The amount of foam can vary depending on the butter’s brand, its fat content, and your cooking temperature. Regardless of how much foam appears, simply continue whisking your butter to keep it circulating. This constant movement helps the milk solids brown evenly and prevents them from sticking and burning at the bottom of the pan. Keep a close eye on those milk solids through the foam to accurately gauge their color change and ensure you pull the butter off the heat at the perfect moment.
Frequently Asked Questions About Brown Butter
While both types of butter have their rightful place, and brown butter isn’t a universal swap for every recipe, in most cases, brown butter undeniably enhances a dish. Its nutty, caramelized depth adds a dimension of flavor that regular butter simply can’t achieve. The first time you experience its transformative effect, you’ll understand its well-deserved reputation.
It’s important to remember that brown butter is still butter, and as such, it’s a fat and calorie-dense ingredient. While it adds incredible flavor, it’s best enjoyed in moderation as part of a balanced diet. It’s a culinary indulgence rather than a health food, but a delicious one at that!
Yes, salted butter can technically be browned, but it comes with a higher risk of burning. The salt crystals can cause the butter to brown more quickly and less evenly, making it harder to control the process. For beginners, and generally for more consistent results, it’s best to stick with unsalted butter until you become more experienced with the technique.
Brown butter is also widely recognized by its French name, “beurre noisette.” This translates literally to “hazelnut butter,” a fitting description that perfectly captures the distinct hazelnut-like aroma and rich, nutty flavor that develops during the careful cooking process.
The Maillard reaction is a complex chemical reaction between amino acids and reducing sugars that occurs when food is heated. It’s responsible for the distinctive browning and development of savory flavors in many cooked foods. You’ll find the delicious results of the Maillard reaction in seared steaks, toasted marshmallows, rich caramels, and, of course, the irresistible aroma and flavor of brown butter!
On average, browning butter takes approximately 5-10 minutes over medium-low to medium heat. Using a stainless steel skillet can sometimes speed up the process slightly, but constant attention is always recommended to prevent it from burning.
Absolutely! Brown butter is an excellent substitute for regular butter in most recipes where you desire a nuttier, richer, and more complex flavor. If your recipe calls for melted butter, you can use brown butter immediately. For recipes requiring cold or softened butter, simply chill the browned butter until it solidifies, then let it come to room temperature if softening is needed. Crucially, when substituting, remember that butter loses water during browning. To maintain the correct liquid balance in your recipe, add 1 tablespoon of water for every ½ cup of butter you brown.
For superior flavor and easier browning, I highly recommend using a high-quality butter with a higher fat percentage, such as European-style butter. Brands like Kerrygold are fantastic choices, as their lower water content and richer flavor translate into a more profound beurre noisette.
The Irresistible Allure: Why Brown Butter is a Culinary Gem
Brown butter’s undeniable deliciousness stems from its unique transformation under heat. As the butter gently cooks, its milk solids undergo the Maillard reaction, caramelizing and developing an incredible depth of flavor. This process coaxes out notes of toasted nuts, warm caramel, and a subtle sweetness that is simply irresistible. It’s a flavor bomb that instantly elevates everything it touches, adding a sophisticated richness whether you’re baking delicate cookies, whisking up a savory pasta sauce, or sautéing garden vegetables. It infuses both sweet and savory recipes with a deep, complex character that will leave your guests wondering about your secret ingredient, from that unforgettable rum cake to an unexpectedly addictive pasta dish. It’s an easy, yet elegant, way to achieve gourmet deliciousness that professional chefs have utilized for centuries.
Storing Brown Butter for Future Culinary Adventures
Brown butter can be prepared in advance, making it a convenient ingredient to have on hand. Once cooled, transfer it to a clean mason jar or any airtight container. It will solidify as it chills. You can store brown butter in the refrigerator for up to 10 days, allowing you to quickly add its rich flavor to meals throughout the week. For longer storage, it freezes beautifully for up to 3 months, ready to be thawed and used whenever inspiration strikes.
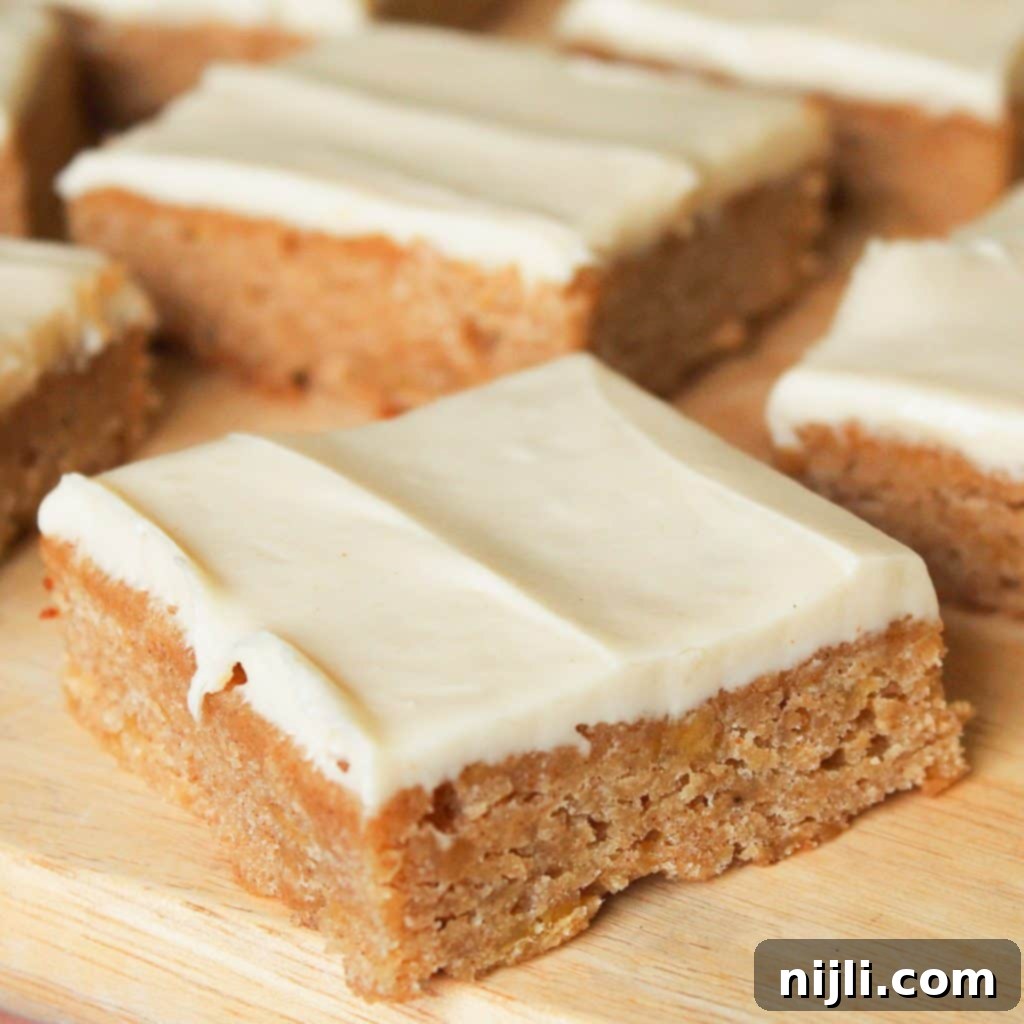
Unleash the Flavor: Inspiring Brown Butter Recipes
Now that you’ve mastered the technique, the exciting question is: what is brown butter used for? The possibilities are truly endless! Brown butter excels in recipes that call for melted butter, such as fudgy brownies, chewy blondies, or various cookie recipes, where its liquid form effortlessly integrates and imparts its deep flavor. However, as you grow more comfortable with the technique, don’t hesitate to experiment by using it in place of softened butter. It creates incredibly delicious frostings, rich icings, and tender cakes or quick breads. For these applications, you’ll need to chill the hot brown butter until it solidifies, then allow it to come back to room temperature before creaming. A prime example of this technique is my exquisite Butter Pecan Cake with Cream Cheese Frosting!
Below is a small sampling of the many incredible brown butter recipes I’ve shared, each a wonderful way to showcase the unique flavor of your homemade browned butter:
Chai Spice Bundt Cake
This chai bundt cake embodies everything cozy baking should be. The brown butter cream cheese glaze adds a nutty richness and tangy sweetness that pairs perfectly with the aromatic chai spices. It’s simple enough for a relaxed weekend bake, yet elegant enough for holiday gatherings or special occasions.
Brown Butter Pumpkin Donuts
These pumpkin spice donuts are a taste of autumn in every bite. Baked until perfectly soft and fluffy, they are then generously dipped in a luscious maple brown butter glaze. An easy homemade treat that feels wonderfully special but comes together in just minutes.
Rum Pound Cake with Brown Butter Glaze
This profoundly delicious pound cake features dark Jamaican rum baked directly into the batter, then further infused with a luscious brown butter rum syrup, and finally crowned with a shimmering brown butter rum glaze! Full of rich, caramelized tropical flavors, this cake is guaranteed to be a crowd-pleasing winner.
Fancy Rice Krispie Treats with Brown Butter and White Chocolate Ganache
Prepare for the only Rice Krispie treats recipe you’ll ever need! These decadent no-bake snacks, enhanced with brown butter and a smooth white chocolate ganache, are so utterly delicious they won’t last long – but thankfully, they’re so easy, you can whip up another batch in no time!
Brown Butter Peach Tart
Just in time for peach season! This exquisitely rich, layered peach tart features a delightful brown sugar shortbread crust, infused with brown butter, and topped with a crumbly streusel and a luscious brown butter icing drizzle. Made with either fresh or frozen peaches, it promises to be your perfect summertime dessert.
Oatmeal Cookie Bars with Brown Butter and Salted Nutella Swirl
Indulge in an easy, decadent treat! These brown butter oatmeal cookie bars are incredibly rich and packed with flavor, yet surprisingly simple to prepare. The salted Nutella swirl adds a delightful contrast that makes them truly irresistible!
Small Batch Chocolate Chip Cookies with Brown Butter and Sea Salt
When a craving for chocolate chip cookies strikes, but you don’t need a huge batch, this recipe is your perfect solution! It yields 8 soft, chewy brown butter chocolate chip cookies, elegantly finished with flaky sea salt – they are so incredibly addictive, you’ll be glad it’s a small batch!
Brown Butter Sweet Potato Pie Recipe
Discover a truly Southern brown butter sweet potato pie recipe, boasting the incredible richness of brown butter, the deep sweetness of brown sugar, and creamy evaporated milk. This recipe also incorporates the famous “black-bottom” technique popularized by Patti LaBelle’s legendary pie, resulting in two perfectly spiced and utterly delicious pies!
No Chill Gingerbread Cookies with Stout and Brown Butter Cream Cheese Frosting
I adore this harmonious combination of full-bodied stout and warmly spiced gingerbread. But let’s be honest, I’m always looking for a good excuse to incorporate the magic of brown butter, especially in a creamy, tangy cream cheese frosting!
Banana Cake with Brown Butter Cream Cheese Frosting
An incredibly easy and quick banana cake, crowned with a rich and delightful brown butter cream cheese frosting – truly perfect for a spontaneous weekend dessert that tastes anything but last-minute!
Carrot Pound Cake
This old-fashioned Carrot Pound Cake recipe, featuring pineapple and a decadent brown butter cream cheese glaze, is a true delight! We’ll guide you through making this moist carrot pound cake from scratch – no cake mix needed – for the ultimate, homemade carrot cake experience.
Brown Butter Cake with Nutella Buttercream Frosting
I can hardly believe it took me this long to unite the irresistible flavors of brown butter and Nutella! This cake is a testament to that perfect pairing, creating a truly memorable dessert experience.
Banana Cinnamon Pancakes with Maple Brown Butter Glaze
Elevate your weekend brunch to new heights with these decadent banana pecan pancakes, draped in a rich maple brown butter glaze. Bring the exquisite flavors of your favorite brunch spot right into your home with these moist, fluffy pancakes, made completely from scratch!
Eggnog Bread Pudding with Brown Butter Rum Sauce
Prepare an unforgettable holiday dessert featuring toasted pecans, rich dark rum, and creamy eggnog, all enveloped in an absolutely amazing brown butter rum sauce! This festive treat is sure to become a cherished part of your holiday traditions.
Sour Cream Pumpkin Bread with Maple Brown Butter Glaze
This is the easiest way to celebrate all those amazing fall flavors! Indulge in a moist, perfectly spiced pumpkin loaf, generously drenched in the most incredible maple brown butter glaze. It’s pure autumnal bliss in every bite!
Banana Blondies with Brown Butter Frosting
These fudgy, decadent white chocolate blondies are taken to the next level with the inclusion of ripe banana and the incredible depth of brown butter, making for an irresistibly rich and moist treat.
The culinary possibilities with brown butter are truly endless! I’d love to hear your ideas – let me know in the comments below what your favorite brown butter recipe is, or how you plan to incorporate this flavorful ingredient into your next dish!
If you try this recipe, I would be absolutely thrilled if you could leave a star review rating and a comment below! Your feedback is incredibly valuable and wonderful to hear. And don’t forget to share your delicious creations with me by tagging @chenee_today on Instagram!
📖 Recipe
Browned Butter – How to Make Brown Butter, Step By Step!
Pin Recipe
Rate Recipe
Save RecipeSaved!
Equipment you may need
-
light-colored sauté pan
-
whisk
-
rubber spatula
-
mason jar
Ingredients
- ½ cup unsalted butter – (1 stick) cut into cubes
- 1 tablespoon water – (optional, for substitution)
Instructions
-
Place the cubed unsalted butter into a cold, light-colored skillet. This allows for more controlled melting and browning.½ cup unsalted butter
-
Heat the pan over medium-high heat. Allow the butter to melt completely, whisking constantly. As it melts, it will begin to foam and sizzle, indicating the water is evaporating. Keep the whisk moving to ensure even cooking and prevent sticking.
-
Continue whisking. The foam will subside, and you’ll see the milk solids separate and fall to the bottom of the pan. Watch these closely as they will be the first to start turning a beautiful golden brown color.
-
Once the butter achieves a rich golden-brown color and you detect a distinct nutty, toasty aroma (similar to hazelnuts), immediately remove the pan from the heat. Promptly transfer the brown butter to a heatproof container, using a rubber spatula to scrape all the prized brown bits from the bottom of the pan, as these are concentrated with flavor.
-
If you are using this brown butter to substitute for regular butter in a recipe that requires a specific liquid volume, stir in 1 tablespoon of water for every ½ cup of butter you browned. This replaces the water lost during the browning process, ensuring your recipe’s consistency. Then, use as directed or chill in the refrigerator if softened butter is required.1 tablespoon water
Video
Notes
Adjusting quantity: Feel free to double or even triple the amount of butter and water you use to suit your recipe’s needs. Just ensure you use a pan or skillet that is wide enough to allow the butter to spread thinly and cook evenly.
Chilling for recipes: For recipes that call for cold or softened butter (like cakes, cookies, or frostings), allow the hot brown butter to cool completely until it solidifies. Then, bring it back to room temperature before using it as you would regular butter. This ensures it creams properly and integrates seamlessly into your batter or frosting.
Storage and Freezing: Brown butter can be made in advance. Store it in a mason jar or any other container with a tight-fitting lid in the refrigerator for up to 10 days. For longer preservation, freeze it for up to 3 months. When ready to use, simply thaw in the refrigerator or at room temperature.
Nutrition
Nutrition Disclaimer
Don’t lose this browned butter technique! PIN it for later:
