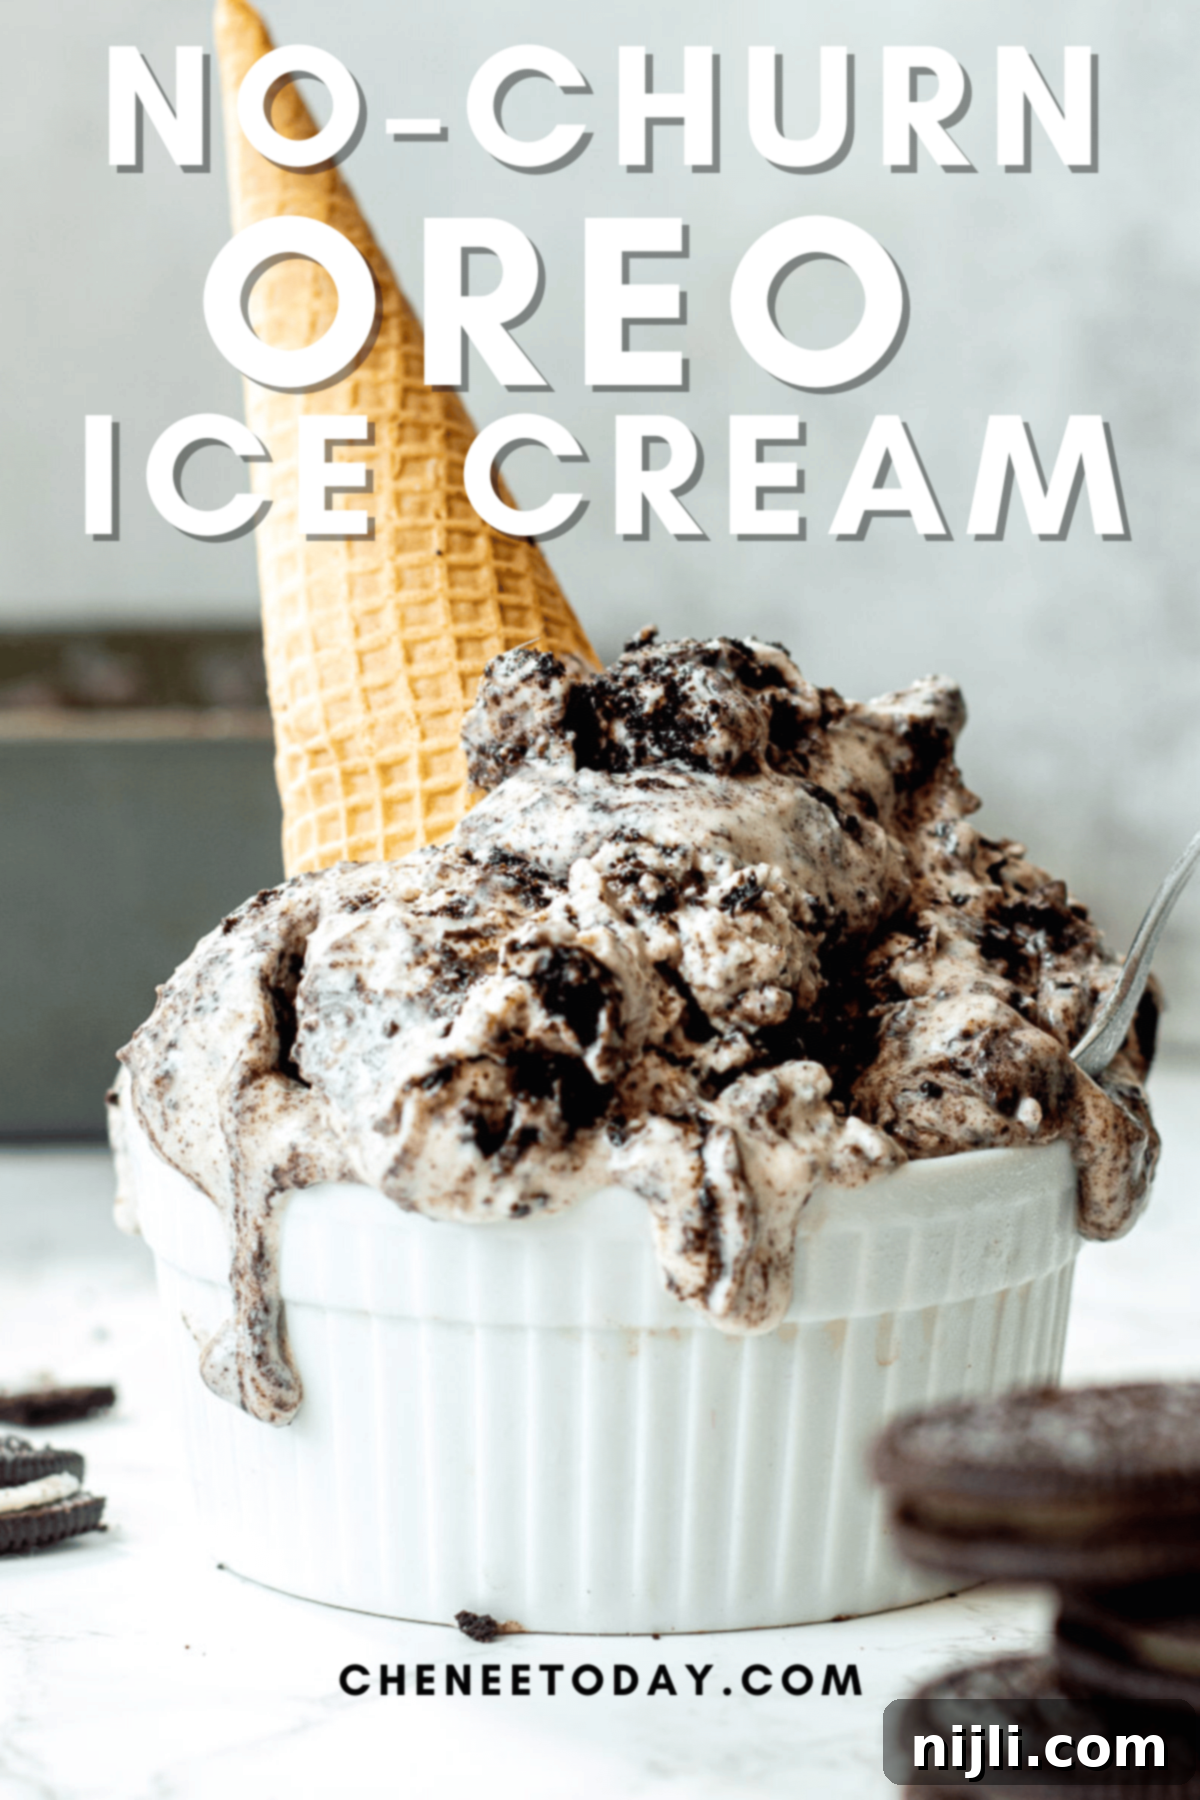
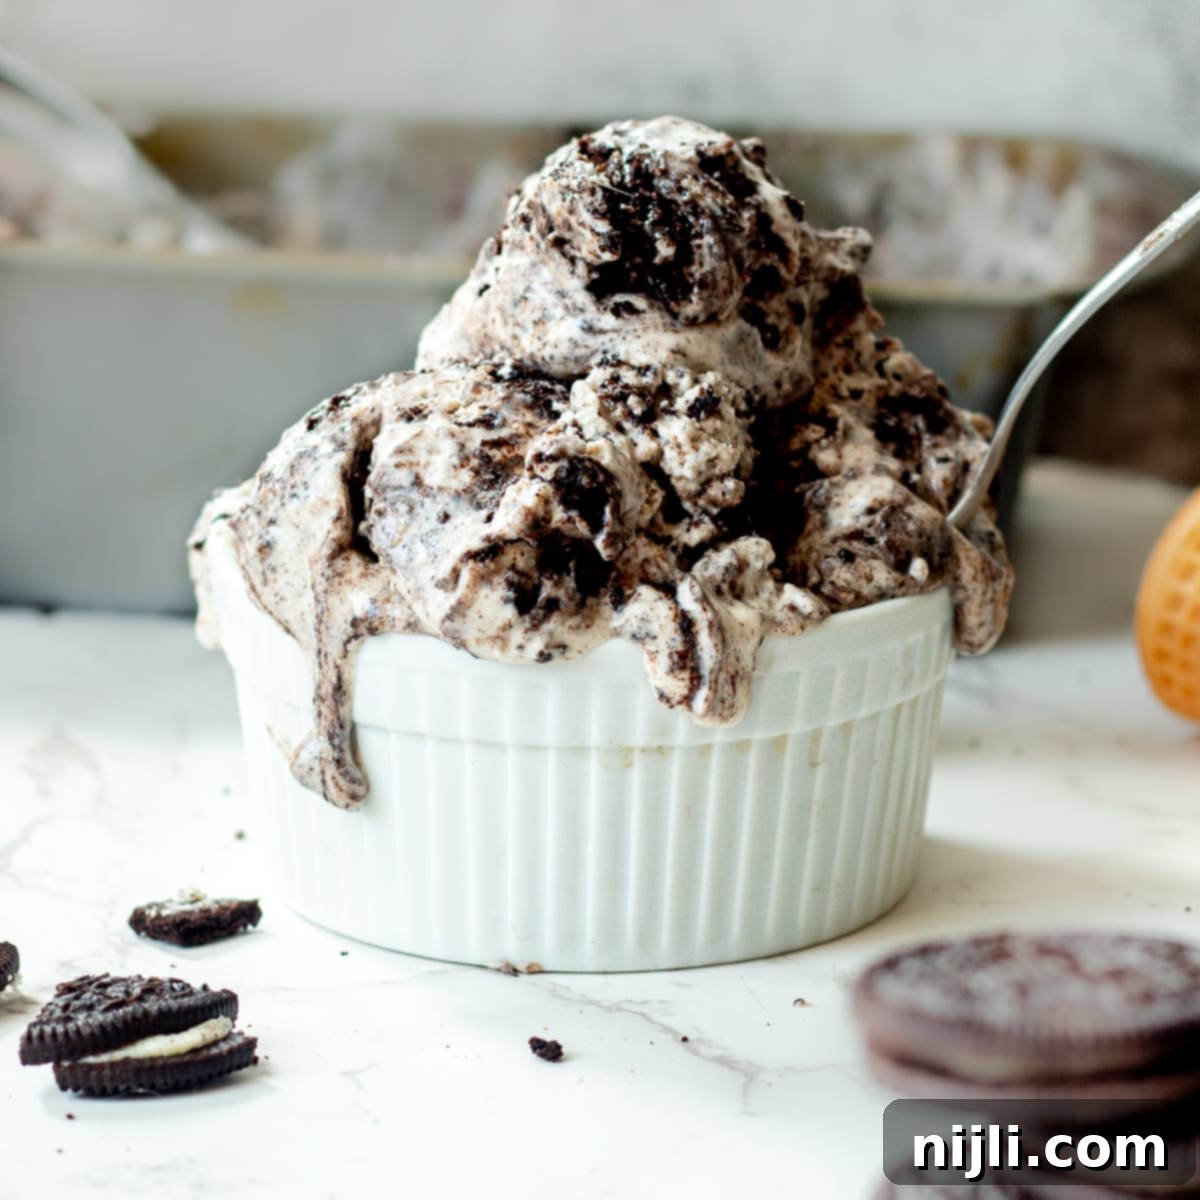
Heavenly No-Churn Oreo Ice Cream: Your Easiest Homemade Cookies & Cream Dream!
As a self-proclaimed Oreo enthusiast, my love for these iconic chocolate sandwich cookies knows no bounds! From a rich No-Bake Oreo Cheesecake to festive Halloween Oreo White Chocolate Bark, Oreos find their way into countless treats in my kitchen. And when it comes to ice cream, the rule is simple: the more Oreos, the better! That’s precisely why, when I set out to create this incredible no-churn Oreo ice cream recipe, I made sure not to hold back on those delicious crunchy bits. Get ready for a dessert that’s bursting with irresistible cookies and cream flavor!
*This post contains affiliate links — as an Amazon Associate I earn from qualifying purchases. Please see my disclosure for details*.
The truly magical aspect of this recipe is that it’s a no-churn ice cream, meaning you don’t need a fancy ice cream maker to achieve perfectly creamy, scoopable results! Forget about bulky appliances and complicated processes. With just a handful of simple ingredients and the help of an electric mixer (or even just a whisk and some elbow grease!), you can create magnificent homemade Oreo ice cream right in your own kitchen. Whether it’s a scorching summer day, a cozy winter evening, or simply “just because,” this cookies and cream dream is the ultimate anytime treat that’s unbelievably easy to prepare. It’s a fool-proof way to satisfy your sweet cravings and impress your friends and family with a dessert that tastes like it came from a gourmet ice cream parlor.
Why No-Churn Ice Cream is a Game-Changer
If you’ve ever dreamt of making your own ice cream but felt intimidated by the need for specialized equipment, no-churn ice cream is your new best friend. This method relies on whipping heavy cream until light and airy, then folding it into a rich sweetened condensed milk base. The result is an incredibly smooth, decadent, and luxurious ice cream that rivals any churned variety. No-churn recipes are perfect for:
- Simplicity: Fewer steps, less clean-up, and no need to pre-freeze bowls for hours.
- Accessibility: All you really need is a mixer, making it accessible to almost anyone.
- Speed: While it needs freezer time, the active prep time is remarkably short.
- Customization: The base is a blank canvas, allowing you to easily experiment with various mix-ins and flavors, just like our beloved Oreos!
This method truly simplifies the homemade ice cream experience, transforming a potentially daunting task into a quick and enjoyable kitchen adventure. You’ll be amazed at how effortlessly you can create such a professional-tasting dessert.
[feast_advanced_jump_to]
What is Oreo Ice Cream Made Of?
At its heart, this no-churn cookies and cream ice cream recipe is a luxurious vanilla ice cream base generously loaded with everyone’s favorite Oreo cookies! It’s a straightforward recipe, requiring only 6 essential ingredients that come together quickly for an irresistible treat. If you’re a devoted fan of Oreos or simply adore the classic cookies and cream flavor, this recipe is an absolute must-try. Each scoop delivers that perfect balance of creamy sweetness and crunchy chocolatey goodness that you crave. Let’s dive into the simple yet powerful ingredients that make this ice cream so extraordinary:
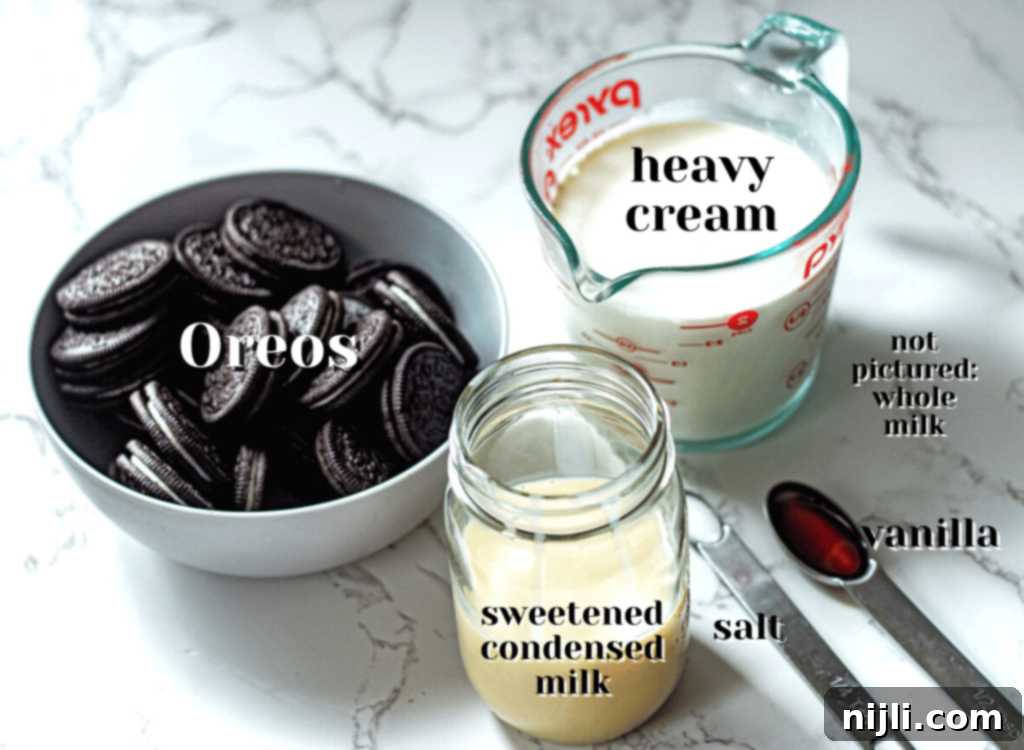
Key Ingredients for Your No-Churn Oreo Ice Cream
Creating this rich and creamy Oreo ice cream requires just a few high-quality ingredients. Each component plays a vital role in achieving the perfect texture and flavor profile:
- Oreo Cookies: Unquestionably the star of our show! What’s an Oreo ice cream recipe without an abundance of Oreo cookies? For the ultimate texture, we’re going beyond just crumbs – we’ll crush them into a delightful mix of small pieces and larger chunks. This variety adds both a subtle chocolate flavor throughout the ice cream and satisfying bursts of crunchy cookie in every bite. The recipe calls for a generous 26 cookies, ensuring that rich chocolate cookie flavor is prominent. If you’re a true chocolate cookie aficionado, you might also love my Chocolate Chip and Marshmallow Cookies or my decadent Oreo Pound Cake!
- Sweetened Condensed Milk: This is a non-negotiable ingredient in any no-churn ice cream. Sweetened condensed milk is a concentrated blend of milk and sugar, offering unparalleled sweetness, richness, and a creamy texture. It’s crucial because its high sugar content and viscosity help prevent large ice crystals from forming, resulting in that smooth, scoopable consistency we all desire in ice cream. Be sure to use a good quality brand for the best results.
- Whole Milk: While heavy cream provides most of the richness, a touch of whole milk helps to achieve the ideal texture. It lightens the heavy cream and condensed milk mixture slightly, ensuring the ice cream is perfectly smooth and creamy without being overly dense. This balance is key for a delightful consistency that freezes beautifully.
- Heavy Cream: This is the backbone of our no-churn recipe’s light and airy texture. We’ll whip the heavy cream to stiff peaks, incorporating air and creating the fluffy foundation for our ice cream. The air bubbles are what give no-churn ice cream its signature light mouthfeel, similar to traditional churned ice cream. It’s essential that your heavy cream is very cold for it to whip up properly and hold its shape.
- Pure Vanilla Extract: A crucial flavor enhancer, high-quality pure vanilla extract elevates the entire recipe, adding a warm, aromatic depth that complements the chocolate and cream perfectly. Avoid imitation vanilla for the best flavor. For an extra special touch, you can even check out my post on how to make vanilla extract at home with just two ingredients!
- Salt: Often overlooked, just a couple of pinches of salt make a significant difference. It doesn’t make the ice cream salty; rather, it balances the sweetness and brings out all the amazing flavors of the other ingredients, making each bite more complex and satisfying.
Essential Equipment for No-Churn Oreo Ice Cream
As this is a true no-churn Oreo ice cream recipe, you can happily put away that ice cream maker – we won’t be needing it today! The beauty of this recipe lies in its simplicity and minimal equipment requirements. All you really need to whip up this cool, creamy, and decadent cookies and cream ice cream is an electric mixer. I personally love using a stand mixer for its hands-free convenience, but a reliable hand mixer will work just as well to achieve those perfect stiff peaks for your heavy cream. Beyond that, a few standard kitchen tools will make the process even smoother:
- Large Mixing Bowls: For combining your ingredients.
- Rubber Spatula: Essential for gently folding the whipped cream into the base mixture to maintain its airiness.
- Loaf Pan or Freezer-Safe Container: A 9×5 inch loaf pan is ideal for freezing, but any sturdy container with a lid that can go into the freezer will do.
- Plastic Wrap: To cover your ice cream while it freezes, preventing ice crystals from forming on the surface.
- Measuring Cups and Spoons: For accurate ingredient measurements.
Gathering these simple tools is all it takes to embark on your homemade no-churn ice cream journey!
Pro Tips for Perfect No-Churn Oreo Ice Cream
While this recipe is incredibly straightforward, a few expert tips can ensure your homemade Oreo ice cream turns out absolutely perfect every time:
- Chill Your Ingredients: Ensure your heavy cream, and even your mixing bowl and whisk attachment, are very cold. This is crucial for the cream to whip up properly to stiff peaks. Place them in the freezer for 10-15 minutes before you start.
- Don’t Over-Whip the Cream: Whip the heavy cream until stiff peaks form. This means when you lift the whisk, the peaks stand firm without drooping. Over-whipping can turn the cream grainy.
- Gentle Folding is Key: When combining the milk mixture with the whipped cream, use a rubber spatula and a gentle folding technique. This helps to maintain all the air you’ve incorporated into the heavy cream, which is vital for the light and fluffy texture of your no-churn ice cream.
- Vary Oreo Textures: Crush your Oreos into a mix of fine crumbs and larger chunks. The crumbs will infuse the ice cream with chocolate flavor, while the chunks provide delightful textural contrast. You can use a food processor for even crumbs or a Ziploc bag and rolling pin for more varied pieces.
- Proper Freezing: Cover your loaf pan or container tightly with plastic wrap directly on the surface of the ice cream before adding a lid (if you have one). This prevents ice crystals from forming on top, keeping your ice cream super smooth. Freeze for at least 4 hours, or preferably overnight, for the best firm consistency.
- Serving Perfection: For the easiest scooping and optimal texture, let your frozen ice cream sit at room temperature for about 10-15 minutes before serving. This allows it to soften slightly, making it wonderfully creamy.
Follow these simple guidelines, and you’ll be enjoying a scoop of homemade heaven in no time!
Serving and Storage Suggestions
Once your No-Churn Oreo Ice Cream is perfectly set, the fun begins! Serve it up in bowls or cones for a classic treat. For an extra touch of indulgence, consider adding some delightful toppings:
- A drizzle of chocolate syrup or hot fudge.
- A dollop of whipped cream and a sprinkle of extra crushed Oreos.
- Fresh berries for a refreshing contrast.
- A sprinkle of mini chocolate chips.
Storage: To keep your homemade no-churn ice cream fresh and free of ice crystals, store it in an airtight freezer-safe container. Ensure the surface is covered with plastic wrap directly, then seal with a lid. It will stay wonderfully delicious in the freezer for up to 2-3 weeks. Beyond that, the texture might start to degrade slightly, but it will still be edible.
Tips and Frequently Asked Questions (F.A.Q.)
Absolutely! This base recipe is incredibly versatile. Just like with my Oreo Pound Cake, feel free to experiment with different varieties of Oreos. Imagine Carrot Cake Oreos, refreshing Lemon Creme Oreos, or invigorating Mint Creme Oreos! You could even try Birthday Cake Oreos or Peanut Butter Oreos for an entirely new flavor experience. These all sound incredibly delicious and are a perfect way to customize this recipe to your personal preference!
You certainly can! Making this recipe gluten-free is simple. Just substitute regular Oreos with Gluten-Free Oreos. Also, be sure to verify that your vanilla extract is gluten-free. Many brands are, but always double-check the label to be completely sure. Enjoy your gluten-free cookies and cream treat!
Vanilla ice cream generously studded with Oreo cookies, like this delightful recipe, is most commonly known as “cookies and cream” ice cream. It’s a beloved classic for a reason, and definitely my FAVORITE! If you haven’t had the pleasure of trying it yet, I’m thrilled you’re giving it a go!
The “healthiness” of cookies and cream ice cream really depends on the specific recipe and your personal definition of healthy. However, I’ll be transparent: this particular homemade no-churn recipe is quite decadent and rich, truly meant to be an indulgent treat. It’s best enjoyed in moderation as an occasional delight. But trust me, for that occasional treat, it is absolutely worth every single delicious bite!
There are a couple of easy ways to crush your Oreos! For fine crumbs and some slightly larger pieces, you can pulse them in a food processor. If you prefer more distinct chunks and a bit of a workout, place the Oreos in a sturdy Ziploc bag, seal it, and then use a rolling pin or the bottom of a heavy pan to crush them to your desired consistency. Remember, a mix of textures makes the ice cream more exciting!
If your ice cream is too hard or icy, it could be due to a few factors. Ensure your heavy cream was whipped to stiff peaks; insufficient whipping means less air, leading to a denser, icier texture. Also, make sure the mixture was covered tightly with plastic wrap directly on the surface to prevent ice crystals from forming. Lastly, always let no-churn ice cream sit out for 10-15 minutes at room temperature before scooping to allow it to soften beautifully.
Other Irresistible Ice Cream Recipes You’ll Love
If you’ve fallen in love with the simplicity and deliciousness of this no-churn Oreo ice cream, you’re in for a treat! The world of homemade ice cream, especially the no-churn variety, is vast and full of delightful possibilities. Here are a few other fantastic ice cream recipes that are just as easy to make and equally satisfying:
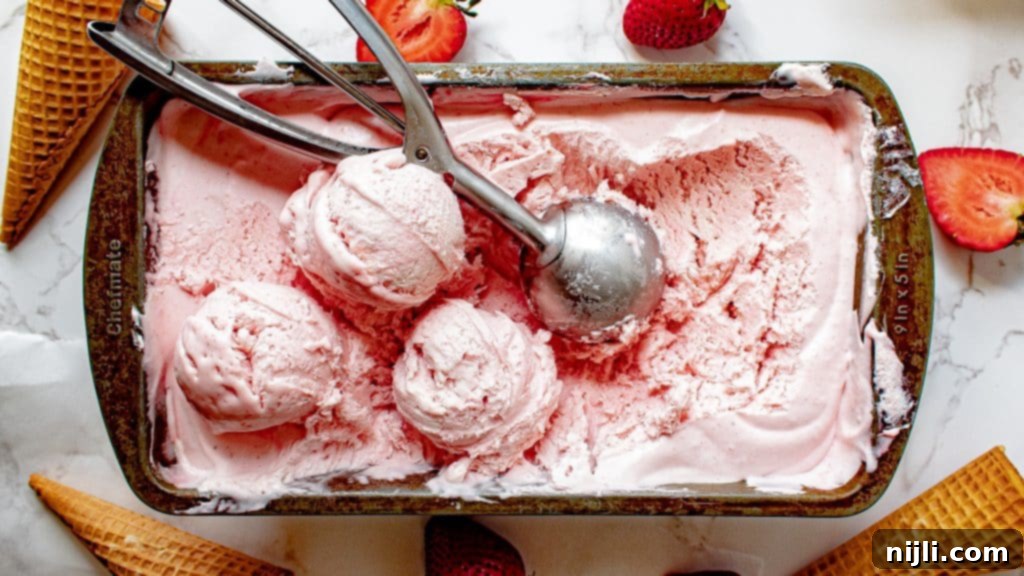
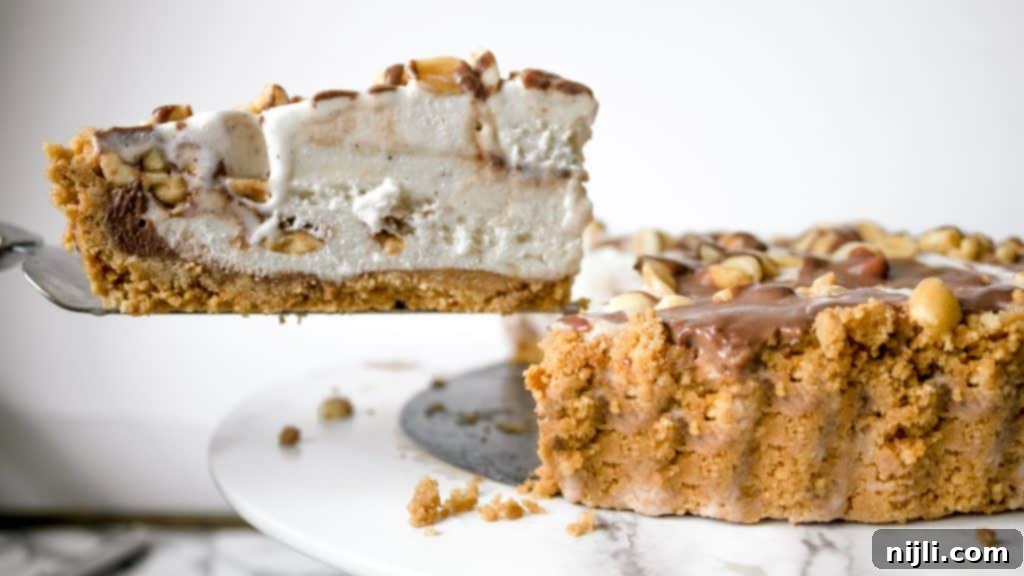
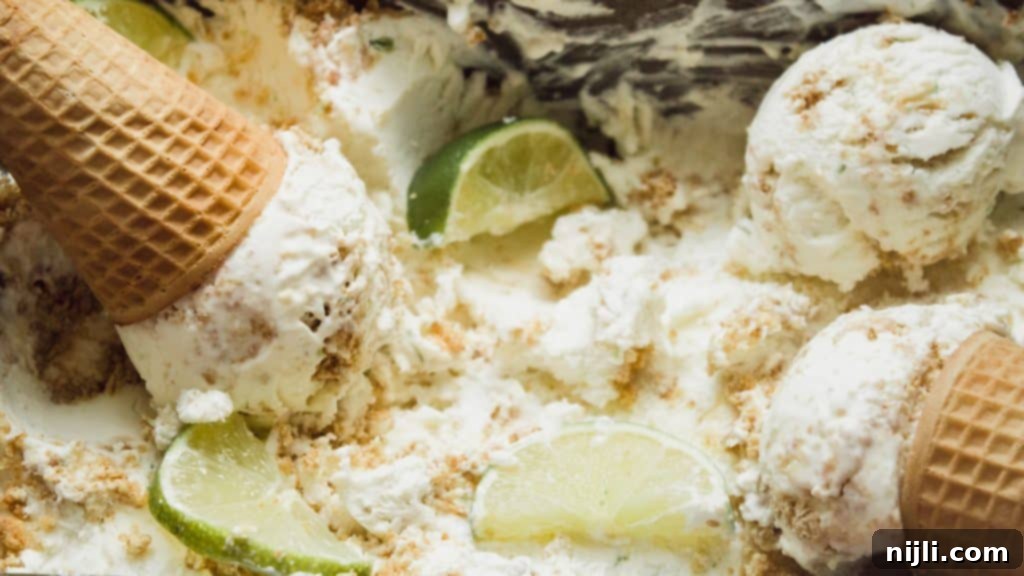
Each of these recipes offers a unique flavor adventure without the need for an ice cream maker, making them perfect additions to your dessert repertoire.
📖 Recipe
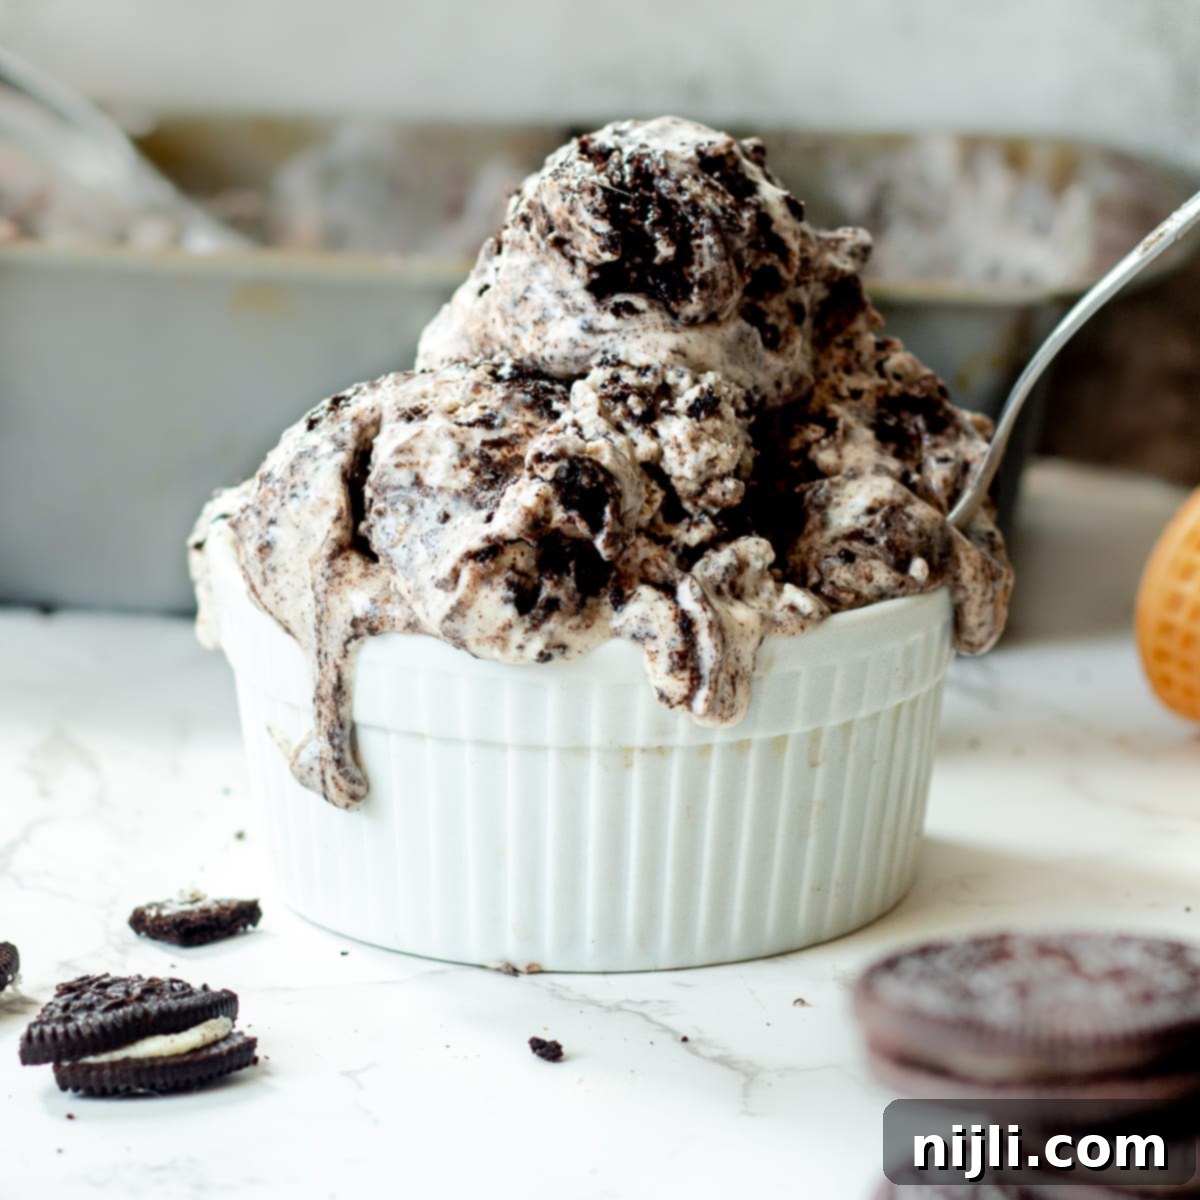
Oreo Ice Cream (No Churn)
Pin Recipe
Rate Recipe
Save RecipeSaved!
Equipment you may need
-
hand mixer
-
stand mixer
-
whisk
-
measuring cups and spoons
-
rubber spatula
-
mixing bowls
-
plastic wrap
-
9×5 loaf pan
-
saucepan
Ingredients
- 14 fl oz sweetened condensed milk – cold
- ⅔ cup whole milk
- 1 teaspoon (5 ml) pure vanilla extract
- ⅛ teaspoon (1 ml) salt
- 2 cups (476 g) heavy cream – very cold
- 26 Oreo cookies – crushed into chunks and crumbs
Instructions
-
In a medium bowl, whisk together sweetened condensed milk, milk, vanilla, and salt until smooth and thickened.14 fl oz sweetened condensed milk, ⅛ teaspoon salt, 1 teaspoon pure vanilla extract
-
Beat heavy whipping cream with a stand mixer, hand mixer, or whisk until stiff peaks form, about 2-5 minutes.2 cups heavy cream
-
Gently fold milk mixture into whipped cream and stir until combined, being careful not to deflate the whipped cream. Gently fold in Oreos.
-
Pour into a 9×5 loaf pan or other freezer-safe container and smooth the top. Cover with plastic wrap and freeze for at least 4 hours or overnight. To serve, allow to sit at room temperature for about 15 minutes to soften.
Nutrition
Nutrition Disclaimer
PIN this oreo ice cream recipe for later!
