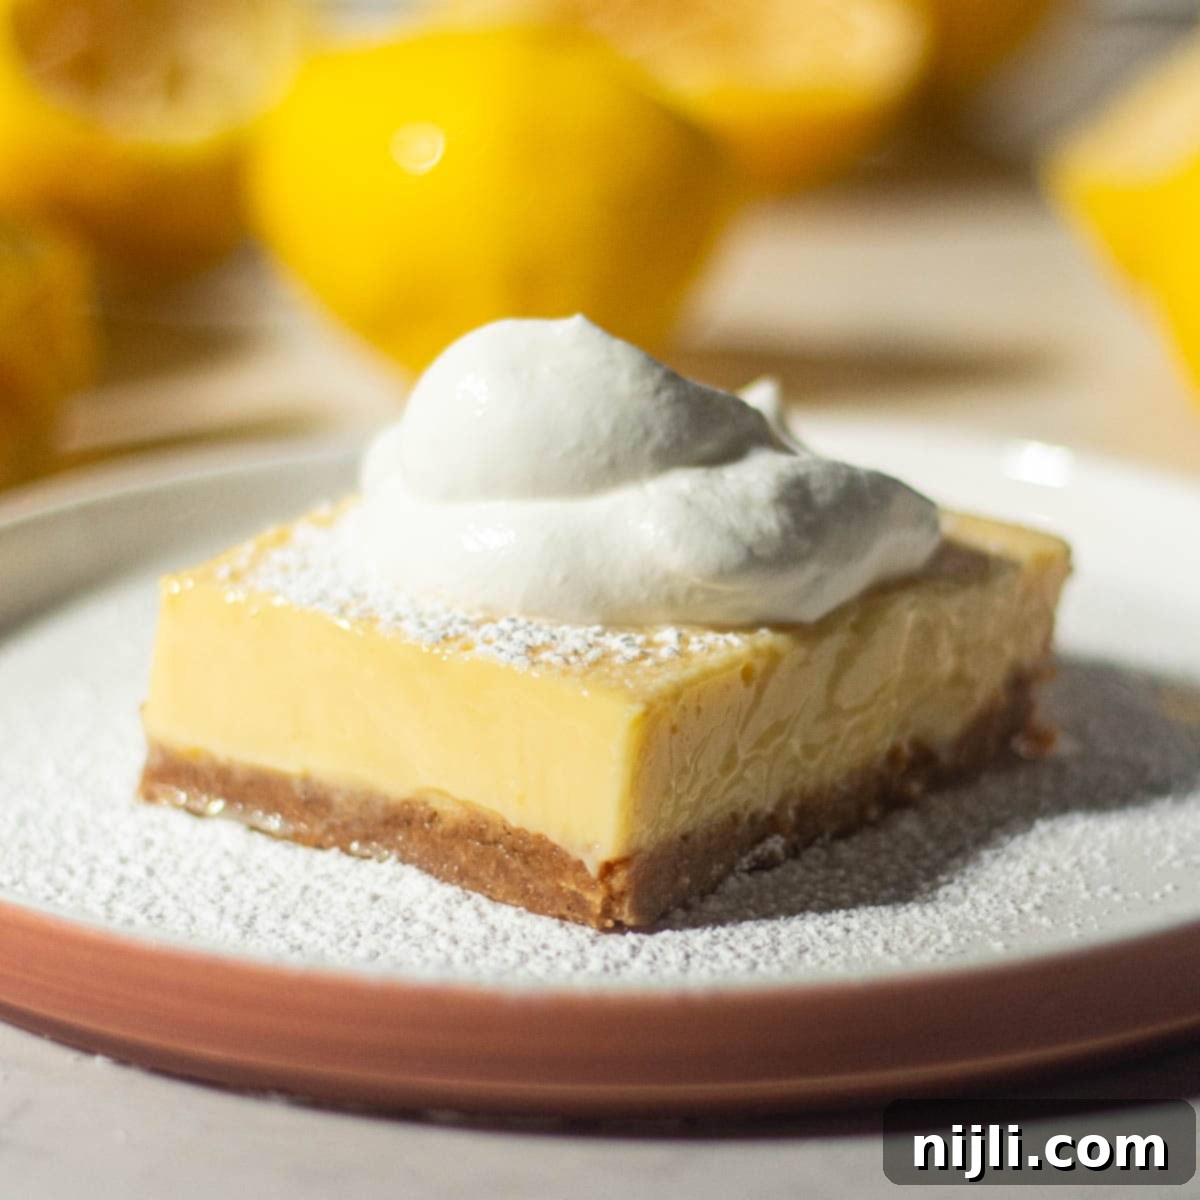
Irresistible Lemon Bars with Graham Cracker Crust & Condensed Milk: An Easy, Creamy Recipe
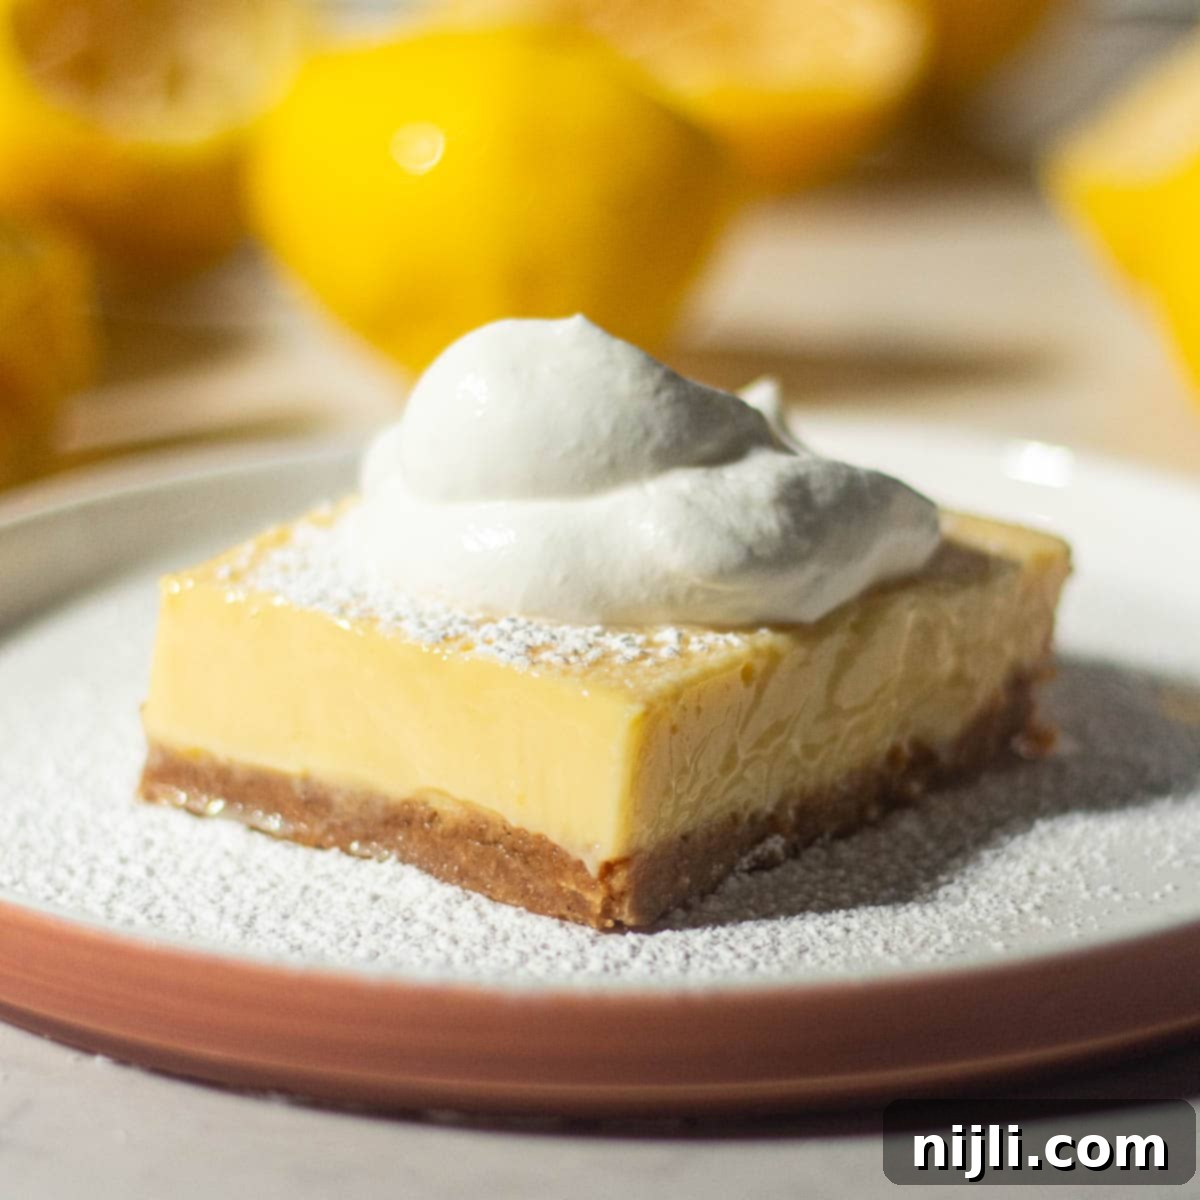
Prepare to elevate your dessert game with these incredibly easy and undeniably delicious lemon bars with graham cracker crust and condensed milk. Far superior to traditional old-fashioned lemon bars, these delightful treats boast a luxuriously creamy filling that delivers a perfect tangy punch, beautifully complemented by a sweet, buttery, and flavorful graham cracker crust. This recipe is truly a game-changer, promising an irresistible dessert that will have everyone asking for more!
*This post contains affiliate links — as an Amazon Associate I earn from qualifying purchases. Please see my disclosure for details*.
If the bright, zesty flavors in this recipe for lemon bars with graham cracker crust capture your heart, you’ll also adore some of my other dessert creations! Be sure to check out my Gluten Free Olive Oil Cake for a moist, tender treat, my comforting Cherry Crumb Pie, and the decadent White Forest Cake!
Easy Lemon Bars with Graham Cracker Crust: A Flavorful Experience
Let’s dive into what makes these creamy lemon bars with a graham cracker crust truly special. The secret lies in the harmonious blend of textures and flavors: a luscious, tangy lemon filling perfectly balanced by a sweet, crumbly, and buttery graham cracker base. Every bite is like a burst of sunshine, offering a delightful interplay of zest and sweetness that creates a true flavor party in your mouth!
What makes these lemon bars even better is their incredible simplicity. You don’t need any fancy equipment or an electric mixer to achieve professional-level results. This makes them an ideal dessert for both experienced bakers and beginners looking for an impressive yet easy treat to whip up for family and friends. Forget complicated techniques; these easy lemon bars are designed for straightforward preparation and maximum enjoyment.
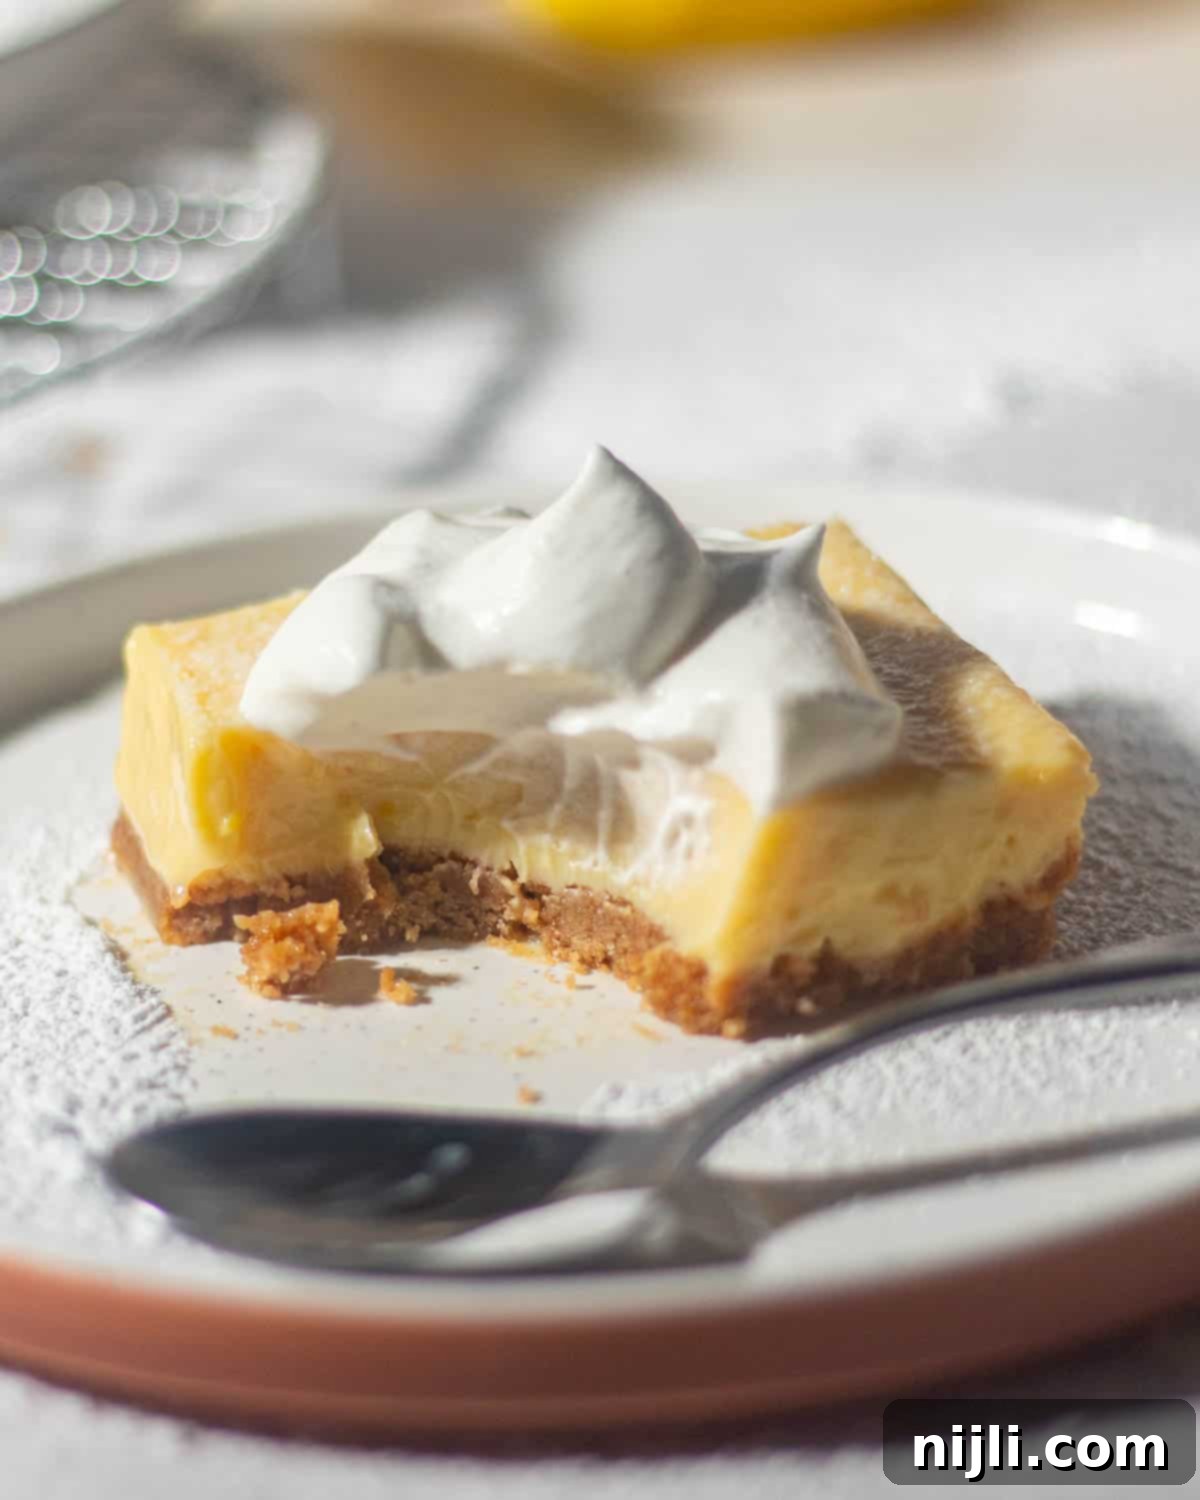
This particular recipe is a dream come true for dedicated lemon lovers! It draws inspiration from my popular Lemon Icebox Pie, delivering a similar bright and refreshing profile. You’ll also find echoes of the delightful citrus notes found in my Ricotta Lemon Pasta and the comforting sweetness of my Sweet Potato Pie with Graham Cracker Crust! If you enjoy this recipe, I highly recommend exploring those as well for more delicious adventures.
Lemon Bars with Graham Cracker Crust and Condensed Milk: A Superior Choice
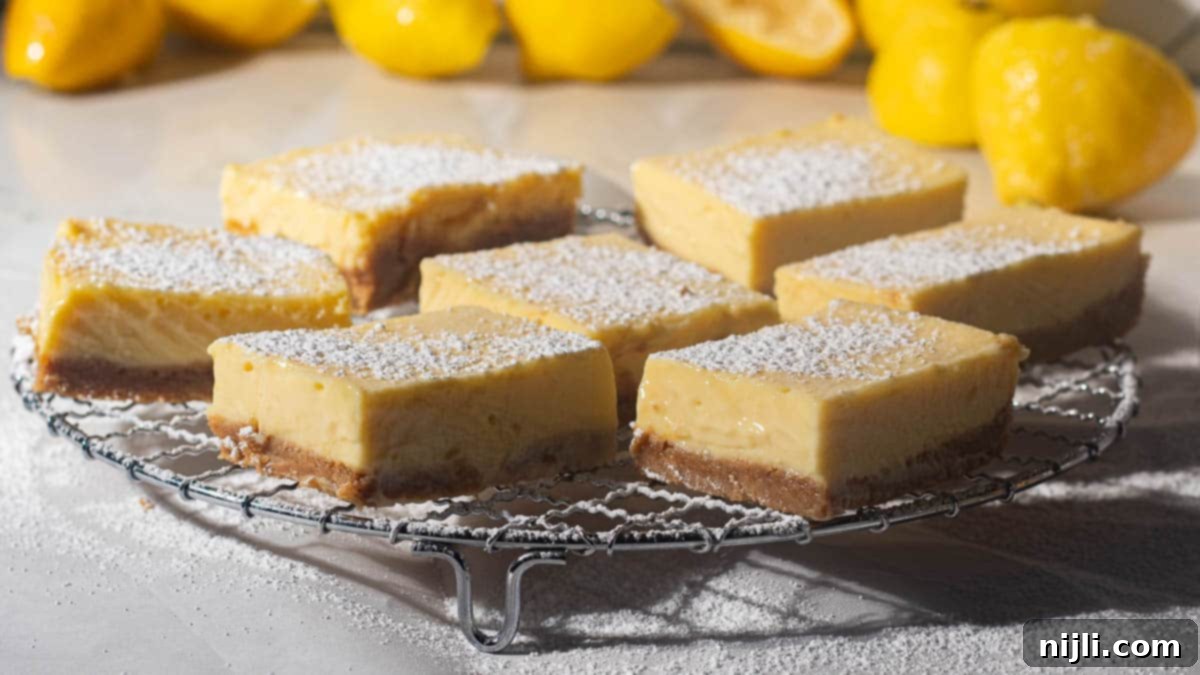
Opting to make your lemon bars with a graham cracker crust and condensed milk truly sets them apart from the more traditional, old-fashioned lemon bars typically made with a shortbread crust. While I certainly appreciate a classic shortbread base, the graham cracker crust introduces an unparalleled crunch and a subtle, honeyed sweetness that creates a dynamic and irresistible contrast with the tart lemon topping. This textural and flavor distinction is what makes these lemon bars an absolute standout.
Sweetened condensed milk is the secret ingredient that transforms the filling into something extraordinary. It imparts an incredible creaminess and richness, making the lemon layer smooth, velvety, and deeply satisfying. Unlike traditional lemon curd, which relies solely on eggs and sugar for thickening, condensed milk adds an additional layer of sweetness and a luxurious texture that makes these bars melt-in-your-mouth delicious. This combination results in a brighter, creamier, and more stable lemon filling that’s simply divine.
Is it better to bake or not bake a graham cracker crust?
The decision to bake or not bake a graham cracker crust largely depends on the specific dessert you’re preparing and your desired outcome. Both methods have their merits and work wonderfully in different contexts. In my experience, either approach can yield fantastic results.
For this particular recipe for lemon pie bars with a graham cracker crust, we opt for a light bake. The crust is gently baked alongside the creamy lemon filling. This brief time in the oven allows the crust to firm up beautifully, creating a sturdier base that can perfectly support the moist, tangy lemon layer. Baking also enhances the buttery flavor of the crust and gives it a slightly toasty aroma, adding another layer of deliciousness to the finished bars. This ensures your lemon bars hold their shape when sliced and offer a satisfying bite.
However, many delicious desserts, especially no-bake recipes, benefit from an unbaked graham cracker crust. For instance, in recipes like my Cheesecake Mousse Cups, the graham cracker crust is simply pressed into the bottom of the serving dish. Without baking, the crust remains a bit softer and more crumbly, which is ideal for a delicate, no-bake filling. This method is quicker and still delivers that signature honey-graham flavor and texture. So, whether you bake or don’t bake, always consider how the crust will interact with the filling and the overall structure of your dessert.
Essential Ingredients for Perfect Lemon Bars
Creating these delightful lemon bars requires a few key ingredients, each playing a crucial role in achieving the perfect balance of flavor and texture. For precise measurements and detailed instructions, please refer to the comprehensive recipe card below. Here’s a quick overview of what you’ll need to gather:
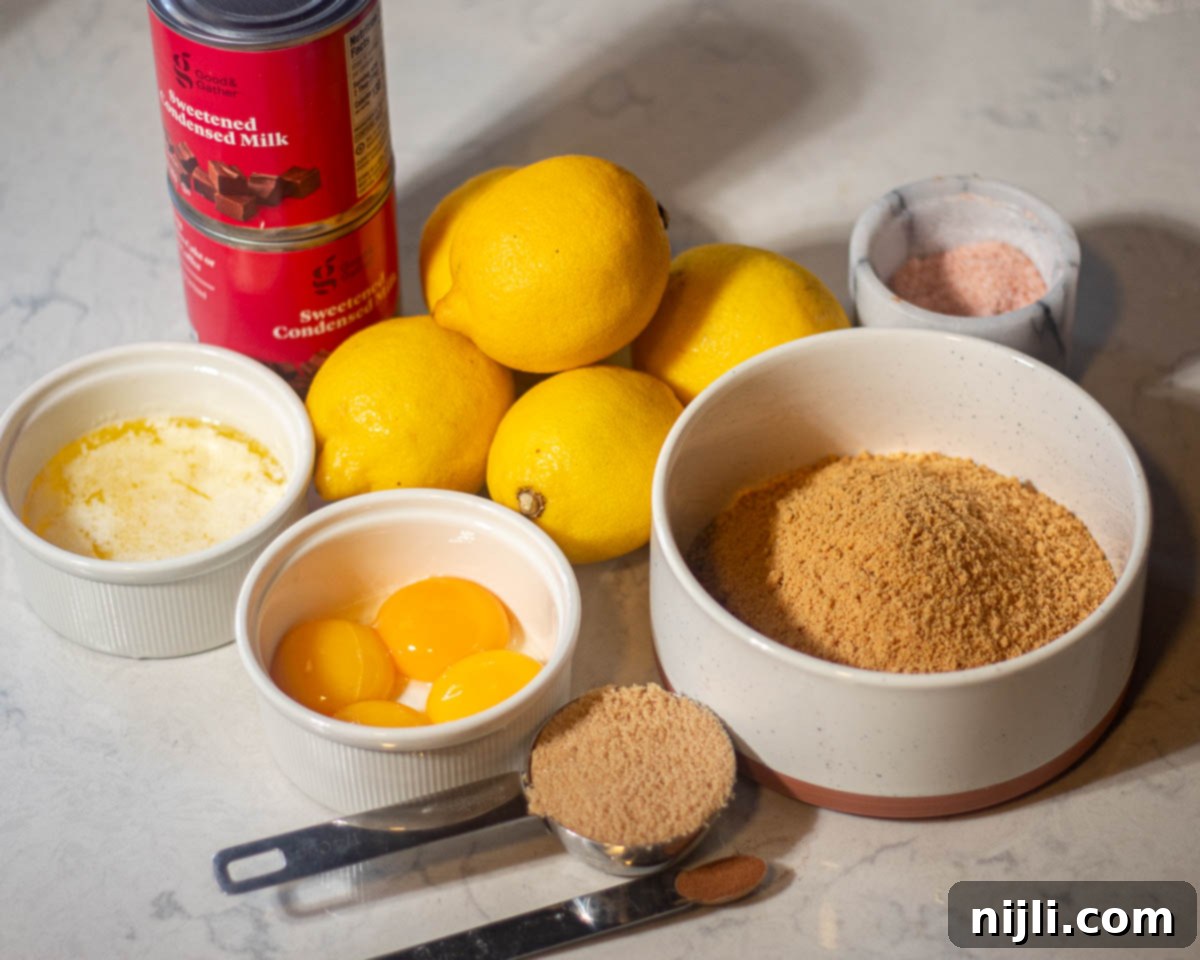
- Graham Cracker Crumbs: The very foundation of our flavorful crust! You have a couple of options here: either purchase pre-made graham cracker crumbs for convenience, or easily crush whole graham crackers yourself. A food processor will make quick work of it, or for a more hands-on approach, place them in a resealable bag and crush them with a rolling pin until they form fine crumbs. If you’re feeling adventurous or don’t have graham crackers, vanilla wafer cookies make a delicious alternative.
- Butter: Melted butter is the essential binder that brings our graham cracker crust together, ensuring it’s rich, crumbly, and holds its shape. I personally prefer using salted butter as it naturally enhances the flavor of the crust. However, if unsalted butter is all you have on hand, simply add a small pinch of salt to your crust mixture to achieve that perfect savory-sweet balance.
- Brown Sugar: Light brown sugar is my go-to for the crust, as it adds a wonderful depth of sweetness and a hint of molasses that complements the graham crackers beautifully. Its moist texture also helps in binding the crumbs. If you only have granulated sugar, it can be used as a substitute, though the flavor will be slightly less rich.
- Cinnamon: This ingredient is entirely optional, but I highly recommend it! A touch of ground cinnamon in the graham cracker crust adds a warm, inviting spice that truly elevates the overall flavor profile of these lemon bars. It pairs surprisingly well with the bright lemon. If you’re a fan of warming spices, you’ll also love my Chai Spice Bundt Cake and my comforting Cake Mix Apple Cobbler!
- Sweetened Condensed Milk: This is the star of our creamy lemon filling! Condensed milk provides unparalleled richness and sweetness, transforming the lemon juice and eggs into a silky, luscious, and stable lemon layer. It essentially creates a simplified, incredibly smooth lemon curd without the fuss.
- Lemon Juice: For the most vibrant and authentic lemon flavor in these classic lemon bars, always opt for freshly squeezed lemon juice. Bottled lemon juice simply doesn’t compare in terms of brightness and zestiness. For more lemony delights, explore my Lemon Blueberry Mascarpone Cake and my full collection of recipes with lemon curd!
- Lemon Zest: Don’t skip the zest! Adding lemon zest from fresh lemons is crucial for amplifying that intense lemony aroma and flavor without adding extra liquid. The oils in the zest carry the most potent lemon essence.
- Eggs: You’ll need large eggs, specifically the yolks, for the filling. It’s important for your eggs to be at room temperature as this helps them emulsify more easily with the other ingredients, resulting in a smoother, more uniform filling. If your eggs are cold, a quick trick is to submerge them in a bowl of lukewarm water for about 15 minutes before cracking them.
- Salt: A small pinch of salt might seem insignificant, but it’s vital! Salt acts as a flavor enhancer, bringing out the sweetness of the condensed milk and the tartness of the lemon, ensuring all the amazing flavors in this lemon bar recipe truly shine.
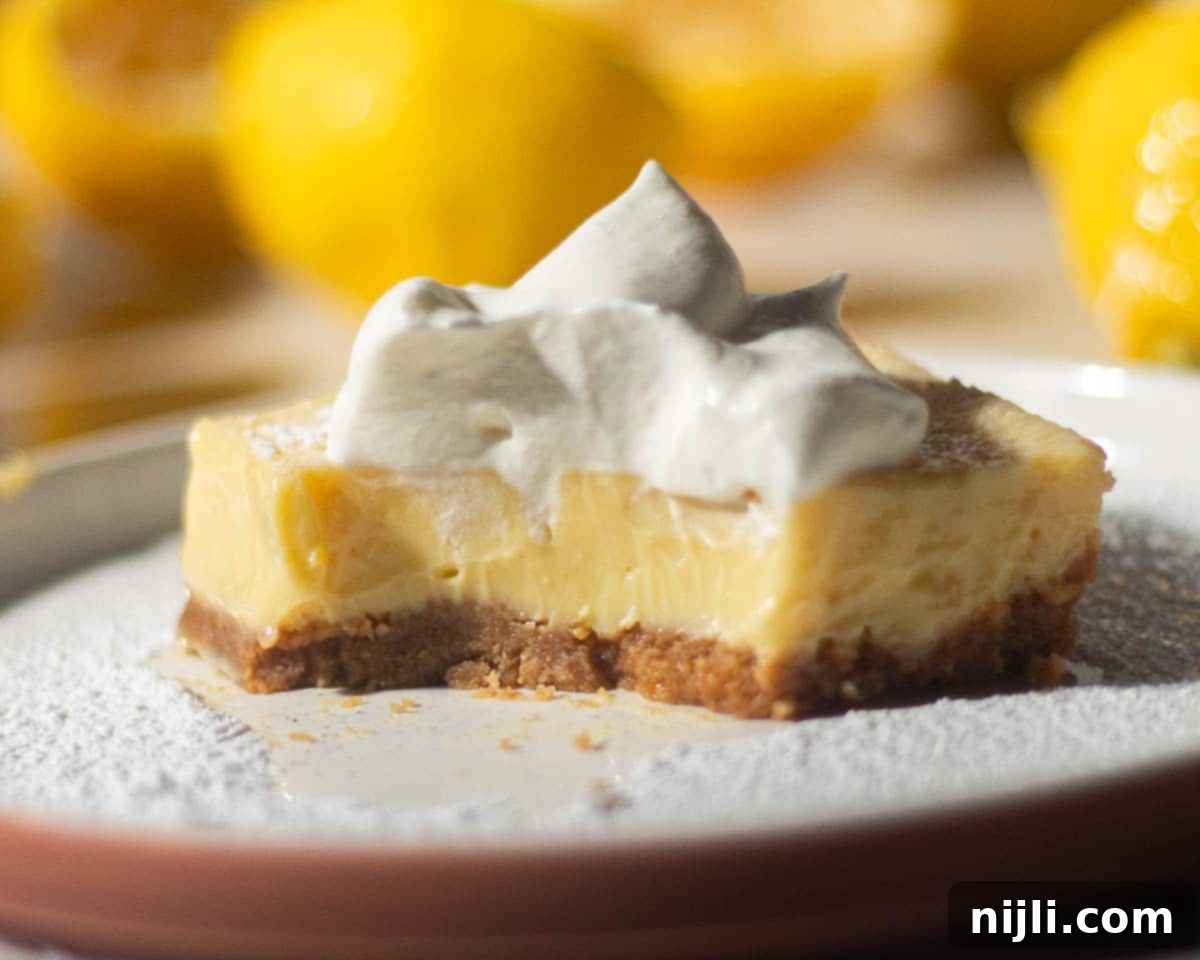
And if you’re like me, you absolutely love a generous dollop of fresh whipped cream on top of your lemon bars! It adds an extra layer of creamy decadence. Here’s what you’ll need for your perfect homemade whipped cream:
- Heavy Cream: This is the foundation of light and fluffy whipped cream. It’s crucial that your heavy cream is very cold to achieve the best volume and stability when whipping. I find that letting it chill in the freezer for a few minutes before you start whipping makes a significant difference.
- Vanilla: For the most exquisite flavor, I highly recommend using pure vanilla extract. Its warm, aromatic notes beautifully complement the bright lemon. Alternatively, you can even make your own vanilla extract for an even deeper, more complex flavor!
- Powdered Sugar: Also known as confectioners’ sugar, this ingredient adds the perfect amount of sweetness to your whipped cream topping. Its fine texture ensures a smooth, lump-free finish and helps stabilize the whipped cream.
Again, refer to the full recipe card for exact quantities.
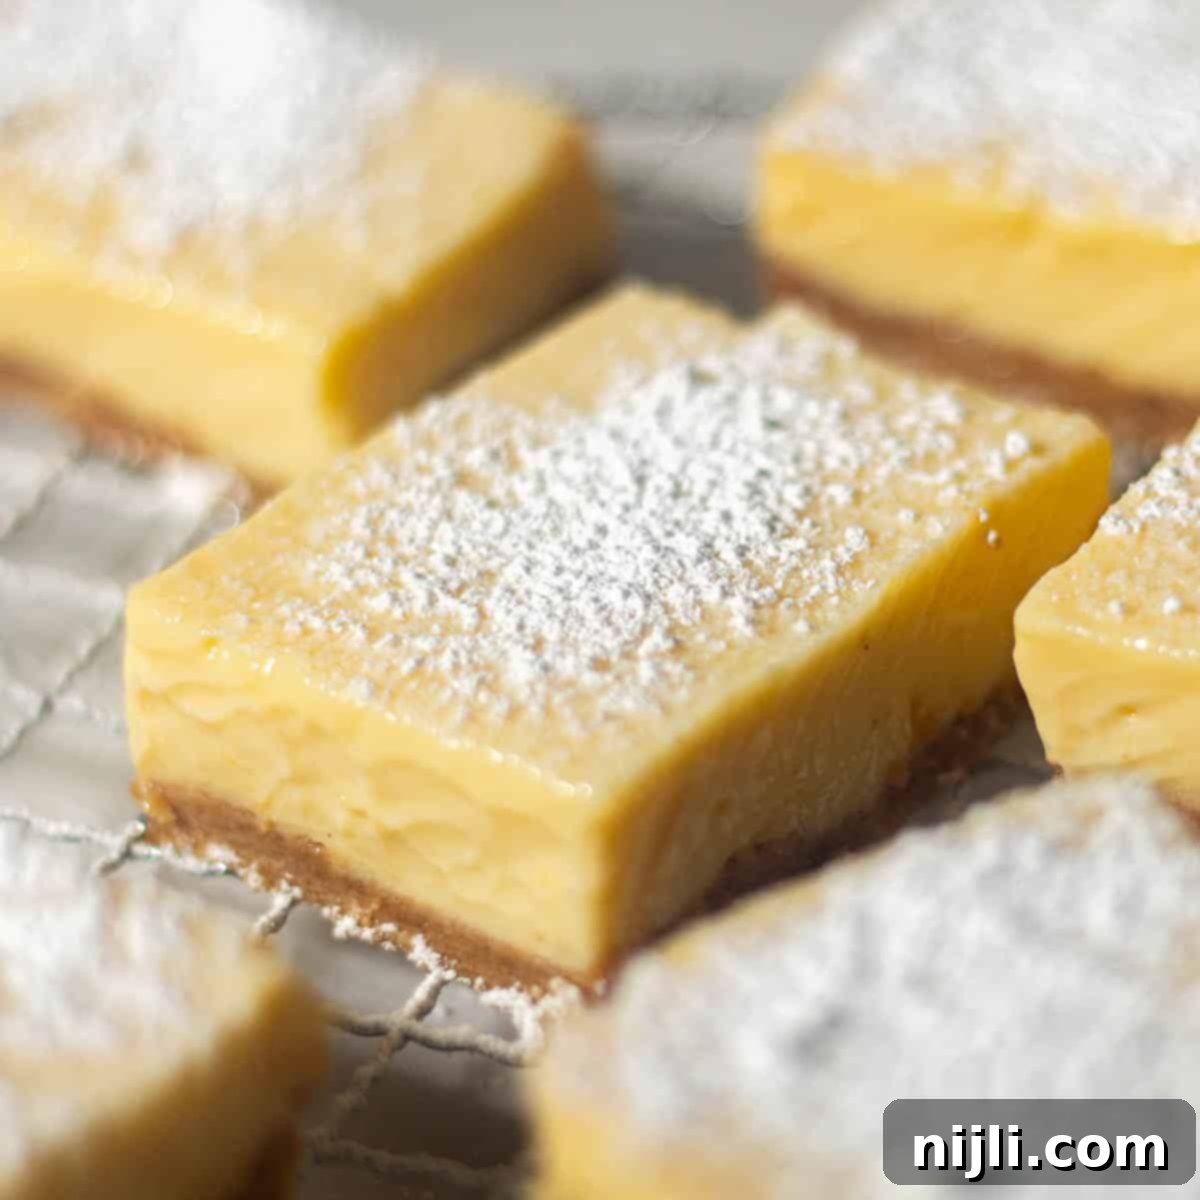
Essential Equipment for Baking Lemon Bars
Making these easy lemon bars with a graham cracker crust doesn’t require a lot of specialized kitchen tools, but a few key pieces of equipment will ensure a smooth and successful baking process. Here’s what you’ll need:
- A 9×9 baking pan: This is the ideal size for achieving the perfect thickness and proportion for your lemon bars. To prevent any sticking and ensure easy removal, I highly recommend lining your pan with parchment paper, leaving an overhang on the sides. This creates “slings” that allow you to lift the cooled bars out effortlessly.
- A large mixing bowl: You’ll need this to combine the ingredients for your creamy lemon filling. Its generous size will allow you to whisk everything together thoroughly without spills.
- A whisk: Essential for achieving that silky-smooth consistency in your lemon filling. A good whisk will help incorporate air and ensure all ingredients are perfectly blended.
- For crushing graham crackers (if not using pre-made crumbs):
- A food processor: This is the quickest and easiest way to turn whole graham crackers into fine, uniform crumbs for your crust.
- Alternatively, a rolling pin and a sturdy plastic bag: A classic method that works just as well if you don’t have a food processor. Simply place your graham crackers in the bag and roll over them until finely crushed.
- A wire rack: This is very helpful for allowing your baked lemon bars to cool completely and evenly. Cooling on a wire rack prevents condensation from forming on the bottom of the pan, which could make the crust soggy.
Step-by-Step Instructions for Flawless Lemon Bars
While the detailed recipe card below provides all the precise ingredient measurements and a helpful recipe video, here’s a quick overview of the straightforward steps you’ll follow to create these luscious lemon bars. You’ll be surprised at how easy it is to achieve such impressive results!
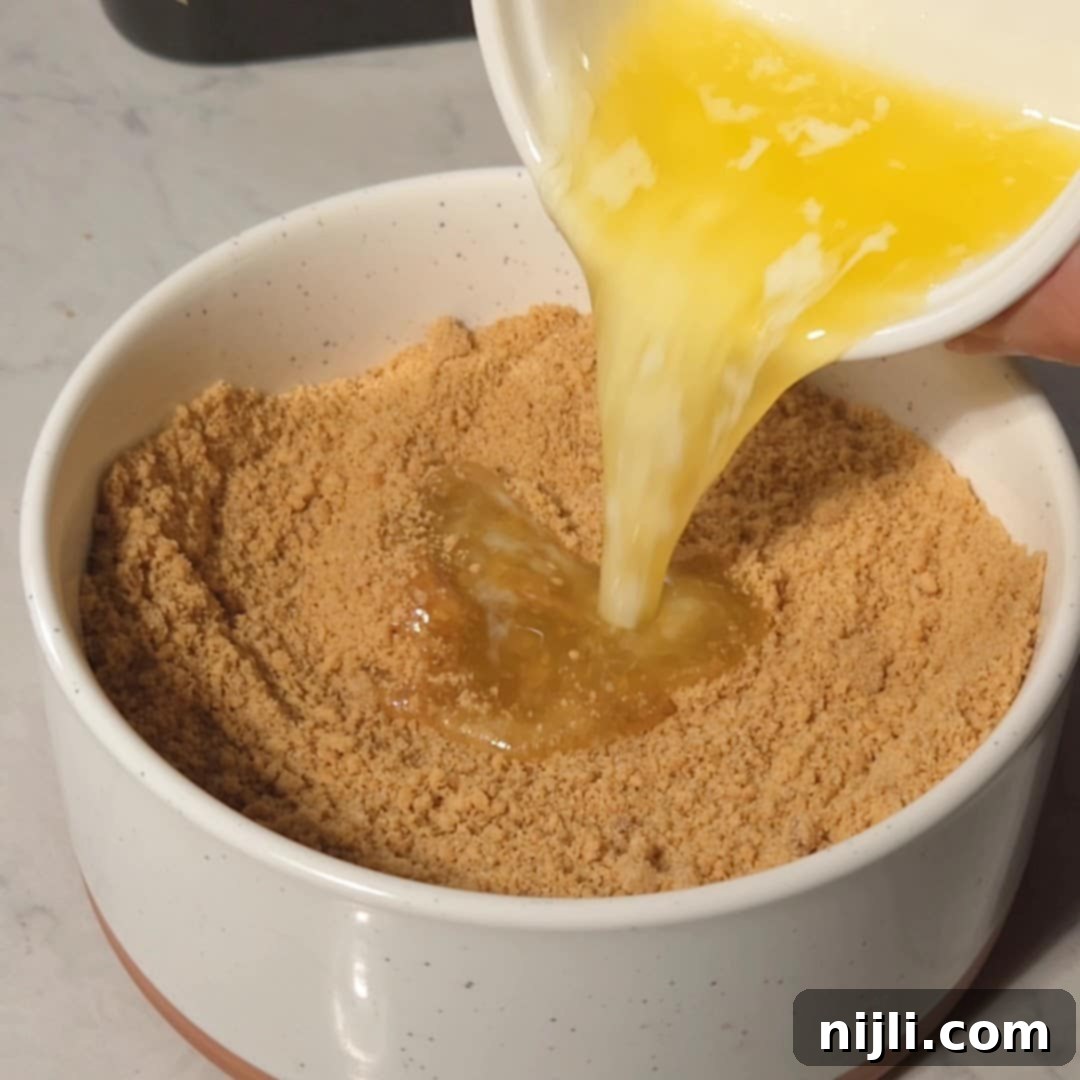
Step 1: Prepare the Crust Mixture. In a medium bowl, combine your fine graham cracker crumbs, rich brown sugar, and the optional touch of cinnamon. Pour in the melted butter and stir thoroughly until all the crumbs are evenly coated and moistened. The mixture should resemble wet sand and hold together when gently pressed.
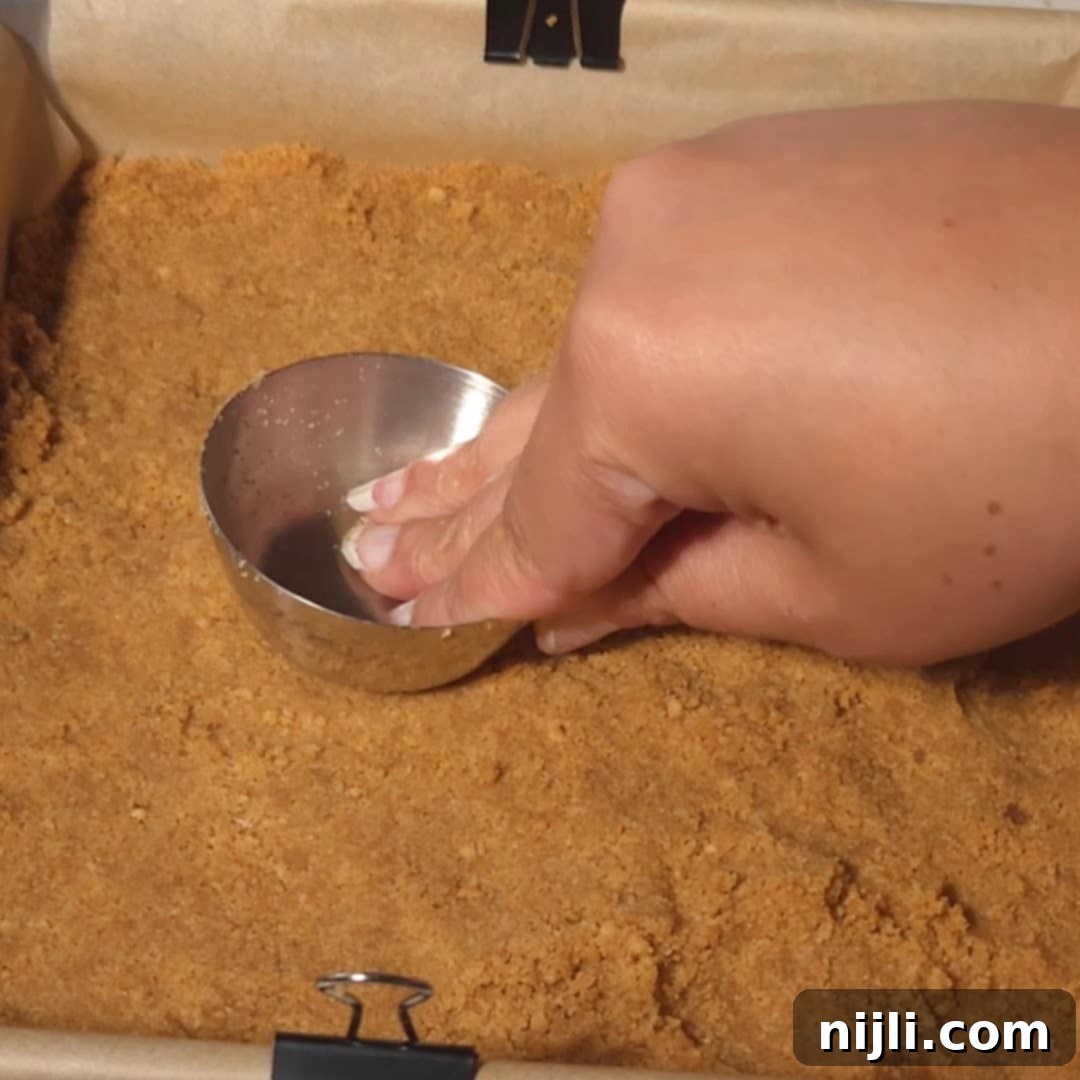
Step 2: Press the Crust into the Pan. Transfer the graham cracker mixture into the bottom of your prepared 9×9 baking pan (lined with parchment paper for easy removal). Use the flat bottom of a measuring cup or the back of a spoon to firmly and evenly press the mixture across the entire base of the pan. This creates a compact and sturdy crust.
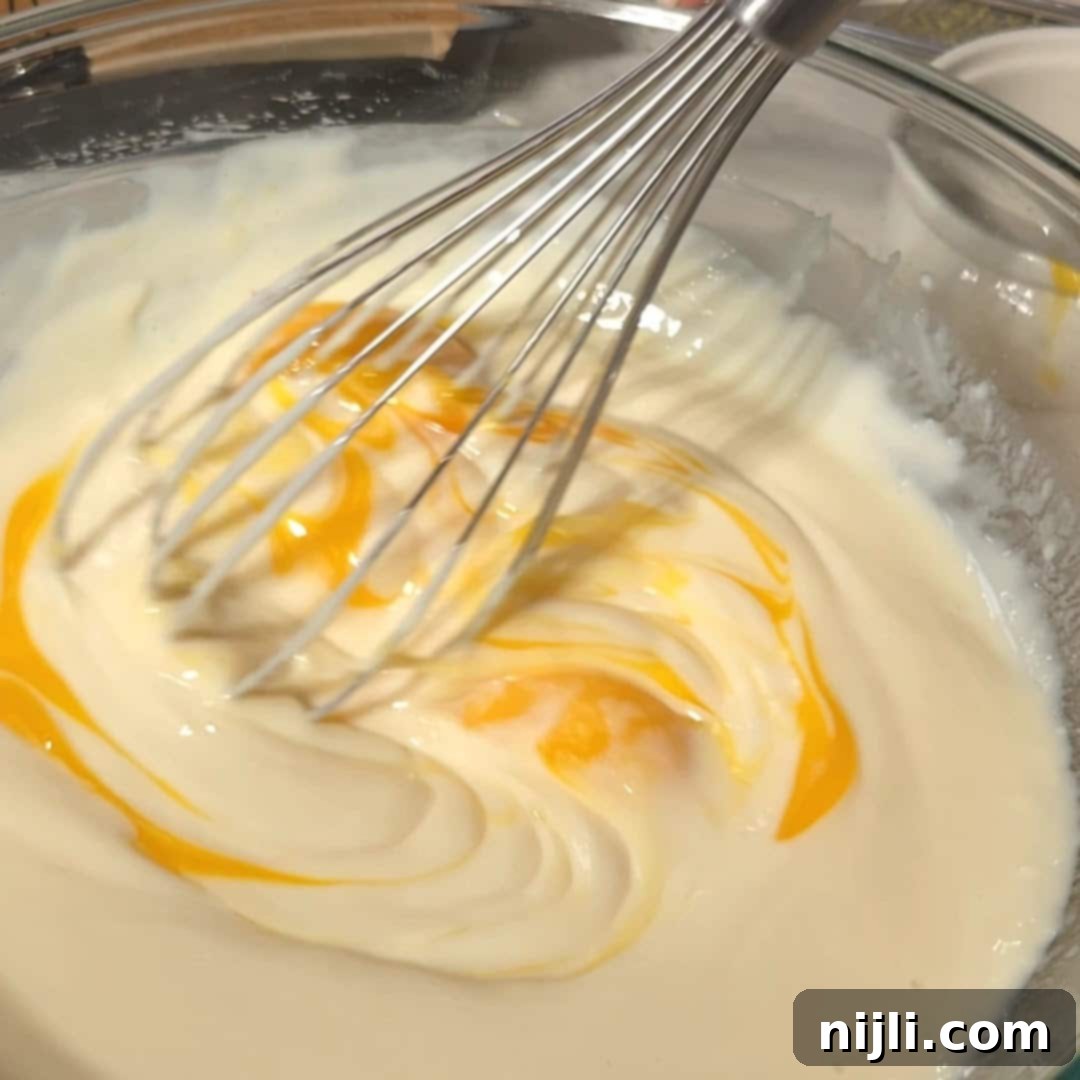
Step 3: Whisk the Creamy Lemon Filling. In a large bowl, combine the sweetened condensed milk, the vibrant fresh lemon juice, aromatic lemon zest, the pinch of salt, and the room-temperature egg yolks. Whisk vigorously until the mixture is completely smooth and well-combined. Ensure there are no streaks or lumps for a perfectly creamy filling.
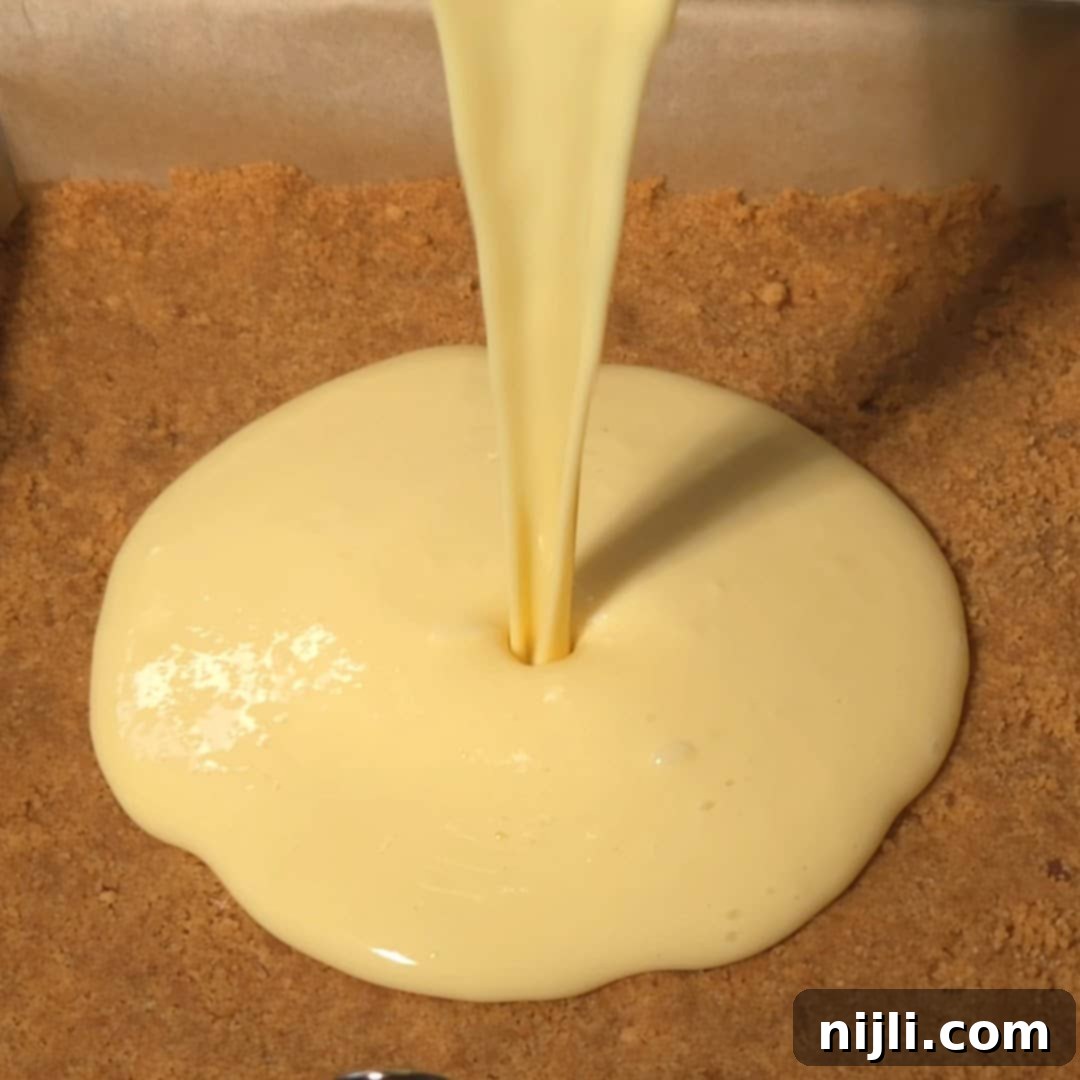
Step 4: Pour and Bake. Carefully pour the creamy lemon filling in an even layer over the prepared graham cracker crust in your pan. Gently spread it if needed to ensure full coverage. Bake in your preheated oven until the filling is just set. The edges should appear firm, but the center should still have a slight jiggle. This indicates a perfectly cooked, creamy interior.
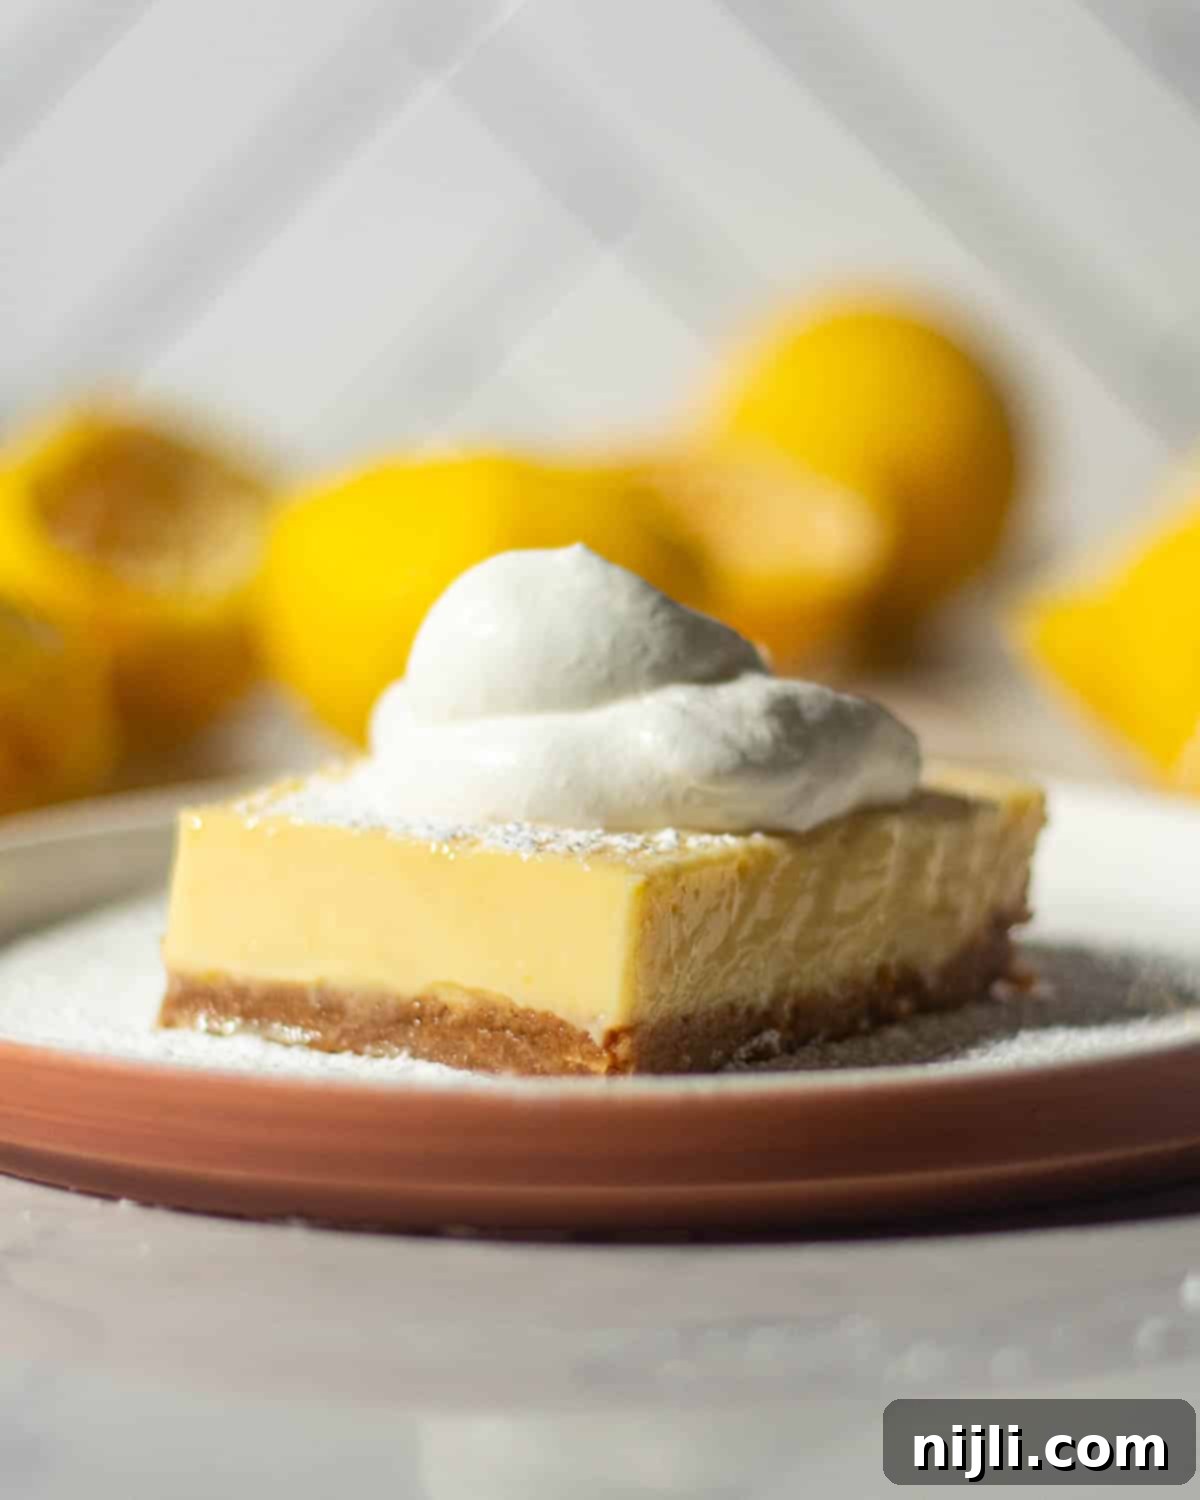
Hint: For an extra touch of elegance and flavor, top your cooled lemon bars with a dollop of freshly whipped cream or a delicate dusting of powdered sugar (or both!) just before serving. This not only enhances the presentation but also adds a lovely textural contrast.
Crafting Gluten-Free Lemon Bars with Graham Cracker Crust
Adapting this wonderful lemon bar recipe to be gluten-free is surprisingly simple, allowing everyone to enjoy this delightful treat! The most crucial step is to start with the right foundation: gluten-free graham crackers. Many brands offer delicious gluten-free alternatives that will give you the same classic taste and texture for your crust. Once you have your gluten-free graham cracker crumbs ready, you’re well on your way to making fantastic gluten-free lemon bars with graham cracker crust!
Beyond the graham crackers, the remaining ingredients in this recipe are naturally gluten-free. However, it’s always good practice to double-check your vanilla extract and any other packaged ingredients to ensure they are certified gluten-free, especially if you or your guests have a severe sensitivity. With these simple adjustments, you can effortlessly create a batch of vibrant, tangy, and utterly delicious gluten-free lemon bars that everyone can enjoy without compromise.
Experience Milder Flavor with Meyer Lemon Bars
If you adore the classic lemon bar flavor but prefer a slightly less tart and more aromatic profile, you absolutely must try making Meyer lemon bars with graham cracker crust! Meyer lemons are a unique citrus fruit, believed to be a hybrid of a lemon and a mandarin orange. This lineage gives them a distinctively sweeter, less acidic flavor than regular Eureka or Lisbon lemons, along with a wonderfully floral aroma.
To transform this recipe into a Meyer lemon delight, simply swap in freshly squeezed juice from Meyer lemons instead of regular lemons. The rest of the recipe remains exactly the same. You’ll find that Meyer lemon bars offer a more subtle, delicate tanginess and a delightful complexity that is truly special. They’re perfect for those who appreciate a gentler citrus flavor or are looking to explore different nuances of lemon in their baking.
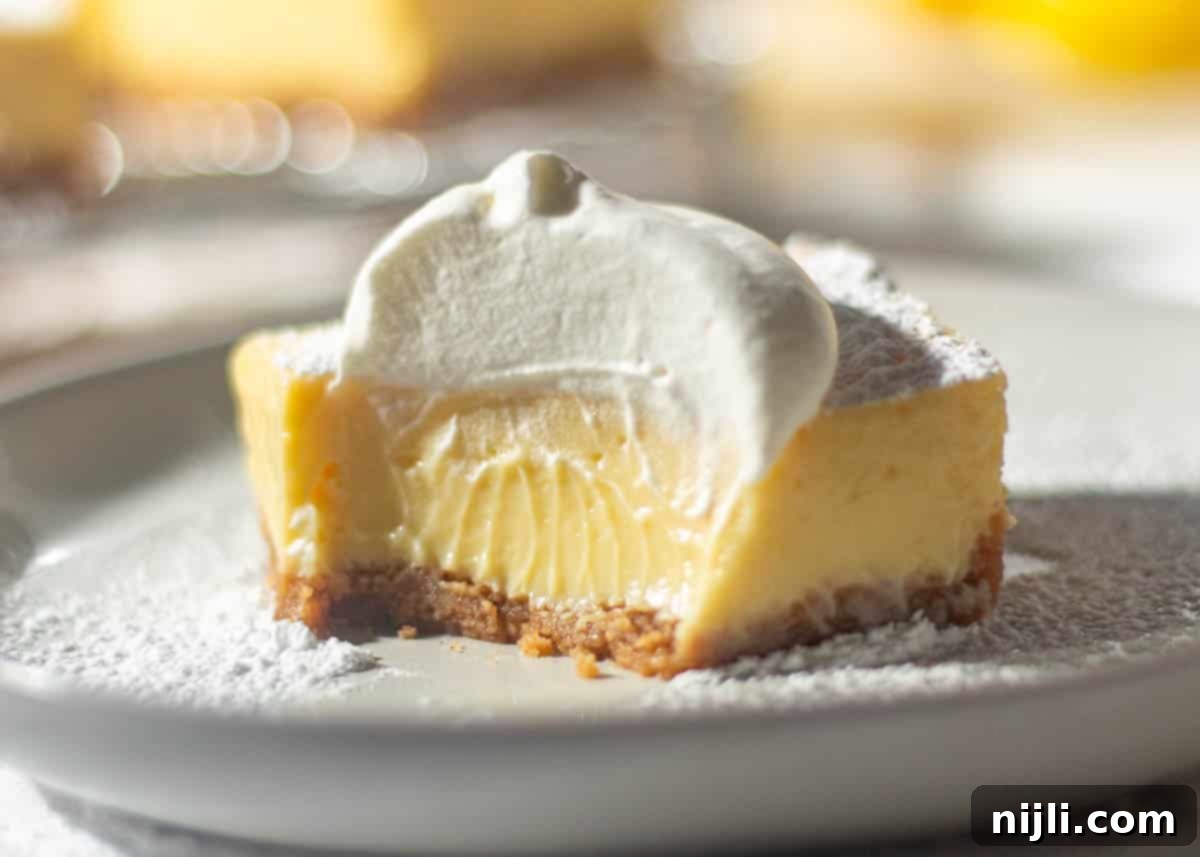
Storage Tips for Fresh Lemon Bars
Proper storage is key to keeping these old-fashioned lemon bars with graham cracker crust fresh and delicious for as long as possible. Once your lemon bars have fully cooled, it’s important to store them in the refrigerator. You can either transfer them to an airtight container or, if your 9×9 baking pan comes with a lid, simply cover it tightly with plastic wrap or foil.
When stored correctly in the fridge, your leftover lemon bars should maintain their wonderful flavor and creamy texture for up to 4 days. For optimal freshness and to prevent them from absorbing any unwanted odors from the refrigerator, ensure they are well-sealed. While not explicitly tested for freezing in this recipe, lemon bars generally freeze well for longer storage (up to 1-2 months). If freezing, wrap individual bars tightly in plastic wrap and then place them in an airtight freezer-safe container. Thaw them in the refrigerator before serving for best results.
Frequently Asked Questions About Lemon Bars
There are a couple of common reasons why your graham cracker crust might be crumbling. The most frequent culprit is an insufficient amount of melted butter. Butter acts as the “glue” that binds the crumbs together; without enough, the crust won’t hold. Ensure you’ve measured your butter accurately and that it’s fully melted and evenly distributed throughout the graham cracker mixture. Another reason could be inadequate pressing. After combining the ingredients, it’s crucial to firmly press the mixture into the bottom of the pan to create a compact, stable base. Use the bottom of a flat glass or measuring cup to achieve even compression. A well-mixed and firmly pressed crust should hold together beautifully.
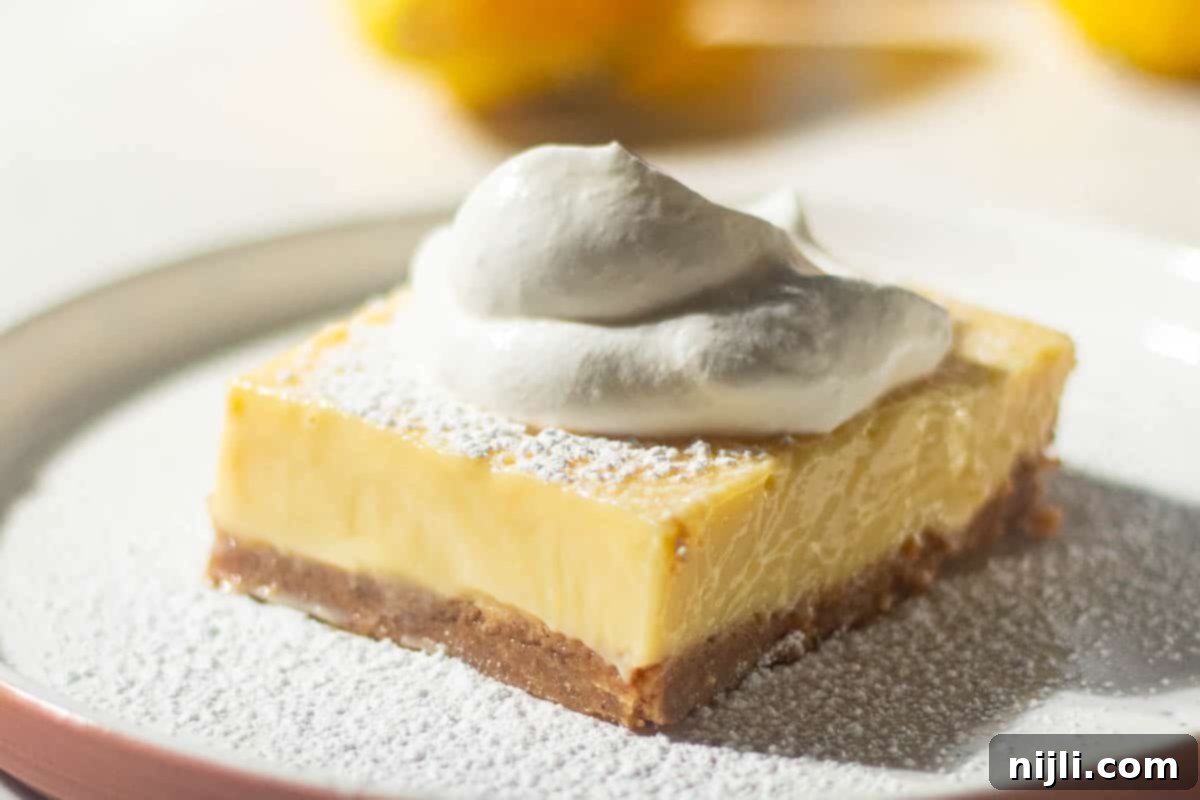
Cracks on the surface of your lemon bars are almost always a sign of overbaking. The goal is to bake the lemon layer just until it’s set, but still has a slight jiggle in the very center when gently shaken. If you bake them until the entire lemon layer is completely firm, the filling will contract excessively as it cools, leading to unsightly cracks. To avoid this, start checking your bars about 5 minutes before the recommended baking time is up. Look for edges that are set and a center that’s mostly firm but still has that subtle jiggle. Remember, they will continue to set as they cool. Remove them from the oven promptly to ensure a perfectly smooth, uncracked surface.
Cutting lemon bars neatly is all about technique and temperature! My favorite method for clean, precise cuts involves using a very sharp, thin-bladed knife. Crucially, wipe the knife clean with a damp cloth or rinse it under hot water (drying it thoroughly each time) before *every single cut*. This prevents the sticky lemon filling and crumbly crust from accumulating on the blade, which can drag and tear the bars. For the actual cut, press the knife straight down through the bar, then gently swipe it backwards or forwards to ensure you’ve cleanly sliced through the graham cracker crust at the bottom. Also, ensure your lemon bars are thoroughly chilled for at least 6 hours, or even better, overnight. Cold bars are much firmer and easier to cut cleanly without deforming the shape or smearing the layers.
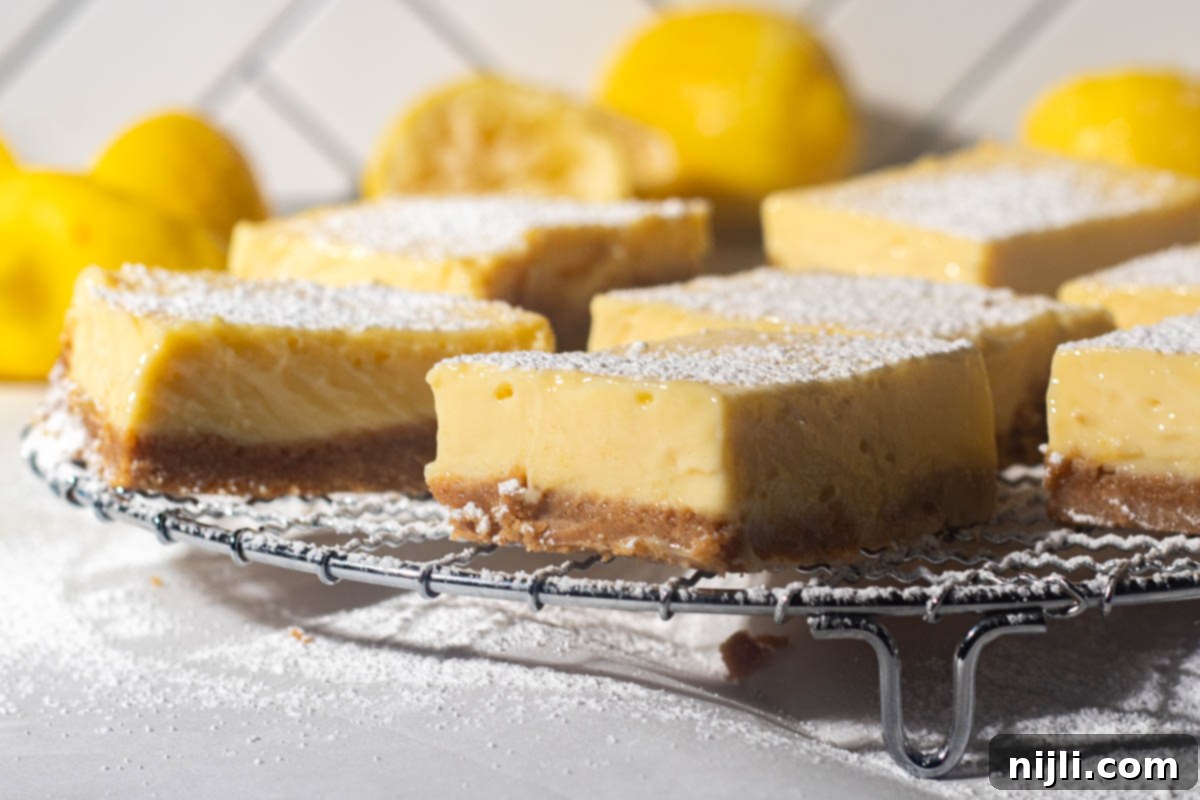
When baking acidic desserts like lemon bars, glass bakeware is generally considered a better choice than metal. This is because certain metals, especially aluminum (which many baking pans are made from), can sometimes react with the acid in lemon juice. This reaction can potentially impart a metallic taste to your dessert or even cause discoloration. Glass, being non-reactive, eliminates this risk, ensuring the pure, bright lemon flavor remains untainted.
However, if a metal pan is all you have, don’t worry! You can easily mitigate any potential issues by lining your metal pan generously with parchment paper. This creates a barrier between the lemon filling and the metal, preventing any reaction. Lining with parchment paper also offers the added benefit of making the lemon bars incredibly easy to lift out of the pan once cooled, simplifying the cutting process and ensuring perfect squares every time.
Top Baking Tip for Perfect Lemon Bars
Don’t overbake your lemon bars! This is the golden rule for achieving a perfectly creamy, uncracked lemon filling. The center of the filling should still have a slight, gentle jiggle when you carefully remove the pan from the oven. The residual heat will continue to set the bars as they cool, resulting in that wonderfully smooth, custardy texture we all love. An overbaked lemon bar can become dry, rubbery, and prone to cracking.
More Delightful Dessert Recipes to Try
Looking for other delectable recipes to expand your baking repertoire? You’ll absolutely love these additional sweet treats from my kitchen:
- Pumpkin Spice Espresso Martini
- Protein Mug Cake
- Rum Pound Cake with Brown Butter Glaze
- 3 Ingredient Pumpkin Muffins
Perfect Pairings for Lemon Bars
While these lemon bars are fantastic on their own, they also pair beautifully with a variety of dishes and beverages. Here are some of my favorite ways to enjoy and serve this bright, tangy dessert:
- Frozen Sweet Potato Fries in Air Fryer
- Smoothie Recipes Without Yogurt
- Puff Pastry Pizza
- Brown Sugar Shaken Espresso Recipe Starbucks Copycat
If you try this delightful recipe, I would be absolutely thrilled if you could leave a star review rating and comment below! Your feedback is incredibly valuable and it’s always so wonderful hearing about your culinary successes! And don’t forget to share your beautiful creations with me by tagging @chenee_today on Instagram!
📖 Recipe
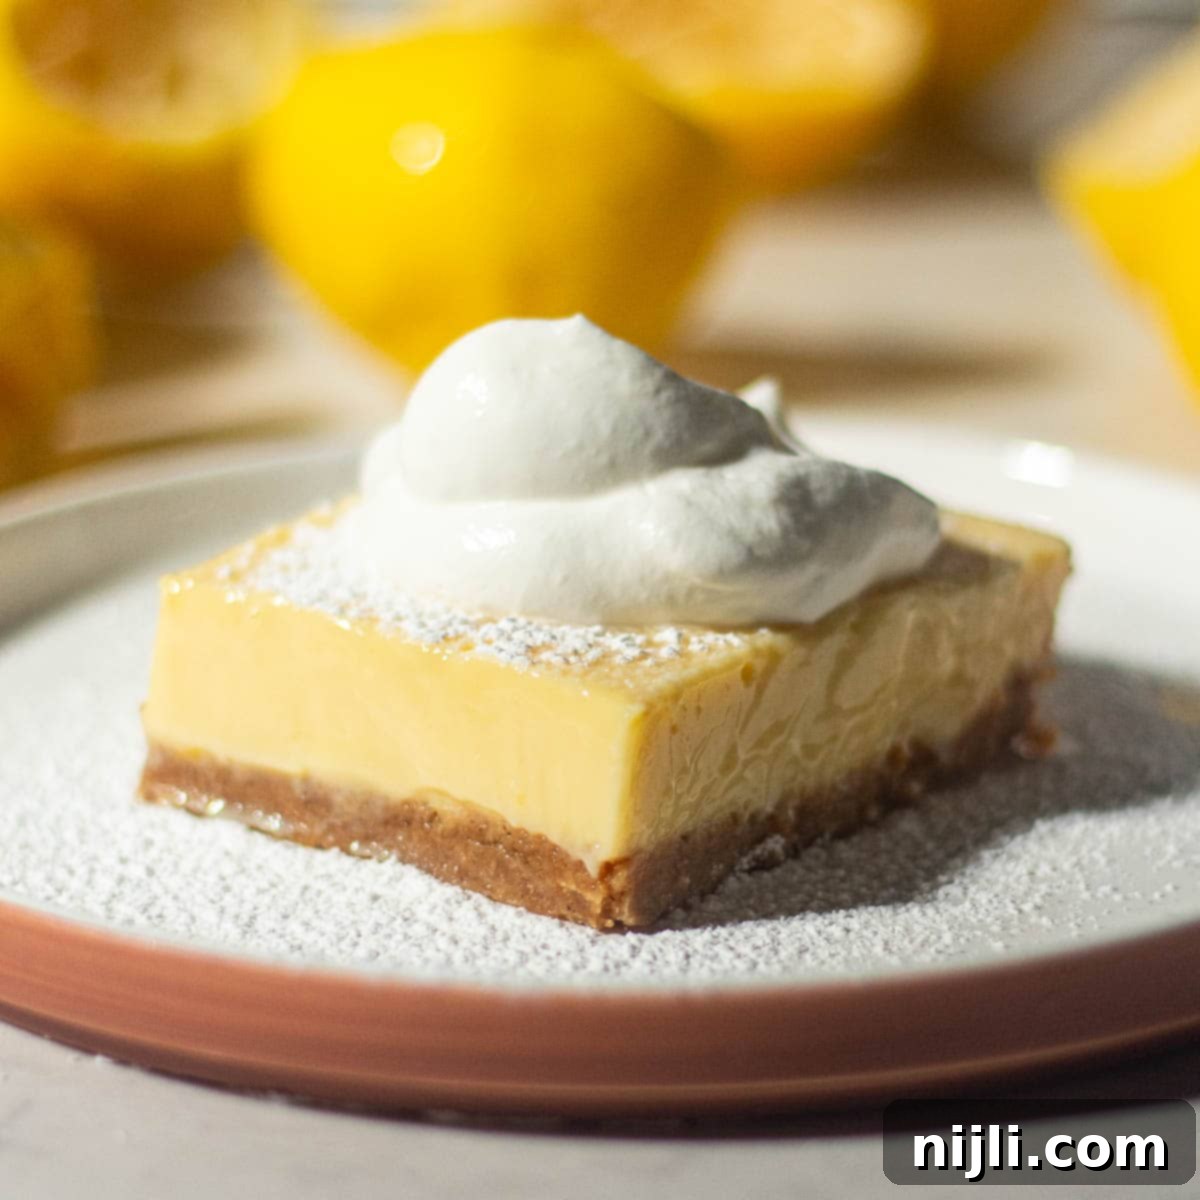
Lemon Bars with Graham Cracker Crust – Easy Recipe
Pin Recipe
Rate Recipe
Save RecipeSaved!
Equipment you may need
-
whisk
-
9×9 baking pan
-
mixing bowls
-
rolling pin
-
food processor
-
measuring cups and spoons
-
plastic wrap
-
microplane grater/zester
Ingredients
Graham Cracker Crust
- 1½ cup (200 g) graham crackers – crushed (about 12 full graham cracker sheets)
- 6 tablespoon (89 ml) salted butter – melted
- ¼ cup (55 g) brown sugar – packed
- ¼ teaspoon (1 ml) ground cinnamon – optional
Lemon Filling
- 2 14-oz. cans sweetened condensed milk
- 1 teaspoon (10 ml) lemon zest – packed
- juice of 5 medium lemons
- pinch salt
- 4 large egg yolks – room temperature
Whipped Cream (Optional)
- 1 cup (238 g) heavy cream – cold
- 3 tablespoon (44 ml) powdered sugar – plus more for topping lemon bars
- ½ teaspoon (2 ml) pure vanilla extract
Instructions
-
Preheat oven to 325°F. Line the bottom of your 9×9 pan with parchment paper.
-
In a bowl, combine the crust ingredients and mix well until graham cracker crumbs are fully saturated with butter and mixture holds together when pressed.1½ cup graham crackers, 6 tablespoon salted butter, ¼ cup brown sugar, ¼ teaspoon ground cinnamon
-
Pour graham cracker mixture into the bottom of your prepared 9×9 baking pan. Use the bottom of a measuring cup or jar to press the crust down evenly. Set aside.
-
Combine all remaining filling ingredients in a large bowl and whisk until smooth. Pour into prepare crust.2 14-oz. cans sweetened condensed milk, 1 teaspoon lemon zest, juice of 5 medium lemons, 4 large egg yolks, pinch salt
-
Bake in preheated oven for 20 minutes or until filling is just set. It should still jiggle slightly in the center.
-
Chill in refrigerator, loosely covered in plastic wrap for 6 hours or overnight.
-
To make whipped cream, combine heavy cream, vanilla, and powdered sugar in a bowl or the bowl of a stand mixer. Whip for 3 minutes or until soft-to-medium peaks form. Top bars with whipped cream or dust with powdered sugar immediately before serving.1 cup heavy cream, 3 tablespoon powdered sugar, ½ teaspoon pure vanilla extract
Video
Notes
Gluten Free Lemon Bars with Graham Cracker Crust: Converting these lemon bars to a gluten-free recipe is remarkably simple! Begin with high-quality gluten-free graham crackers for the crust. From there, just ensure your vanilla extract and any other packaged ingredients are certified gluten-free, and you’re all set to enjoy delicious gluten-free lemon bars!
Equipment: You’ll need a 9×9 baking pan for the ideal bar size, along with a large mixing bowl and whisk to prepare your creamy filling.
If you opt to crush your own graham crackers instead of buying pre-made crumbs, you’ll need either a food processor or a rolling pin and plastic bags. A wire rack is also highly recommended to facilitate quicker and more even cooling of the bars.
Storage: Once completely cooled, store your old-fashioned lemon bars with graham cracker crust in an airtight container in the refrigerator. Alternatively, if your 9×9 pan has a lid, simply cover it tightly with plastic wrap. These bars will remain fresh and delicious for up to 4 days when stored properly in the fridge.
Nutrition
Nutrition Disclaimer

