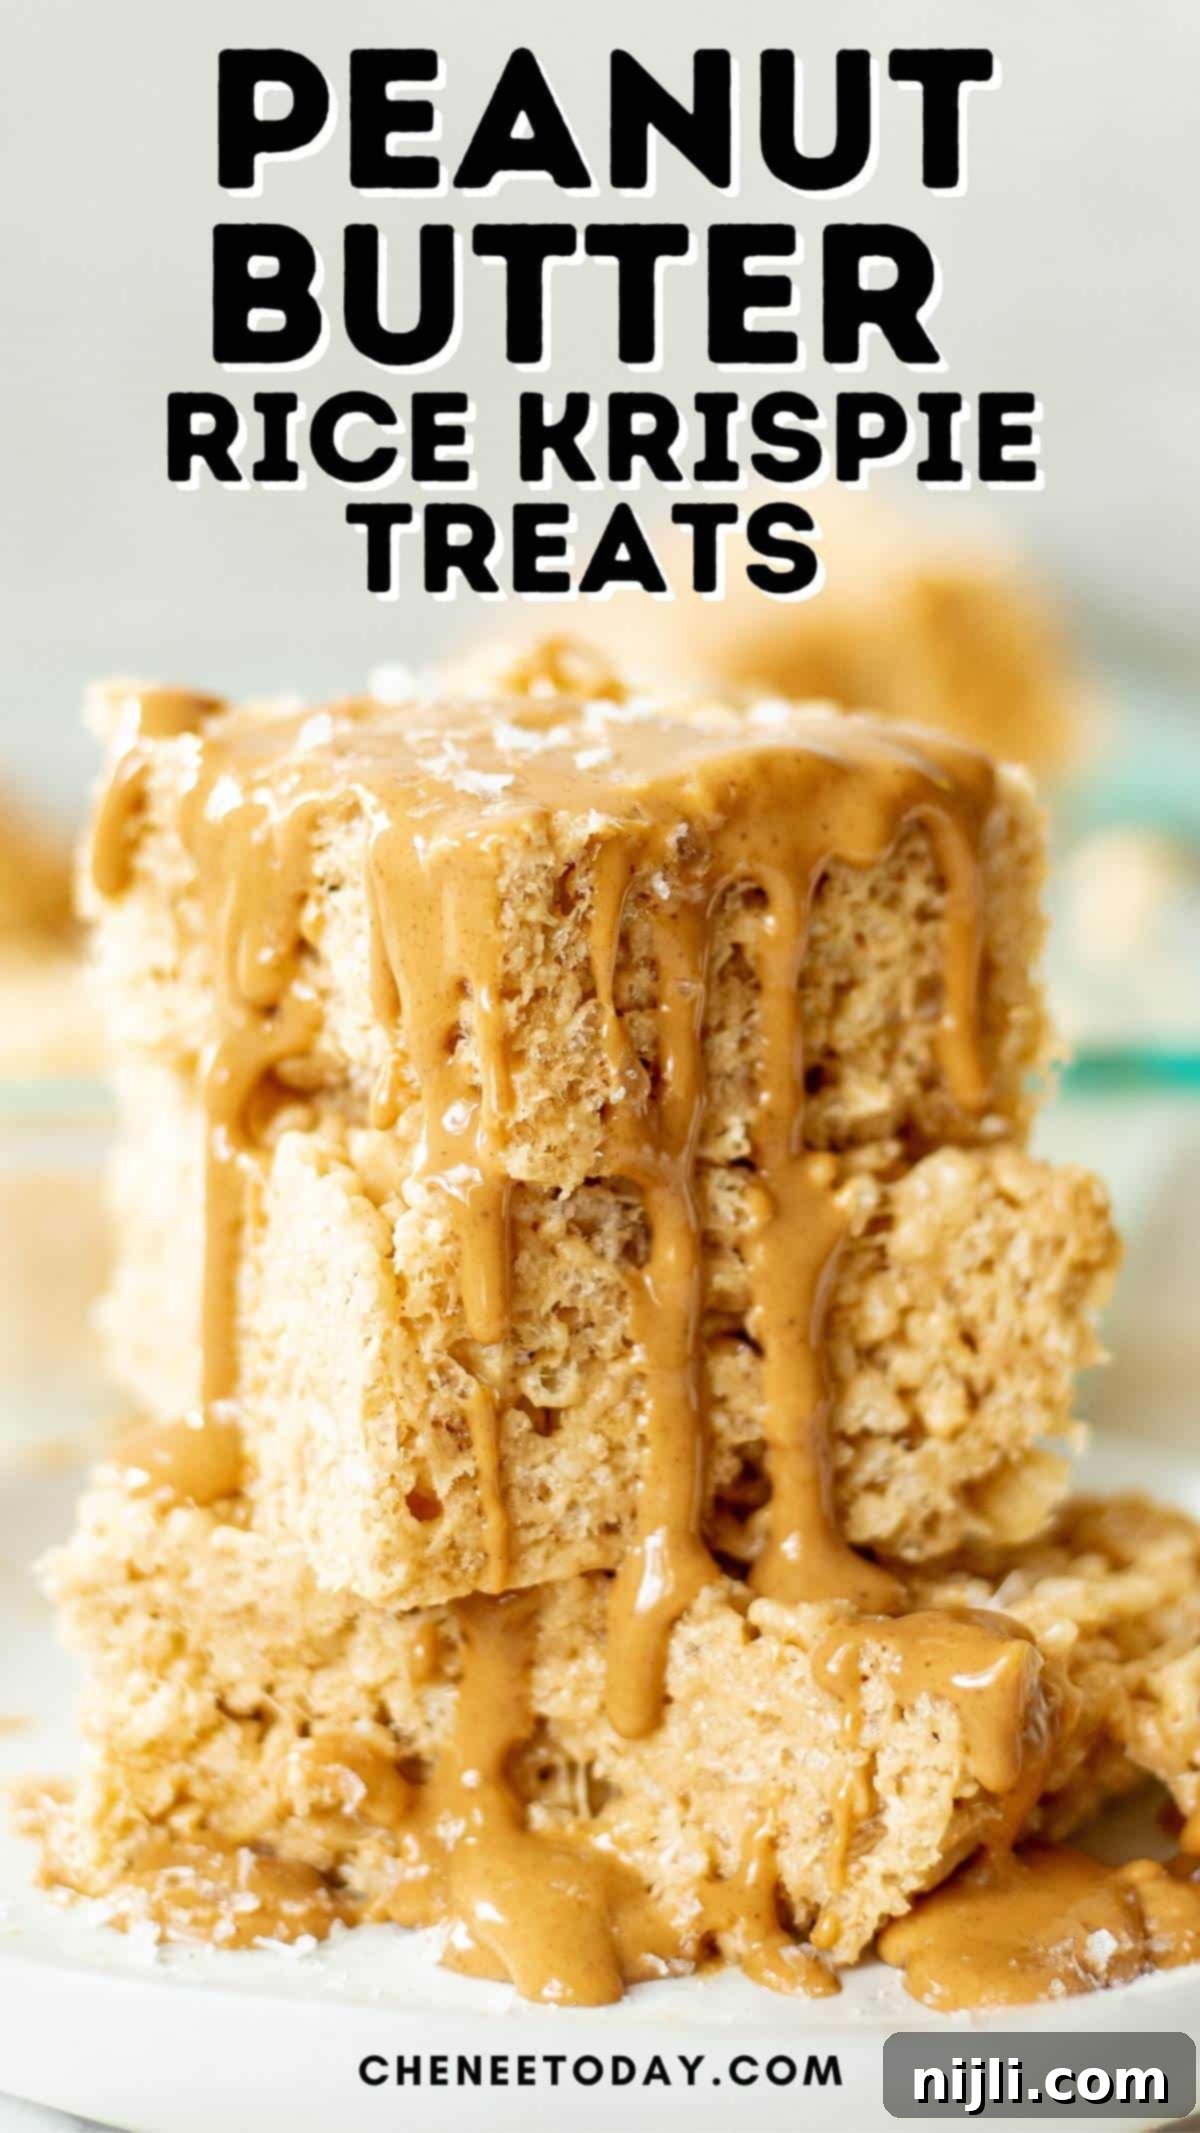
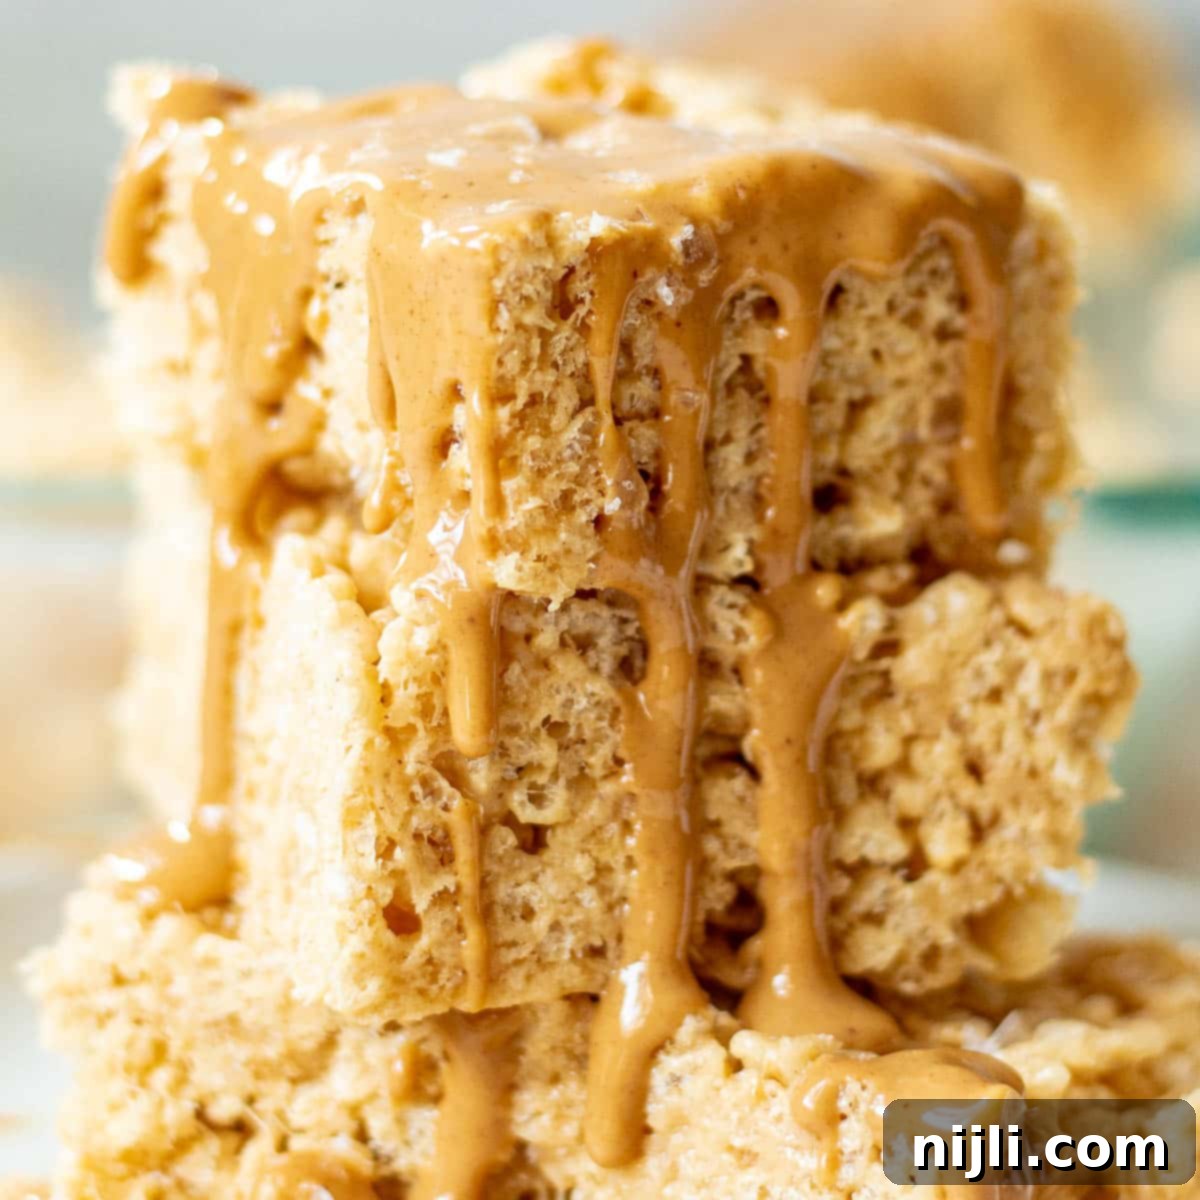
Irresistible Homemade Peanut Butter Rice Krispie Treats: Your Easy No-Bake Recipe!
Prepare yourself for a delightful journey back to childhood with these unbelievably good, **gooey peanut butter Rice Krispie treats**! This isn’t just any recipe; it’s the one that brings back all those cherished memories of classic, old-fashioned peanut butter crispy treats. Imagine that perfect blend of sweet and salty, the satisfying crunch of cereal, and the irresistible chewiness of melted marshmallows, all infused with rich, creamy peanut butter. It’s a simple pleasure that never goes out of style, and best of all, it requires no baking at all! Whether you’re a seasoned baker or a complete novice, this recipe guarantees a batch of perfect, nostalgic treats every single time.
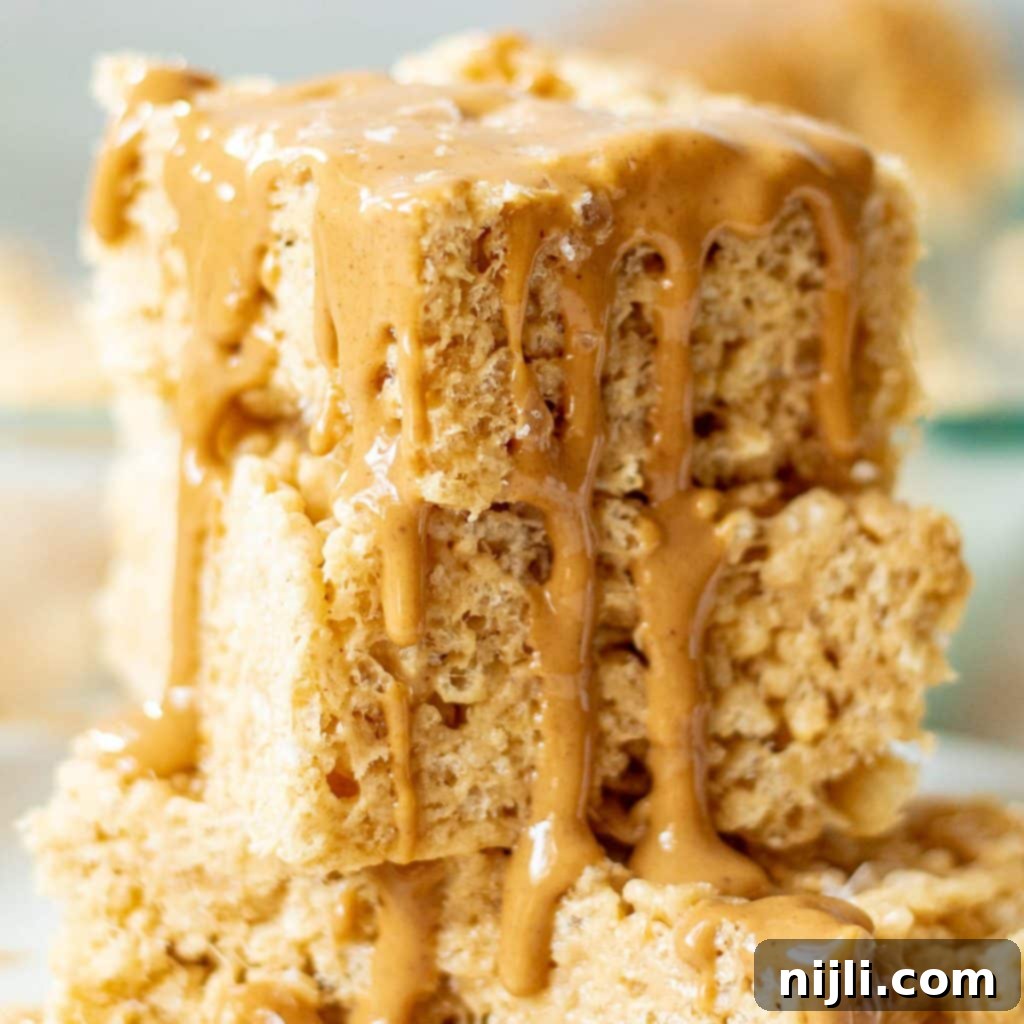
*This post contains affiliate links — as an Amazon Associate I earn from qualifying purchases. Please see my disclosure for details*.
If you find yourself utterly captivated by these **gooey peanut butter Rice Krispie treats**, then you’re in for a real delight with my other peanut butter-centric recipes! Don’t miss out on my beloved Peanut Butter and Jelly Thumbprint Cookies, offering a classic flavor combo in a delightful cookie form. For a frosty indulgence, my Peanut Buster Parfait Ice Cream Pie is an absolute must-try. And for a wholesome, yet equally delicious option, discover my Vegan Peanut Butter Oatmeal Cookies. Each recipe celebrates the incredible versatility and irresistible flavor of peanut butter!
Embracing the Classic Charm of Old-Fashioned Peanut Butter Rice Krispie Treats
For me, and countless others, **Rice Krispie treats** evoke a powerful sense of nostalgia. They’re not just a simple snack; they’re a comforting embrace of childhood memories, easy school days, and family gatherings. While I sometimes enjoy venturing into more elaborate creations, such as fancy brown butter white chocolate Rice Krispie treats, there are moments when only the pure, unadulterated classic will do. And when that craving strikes, nothing satisfies quite like this **peanut butter Rice Krispie treats recipe**.
What makes these particular treats so special? It’s the harmonious marriage of familiar textures and tastes. The crispness of the rice cereal provides a delightful contrast to the unbelievably soft, gooey, and chewy marshmallow binder. But the real game-changer here is the generous addition of creamy peanut butter, which elevates the entire experience. It introduces a rich, nutty, and slightly savory depth that perfectly balances the sweetness, creating a truly irresistible flavor profile that appeals to both kids and adults.
These **homemade peanut butter treats** are remarkably easy to make, making them an ideal choice for a quick dessert, an after-school snack, a school bake sale, or a potluck contribution. Their no-bake nature means less time in the kitchen and more time enjoying! You’ll love how quickly they come together, offering instant gratification and a guaranteed smile. Get ready to create new memories with this timeless classic that proves simple ingredients can lead to extraordinary deliciousness.
Effortless Preparation: How to Make Peanut Butter Rice Krispie Treats
Making these decadent **peanut butter Rice Krispie treats** is surprisingly simple and swift, making them an ideal choice for a last-minute dessert or a fun activity with the kids. This recipe streamlines the process, ensuring you get maximum flavor with minimal effort. The core technique involves just three key steps: melting your gooey base, mixing in the cereal, and pressing it into a pan to cool.
The Simple Steps to Achieving Gooey Perfection:
- Prepare the Sticky Base: Begin by combining the salted butter, creamy peanut butter, and mini marshmallows in a large, microwave-safe bowl (if using the microwave) or a medium stock pot (if using the stovetop). The goal is to melt these ingredients together until they form a smooth, homogenous mixture. It’s crucial not to overheat the marshmallows, as this can lead to hard, brittle treats rather than soft, chewy ones. Gentle, consistent heating is key for that perfect gooey texture.
- Incorporate the Crispy Cereal: Once your butter, peanut butter, and marshmallows are beautifully melted and smooth, remove them from the heat. This is the moment to introduce the star of the crunch: the crispy rice cereal. Pour the cereal into the melted mixture and stir quickly and thoroughly. Work efficiently to ensure every single piece of cereal is coated before the mixture begins to cool and set. An even coating means uniform flavor and texture in every bite.
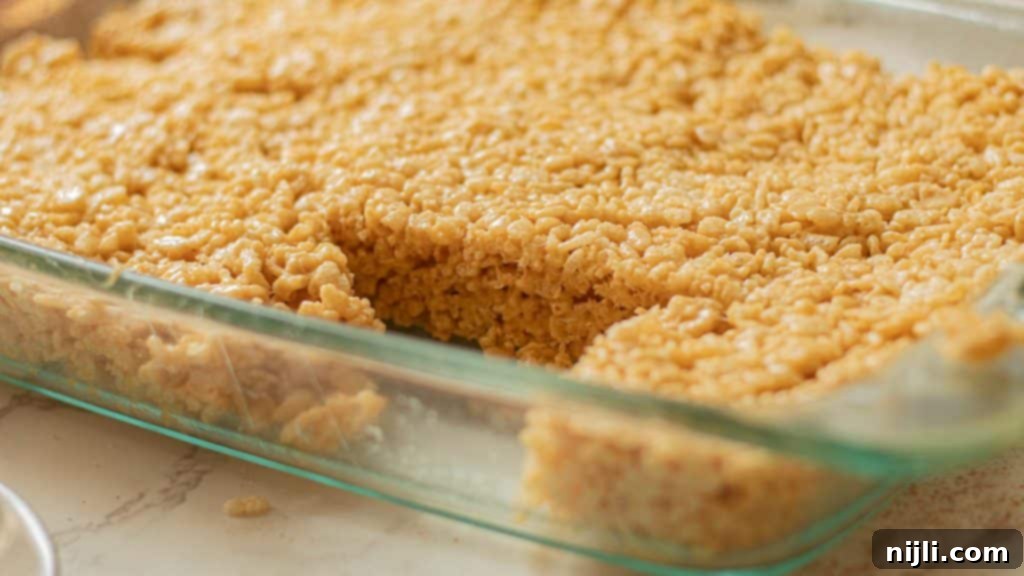
- Press and Cool: Finally, transfer the warm, sticky cereal mixture into your prepared, greased 9×13 inch baking pan. This step is where a little trick helps! Use a buttered spatula or, even better, place a sheet of plastic wrap over the mixture and use your hands to press it down firmly and evenly into the pan. This technique prevents sticking and helps create compact, neatly shaped bars. Once pressed, simply set the pan aside to cool completely at room temperature. Patience here is rewarded with perfectly set bars that are easy to slice and enjoy.
That’s all there is to it! In about 10 minutes of active time, you’ll have a batch of aromatic, **homemade peanut butter Rice Krispie treats** cooling. This straightforward method ensures delicious results every time, proving that the best treats don’t always require complex techniques. For exact quantities and a more detailed step-by-step guide, please refer to the recipe card further down this page.
Microwave vs. Stovetop: Your Preferred Method for Quick Treats!
Yes, absolutely you can! One of the best features of this particular **peanut butter Rice Krispie treats recipe** is its remarkable flexibility in preparation. You have the convenient option to prepare the marshmallow and peanut butter base either in the microwave or on the stovetop. This adaptability makes it perfect for busy schedules or for anyone looking for the quickest route to a delicious snack. I personally lean towards the microwave method most of the time because it’s incredibly fast and reduces the number of dishes to wash!
Effortless Microwave Method:
For the ultimate in speed and simplicity, the microwave is your best friend. Start by combining your salted butter, creamy peanut butter, and mini marshmallows in a large, microwave-safe bowl. Begin by heating the mixture on high for 1 minute. After this initial burst, give it a good stir to start combining the melted ingredients. Then, continue heating in 30-second increments, stirring thoroughly after each interval, until the mixture is completely melted and smooth. This segmented heating approach is crucial for preventing the marshmallows from overheating, which can lead to tough treats. Just remember that marshmallows expand quite a bit in the microwave, so choose a bowl with plenty of room!
Classic Stovetop Method:
If you prefer a more traditional cooking experience or desire greater control over the melting process, the stovetop method is an excellent alternative. In a medium stock pot, gently melt the butter and peanut butter over medium-low heat. Once they are liquid and combined, add the marshmallows. Stir continuously with a wooden spoon or spatula until the marshmallows are mostly melted and the mixture appears smooth and gooey. Once melted, immediately remove the pot from the heat and continue stirring for another minute or so until any remaining lumps of marshmallow have dissolved. This method allows you to visually gauge the consistency and prevent scorching. Both the microwave and stovetop methods will yield equally delicious, gooey, and chewy **homemade peanut butter Rice Krispie treats**, so choose the one that suits your comfort level and time constraints!
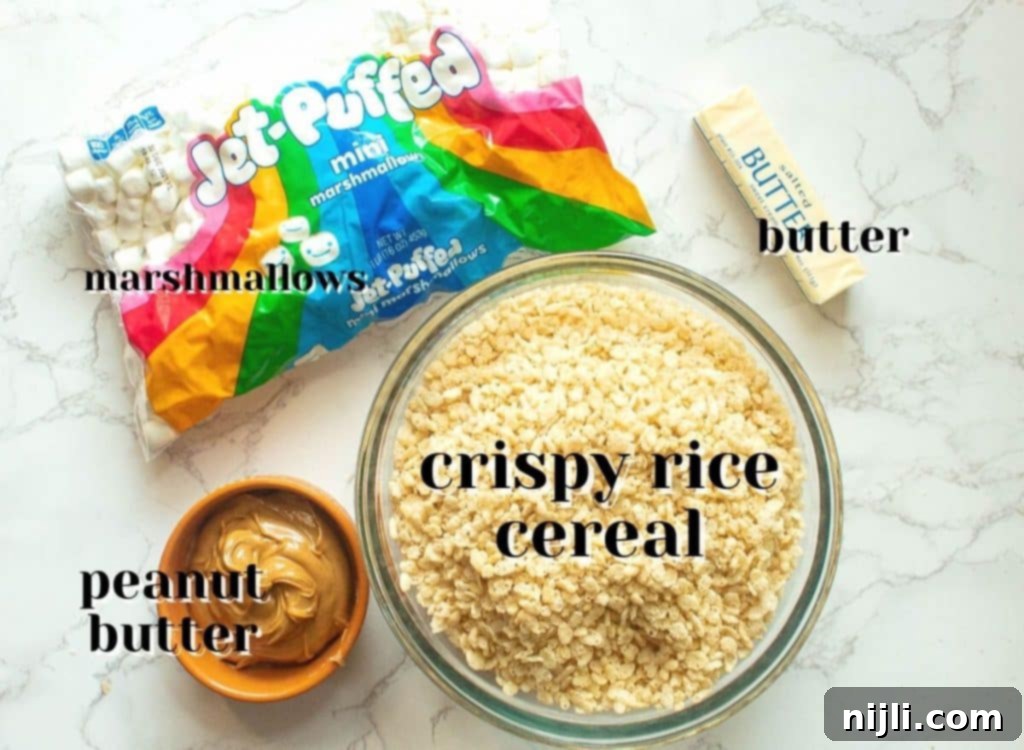
Essential Ingredients for Your Peanut Butter Rice Krispie Treats
Crafting these extraordinary **peanut butter marshmallow treats** requires just a handful of straightforward ingredients, each playing a vital role in achieving that perfect, irresistible outcome. Here’s a closer look at what you’ll need and why it matters:
- Salted Butter: This is my secret weapon for enhancing the flavor of these **Rice Krispie treats**! The salt in the butter acts as a wonderful counterpoint to the sweetness of the marshmallows and peanut butter, creating a more balanced and nuanced taste. If you only have unsalted butter available, fear not! Simply add a couple of generous pinches of fine sea salt (about ¼ teaspoon) to your melting mixture. The butter also contributes to the smooth texture and rich mouthfeel of the treats.
- Peanut Butter: For a consistently smooth and creamy texture, regular creamy peanut butter (such as Jif or Skippy) is highly recommended. It blends beautifully into the marshmallow base, ensuring an even distribution of that beloved nutty flavor. While I haven’t personally experimented with crunchy peanut butter in this specific recipe, I imagine it would add an interesting textural contrast. If you decide to give it a try, I’d love to hear how it turns out! For an extra touch of decadence and a visual flourish, consider melting a little additional peanut butter and drizzling it over your cooled bars – it truly amplifies the peanut butter experience!
- Marshmallows: A standard 16-ounce bag of mini marshmallows is perfect for this recipe. Mini marshmallows melt more quickly and uniformly than their larger counterparts, which helps create a smoother, more consistent sticky binder for your cereal. However, if mini marshmallows aren’t on hand, regular-sized marshmallows can certainly be used; just be prepared for them to take a little longer to fully melt. These fluffy confections are fundamental for the signature gooey and chewy texture that defines classic **marshmallow treats**. And if you’re a true marshmallow enthusiast, you absolutely must try my Chocolate Chip and Marshmallow Cookies!
- Crispy Rice Cereal: The quintessential ingredient for that satisfying crunch! Any brand of crispy rice cereal will work. While a volumetric measurement of 10 cups is provided, for utmost accuracy, especially in baking, I often prefer to measure mine by weight (approximately 270 grams). The key here is to use fresh cereal; stale cereal can result in a less crisp and somewhat chewy texture, compromising the overall experience of your **crispy rice treats**. This cereal forms the delightful crispy backbone of your delicious no-bake creation.
Simple Equipment for Easy Peanut Butter Rice Krispie Treats
One of the many joys of making these **easy peanut butter Rice Krispie treats** is how little specialized equipment you need. You likely already possess all the necessary tools in your kitchen, making this a truly accessible recipe for everyone. Here’s a brief overview of the basic items that will help you achieve perfect results:
- 9×13 Inch Baking Pan: This standard pan size is ideal for creating a generous batch of approximately 18 bars. If you prefer thicker, more substantial treats, a slightly smaller pan, such as a 9×9 inch square pan, can be used – just keep in mind that this will yield fewer, but taller, bars. I particularly love a baking pan that comes with a lid, as it makes storing your delicious creations incredibly convenient! Remember to grease your pan thoroughly before adding the mixture to prevent any sticking.
- Large Microwave-Safe Bowl or Medium Stock Pot: Your choice of melting vessel will depend on your preferred preparation method. If you’re going the microwave route, a large, deep microwave-safe bowl is essential to accommodate the expanding marshmallows. For the stovetop method, a sturdy medium stock pot with a heavy bottom is perfect, as it helps distribute heat evenly and minimizes the risk of scorching the marshmallow mixture.
- Wooden Spoon or Heat-Resistant Rubber Spatula: A robust mixing tool is crucial for handling the thick, sticky marshmallow and peanut butter mixture. A wooden spoon offers excellent leverage for stirring and combining, while a heat-resistant rubber spatula is fantastic for scraping down the sides of your bowl or pot, ensuring all ingredients are fully incorporated. It’s also incredibly useful for pressing the mixture evenly into your baking pan.
With these few basic kitchen essentials, you’re perfectly equipped to embark on your journey to creating the most delectable **homemade peanut butter Rice Krispie treats**. The simplicity of the tools perfectly complements the straightforward nature of the recipe, promising a hassle-free and enjoyable cooking experience.
Expert Tips & Frequently Asked Questions for Perfect Treats
To help you create the absolute best **peanut butter Rice Krispie treats** and address any common concerns, here are some invaluable tips and answers to frequently asked questions:
If marshmallows aren’t your preference or you’re looking for an alternative, you can certainly use other sticky sweeteners to bind your **crispy rice treats**. Honey, maple syrup, or even certain nut butters (though you’re already using peanut butter here!) can serve as a binder. It’s important to note, however, that these alternatives will significantly alter the texture. Marshmallows provide a unique airy, stretchy, and chewy consistency. Substitutes like honey will result in a denser, often firmer treat, and the flavor profile will naturally change. Experiment to find a combination that suits your taste, but be prepared for a different, though still delicious, outcome!
One of the most common culprits for hard **Rice Krispie treats** is overcooking the marshmallows. When marshmallows are heated for too long or at too high a temperature, their sugar structure can crystallize, leading to a firm, brittle texture once cooled. If you’ve found yourself with a batch that’s a bit too hard, don’t despair! A clever trick is to place a slice of fresh bread in the airtight container with your treats. The treats will gradually absorb moisture from the bread, softening them over several hours. For a quicker fix, simply place an individual bar in the microwave for a mere 5-10 seconds. This gentle warmth will usually restore that delightful gooey, chewy texture, making them enjoyable again.
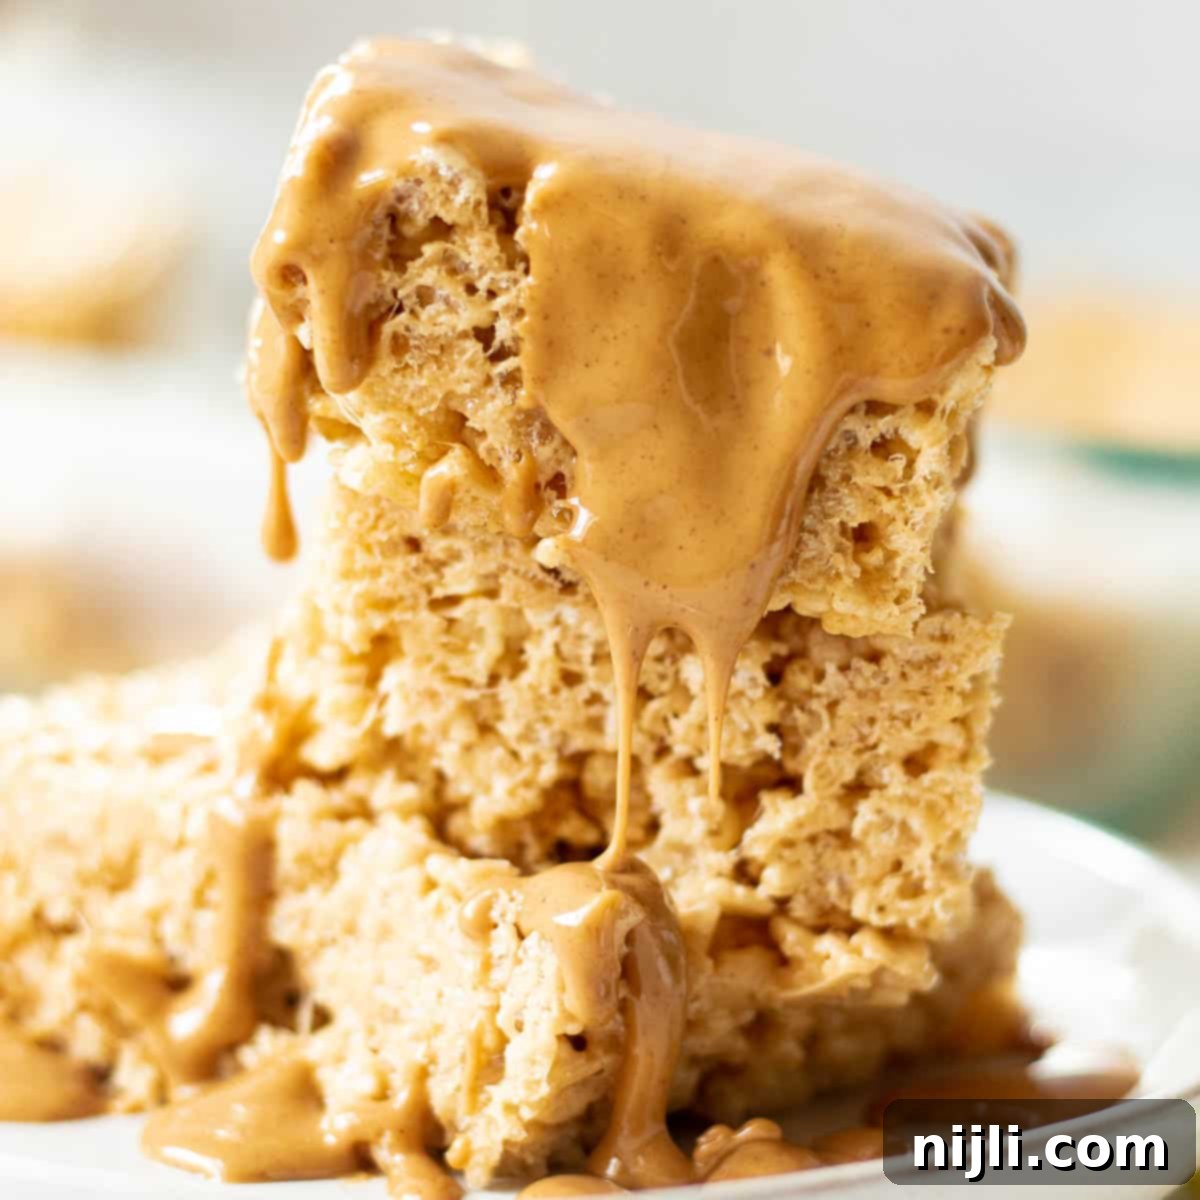
Working with warm, sticky marshmallow mixture can certainly be a messy endeavor! My go-to hack for pressing the **peanut butter Rice Krispie treats** into the pan without getting them all over your hands is simple and highly effective: place a sheet of plastic wrap directly on top of the mixture in the pan. Then, use your hands (or the back of a measuring cup or glass) to firmly and evenly press down. The plastic wrap creates a perfect barrier, preventing any stickiness. Alternatively, you can lightly butter your hands or the back of your spatula with a little bit of butter or non-stick cooking spray. This creates a slick surface that the mixture won’t adhere to, making the pressing process much cleaner and easier.
For those picture-perfect, neatly cut **peanut butter Rice Krispie bars**, proper cooling is paramount. You absolutely must let them cool completely and fully set before attempting to slice. For an even firmer set, you can pop the pan into the refrigerator or freezer for 10-15 minutes – but be careful not to leave them in too long, as they can become too hard. Once properly cooled, grab a very sharp knife. To prevent the sticky marshmallow and peanut butter from adhering to the blade, lightly coat the knife with butter or spray it with a non-stick cooking spray before each cut. This lubrication allows the knife to glide cleanly through the treats, resulting in crisp, defined edges.
There’s actually no need to refrigerate these delightful **peanut butter Rice Krispie treats**! They are best stored at room temperature in an airtight container, where they will maintain their optimal soft and chewy texture for up to 3 days. In fact, placing them in the refrigerator can sometimes make them become unpleasantly hard. However, given how incredibly delicious and addictive these treats are, it’s a rare occurrence for a batch to last longer than a day or two in most homes!
Yes, absolutely! Freezing **Rice Krispie bars** is a fantastic way to prepare them in advance or store leftovers for later enjoyment. Once your treats are completely cooled, you can wrap individual bars tightly in plastic wrap, or place them in a single layer in an airtight freezer-safe container or heavy-duty freezer bag. They will keep beautifully in the freezer for up to six weeks. When you’re ready for a delicious snack, simply take them out and allow them to thaw at room temperature for an hour or two. They’ll be just as soft, chewy, and flavorful as when they were first made!
While these peanut butter versions are undeniably delicious, the world of **Rice Krispie treats** is ripe for flavor exploration! If you’re eager to experiment, start with my Rice Krispie Treats with Chocolate Chips for delightful bursts of melty chocolate goodness in every bite. For an even more indulgent chocolate experience, my M&M Rice Krispie Treats are a vibrant and fun option, taking that chocolate flavor to the next level with colorful candy-coated pieces. And for special occasions (or simply to make any day feel like a party), don’t miss my festive Birthday Rice Krispie Treats, complete with sprinkles! You can also get creative with other add-ins like chopped nuts, dried fruit, or a drizzle of different glazes.
More Irresistible Peanut Butter Recipes You’ll Love
If these **peanut butter Rice Krispie treats** have ignited your passion for all things peanut butter, then you’re in for a real treat with these other fantastic recipes. Each one highlights the rich, comforting flavor of peanut butter in a unique and delicious way:
- Peanut Butter and Jelly Thumbprint Cookies: A delightful twist on a classic, these soft peanut butter cookies feature a sweet, fruity jelly center – a perfect pairing for any time of day.
- Peanut Noodle Salad: For a savory and satisfying meal, this vibrant salad offers tender noodles coated in a rich, slightly spicy peanut dressing. It’s a fantastic option for a light lunch or a flavorful side dish.
- Vegan Peanut Butter Oatmeal Cookies with Banana and Cacao: Enjoy a healthier indulgence with these wholesome vegan cookies. Packed with oats, banana, cacao, and plenty of peanut butter, they’re both nutritious and incredibly tasty.
- Peanut Buster Parfait Ice Cream Pie: Get ready for a show-stopping dessert! This pie layers creamy ice cream with crunchy peanuts and rich chocolate, creating an unforgettable frozen treat that’s perfect for any celebration.
📖 Recipe: Classic Peanut Butter Rice Krispie Treats
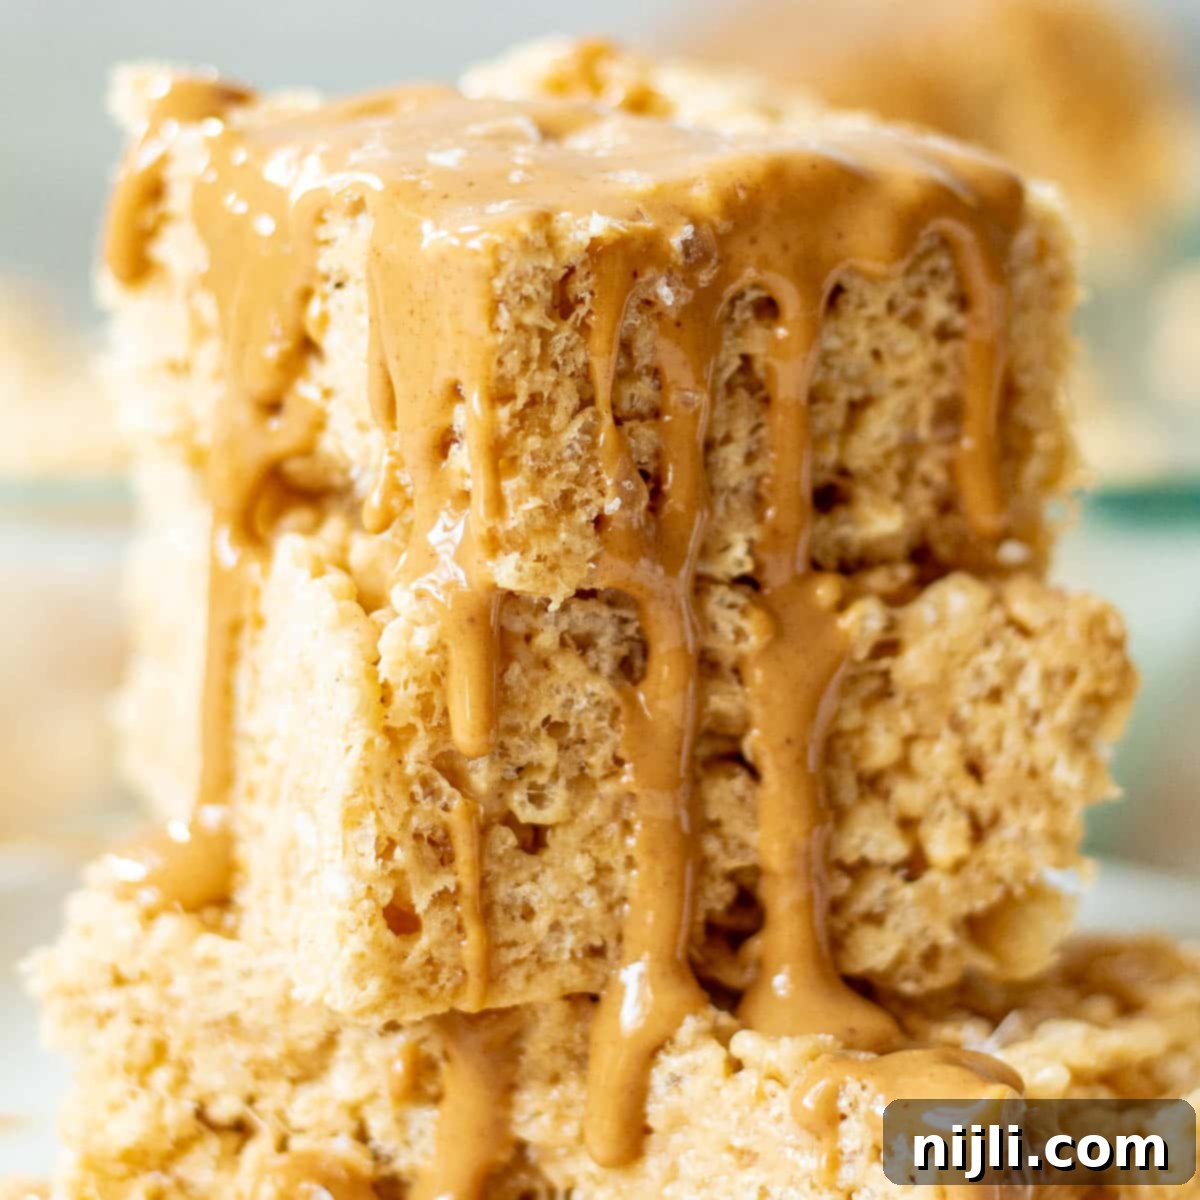
Peanut Butter Rice Krispie Treats
📌Pin Recipe
⭐Rate Recipe
Save Recipe
Saved!
5 minutes
5 minutes
10 minutes
Dessert, Snack
American
18 bars
221kcal
Chenée Lewis
Equipment You May Need
-
9×13 baking pan
-
9×9 baking pan (for thicker bars)
-
Large microwave-safe mixing bowl or medium stock pot
-
Wooden spoon or heat-resistant rubber spatula
Ingredients
- ½ cup (114 g) salted butter – one stick
- 16 oz (454 g) mini marshmallows – or regular marshmallows
- ⅔ cup (172 g) creamy peanut butter
- 10 cups (270 g) crispy rice cereal – about ¾ of a 12-oz box
- Melted peanut butter – for drizzling (optional)
Instructions
-
Add salted butter, creamy peanut butter, and mini marshmallows to a large microwave-safe bowl.½ cup salted butter,
⅔ cup creamy peanut butter,
16 oz mini marshmallows -
Heat on high for 1 minute, then stir well. Continue heating in 30-second increments, stirring thoroughly after each, until butter and marshmallows are completely melted and the mixture is smooth.
-
Add crispy rice cereal to the bowl and stir with a wooden spoon or rubber spatula until the cereal is thoroughly and evenly coated.10 cups crispy rice cereal
-
Transfer the mixture to a generously buttered 9×13 inch pan. Use a buttered spatula (or a layer of plastic wrap over your hands) to press down tightly and evenly. Let cool completely at room temperature before cutting into bars.
Last Step!
Click here to leave a review and a star rating! It helps spread the word and allows me to keep sharing free recipes! 🥰
Video
Notes
Nutrition
Calories: 221 kcal |
Carbohydrates: 31 g |
Protein: 4 g |
Fat: 10 g |
Saturated Fat: 4 g |
Polyunsaturated Fat: 2 g |
Monounsaturated Fat: 4 g |
Trans Fat: 1 g |
Cholesterol: 13 mg |
Sodium: 109 mg |
Potassium: 77 mg |
Fiber: 1 g |
Sugar: 15 g |
Vitamin A: 155 IU |
Calcium: 7 mg |
Iron: 1 mg
Nutrition Disclaimer
Did you try this recipe? Rate it below!
I can’t wait to see (and share) your results! Follow me on Instagram at @chenee_today and tag #cheneetoday!
Don’t forget to Pin these gooey peanut butter Rice Krispie treats for later!
