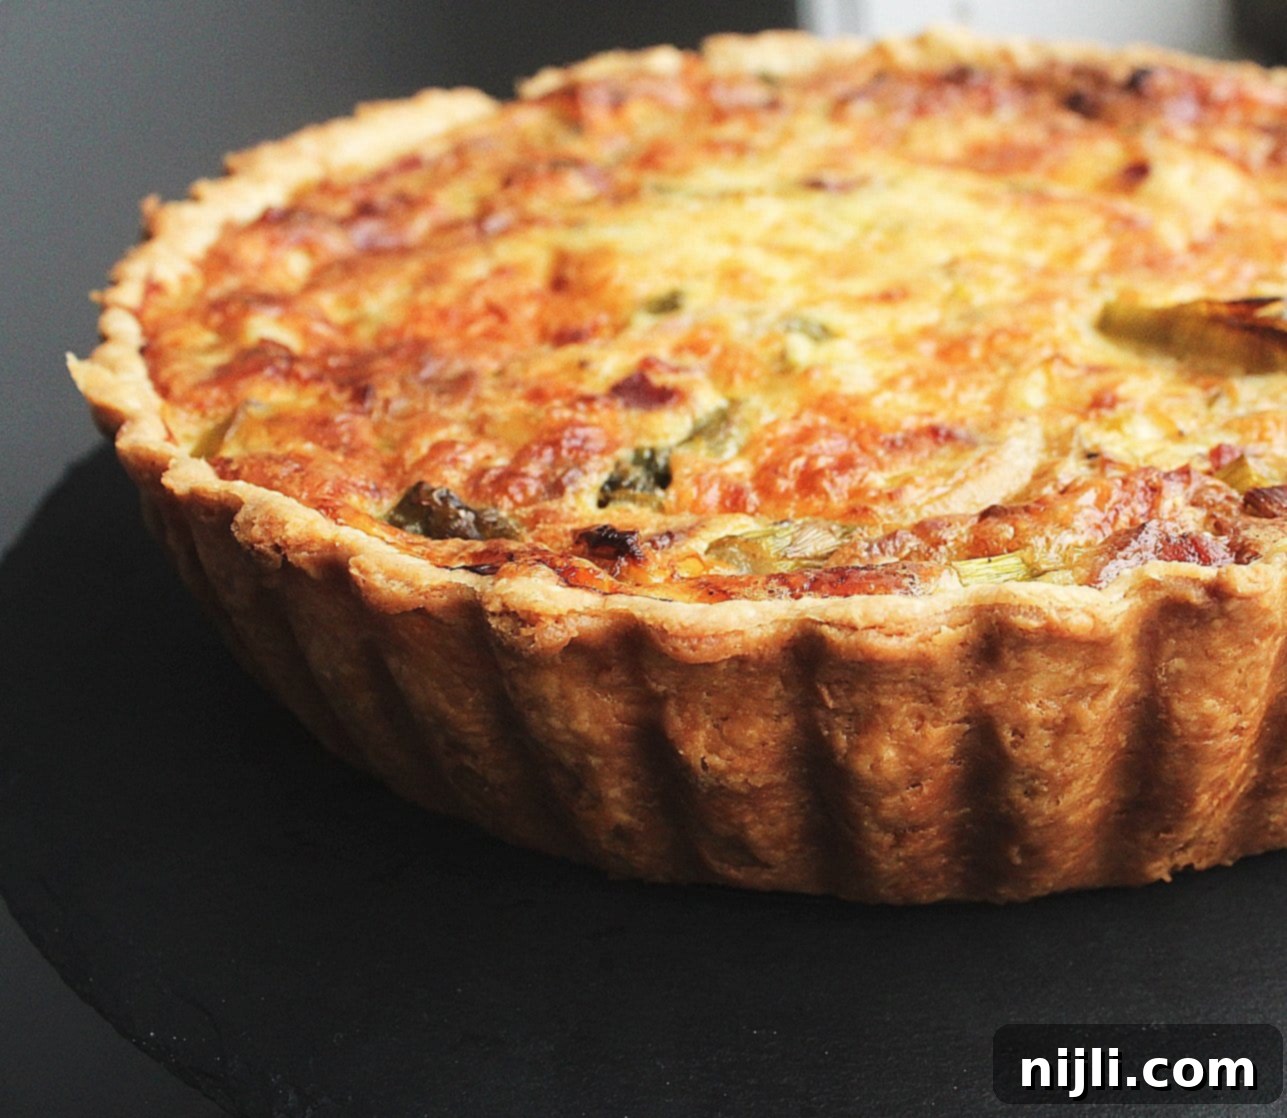
Easy Bacon, Leek, and Asparagus Quiche Recipe: The Ultimate Brunch Dish
Prepare to fall in love with this incredible Bacon, Leek, and Asparagus Quiche! It’s not just a dish; it’s an experience, transforming your brunch or breakfast into an unforgettable feast. This recipe takes simple, wholesome ingredients and elevates them into a sophisticated, yet incredibly easy-to-make, savory tart that promises to be a crowd-pleaser every single time.
*This post contains affiliate links — as an Amazon Associate I earn from qualifying purchases. Please see my disclosure for details*.
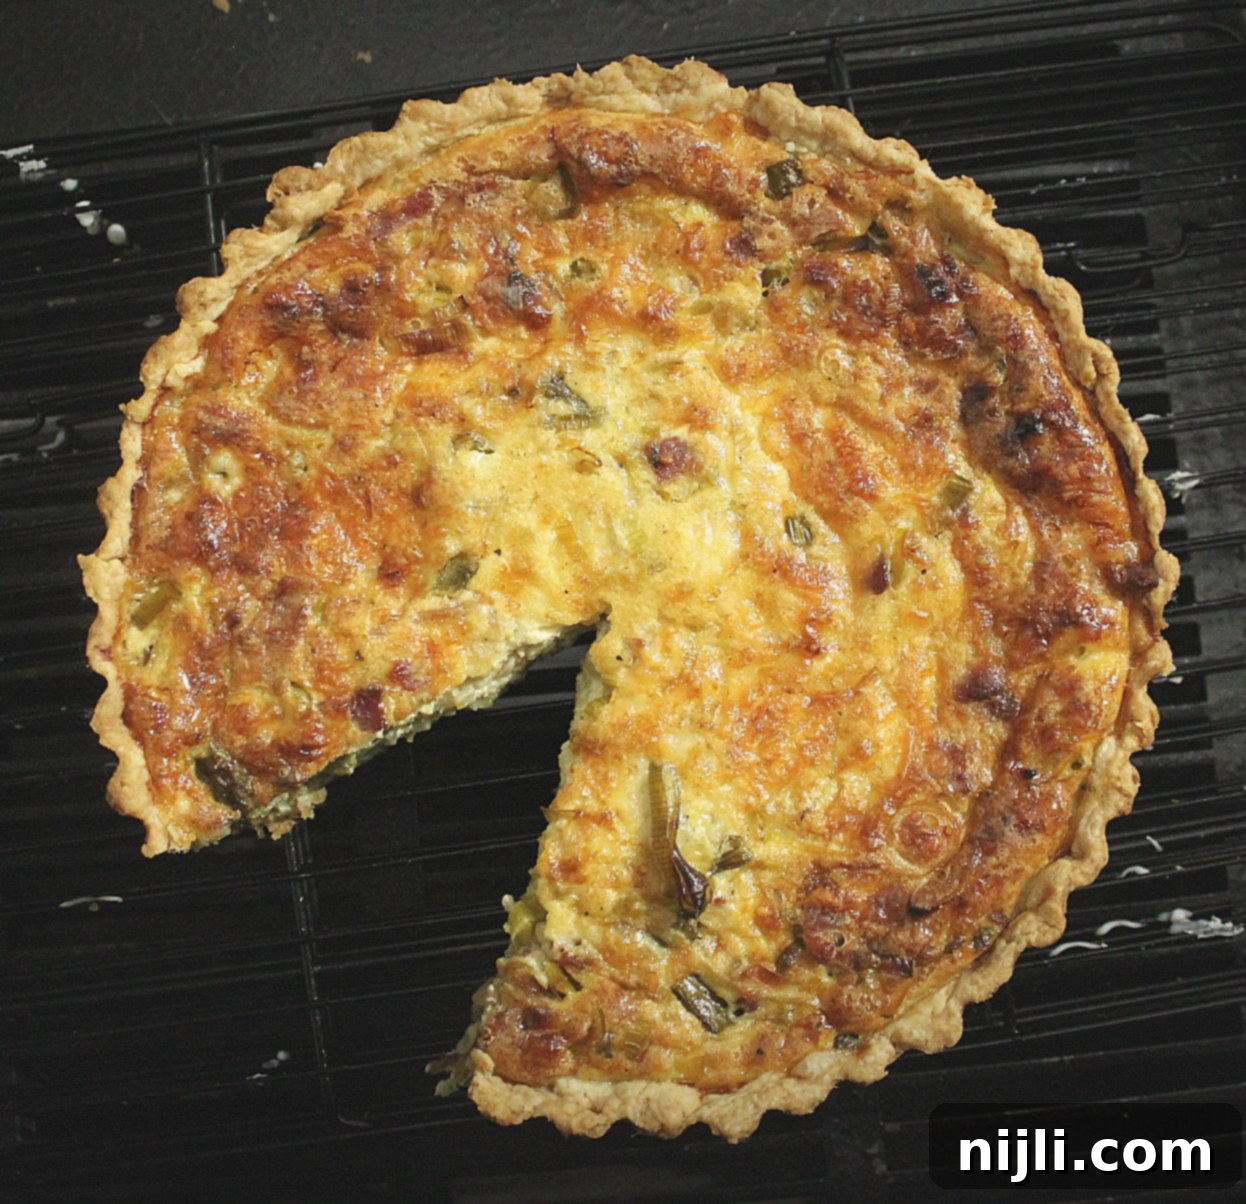
If you’re searching for an elegant yet straightforward dish that truly impresses, this bacon and leek quiche recipe is your answer. Its rich, savory flavors make it an ideal centerpiece for a celebratory brunch, a cozy family breakfast, or even a light dinner. And if you love delightful brunch recipes, you might also enjoy my Cinnamon Roll Donuts, a festive Pumpkin Spice Espresso Martini, or explore my diverse collection of Smoothie Recipes Without Yogurt!
The Irresistible Bacon, Leek, and Asparagus Quiche
I am genuinely thrilled to share what has become my absolute favorite quiche creation: this spectacular bacon, leek, and asparagus quiche. This recipe consistently delivers outstanding results, offering a symphony of flavors and textures in every bite. It’s a testament to how simple ingredients, when combined thoughtfully, can create something truly extraordinary. Whether you’re a seasoned baker or new to quiche, you’ll find this recipe surprisingly easy to master.
What makes this quiche so special? It starts with a foundation of beautifully sautéed leeks, delicate shallots, and vibrant asparagus, providing an earthy and slightly sweet counterpoint to the savory elements. Crisp, smoky bacon pieces are folded in, adding an irresistible depth of flavor and a satisfying texture. The nutty, slightly sweet notes of Gruyère cheese melt perfectly into a silky egg custard filling, all nestled within a tender, flaky all-butter pie crust. This combination is nothing short of culinary perfection.
This versatile savory tart is perfect for any occasion. Imagine serving it at a festive holiday brunch, a sophisticated special occasion dinner, or simply as a comforting meal on a lazy weekend morning. Its robust flavors and elegant presentation make it suitable for a crowd, yet it’s equally delightful for a quiet meal at home. Once you try this recipe, you’ll understand why it’s a staple in my kitchen and will likely become one in yours too!
Why a Deep Dish Quiche Pan Makes All the Difference
For years, I made quiches in standard pie pans or shallow tart pans, and while they were good, they never quite reached their full potential. That all changed the moment I invested in a deep dish quiche pan with a removable bottom, like this one (affiliate link). This single kitchen tool completely revolutionized my quiche-making process, elevating my results to a truly “next level” status.
First and foremost, the fluted edges of a deep dish quiche pan are a game-changer. They effortlessly create a beautifully crimped crust, eliminating the need for tedious hand-fluting. You’ll achieve a professional, bakery-quality presentation every time without any extra effort. This aesthetic appeal alone makes the investment worthwhile, ensuring your quiche looks as stunning as it tastes.
Secondly, the removable bottom design, often paired with a nonstick material, solves one of the biggest challenges of quiche making: removing the quiche from the pan. With this design, you can easily lift the entire quiche out, allowing it to cool uniformly and preventing any structural damage when transferring to a serving plate or cooling rack. This feature ensures your beautiful creation remains intact, making slicing and serving a breeze. Gone are the days of wrestling a delicate quiche out of a traditional pie plate!
As an added bonus, a deep tart pan (sometimes simply called a quiche pan, just ensure it’s nonstick and has a removable bottom) is incredibly versatile. I’ve used mine for much more than just quiches! It’s perfect for crafting regular dessert pies, hearty chicken pot pies, and even delightful coffee cakes. You’ll be amazed at how useful the removable bottom becomes for a variety of baking projects, making clean-up easier and presentation flawless. It’s truly a multi-tasking essential for any kitchen.
Step-by-Step Guide to Your Perfect Quiche
Alright, let’s dive into the detailed steps for creating this magnificent leek breakfast quiche! I’ll be honest, this recipe has a few more steps than your average quick breakfast, but trust me, the incredible flavor and impressive result are absolutely worth the effort. The good news is, there are several opportunities to save time with smart shortcuts, and a significant portion of the preparation can even be done ahead of time. This makes it a perfect candidate for entertaining, as you can spread the work out.
Step 1: The Foundation – Your Flaky Pie Crust
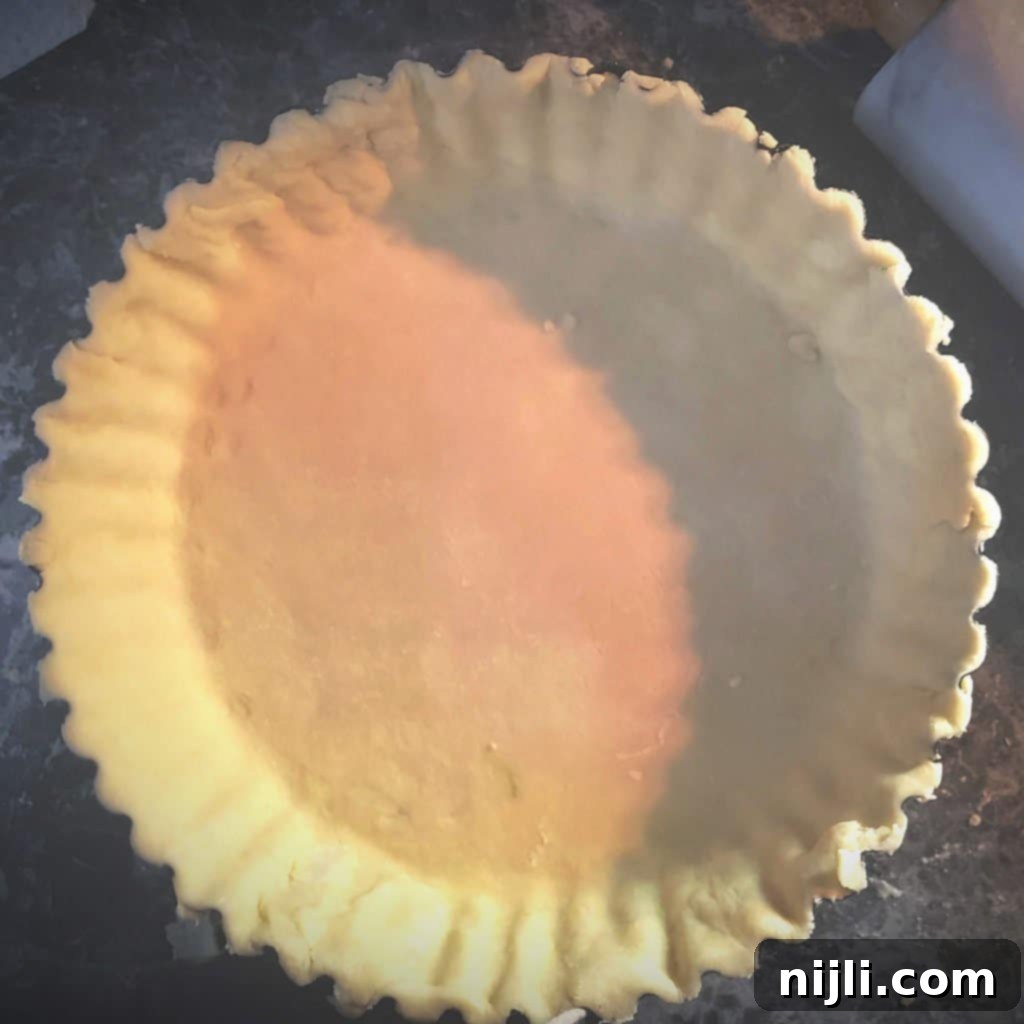
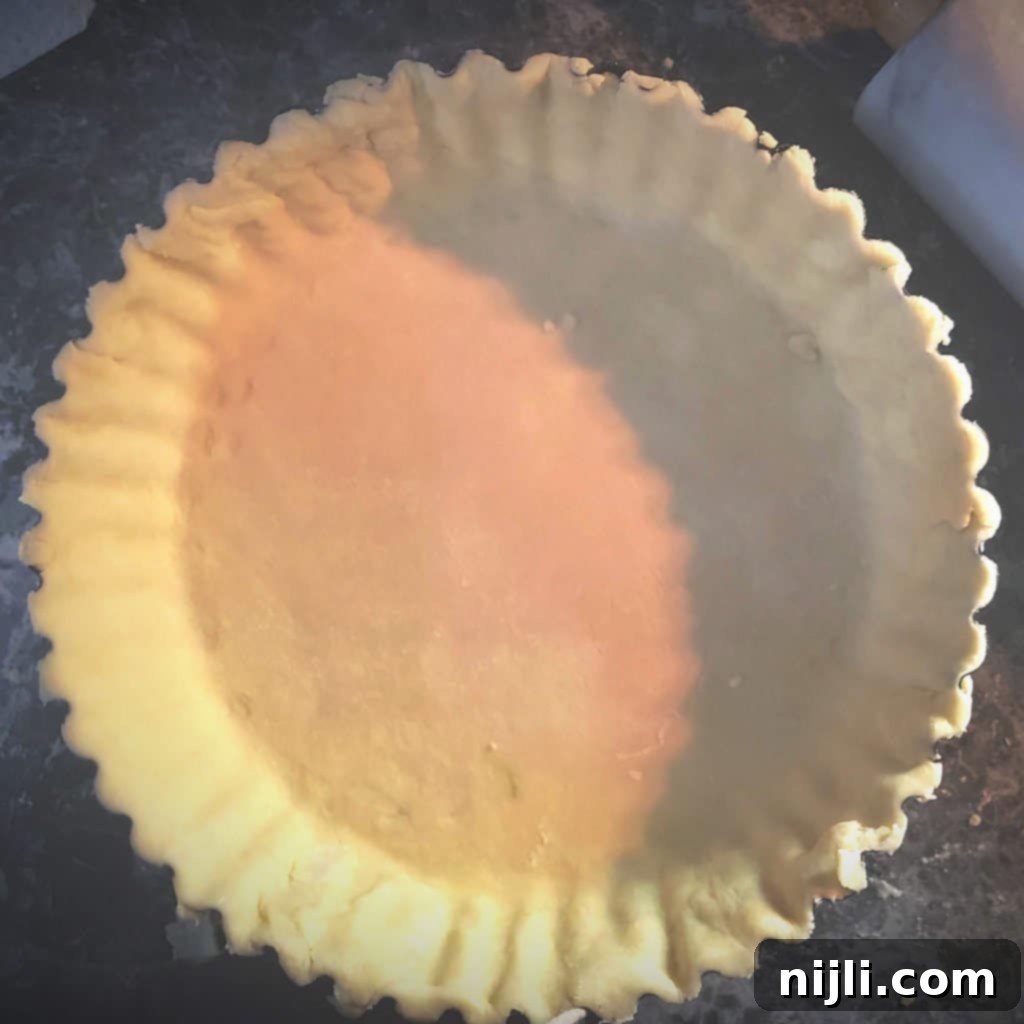
I crafted this quiche using my signature all-butter stand mixer pie crust recipe. It’s incredibly easy to make, yielding a consistently flaky and delicious result that truly elevates the quiche. However, a fantastic shortcut to simplify this recipe even further is to use a high-quality store-bought pie crust. I highly recommend choosing the roll-out type (found in the refrigerated section) over frozen ones that come in a disposable pan. This allows you to still achieve that rustic, homemade feel and easily fit it into your deep-dish quiche pan. Whichever you choose, ensure your pie crust is gently pressed into your quiche pan and ready to go before you begin preparing the filling components.
Tip: If using a store-bought crust, let it sit at room temperature for 10-15 minutes before unrolling to prevent cracking. For a homemade crust, ensure your butter is very cold to achieve maximum flakiness.
Step 2: Preheat Your Oven (and Master the Hot Baking Sheet Trick!)
There’s an ongoing debate in the baking world about whether or not to blind bake a quiche crust. While I’m generally a big proponent of blind baking for a crisp bottom, to save you precious time without compromising on quality, I highly recommend this brilliant tip from The Kitchn: Preheat your oven with a large, heavy-duty baking sheet inside. When it’s time to bake your quiche, carefully place the quiche pan directly onto that hot baking sheet.
The intense, direct heat from the preheated baking sheet provides an immediate blast of warmth to the bottom of your pie crust. This rapid heat counteracts the moisture from the egg custard filling, preventing the dreaded “soggy bottom” and ensuring you end up with a beautifully browned, wonderfully crisp bottom crust. This technique is a fantastic shortcut that delivers professional results without the extra step of blind baking. Just be sure to handle the hot baking sheet with oven mitts!
Step 3: Crispy, Flavorful Bacon
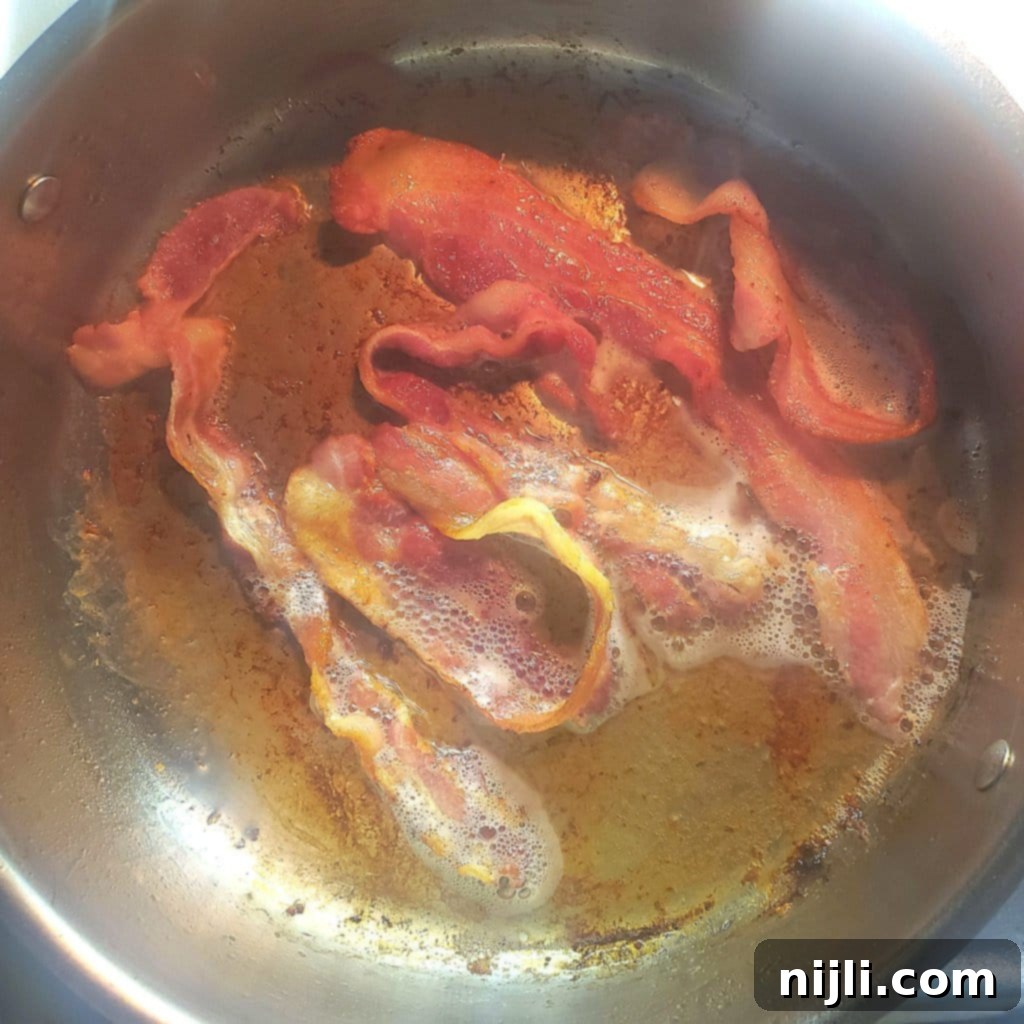
Ah, everyone’s favorite ingredient: bacon! For this quiche, you’ll need about 5 slices of thick-cut bacon, which typically amounts to around 6 ounces. You have a few options for cooking it. My preferred method is to fry it up on the stove in a large nonstick pan. This allows me to render out some of that delicious bacon grease, which I then use to sauté the vegetables – a little secret for extra flavor depth!
Cook the bacon until it’s perfectly crisp and golden brown. Once cooked, transfer the bacon to a paper towel-lined plate to drain off excess fat, then roughly chop it into small pieces. Set it aside, covered, while you prepare the rest of your filling. If you prefer, you can also bake the bacon in the oven or use another method you normally enjoy. Just make sure it’s nice and crispy!
Step 4: The Flavorful Veggie Filling
While your bacon is happily cooking, it’s the perfect time to chop your vegetables for the filling. This step might be the most time-consuming part of the recipe, but I promise, the fresh vegetables are truly the stars of this quiche. While the bacon and Gruyère add incredible richness, the sweet leeks, aromatic shallots, and vibrant asparagus are what elevate this dish to the next level of culinary delight.
Begin by cleaning your leeks thoroughly – dirt often hides between their layers. Slice them nice and thin, using only the white and light green parts. Finely dice your shallots; their delicate oniony flavor is perfect here. Finally, cut your fresh asparagus spears into manageable ½-inch pieces. This ensures they cook evenly and are well distributed throughout the quiche.
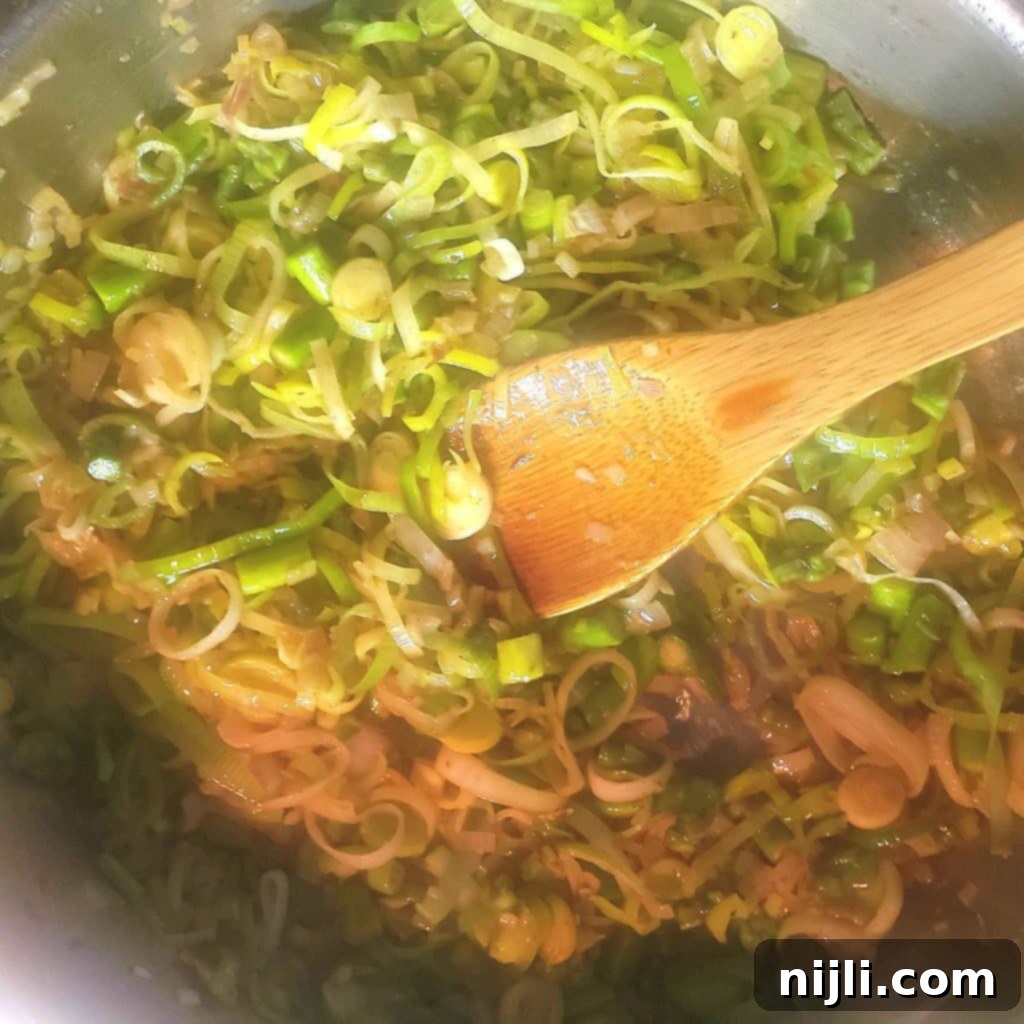
Once your crispy bacon is out of the pan, don’t discard that precious bacon grease! Add your chopped leeks, shallots, and asparagus to the pan with the reserved drippings. Sauté these vegetables over medium heat for about 3-5 minutes, or until the leeks are soft and translucent, and the asparagus pieces are slightly tender-crisp. You want them cooked enough to be tender but still retain a little bite.
After sautéing, combine the cooked vegetables with your chopped bacon pieces. Transfer this mixture to a colander to drain off any excess liquid and allow it to cool slightly. Draining is crucial to prevent your quiche from becoming watery. This flavorful medley forms the heart of your savory filling!
Step 5: Crafting the Silky Custard Mixture
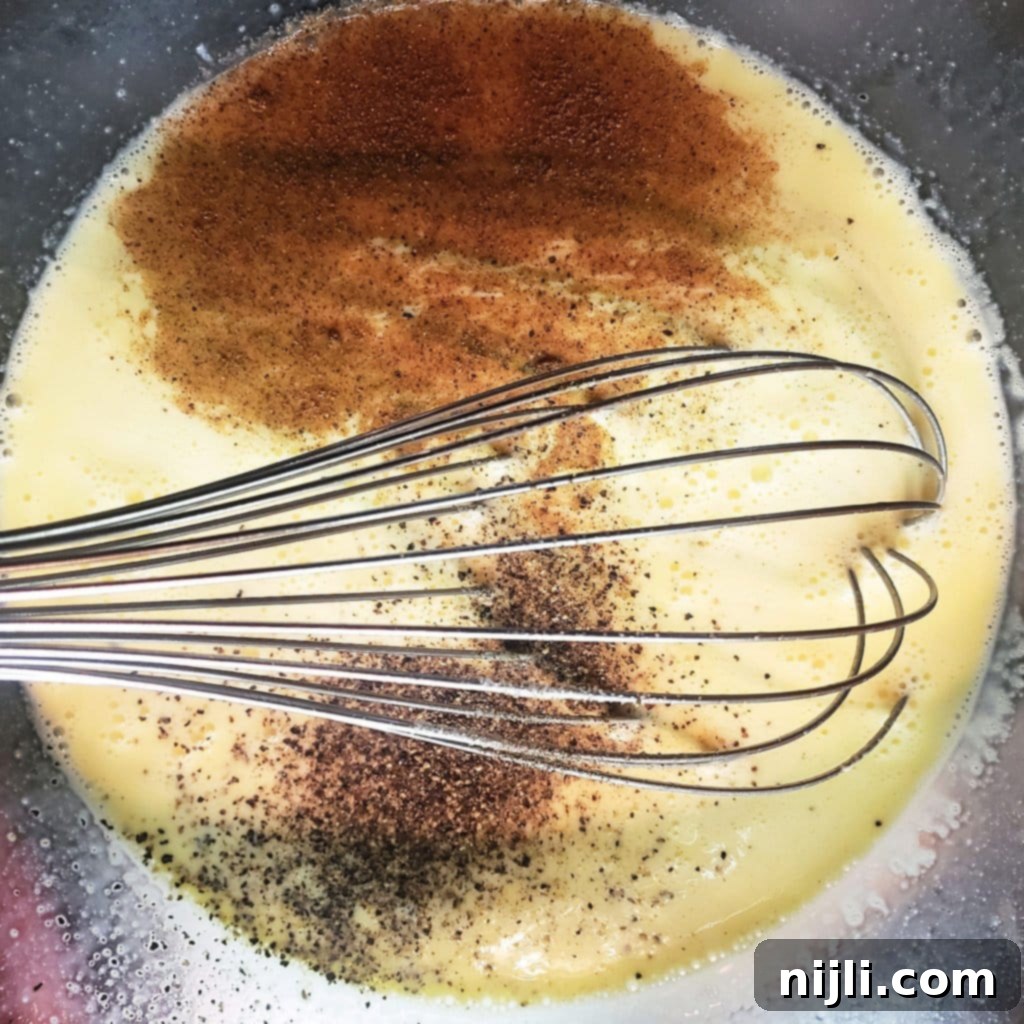
The custard is the heart and soul of any great quiche, providing that rich, creamy texture that binds all the flavors together. In a large bowl, vigorously whisk together your large eggs until they are completely smooth and uniform in color. This ensures a light and airy custard. Then, gradually whisk in the heavy cream and milk. The combination of both dairy products creates a perfect balance of richness and tenderness. Heavy cream provides that luxurious mouthfeel, while milk keeps it from being too dense.
Finally, season your custard with ground nutmeg – a classic quiche ingredient that adds a subtle warmth and aromatic complexity, along with salt and freshly ground black pepper. Whisk everything until it’s perfectly blended and silky smooth. Set this mixture aside while you prepare the final components. A well-whisked custard is key to preventing a dense or rubbery texture in your finished quiche, so take your time with this step!
Step 6: Choosing the Perfect Cheese – Gruyère and Beyond
Now for the cheese, an essential component that adds incredible flavor and creates that gooey, melty texture we all love in a quiche. My absolute go-to cheese for this bacon leek asparagus quiche is Gruyère. This Swiss cheese is renowned for its rich, nutty, and slightly sweet flavor profile that perfectly complements the savory bacon and the delicate sweetness of the sautéed leeks and asparagus. It also melts beautifully, creating a creamy, cohesive filling without becoming oily.
To maximize flavor and texture, I highly recommend shredding your Gruyère cheese fresh from the block. Pre-shredded cheeses often contain anti-caking agents that can affect how smoothly they melt. The effort of grating it yourself is truly worth it for the superior result.
However, the beauty of quiche lies in its adaptability! If Gruyère isn’t readily available or you prefer a different flavor, you can certainly substitute it with another semi-hard, flavorful cheese. Excellent alternatives include:
- Gouda: Offers a buttery, slightly sweet flavor that pairs well with bacon.
- Sharp Cheddar: Provides a robust, tangy punch that can stand up to the other ingredients.
- Monterey Jack: A milder option that melts exceptionally well, offering a creamy texture without overpowering the other flavors.
- Emmental: Similar to Gruyère with a nutty, fruity flavor, and excellent melting properties.
- Comte: Another French cheese with a rich, complex flavor that’s a fantastic substitute for Gruyère.
Feel free to experiment and customize your quiche to your personal preference! If you decide to swap out any of the cheeses, please let me know in the comments below how it works out – I’d love to hear your creative combinations! And if you’re a true cheese lover, you absolutely must try my creamy Cottage Cheese Alfredo!
Step 7: The Grand Assembly
The moment has arrived to bring all your perfectly prepared elements together! This is where your delicious homemade quiche truly begins to take shape. Start by gently pressing your pie crust into your deep dish quiche pan. If using a homemade crust, ensure it’s evenly distributed without stretching it too thin. Trim any excess overhang with a rolling pin or sharp knife, leaving a neat edge. The fluted edges of your pan will do most of the work for a beautiful finish.
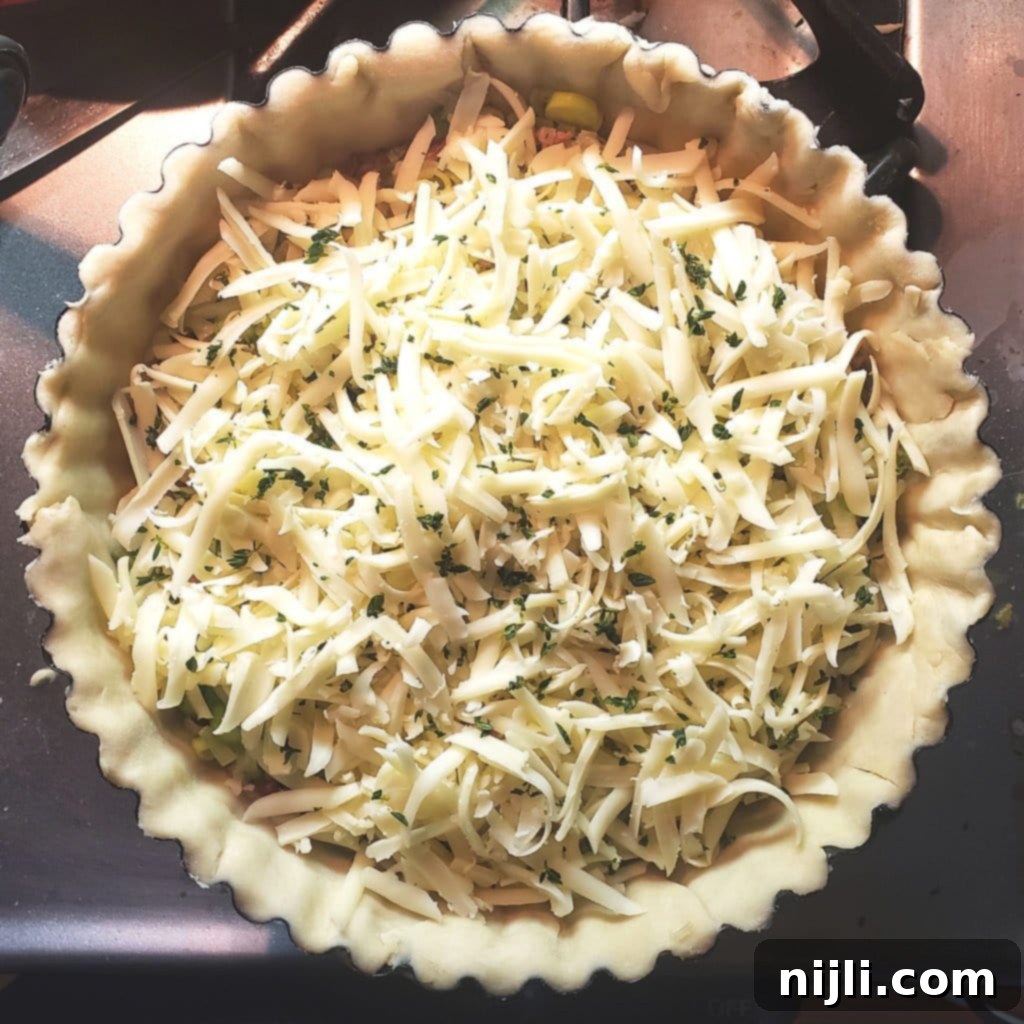
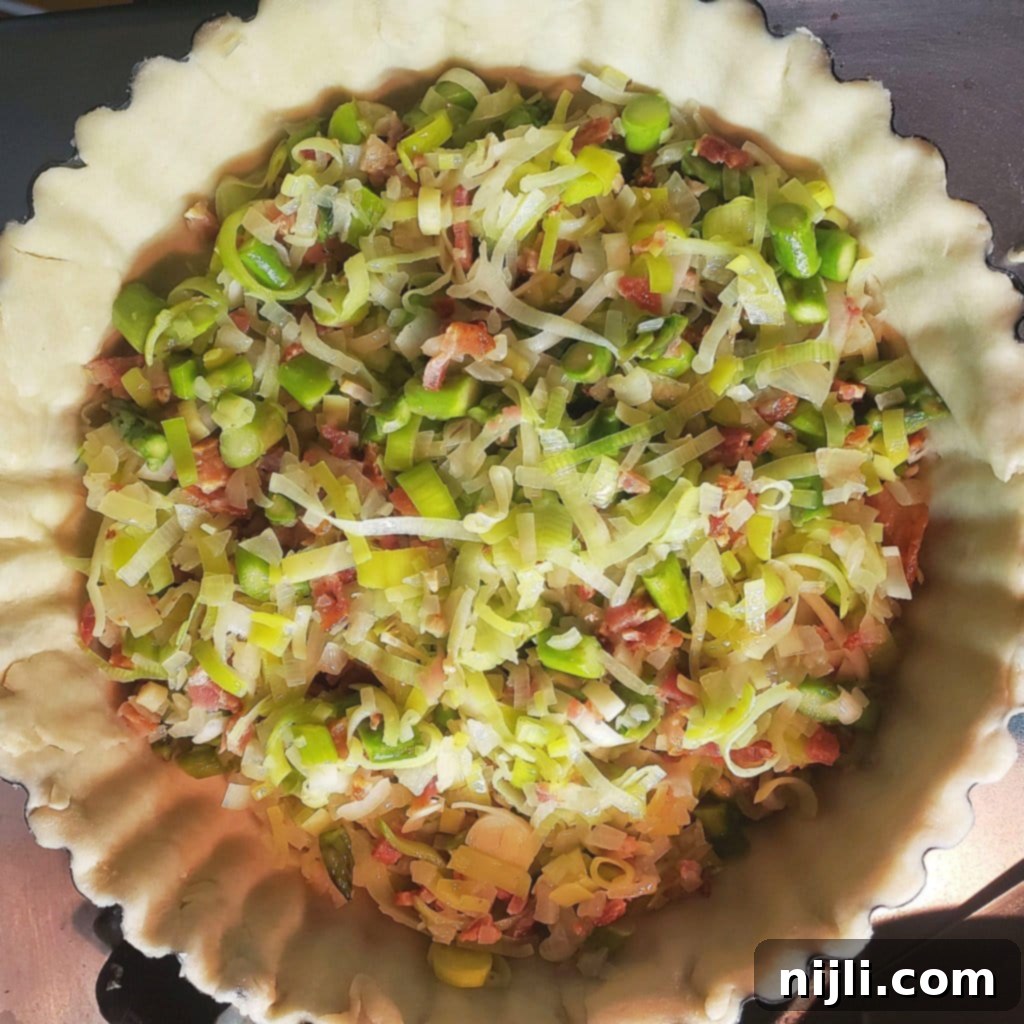
Next, spoon your cooled bacon and vegetable mixture evenly into the bottom of the crust. Spread it out so every slice of quiche gets a generous portion of those delicious fillings. Then, sprinkle the shredded Gruyère cheese over the vegetable mixture. Finally, scatter the fresh thyme leaves over the cheese – their earthy, aromatic notes add a wonderful fresh counterpoint to the rich ingredients.
Now, carefully pour the prepared custard mixture over everything. Be mindful not to overfill the crust; leave about a ½-inch gap from the egg mixture to the very top edge of the crust. This allows for expansion during baking and prevents spillage. Gently use a spatula or the back of a spoon to ensure the egg mixture seeps down and around all the bacon, vegetables, and cheese, ensuring an even distribution of the filling throughout the quiche. This step is crucial for a cohesive and flavorful slice.

Step 8: The Golden Bake!
Congratulations, you’re almost there! Your beautifully assembled bacon, leek, and asparagus quiche is now ready for its grand finale in the oven. That wasn’t so bad, was it? The preparation steps, while detailed, lead to this moment of anticipation for a truly spectacular result.
Before placing it in the oven, loosely tent the top of the quiche with aluminum foil. This prevents the crust edges from browning too quickly or the top of the custard from overcooking before the center is set. Now, carefully place the quiche on that hot baking sheet that has been preheating in your oven. Remember, this hot baking sheet is your secret weapon against a soggy bottom!
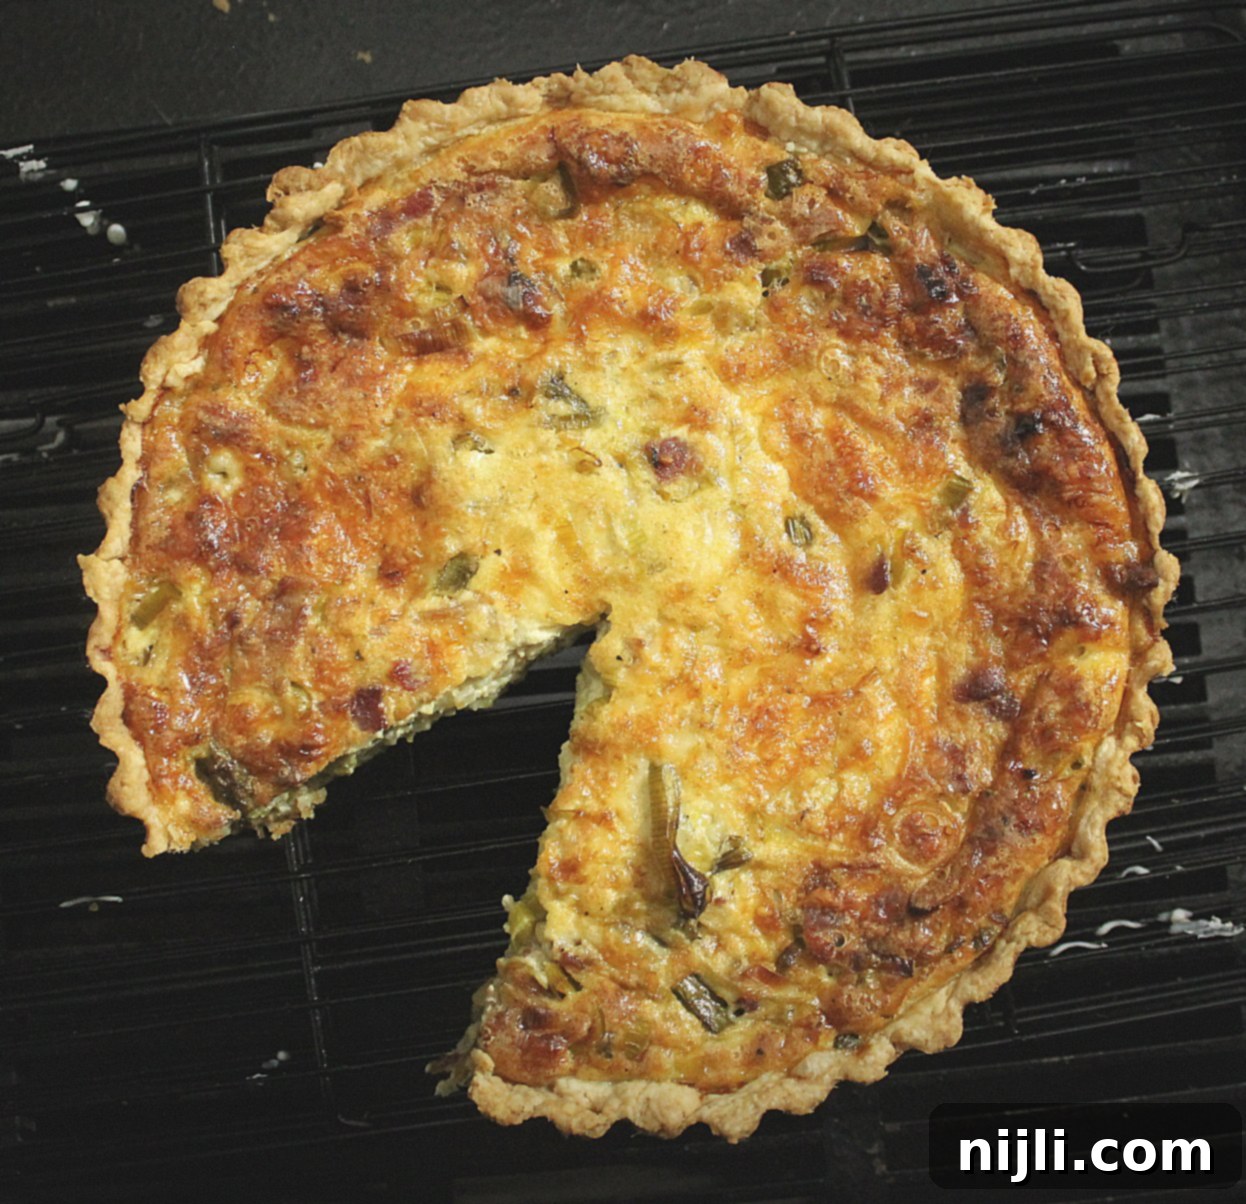
Bake the quiche for an initial 50 minutes. At this point, gently remove the foil. The quiche should be mostly set but still have a slight wobble in the center. Continue baking for an additional 15-25 minutes, or until the top is a beautiful deep golden brown and a knife or toothpick inserted into the center comes out clean. The exact baking time can vary depending on your oven, so keep an eye on it during the final stages.
If you notice the crust browning too quickly during the last phase, you can tent it lightly again or use pie shields to protect the edges. The goal is a perfectly golden, set custard with a flaky, well-baked crust. Once done, remove it from the oven, and the aroma filling your kitchen will be pure bliss!
Cooling, Slicing, and Serving Your Exquisite Quiche
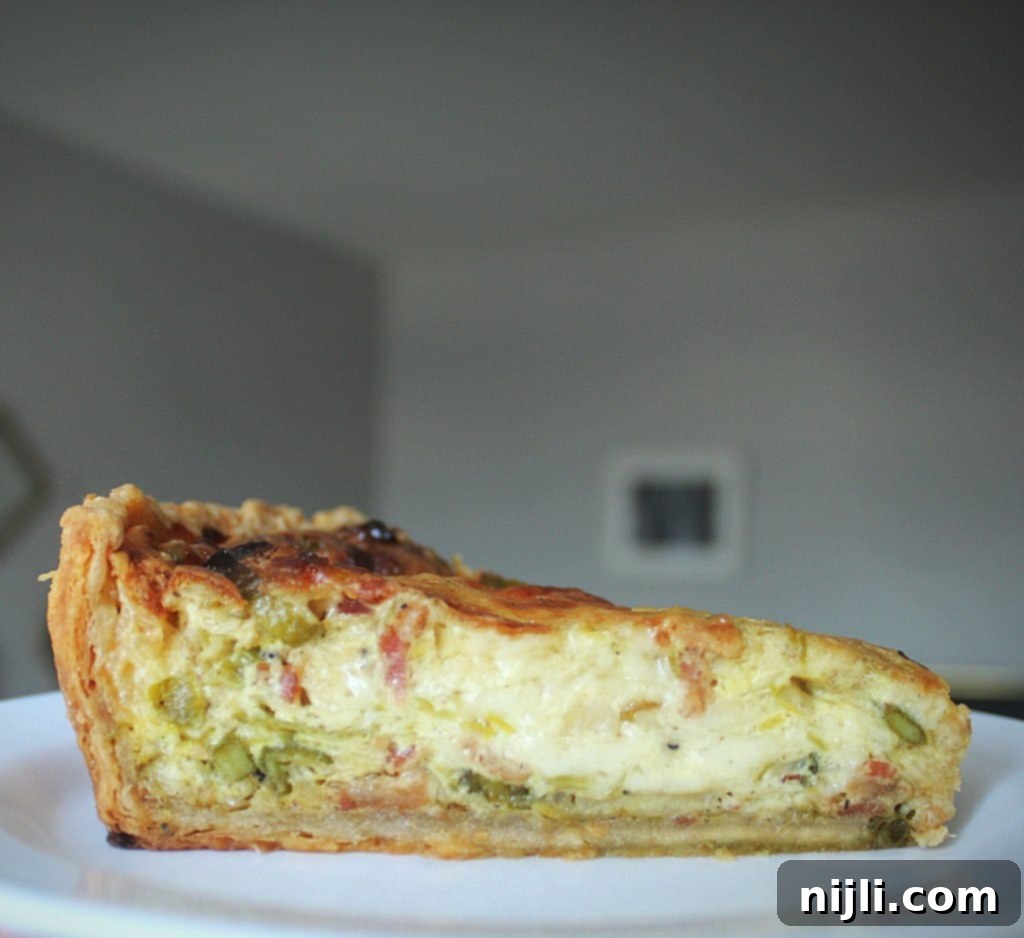
The journey to your perfect homemade quiche doesn’t end when it comes out of the oven; proper cooling is crucial for achieving that ideal set texture and clean slices. If you’ve never used a quiche pan with a removable bottom before, prepare to be absolutely amazed at how effortlessly you can remove the entire quiche from the pan!
Here’s the trick: Find a small bowl, an empty can, a sturdy jar, or anything that has a narrower circumference than the bottom of your quiche pan. Place the hot quiche pan on top of this elevated item. Then, gently push down on the fluted sides of the pan. The sides should easily separate and fall away, leaving the quiche (still on its removable bottom) perfectly balanced on your chosen stand. It’s a truly satisfying moment!
From this point, you have the option to carefully slide the quiche off its removable bottom onto a serving plate. However, I often prefer to leave the quiche on its bottom for both cooling and serving. This makes it incredibly easy to move the quiche around if needed, and also provides a stable base for slicing and presentation. The clean, crisp edges created by the fluted pan will be beautifully intact.
Crucially, resist the urge to slice into your quiche immediately! It needs time to set properly. Allow your quiche to cool for at least 30 to 45 minutes before attempting to slice it. This cooling period allows the custard to firm up, ensuring that each slice holds its shape perfectly and doesn’t collapse. Serve your magnificent quiche slightly warm or at room temperature – both are delicious. Pair it with a simple green salad for a light meal, or alongside fresh fruit for a complete brunch spread. Enjoy every savory bite!
Looking for another classic quiche? You’ll love this traditional quiche lorraine!
📖 Recipe
Leek and Asparagus Quiche with Bacon and Gruyère
Pin Recipe
Rate Recipe
Save RecipeSaved!
Equipment you may need
-
deep-dish tart pan
-
measuring cups and spoons
-
mixing bowls
-
nonstick sauté pan
-
cheese grater
-
heavy-duty aluminum foil
Ingredients
- 1 pie crust – store-bought or homemade (see note)
- 6 oz. thick-cut bacon – about 5 slices
- 2 cups leeks – thinly sliced
- 1 cup shallots – diced
- 1 cup asparagus – chopped
- 4 large eggs – beaten
- 1 cup heavy cream
- ½ cup milk
- ¼ tsp. ground nutmeg
- ½ tsp. salt
- ¼ tsp. pepper
- 6 oz. Gruyere cheese – shredded
- 1 teaspoon fresh thyme
Instructions
-
Line a deep dish tart pan with your chosen pie crust and carefully remove any overhang.
-
Preheat oven to 400° F (200° C). Place a large baking sheet on the oven rack while the oven heats up to create a hot surface for your quiche. (See note for blind baking option).
-
In a large nonstick pan, cook the thick-cut bacon until crispy. Dice the cooked bacon, reserving approximately 2 tablespoons of the bacon drippings in the pan. Remove and cover the diced bacon pieces.
-
Add the thinly sliced leeks, diced shallots, and chopped asparagus to the pan with the reserved bacon drippings. Cook over medium heat, stirring occasionally, until the leeks are soft and translucent, and the asparagus is slightly tender (about 3-5 minutes). Transfer the cooked vegetables to a colander to drain any excess liquid and allow them to cool slightly.
-
In a large bowl, beat the eggs until smooth and thoroughly combined. Then, whisk in the heavy cream, milk, ground nutmeg, salt, and pepper until the custard mixture is uniform and silky.
-
Stir the diced, crispy bacon into the cooled vegetable mixture.
-
Spoon the drained bacon/vegetable mixture evenly into the prepared pie crust. Top with the shredded Gruyère cheese, then sprinkle the fresh thyme evenly over the cheese layer.
-
Carefully pour the egg custard mixture over all the ingredients in the crust, being sure to leave about a ½-inch gap from the egg mixture to the top edge of the crust (to prevent overfilling). Use a spatula or fork to gently stir and ensure the egg mixture is fully incorporated and distributed well throughout the bacon, vegetables, and cheese.
-
Loosely tent the top of the quiche with aluminum foil. Carefully place the quiche into the oven on the preheated baking sheet. Bake for 50 minutes. After 50 minutes, remove the foil and continue baking for an additional 15-25 minutes, or until the top is deep golden brown and a knife or toothpick inserted into the center comes out clean.
-
Remove from oven and let cool for at least 30-45 minutes before slicing and serving. This is crucial for the quiche to set properly. Serve warm or at room temperature. Enjoy your delicious homemade quiche!
Notes
Quiche pan: I use this quiche pan with a removable bottom for this recipe. I strongly recommend using this one or a similar pan, as it makes removing the quiche and cooling it so much easier, and gives your quiche a beautiful, classic presentation!
Blind baking vs. hot baking sheet method: While the hot baking sheet method is a great time-saver for getting a crispy bottom crust, the most foolproof way to guarantee a perfectly crisp, non-soggy crust is to blind bake. If you prefer to blind bake, here’s how: Press the crust into your quiche pan and place it in the freezer for 30 minutes. Line the frozen crust with parchment paper and fill it with dried beans or pie weights. Bake at 350°F (175°C) for 10 minutes. Then, remove the pie weights and parchment paper and bake for another 10 minutes, or until lightly golden. Proceed with the recipe from there.
Make ahead: This recipe is incredibly make-ahead-friendly, making it perfect for entertaining or meal prep! You can:
- Prepare filling ahead: Store the cooked and drained bacon and vegetable mixture in an airtight container in the fridge overnight. Prepare your pie crust (either blind-baked or just pressed into the pan) and cover it on the countertop. The next morning, simply assemble and bake as directed.
- Bake and refrigerate: Bake the quiche as instructed, let it cool completely, then wrap it well in plastic wrap and store it in the fridge for up to three days. Reheat in a 350°F (175°C) oven for about 20-30 minutes, or until warmed through. (This is my personal favorite option for convenience!)
- Freeze unbaked quiche: Assemble the quiche in its pan, but do not bake. Freeze until solid (a few hours). Once solid, remove from the pan, wrap tightly in plastic wrap, then in heavy-duty aluminum foil, and freeze for up to one month. To bake from frozen, unwrap and place the frozen quiche back into the tart pan. Bake at 400°F (200°C), loosely tented with foil, for approximately 75-95 minutes, or until golden and set. You may need to remove the foil for the last 20-30 minutes.
- Freeze baked quiche: Bake and cool the quiche completely. Wrap it tightly in plastic wrap, then in heavy-duty foil. Freeze for up to 3 months. To reheat, remove all wrapping and bake from frozen at 350°F (175°C) for about 30-40 minutes, or until heated through.
Nutrition Disclaimer
PIN this breakfast quiche recipe for later!


