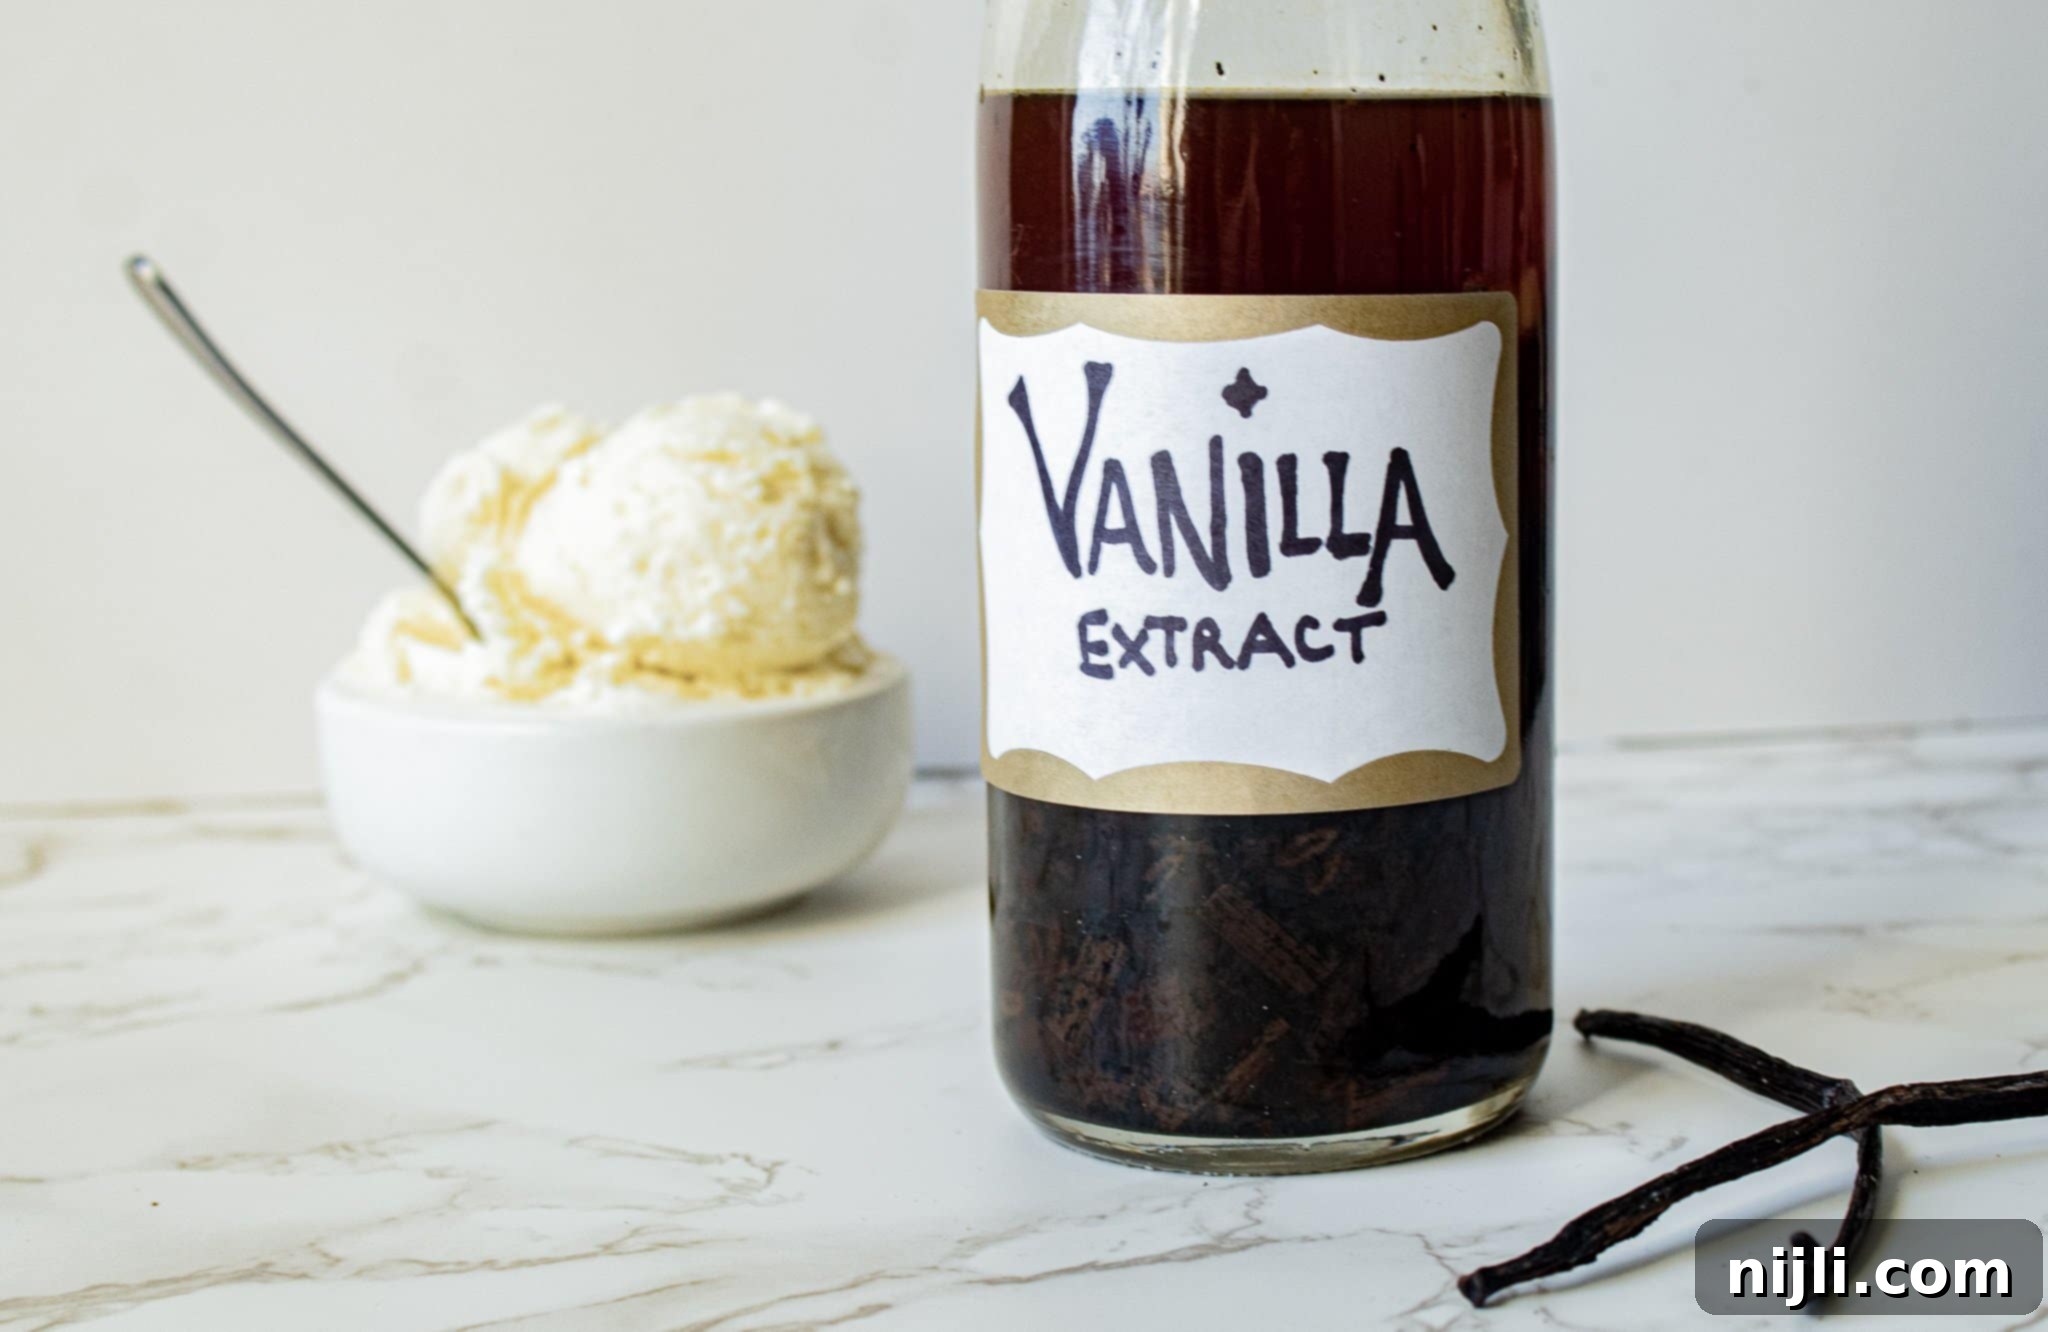
Crafting the Best Homemade Vanilla Extract: A Simple DIY Guide for Bakers
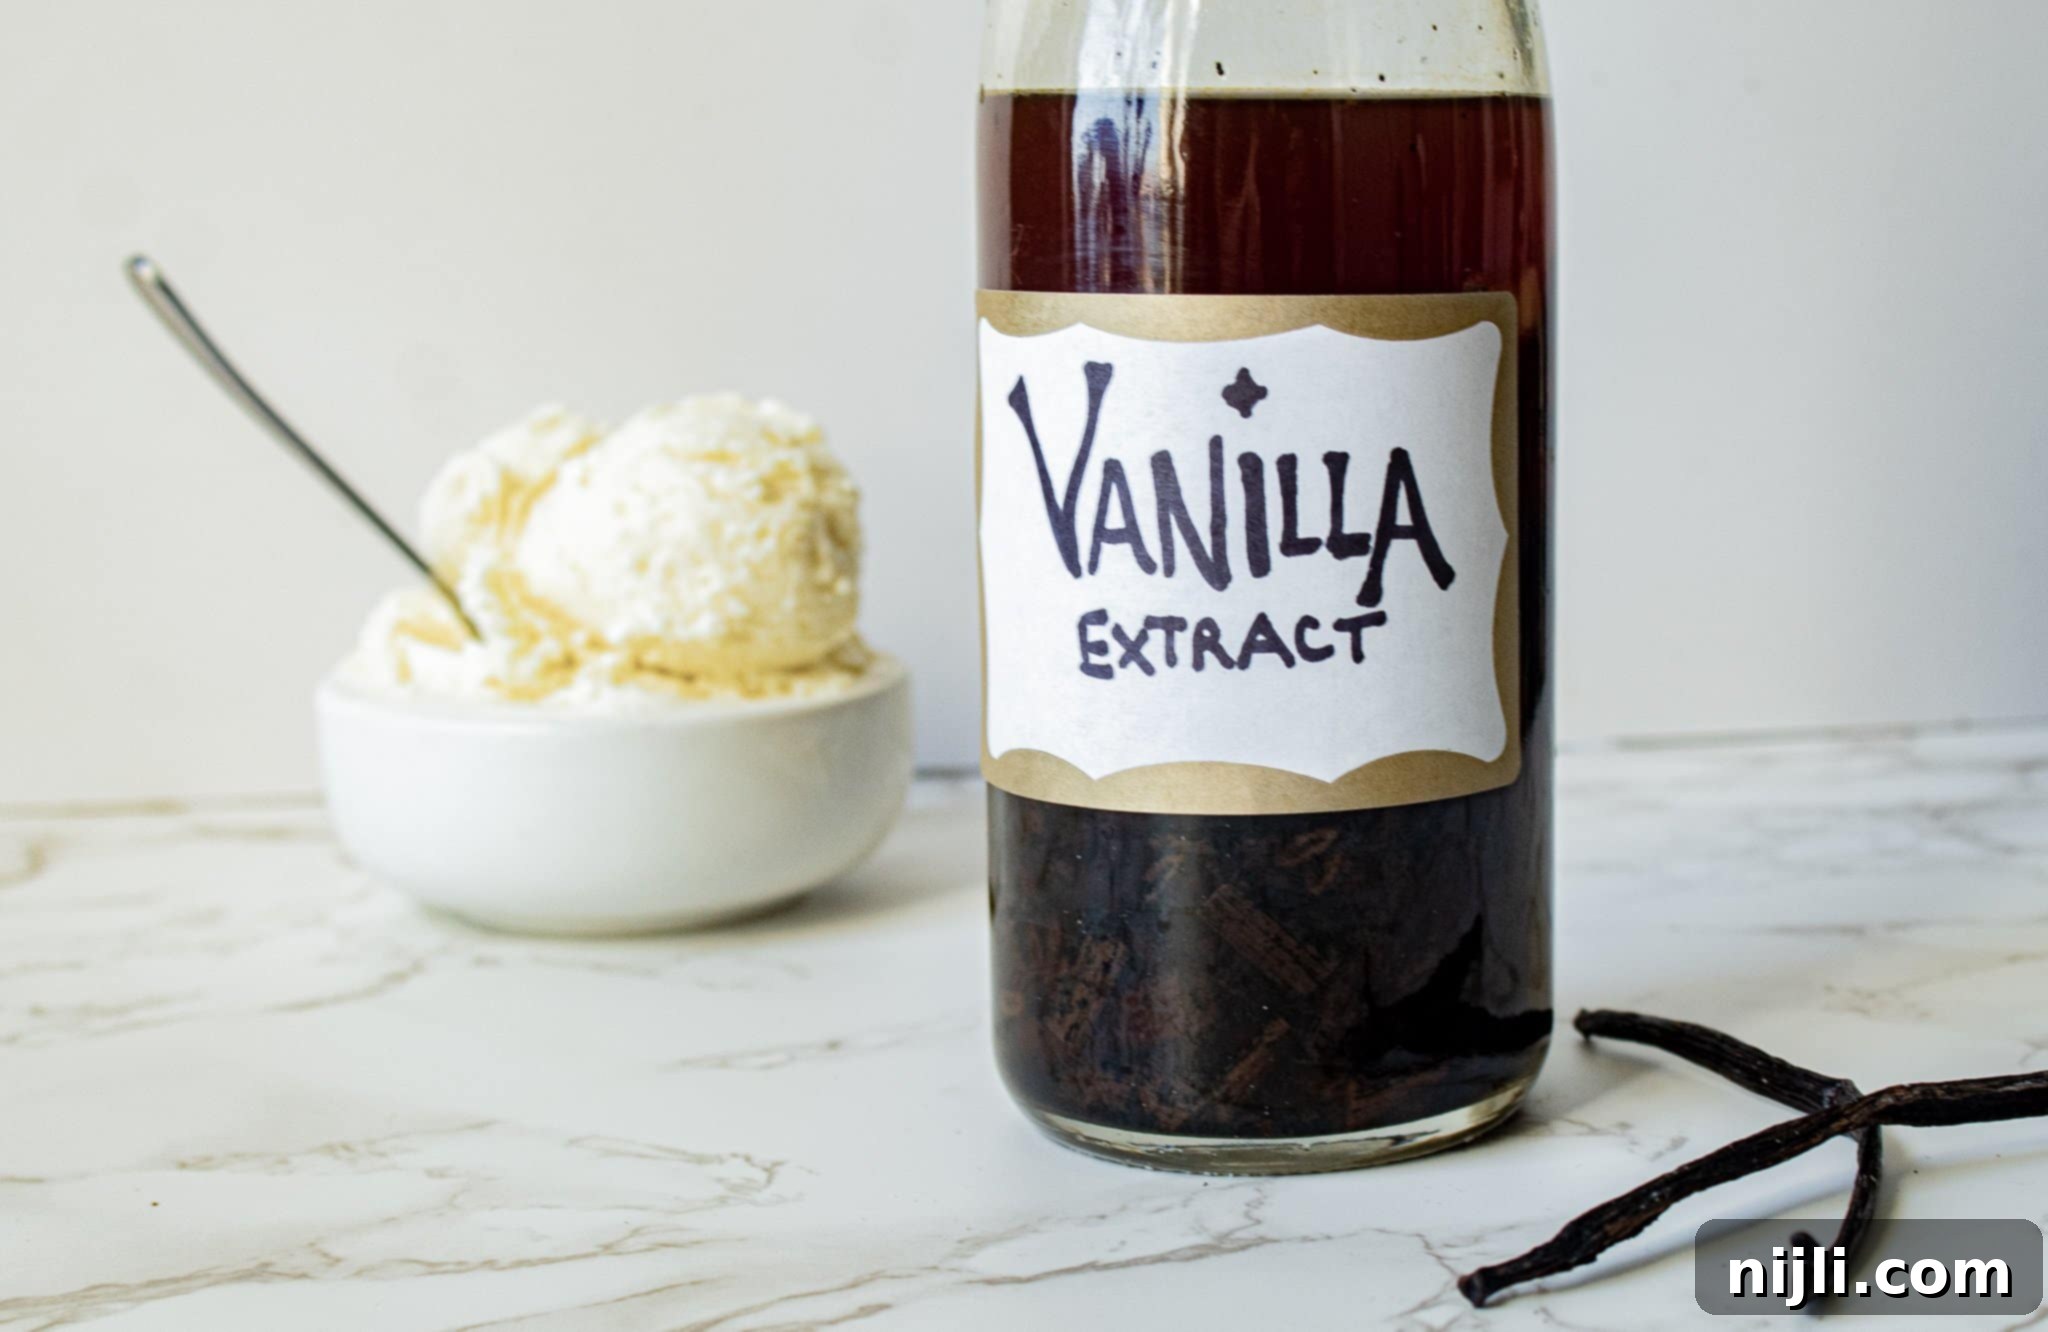
Are you ready to unlock a true kitchen secret that will revolutionize your baking? Learning how to make vanilla extract at home is an incredibly rewarding endeavor, offering a superior flavor profile that simply can’t be matched by most store-bought alternatives. If you’ve been searching for a straightforward, foolproof recipe for homemade vanilla extract, your quest ends here! This comprehensive guide will walk you through the super simple process of creating your own pure vanilla extract using your favorite vanilla beans, transforming ordinary baked goods into extraordinary culinary delights.
*This post contains affiliate links — as an Amazon Associate I earn from qualifying purchases. Please see my disclosure for details*.
Once you’ve mastered this essential technique for making pure vanilla extract, you’ll want to incorporate its exquisite flavor into all your favorite treats. Try it in my Pineapple Upside Down Cake, my Peach Cherry Galette, or my Passionfruit Tart recipe for an unforgettable taste experience!
[feast_advanced_jump_to]
Is Making Your Own Vanilla Extract Truly Worth It? Absolutely!
This article has been a long time in the making, and I’m thrilled to finally share this invaluable kitchen secret with you: how to make vanilla extract yourself at home. For any avid baker, homemade vanilla extract isn’t just a luxury; it’s a game-changer. The difference it makes in your baked goods and other sweet creations is profound. It imparts a depth of flavor and a rich aroma that simply cannot be replicated by commercial extracts. In short, if you have a passion for baking, you should absolutely, unequivocally be making your own vanilla extract!
Beyond the undeniable flavor enhancement, there are several compelling reasons why investing a little time into crafting your own vanilla extract is incredibly worthwhile. Firstly, you control the quality of ingredients, ensuring no artificial flavors, colors, or unnecessary additives are present. Secondly, it’s surprisingly cost-effective in the long run. While the initial investment in vanilla beans might seem a bit higher, the longevity of homemade extract and its ability to be “replenished” means you save significant money over time compared to continuously buying small, expensive bottles from the store. Lastly, there’s immense satisfaction in using an ingredient you’ve prepared yourself, knowing it’s infused with your care and patience.
The Simple Process of Crafting Homemade Vanilla Extract
When you first consider how to make vanilla flavoring from scratch, you might envision a complex, time-consuming, and expensive process. However, I’m here to tell you that reality is quite the opposite! Making your own pure vanilla extract is surprisingly quick to initiate, incredibly simple, and will ultimately save you a substantial amount of money. The hands-on time is minimal, requiring only a few minutes of preparation.
But for me, the primary motivation for making my own pure vanilla extract is, without a doubt, the taste. Commercial vanilla extracts, even the high-quality ones, often fall short when compared to the deep, rich, nuanced vanilla flavor that this homemade vanilla extract recipe will provide. While it does require patience for the flavor to fully develop – a process that can take several months – the longer your extract sits, the more intense and complex the vanilla flavor becomes. This aging process allows the vanilla notes to deepen and truly shine.
Given the time needed for optimal flavor development, this is definitely a recipe you’ll want to start well in advance of when you plan to use it. I highly recommend beginning the process in the spring. This way, you’ll have an abundance of delicious, perfectly aged vanilla extract ready for the busy fall baking season and for thoughtful holiday gift-giving. Planning ahead ensures you’re never without this indispensable ingredient!
Essential Ingredients: What You’ll Need for Perfect Homemade Vanilla Extract
Before we dive into the step-by-step instructions on how to make vanilla extract, let’s gather our minimal yet crucial ingredients. You’ll be delighted to know that it only takes two primary components, plus suitable containers!
- Whole Vanilla Beans: The foundation of your homemade extract! You’ll need Grade B vanilla bean pods, often referred to as “extract beans.” While you might also see Grade A vanilla beans (like gourmet Madagascar vanilla beans or Tahitian vanilla beans), these are typically more expensive and contain higher moisture content, making them ideal for scraping out the seeds to add directly to recipes where the visual flecks and immediate intense flavor are desired. Grade B beans, on the other hand, have less moisture and can be somewhat brittle, which isn’t ideal for cooking directly but makes them absolutely perfect for extract. Their concentrated flavor is slowly drawn out by the alcohol over time, yielding a robust and aromatic pure vanilla extract. Consider exploring different origins for varied flavor profiles:
- Madagascar (Bourbon) Vanilla Beans: The most common and popular, offering a classic, creamy, rich, and sweet vanilla flavor.
- Tahitian Vanilla Beans: Known for their floral, fruity, and cherry-like notes.
- Mexican Vanilla Beans: Often described as having a bold, smoky, and spicy vanilla flavor.
- Vodka or Bourbon (or Rum!): This is the critical component that literally extracts the vanilla flavor from the pods.
- Vodka: A fantastic choice for making pure vanilla extract because of its neutral flavor. It allows the natural vanilla notes to truly shine without any interference. If you can find 100-proof vodka, it will work even better as the higher alcohol content is more efficient at extraction, though 80-proof is perfectly adequate.
- Bourbon: My personal favorite method for making vanilla extract! Bourbon introduces a subtle, warm, and caramel-like undertone that enhances the vanilla flavor beautifully, adding a delicious depth that truly shines through in everything you bake.
- Rum: Another excellent alternative, especially dark rum, which can lend a rich, molasses-like sweetness that pairs wonderfully with vanilla, creating a unique and delicious extract.
Regardless of your choice, ensure the alcohol is at least 80-proof (40% alcohol by volume); 100-proof is even better for optimal extraction. Always check labels if you’re aiming to make your vanilla extract gluten-free, as some alcohols can contain gluten.
- Glass Bottles or Jars: To properly store your DIY vanilla extract, I highly recommend using sturdy glass bottles or jars.
- For an 8-ounce batch, these 8-ounce swing-top bottles are ideal. They not only look aesthetically pleasing, making them perfect for gifting, but also seal tightly to prevent evaporation and preserve the extract’s potency.
- You can also divide a larger batch into two 4-ounce bottles for thoughtful culinary gifts, or double your recipe and make a substantial batch in one 16-ounce bottle.
- Ensure your bottles are clean and sanitized before use to prevent any contaminants from affecting your extract.
Step-by-Step Guide: How to Make Pure Vanilla Extract from Scratch
Making your own pure vanilla extract is incredibly simple and requires minimal effort for a truly superior product. Follow these easy steps to get started:
- Gather Your Ingredients & Equipment: Begin by collecting your chosen alcohol (vodka, bourbon, or rum) and your Grade B vanilla bean pods. Remember, 100-proof alcohol works best for extraction, and bourbon or rum will add a wonderful depth of flavor. If you’re concerned about dietary restrictions, particularly gluten, always double-check the labels on your alcohol bottles. You’ll also need your clean glass bottles or jars.
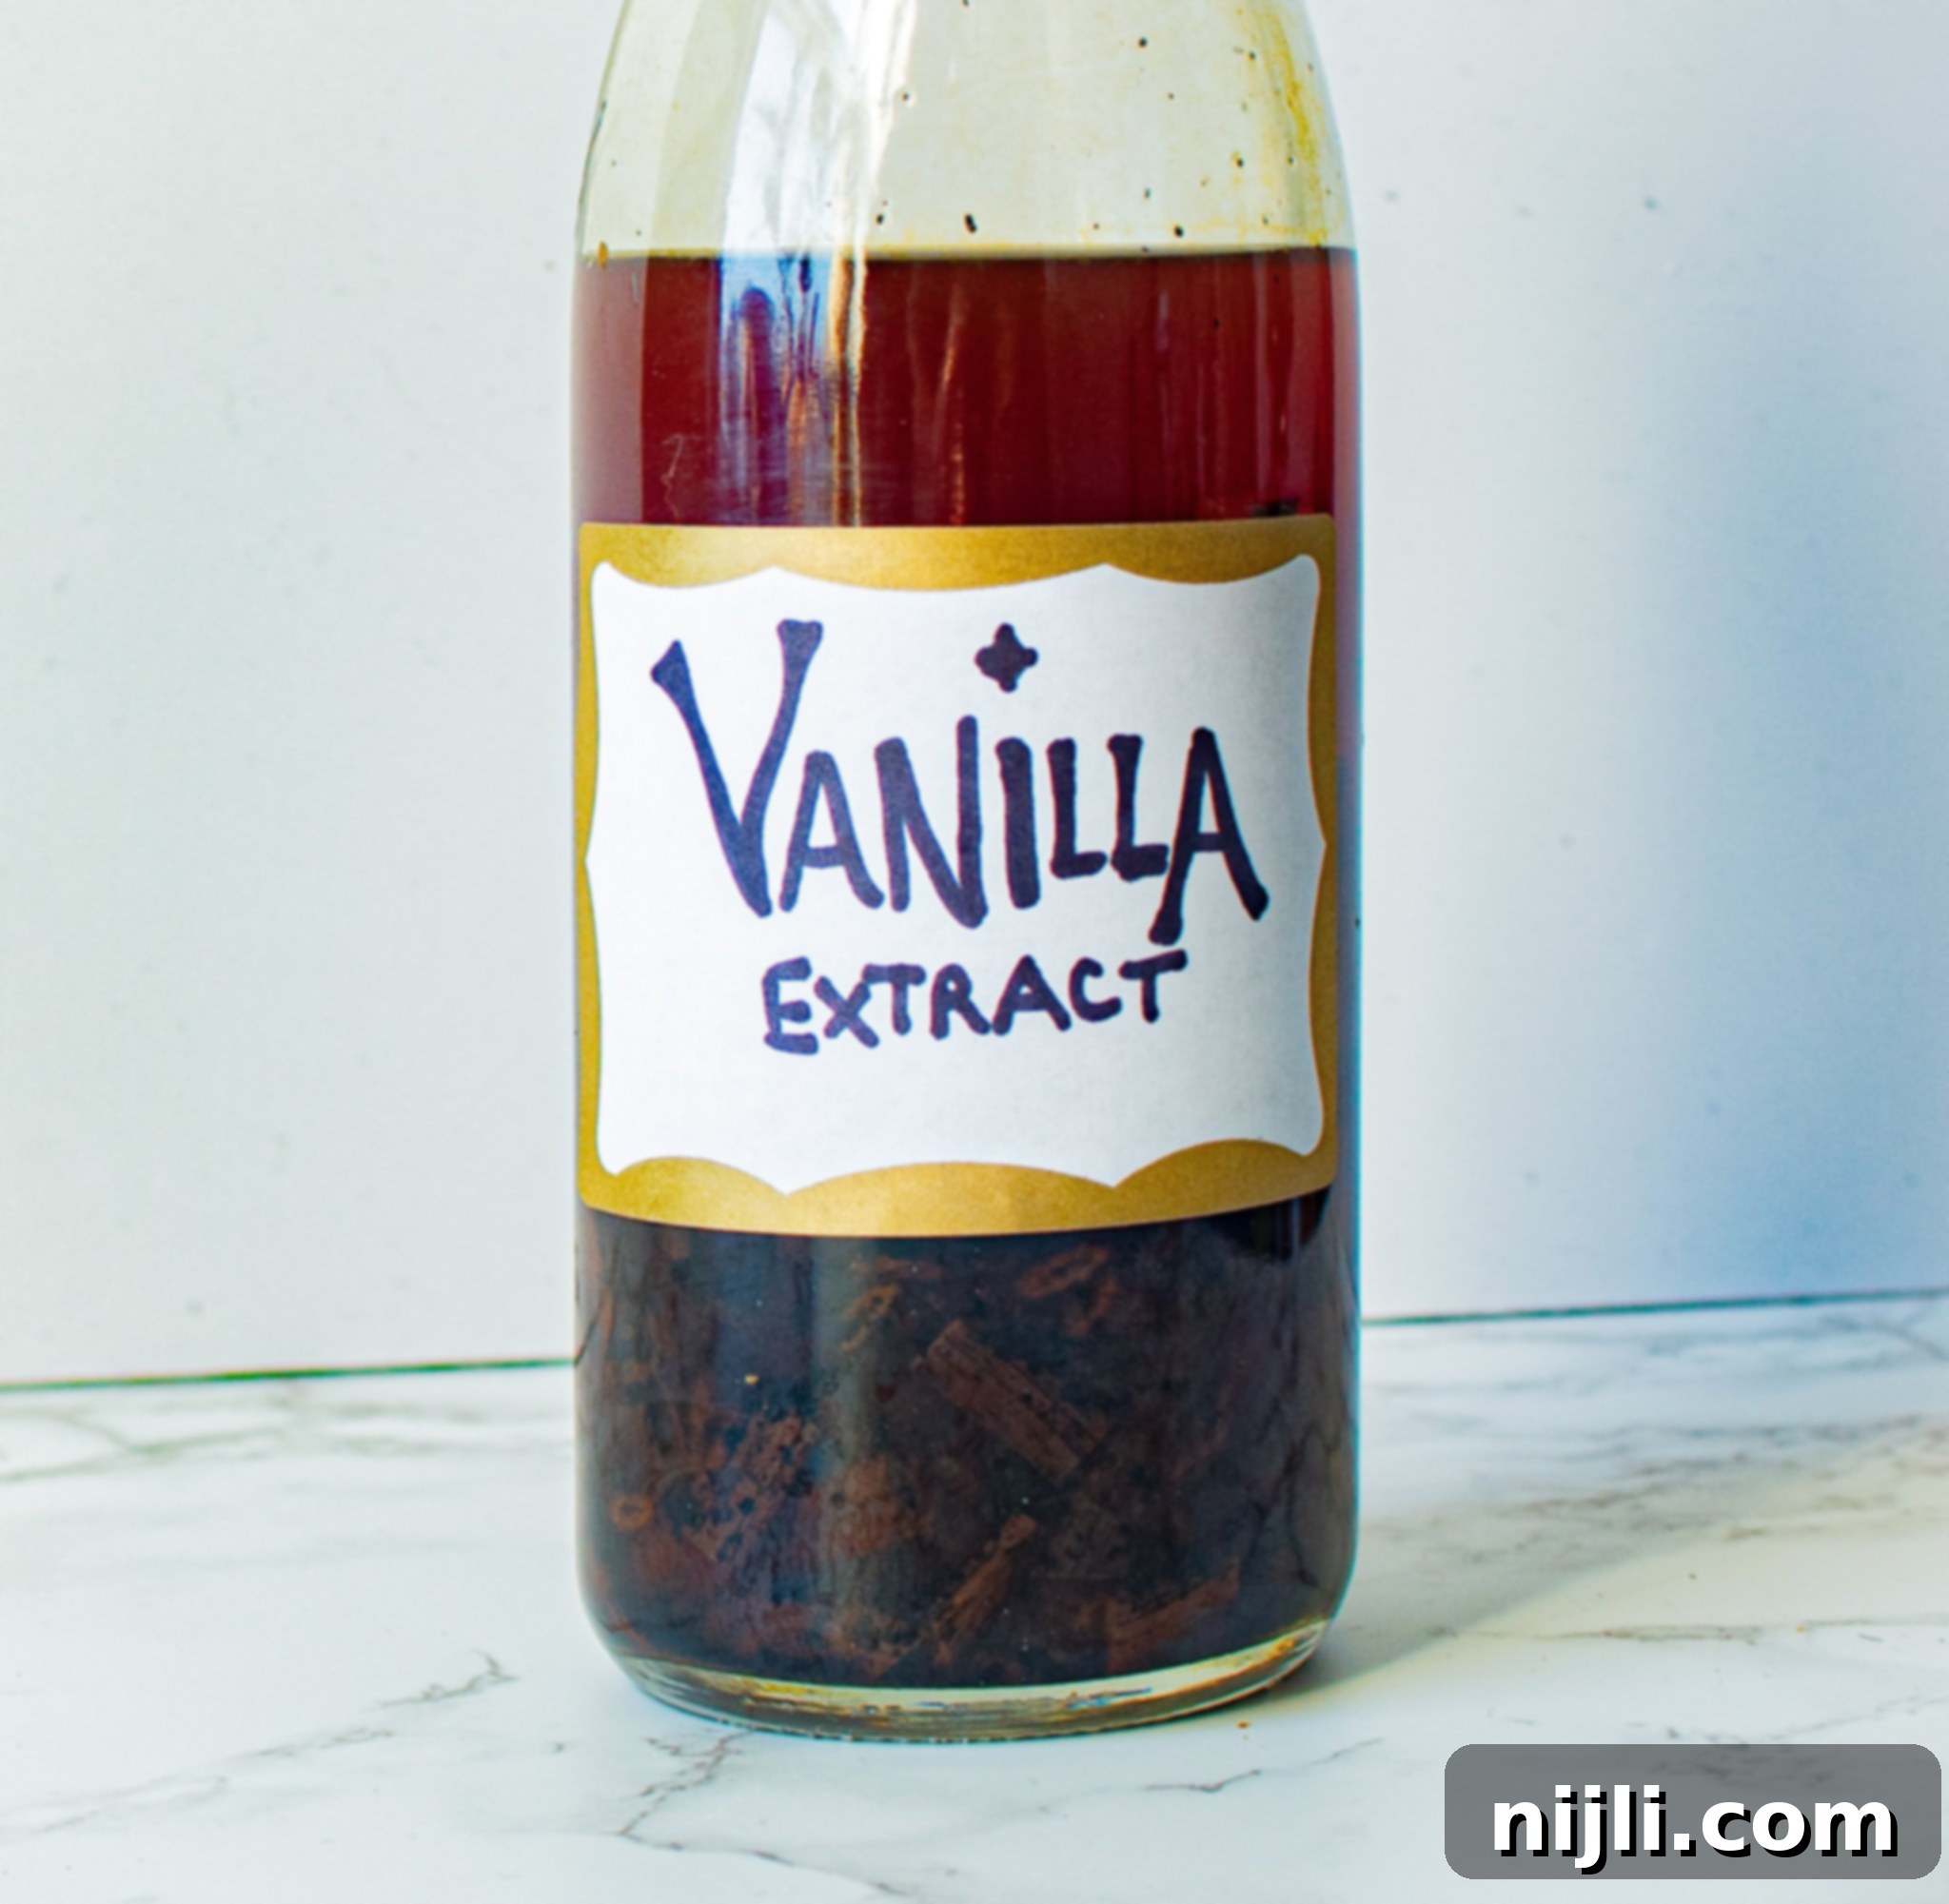
- Prepare the Vanilla Beans: Carefully take each vanilla bean pod and slit it lengthwise down the middle. This crucial step exposes the tiny vanilla beans inside, allowing the alcohol to penetrate deeply and extract maximum flavor. For longer beans, I also recommend cutting the pods in half across their width. This ensures that the entire bean remains fully submerged in the alcohol once it’s in the bottle, preventing any part from drying out and maximizing flavor extraction.
- Add Beans to Bottles: Place the prepared vanilla bean pods into your chosen glass bottles. For an 8-ounce batch of extract, an 8-oz swing-top glass bottle is perfect. If you plan to make smaller gift bottles, use two 4-ounce bottles. For a larger supply, a 16-ounce bottle is suitable for a double batch. Ensure the beans are distributed evenly.
- Fill with Alcohol & Seal: Carefully fill the bottle(s) with your chosen vodka, bourbon, or rum, making sure the vanilla beans are completely covered. Then, securely seal the top of each bottle. This airtight seal is vital to prevent evaporation and maintain the alcohol content.
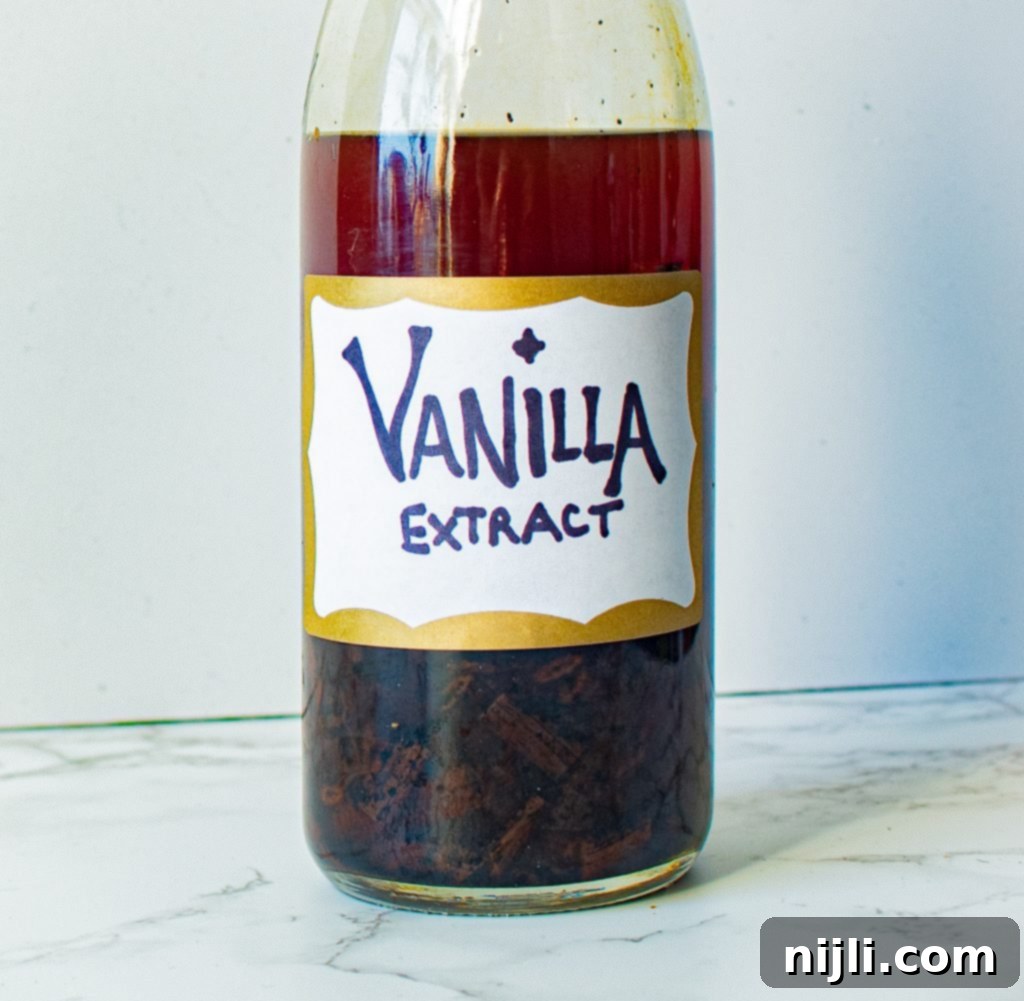
- The Waiting Game (Infusion Period): Now comes the easiest, yet most important, part: patience! Store your bottle(s) of vanilla extract at room temperature in a cool, dark place, away from direct sunlight. Sunlight can degrade the vanilla compounds and slow down the extraction process. To help release the flavors more effectively, give the bottle a good shake periodically – once or twice a week is ideal. Your homemade vanilla extract will begin to be ready for use in about 3-6 months, but remember, the flavor will continue to intensify and deepen the longer it sits. Many connoisseurs wait 8-12 months for truly exceptional flavor.
- Usage and Replenishment: Once your vanilla extract has reached your desired potency, use it just as you would any store-bought vanilla extract in your recipes. Before each use, always give the bottle a good shake to redistribute the vanilla solids and ensure an even flavor. A fantastic benefit of homemade extract is its sustainability: you can add more alcohol from time to time as you use the vanilla, essentially “topping off” the bottle. This allows the same beans to continue extracting flavor, making more extract! After about a year of continuous use and replenishment, you’ll notice the flavor potency of the beans diminishing. At this point, replace them with fresh vanilla beans to keep your delicious, pure vanilla extract going indefinitely!
Tips, Tricks & Frequently Asked Questions (F.A.Q.) About Homemade Vanilla Extract
Here are some additional tips and answers to common questions about making your own vanilla extract, ensuring your success and maximizing flavor!
Vanilla is arguably one of the most essential and versatile flavors in baking, often serving as the silent hero that enhances and rounds out other ingredients. It adds a warm, inviting, and sweet aromatic note to virtually all your favorite treats, from rich chocolate desserts and flaky fruit pies to fluffy cakes and chewy cookies. Even in recipes where it might seem like a background flavor, its absence is profoundly noticeable. It provides a foundational sweetness and complexity that elevates the entire dish. My favorite desserts, however, are those where vanilla gets to be the undisputed star of the show, such as in my mini vanilla cake or my Sugar Cookies with Sprinkles.
While vodka is an easy and simple choice for making homemade vanilla bean extract due to its neutral flavor profile, which allows the vanilla’s true essence to shine, you have other excellent options. Bourbon is a fantastic alternative, imparting subtle caramel and oak notes that beautifully complement the vanilla, adding a deeper, richer dimension to your extract. Dark rum also works wonderfully, lending a delightful sweetness and complex undertones. Regardless of your preference, it’s crucial to use alcohol that is at least 80-proof (40% alcohol by volume). For even more efficient extraction, 100-proof alcohol is highly recommended. Always double-check the labels on your chosen bottles to ensure your vanilla extract will be gluten-free if that’s a dietary concern.
Yes, it absolutely is! This is one of the most compelling reasons to learn how to make vanilla essence at home. Let’s break down the economics: Using approximately 8 ounces of an inexpensive, yet suitable, vodka or bourbon, along with a good quality pack of Grade B vanilla beans, and one of these elegant 8-ounce bottles, you can craft 8 ounces of the most delicious, rich vanilla extract imaginable for under $16. Now, compare that to a typical store-bought pure vanilla extract, which can easily cost $20 for only FOUR ounces! This means your exquisite homemade vanilla extract will be less than half the price for double the quantity! Furthermore, making your own skips all the questionable additives, corn syrup, artificial flavors, and often plain water that are commonly added to commercial vanilla extracts to dilute them and inflate the price. The superior quality and immense cost savings make it unequivocally worth the small effort and patience.
One of the most wonderful aspects of making your own vanilla extract is the reusability of the vanilla beans! I typically continue to use the same beans and simply add more alcohol to “top off” the bottle as I use the extract. This process, often referred to as “continuous extraction,” can last for about a year. You’ll notice the vanilla flavor starting to diminish in potency after this period. Once that happens, it’s time to replace them with fresh, new beans. You can then continue the cycle, ensuring you always have a fresh supply of rich, homemade vanilla on hand!
If your homemade vanilla extract tastes predominantly like alcohol, it most likely isn’t fully ready yet. Homemade vanilla extracts naturally have a higher alcohol content compared to many store-bought varieties, which are often diluted with water, sugars, and various vanilla bean extractives. When you first taste your freshly started homemade extract, you’re experiencing more of the raw alcohol base. This is precisely why patience is paramount! It’s essential to allow your homemade vanilla to sit and extract that complex vanilla flavor from the beans for at least 3 to 6 months. During this extended infusion period, the rich vanilla flavor will gradually develop, deepen, and significantly mellow out the harsh alcohol taste. Rest assured, any residual alcohol flavor will largely evaporate during the baking process, leaving behind only the exquisite vanilla essence.
The good news is that homemade vanilla extract has an incredibly long shelf life, thanks to its alcohol base. As long as your vanilla beans remain fully submerged in the alcohol, preventing mold growth, your homemade vanilla should stay fresh, potent, and delicious for up to 3 years, and often much longer. However, if you’re an enthusiastic baker like me, constantly using and replenishing the alcohol and eventually replacing the beans, your batch will likely be fully utilized and replaced within a single year!
Technically, vanilla extract with an alcohol base (like this vanilla bean extract recipe) boasts an unlimited shelf life due to the preserving properties of alcohol. However, while it won’t spoil, the complex flavor compounds do begin to deteriorate and mellow over many years. After a couple of years, you might notice a slight reduction in its vibrant flavor. For optimal results, I personally aim to use my homemade extract within a year or two to enjoy its peak potency. If you’re baking as much as I do, rest assured, it won’t be sitting around nearly that long!
Absolutely! Blending different varieties of vanilla beans (e.g., Madagascar, Tahitian, Mexican) can create a unique and complex flavor profile that’s truly your own. Experiment with combinations to discover your signature blend, adding an even more personalized touch to your homemade vanilla extract.
A good rule of thumb for standard single-fold vanilla extract is to use about 1 ounce of vanilla beans (roughly 5-6 Grade B beans) per 8 ounces of 80-proof alcohol. If you’re using 100-proof alcohol or prefer a stronger, double-fold extract, you might increase this ratio slightly to 7-8 beans per 8 ounces.
Delicious Recipes to Showcase Your Homemade Vanilla Extract
Now that you possess the secret to making superior vanilla extract at home, it’s time to put that exquisite flavor to work! Here are some fantastic recipes where your homemade vanilla will truly shine and elevate the final product to new heights.
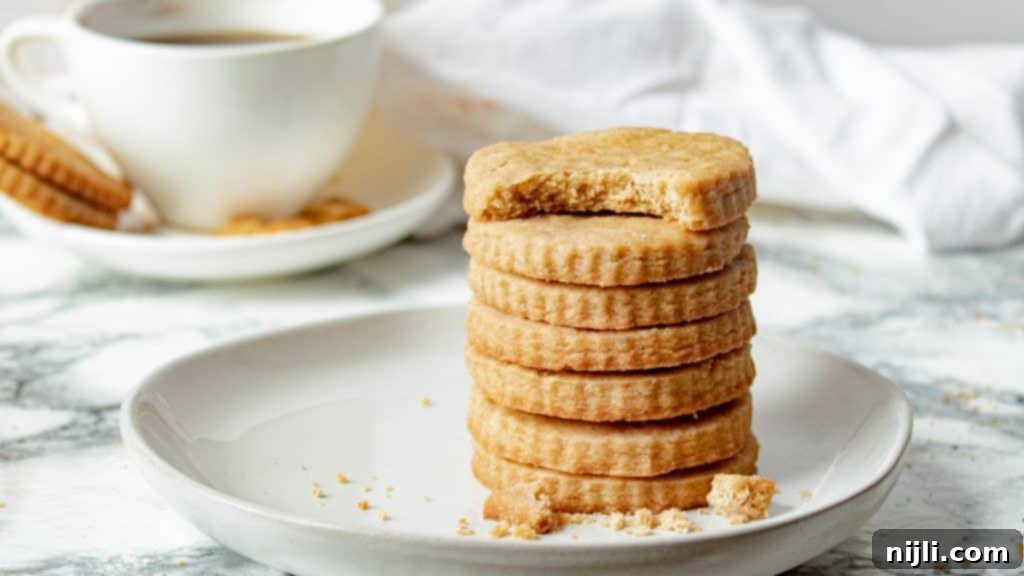
One exceptional idea is my Brown Sugar Shortbread Cookies recipe. This incredibly simple, 4-ingredient shortbread gets almost all of its captivating flavor from the rich combination of brown sugar and pure vanilla. Together, they create an amazing, deeply caramelized, and buttery flavor that is simply irresistible and incredibly comforting. Your homemade vanilla will make these cookies truly sing with every bite.
Another must-try option is one of the most beloved recipes on my blog: my mini vanilla cake. This is a super easy, small-batch cake recipe that’s perfect for intimate celebrations, a delightful dessert for two, or simply to satisfy a sudden sweet craving. In this recipe, vanilla isn’t just an enhancer; it is the absolute star of the show, making it the ideal canvas for your premium homemade extract.
You might also want to try my Pecan Pie Tart or my Cheesecake Mousse Cups, both of which are elevated to extraordinary levels with the rich, unparalleled flavor of your pure homemade vanilla extract!
If you try this recipe for homemade vanilla extract, I would absolutely love to hear about your experience! Please consider leaving a star review rating and a comment below. Your valuable feedback is wonderful to hear and helps fellow bakers! And don’t forget to share your amazing vanilla creations with me by tagging @chenee_today on Instagram!
📖 Recipe: Homemade Pure Vanilla Extract
How to Make Vanilla Extract (Recipe for Homemade Pure Vanilla Extract)
Pin Recipe
Rate Recipe
Save RecipeSaved!
Equipment You May Need
-
Small funnel (optional, for easy pouring)
-
8-ounce swing top glass bottle (or desired size)
-
Sharp knife and cutting board
Ingredients
- 5-6 Grade B vanilla bean whole pods – (also known as extract grade beans, about 1 ounce)
- 8 fl. oz. vodka – (or bourbon/rum, at least 80 proof; 100 proof is best for optimal extraction)
Instructions
-
Using a sharp knife, carefully cut a slit lengthwise down each vanilla bean to expose the inner seeds. Then, cut each bean in half across its width to ensure it remains fully submerged in the bottle.
-
Carefully place the prepared vanilla beans into your clean glass bottle(s).
-
Fill the bottle completely with your chosen vodka, bourbon, or rum, ensuring all vanilla beans are fully submerged. Securely close the seal of the bottle.
-
Store the bottle(s) in a cool, dark place away from direct sunlight. Shake the bottle regularly (once or twice a week) to help release the vanilla flavor. Your homemade vanilla extract will be ready to use in 3-6 months, but its flavor intensity and complexity will significantly increase with longer aging times (8-12 months is ideal).
-
Shake well before each use. To maintain a continuous supply, you can replenish the alcohol after each use, ensuring the beans remain submerged. Replace the vanilla beans entirely after approximately one year of continuous use and replenishment, or when you notice a significant decrease in flavor potency.
One Last Step!Click here to leave a review and a star rating! Your feedback helps spread the word and allows me to continue sharing free recipes! 🥰
Nutrition Information (Estimated per teaspoon)
Nutrition Disclaimer
Did you try this recipe? Rate it below!I can’t wait to see (and share) your results! Follow me on Instagram at @chenee_today and tag #cheneetoday!

