The Ultimate Decadent Brown Butter Yellow Cake with Velvety Nutella Buttercream Frosting

*This post contains affiliate links — as an Amazon Associate I earn from qualifying purchases. Please see my disclosure for details*.
Every birthday holds a special place in our hearts, often associated with cherished traditions. For me, growing up, that tradition was simple yet deeply satisfying: a classic yellow cake generously slathered with chocolate frosting. It was our family’s trusted go-to, always bringing smiles and never disappointing. When my dear friend Yolanda recently celebrated her birthday, my mind immediately drifted to this beloved combination. However, you know how much I adore a good culinary twist – especially when brown butter is involved!
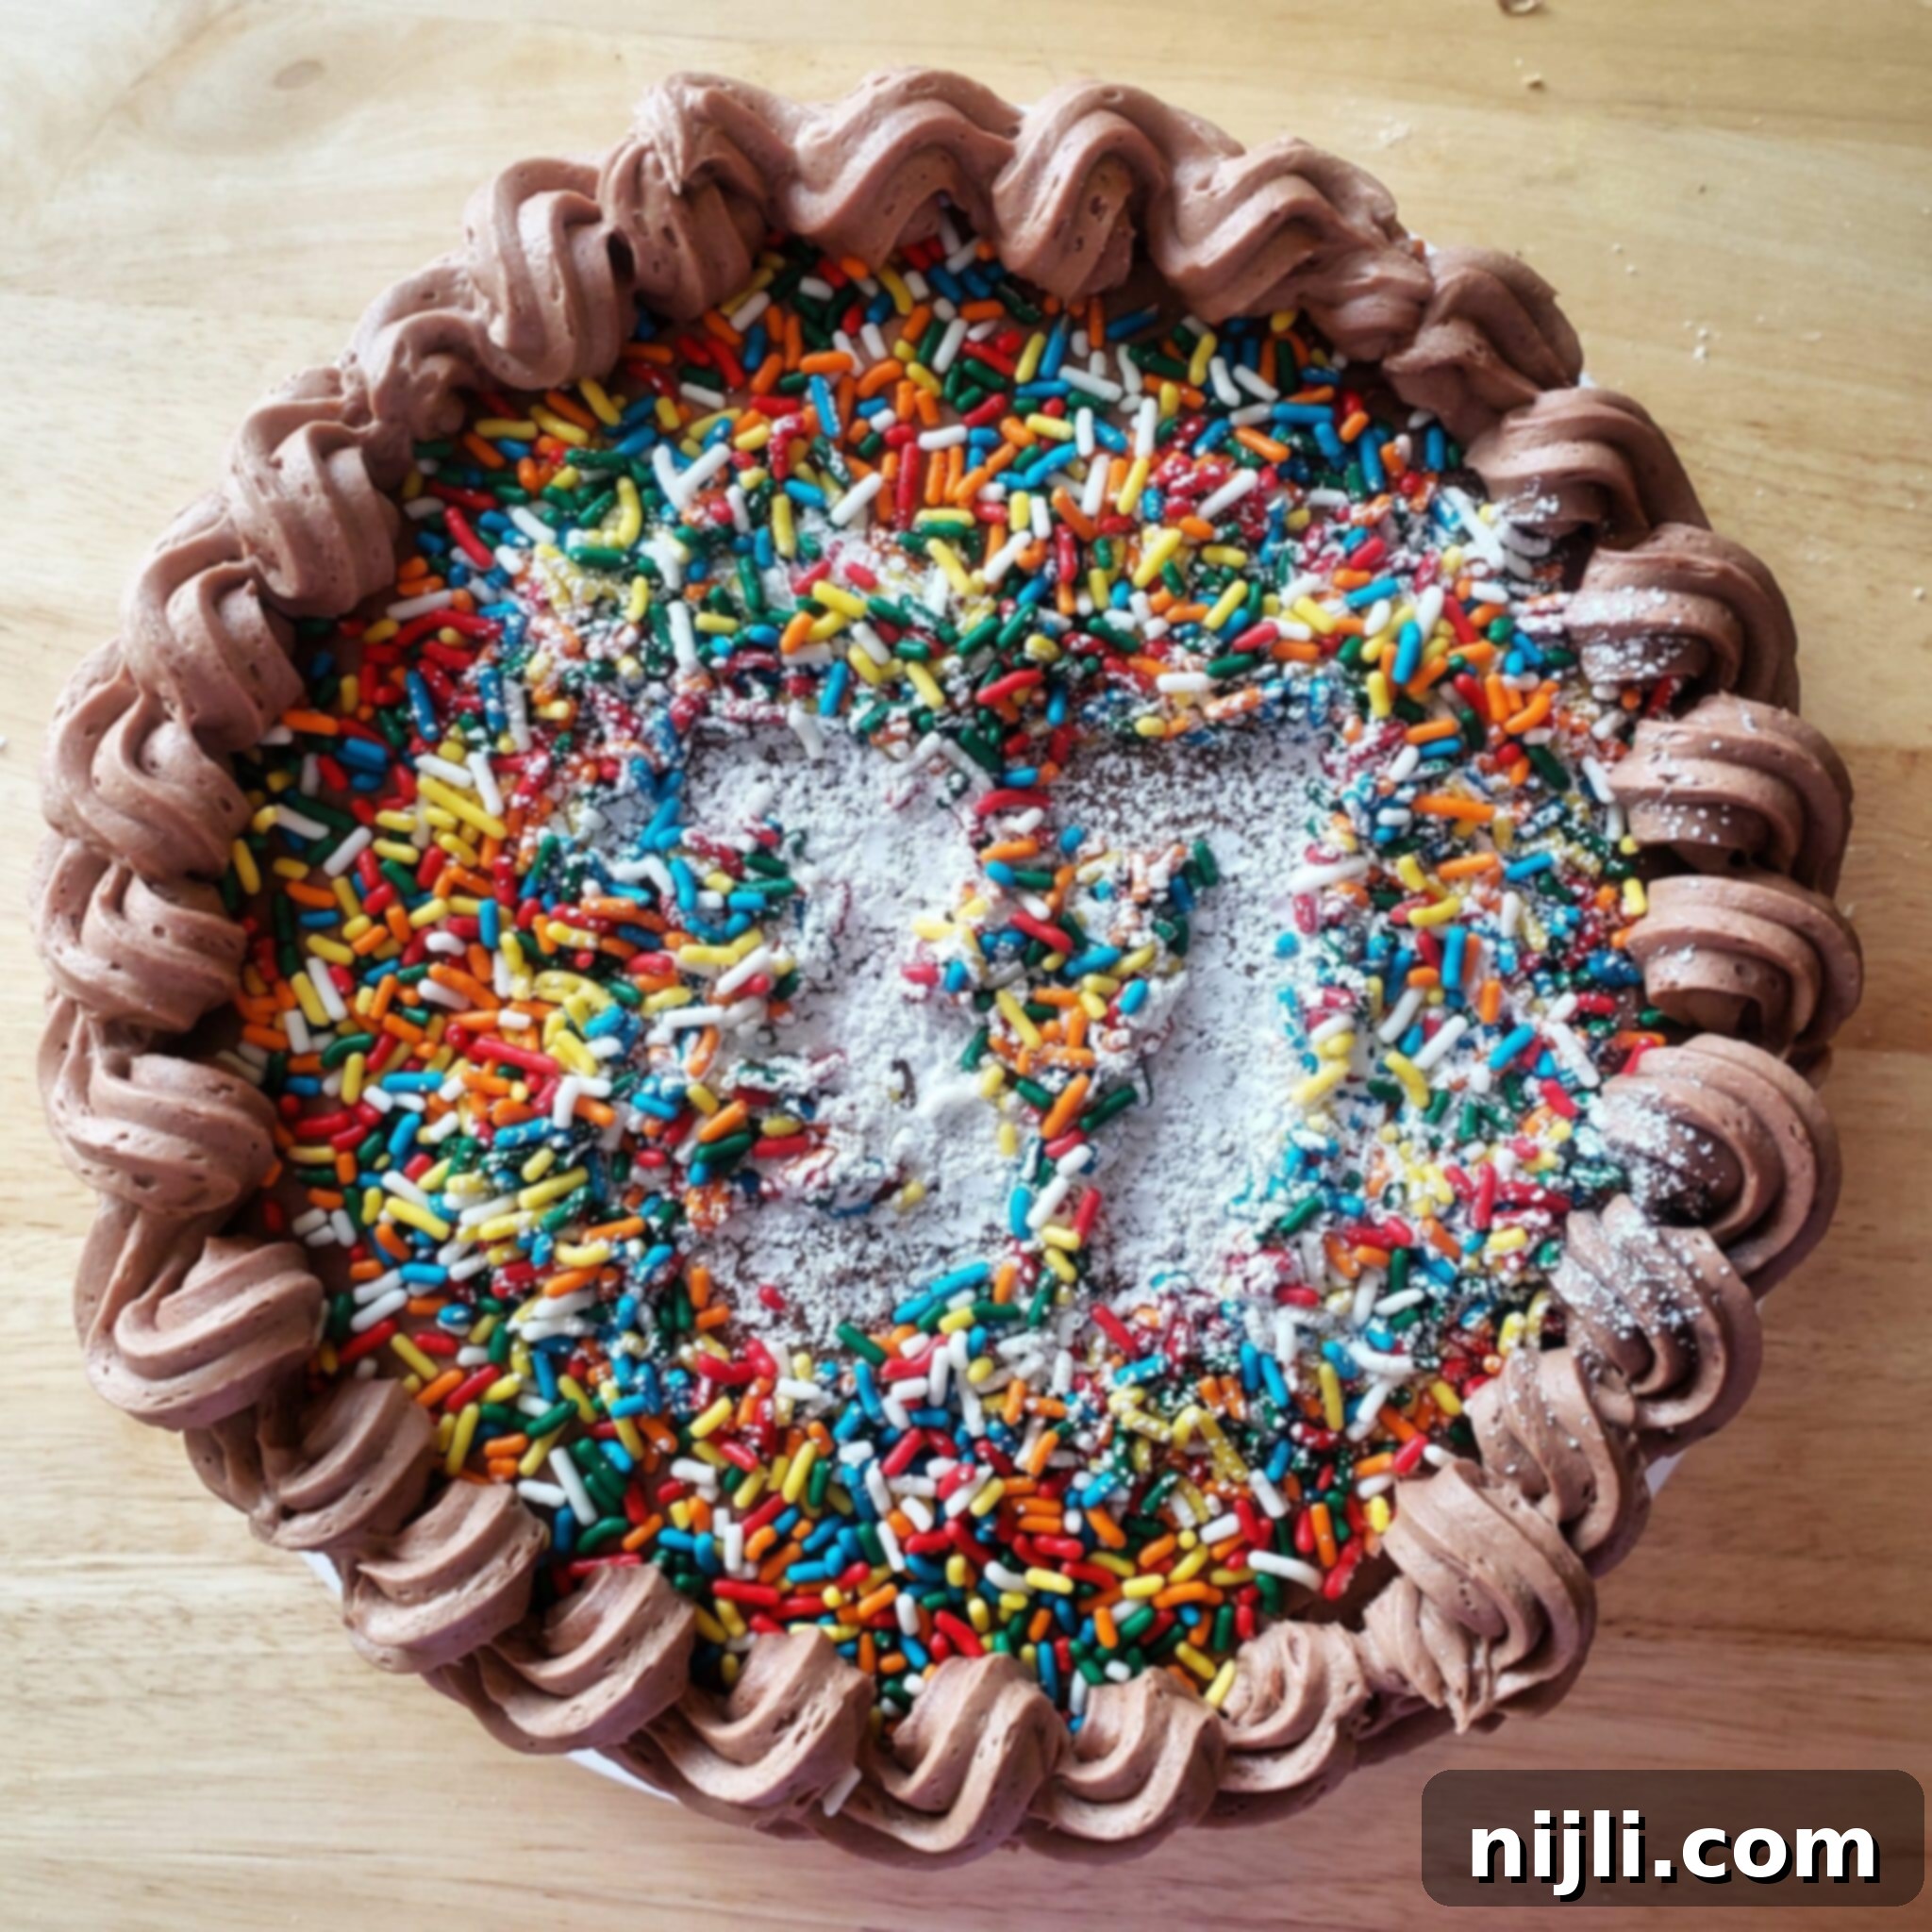
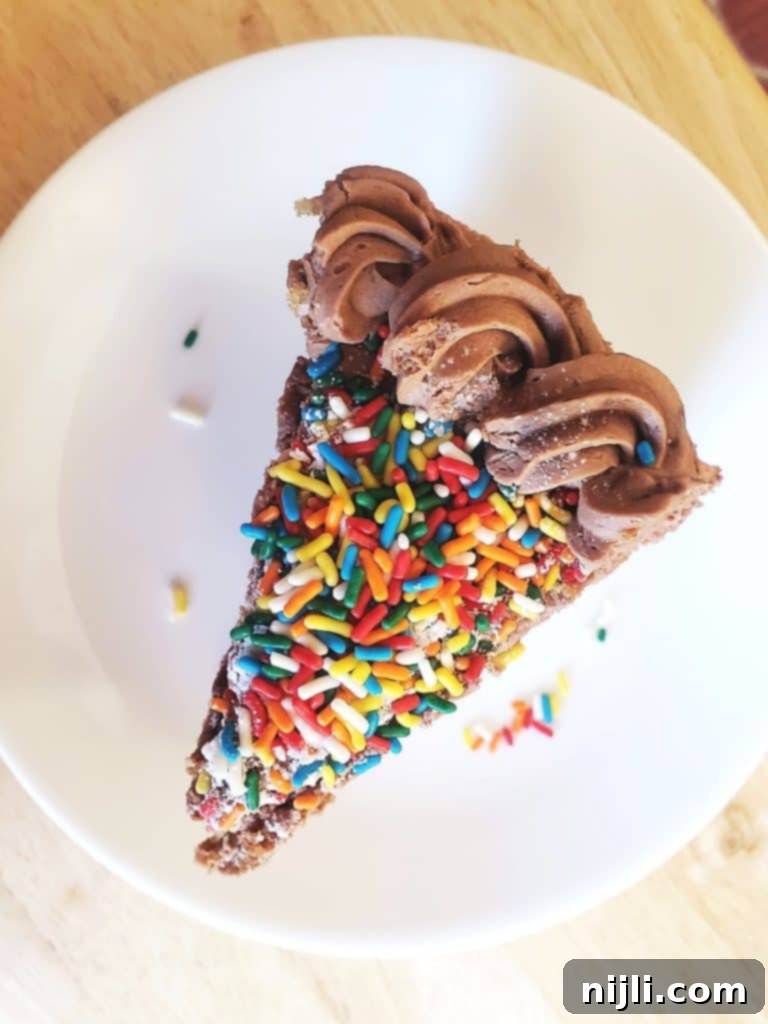
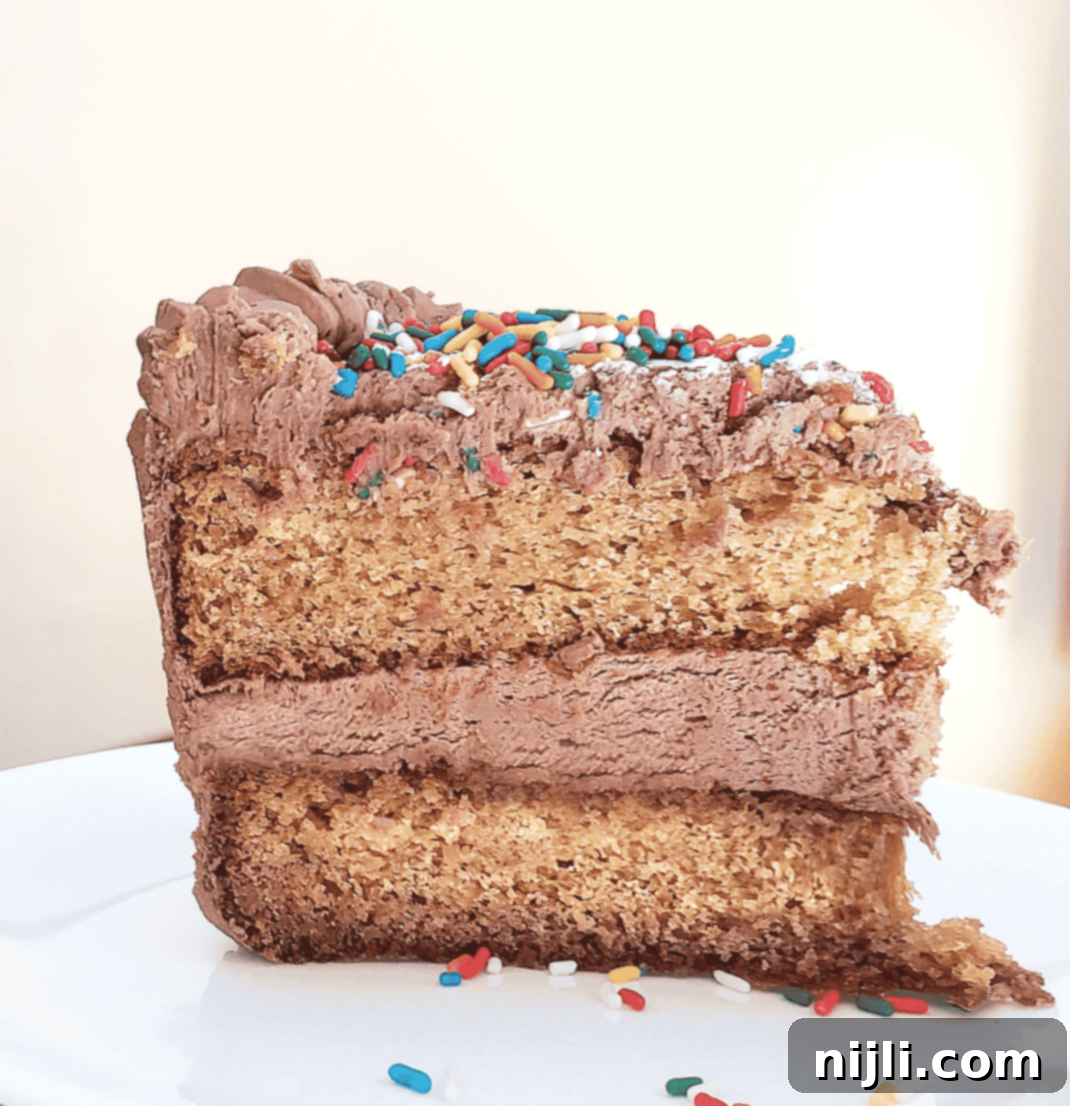
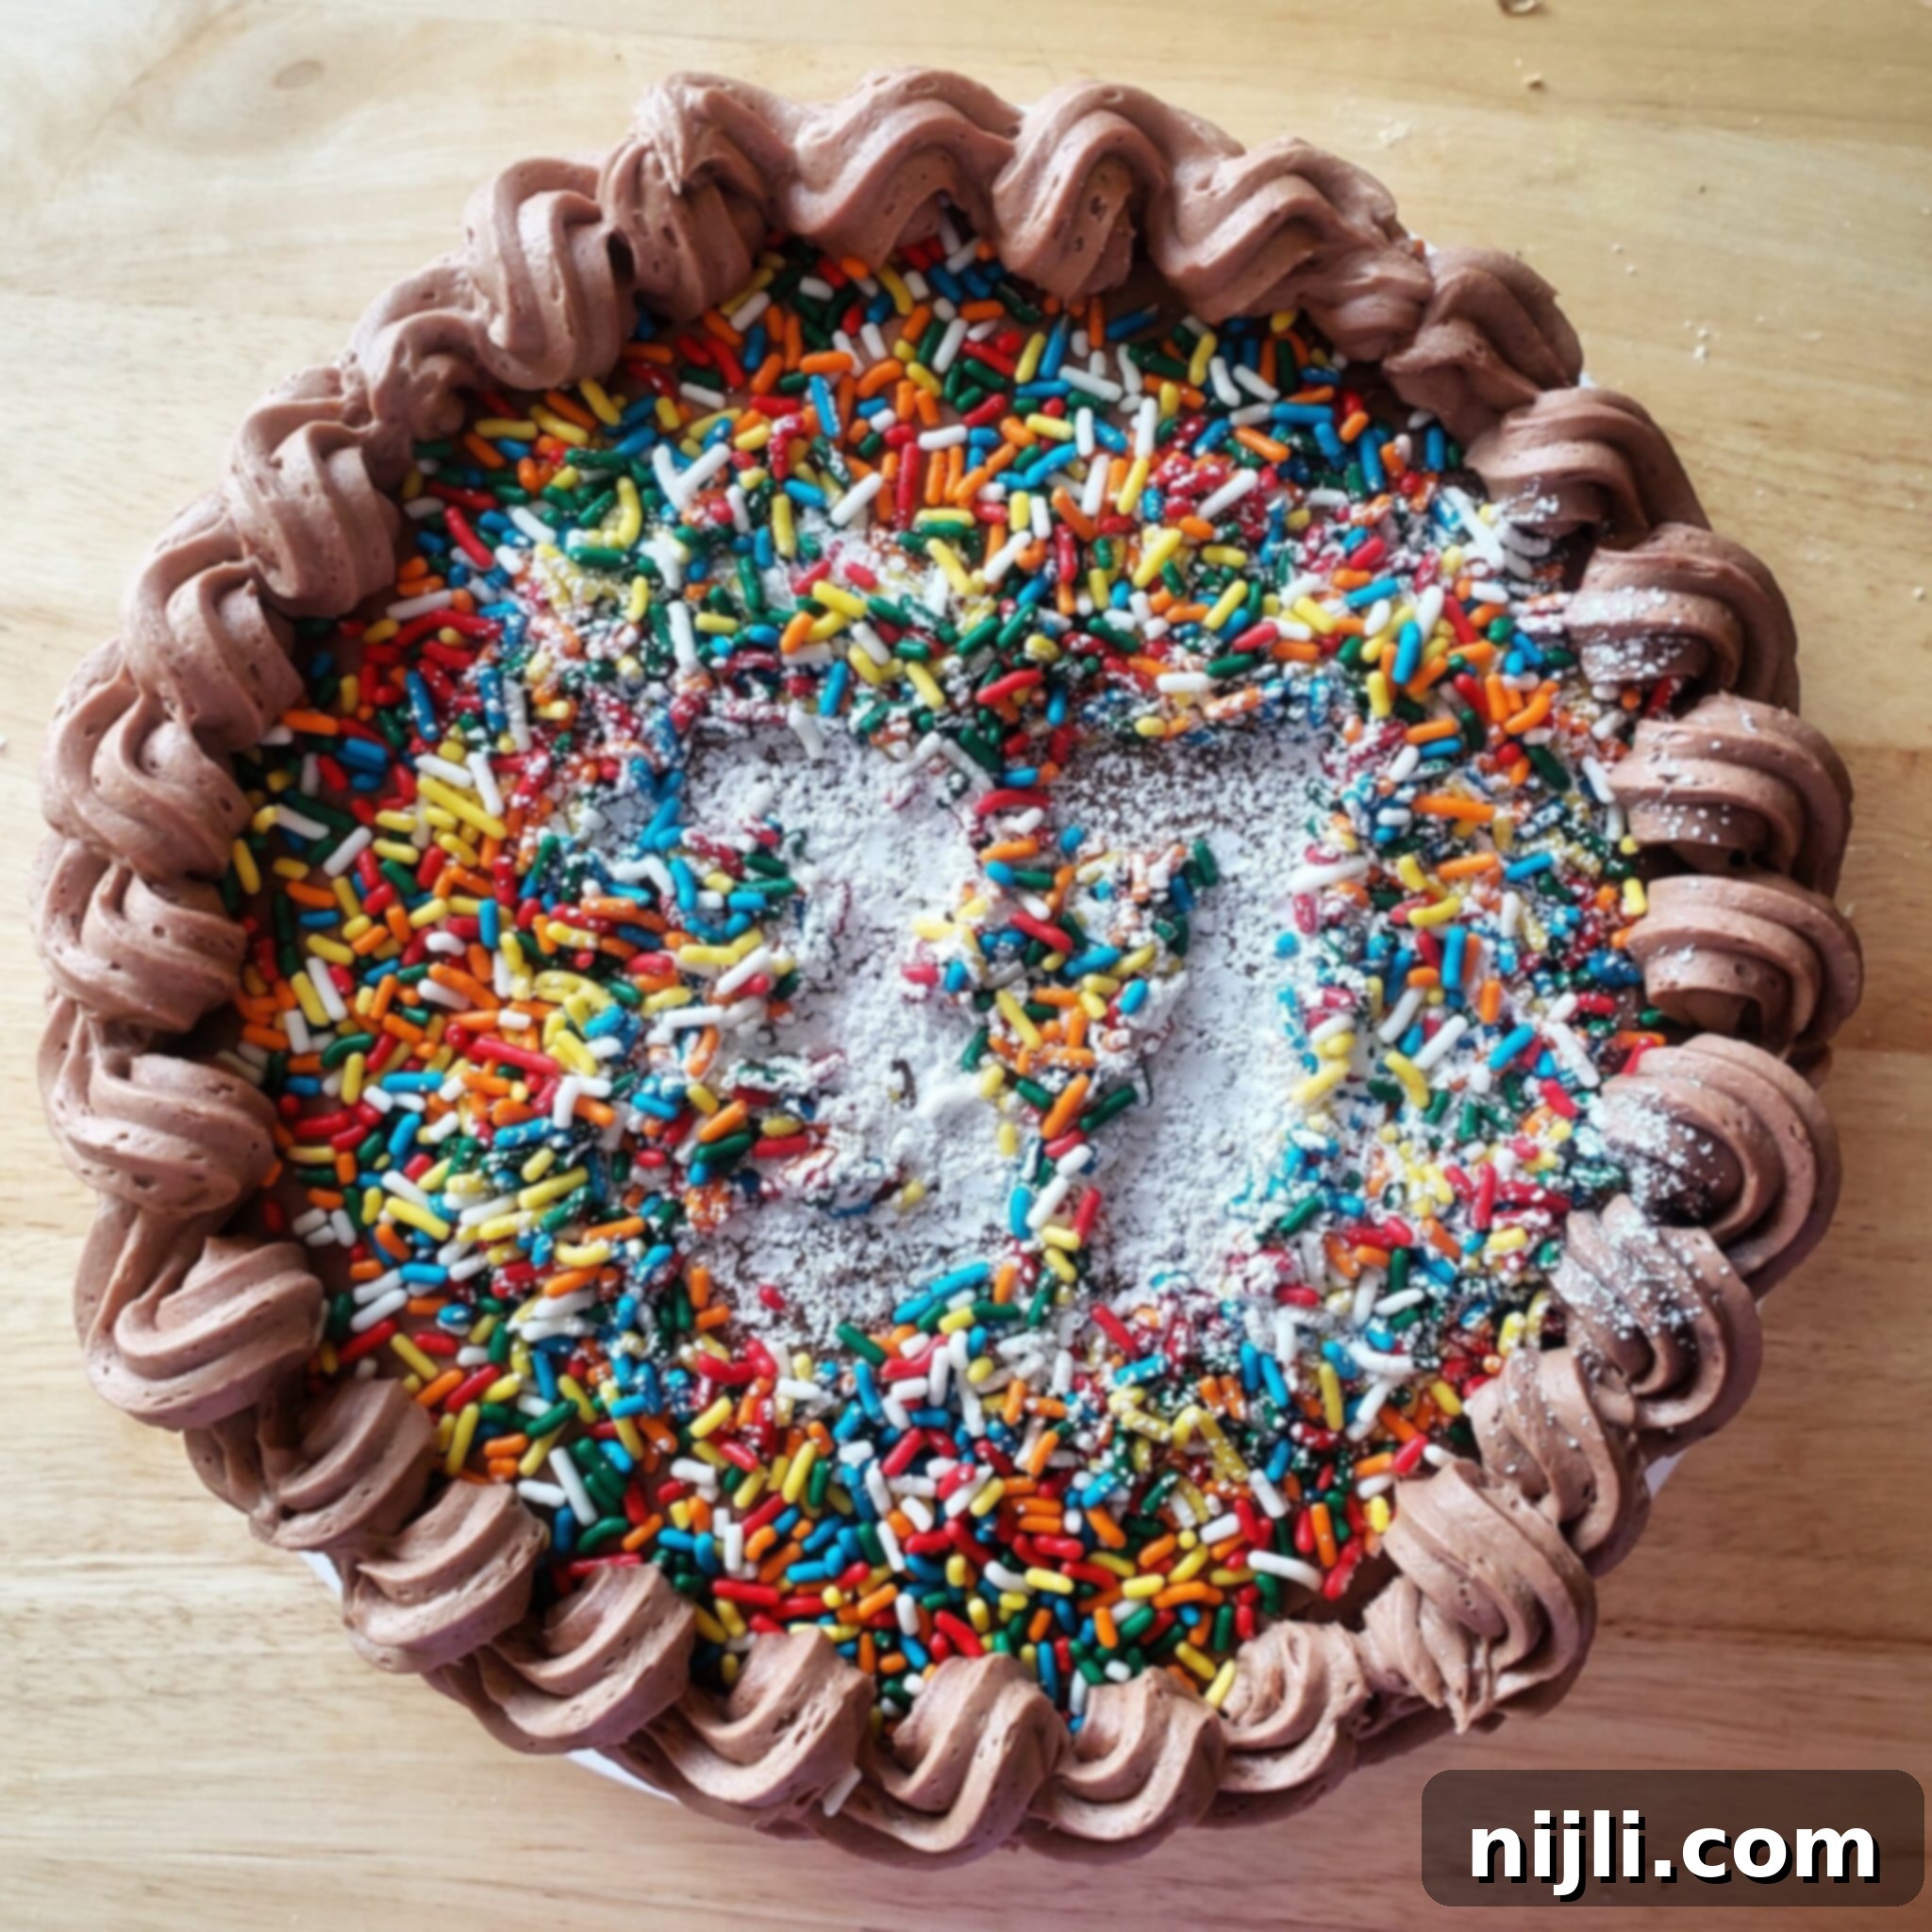
This led to the creation of an elevated version of that nostalgic dessert: a rich, tender brown butter yellow cake paired with a dreamy, whipped Nutella buttercream frosting. The choice of Nutella was a natural fit, as it’s one of Yolanda’s absolute favorites, making this cake a truly personalized and unforgettable birthday treat. And let’s be honest, any excuse to adorn a cake with a shower of colorful sprinkles is always a welcome opportunity to add extra joy! If you’re a fellow sprinkle enthusiast, you might also love my Birthday Rice Krispie Treats!
[feast_advanced_jump_to]

The Magic of Brown Butter: Why It’s a Game-Changer
Are you still asking “Brown Butter, again?” If you haven’t yet experienced the sheer delight of brown butter, you’re in for a treat! This simple technique transforms regular butter into a golden, nutty, and incredibly aromatic ingredient that elevates any dish it touches. The process involves gently melting and cooking butter until the milk solids caramelize, creating a rich, toffee-like flavor and a captivating aroma that will fill your entire kitchen. Once you’ve smelled and tasted it, you’ll understand why there’s no going back!
While some dishes benefit more from brown butter than others, the subtle vanilla notes of a classic yellow cake, combined with the rich chocolate and hazelnut flavors of the Nutella buttercream, create an absolute symphony of tastes. The complex, caramel notes of the brown butter perfectly complement the sweetness of the cake, adding a depth that a regular yellow cake simply can’t achieve. If you’re eager to explore more of my brown butter creations, be sure to check out my Brown Butter Pumpkin Donuts!
Of course, you can certainly choose to omit the browning step, and your cake will still be delicious. However, once you master this really easy technique, you’ll find that it offers a significant flavor payoff for minimal effort. The French even have a special name for brown butter: beurre noisette, which literally translates to “hazelnut butter.” This linguistic connection makes it the absolute perfect pairing for our Nutella buttercream frosting. The hazelnut undertones of the brown butter harmonize beautifully with the rich, chocolatey hazelnut spread, creating an unparalleled flavor experience. For fellow chocolate lovers, you might also enjoy my quick and easy Hot Chocolate Mug Cake!
If you’re new to the art of browning butter, I highly recommend consulting my dedicated How to Brown Butter post. It offers detailed step-by-step instructions and helpful images to guide you through the process. And if you’re looking for a delightful fruity alternative for your cake’s filling, my Blueberry Cake Filling is a fantastic choice!
Achieving Flawless Cake Layers: Essential Baking Tips
One of the keys to a professional-looking layer cake is achieving perfectly even, flat layers. This was a challenge I faced myself when developing this brown butter Nutella cake recipe. I found myself repeatedly scratching my head, wondering why my layers weren’t baking uniformly. After much trial and error, I pinpointed a common culprit: insufficient space around the cake pans in the oven!
It’s crucial to allow several inches of open space around all sides of your cake pans while they bake. This ensures proper air circulation and even heat distribution, which is vital for uniform rising and browning. If your oven is on the smaller side, or if you’re baking multiple cakes, this might mean baking your layers on separate oven racks. Should you need to use different racks, remember to rotate the pans about two-thirds of the way through the baking time. For instance, if one pan is on the upper middle rack and the other on the lower middle rack, swap their positions and rotate them 180 degrees to guarantee both layers bake evenly and beautifully.
Beyond oven placement, several other factors contribute to even, flat cake layers:
- Room Temperature Ingredients: Ensure butter, eggs, and buttermilk are at room temperature. This allows them to emulsify properly, creating a smooth, consistent batter that bakes evenly.
- Accurate Measurements: Baking is a science! Use a kitchen scale for dry ingredients like flour for the most precise measurements, as scooping can lead to too much flour.
- Don’t Overmix: Overmixing develops gluten, leading to a tough cake. Mix just until ingredients are combined.
- Proper Pan Preparation: Always grease and flour your pans thoroughly, and for extra assurance, line the bottoms with parchment paper. This prevents sticking and ensures a clean release.
- Preheating Your Oven: Give your oven ample time to preheat to the specified temperature. An oven that hasn’t reached its target temperature can lead to uneven baking and dense cakes.
These tips are paramount for ensuring your brown butter yellow cake layers are perfectly cooked and ready for that luscious Nutella buttercream. I’ll soon be sharing a comprehensive list of all the cake baking tips I’ve gathered through my many kitchen adventures. In the meantime, I’d love to hear from you in the comments below! What challenges or questions have you encountered while baking layer cakes? Your insights help us all grow as bakers!
As you savor this delightful brown butter yellow cake with its irresistible Nutella buttercream, why not explore some of my other beloved recipes? Try my Mini Egg Brownies, my comforting Cherry Coffee Cake, the super simple 4 Ingredient Banana Bread, and my healthy Protein Mug Cake!
📖 Recipe

Brown Butter Yellow Cake with Nutella Buttercream Frosting
Pin Recipe
Rate Recipe
Save RecipeSaved!
Equipment you may need
-
hand mixer
-
stand mixer
-
mixing bowls
-
measuring cups and spoons
-
rubber spatula
-
offset spatula
-
cooling rack
-
food scale
-
parchment paper
-
8-inch round cake pans
Ingredients
For Yellow Cake Layers
- baking spray
- 1 ¾ cups all-purpose flour – (218g), plus more for dusting the pan
- ¼ cup corn starch – (32g)
- 2 teaspoon baking powder
- ¾ teaspoon baking soda
- ½ teaspoon salt
- 1 cup brown butter – chilled until solid, then brought to room temperature
- 1 cup granulated sugar – (198g)
- ¾ cup light brown sugar, packed – (170g)
- 3 large eggs – room temperature
- 2 large egg yolks – room temperature
- 2 teaspoon pure vanilla extract
- 1 cup full-fat buttermilk – room temperature
For Nutella Buttercream
- 1 cup salted butter – room temperature
- 1 cup Nutella hazelnut spread – or another hazelnut spread of your choice
- 4 cups powdered sugar
- ½ cup heavy cream
- 1 ½ teaspoon pure vanilla extract
Instructions
Prepare your cake batter…
-
Grease and flour the bottom and sides of two 8-inch round cake pans. For an extra layer of non-stick assurance, line the bottoms with parchment paper, then spray the parchment paper with baking spray.
-
Preheat your oven to 350°F (175°C) and ensure the oven rack is positioned in the middle for even baking.
-
In a large bowl, using an electric stand mixer fitted with the paddle attachment or a handheld electric mixer, cream the softened brown butter on medium speed for 2 minutes until light and fluffy. Add the granulated sugar and light brown sugar, and continue to beat for another 4-5 minutes on medium speed until the mixture is pale and airy.
-
Stir in the pure vanilla extract. Then, add the large eggs and egg yolks one at a time, beating just until each is combined before adding the next. Make sure to scrape down the sides of the bowl with a rubber spatula as needed to ensure everything is fully incorporated.
-
In a separate medium bowl, whisk together the all-purpose flour, cornstarch, baking powder, baking soda, and salt. This ensures the leavening agents and salt are evenly distributed.
-
Gradually add the dry flour mixture to the wet ingredients, alternating with the room temperature full-fat buttermilk. Begin and end with the flour mixture (you’ll have three additions of flour and two of buttermilk), mixing on low speed until just combined after each addition. Do not overmix.
-
Divide the cake batter evenly between the two prepared 8-inch cake pans. To release any trapped air bubbles, gently drop each pan from about 3-inches onto the counter a few times. This helps achieve a denser, more uniform crumb.
-
Bake for 30-35 minutes, or until the edges are lightly golden and a wooden skewer or cake tester inserted into the center comes out with moist crumbs. Begin checking for doneness around the 25-minute mark to prevent overbaking, which can lead to a dry cake.
-
Allow the cake layers to cool in their pans for 10 minutes before carefully inverting them onto a wire cooling rack to cool completely. Ensure they are fully cooled before frosting to prevent the Nutella buttercream from melting.
Whip up your frosting…
-
In a clean large bowl, using an electric stand mixer or handheld electric mixer, beat the room temperature salted butter, Nutella hazelnut spread, and powdered sugar together on medium speed for at least two minutes. Continue beating until the mixture is wonderfully light, creamy, and smooth.
-
Pour in the heavy cream and pure vanilla extract. Beat for an additional two minutes on medium-high speed until the Nutella buttercream is fluffy and spreadable. Once your cake layers are completely cooled, generously spread this decadent frosting between the layers and all over the top and sides of the cake. Decorate with sprinkles if desired!
Notes
Brown Butter Essentials: To truly master the technique of browning butter and to understand its transformative power, please refer to my comprehensive Brown Butter Appreciation Post. It includes detailed step-by-step instructions and visual guides to ensure your brown butter turns out perfectly every time.
Optimizing Oven Space for Even Layers: As highlighted above, adequate oven space is critical for even cake layers. This often means strategically placing your cake pans on separate racks and at opposite sides of the oven to allow sufficient airflow. For example, position one pan on an upper middle rack towards the left, and the second on the next rack down towards the right. To further guarantee uniform baking, remember to switch the positions of the two pans and rotate them 180 degrees about 25 minutes into the baking process.
Make-Ahead & Storage Tips: The baked brown butter yellow cake layers can be prepared in advance. Once cooled completely, wrap them tightly in plastic wrap and store them in the refrigerator for up to 5 days, or freeze them for up to 2 months. Thaw frozen layers in the refrigerator overnight before frosting. The assembled and frosted Nutella buttercream cake will stay fresh and delicious when covered at room temperature for up to four days. For longer storage, refrigerate the frosted cake.
Nutrition Disclaimer
Explore my other delicious cake recipes, and feel free to let me know what other types of cake you’d love to learn how to bake! Happy baking!
